
Between munching on delicious chocolate bunnies and prepping the home for family reunions and Easter brunch, come April, decorating Easter eggs is an annual tradition in many households. From traditional dye kits to unique Easter egg decorating ideas, there are so many fun ways to get creative with this family-friendly activity.
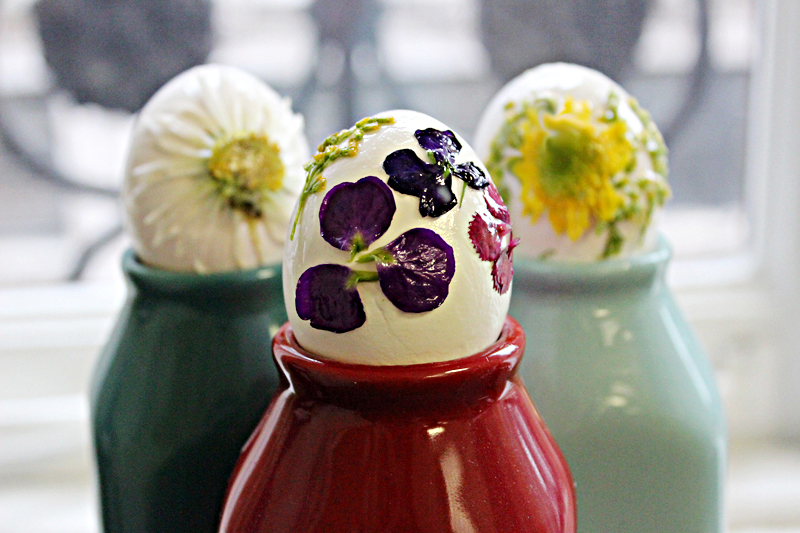
Using inspiration from the beautiful spring foliage, we’ve come up with this simple yet stunning Easter egg decorating idea: pressed flower DIY Easter eggs! Once your flowers are pressed, it takes just a few easy steps to turn that rounded white canvas into a floral work of art.
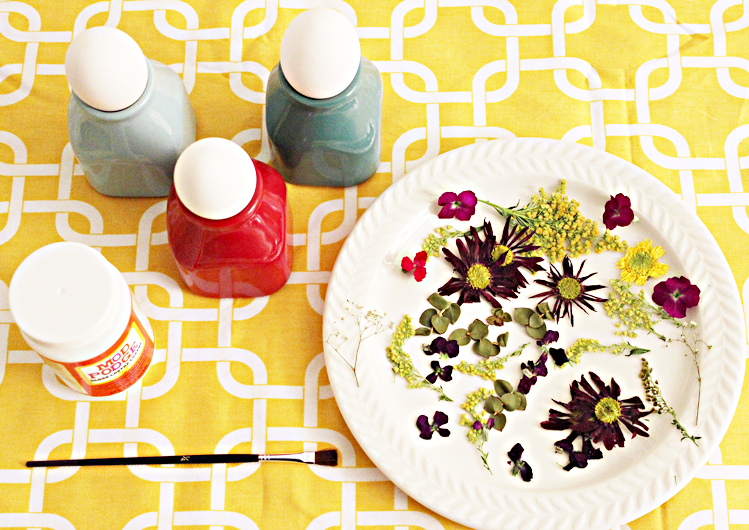
Supplies for pressed flower DIY Easter eggs
- Hard boiled eggs
- Pressed flowers
- Mod Podge
- Brush
Directions for pressed flower DIY Easter eggs
- Pour a small amount of Mod Podge into a small bowl or container. Lay your pressed flowers out on an easy-to-access container for easy sticking. Set your eggs up in egg holders or a similar container to hold upright while painting.
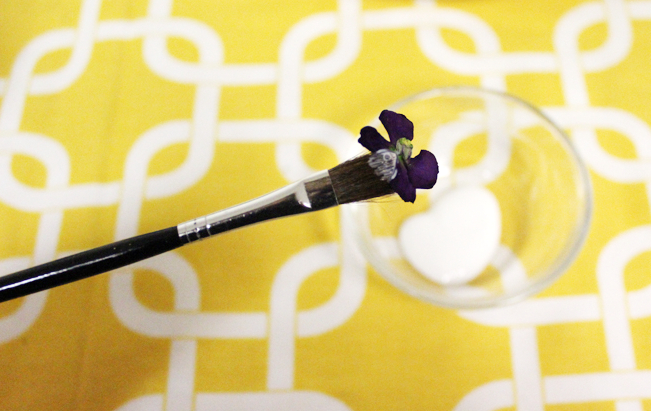
- Take your brush and slightly dip it into the Mod Podge.
- Paint the adhesive all over the egg. Dip the brush into the Mod Podge once more and use the brush with the adhesive to pick up your first flower. Stick it onto the egg and cover in an additional layer in Mod Podge. (Do not worry about over coating; it will dry clear).
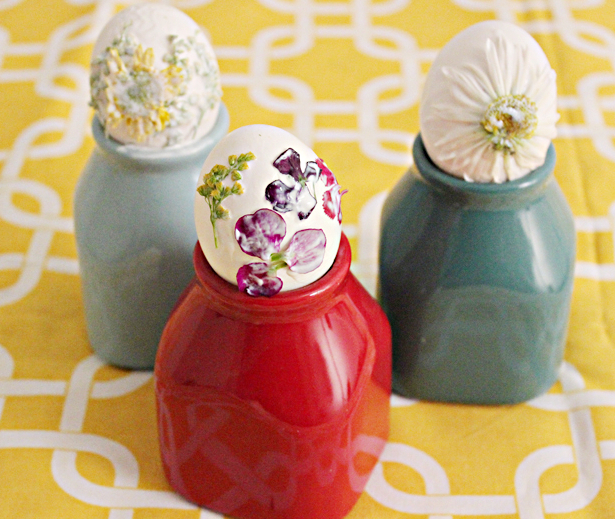
- Continue this process until you are satisfied with how your egg looks, and set it aside to dry. Once fully dry, these beauties are ready to be shown off!


Comments are closed.