
How To Make Pressed Flowers
We show you how to press your own fresh flowers in just a few simple steps.
Jan 29, 2014
Preserving flowers is a popular way to lengthen the life of your flowers, especially if they’re from someone special. There are many ways to preserve flowers, one of which is pressing flowers.
Pressed flowers add a touch of elegance and beauty to any decoration or craft. From greeting cards to framed art, these dried beauties are versatile and will add a creative touch to any DIY project. Did you know that pressed flowers are also pretty easy to make? Rather than buying fake pressed flowers at the local craft store, we’re going to show you how to press your own from fresh flowers in just a few simple steps.
Here we have two methods for pressing flowers. The first requires using a microwave and takes about five minutes (from start to finish) per flower. The second requires less hassle but calls for a wait time of about a month.
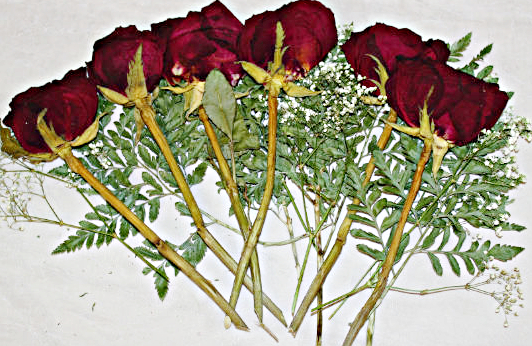
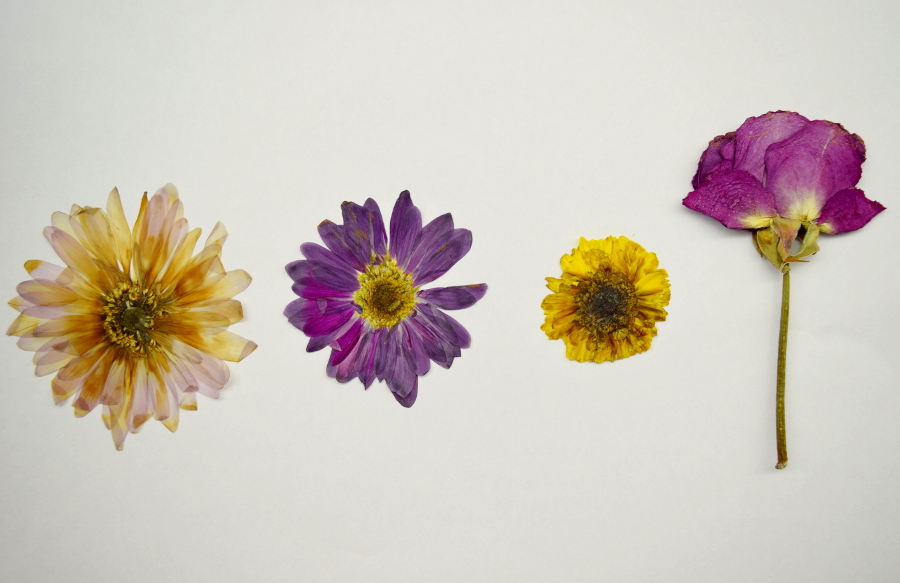
We used the first process to make these pressed roses, but you can use any flower of your choice. Lilies, daffodils, sunflowers, and daisies would also be a great choice for this project (just be sure to remove the excess pollen).
What you’ll need for DIY pressed flowers
- Fresh flowers
- Absorbent material (we used coffee filters)
- Ceramic plates
- Microwave
- Heavy coffee table book or encyclopedia (only for second method)
How to make last-minute DIY pressed flowers
If you’re pressed for time or looking for a quick craft, use this method.
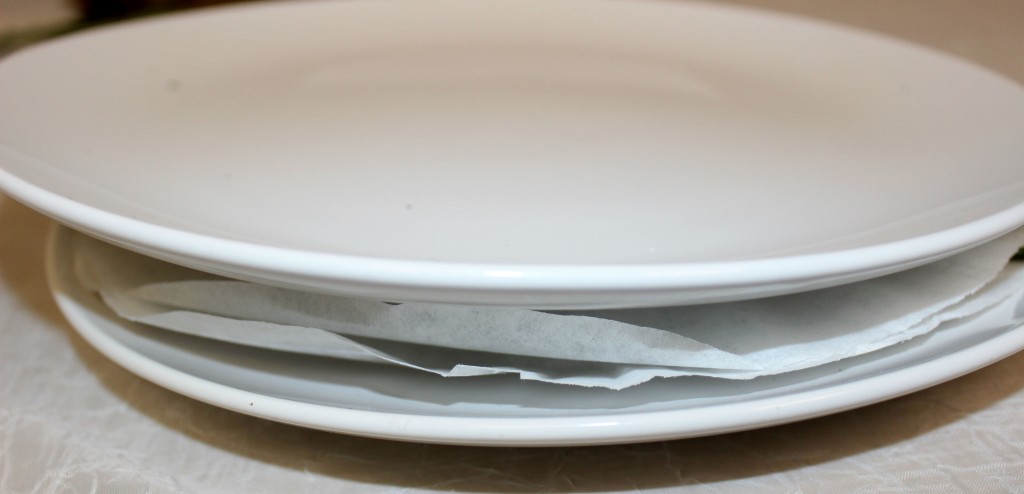
- Lay a ceramic plate in front of you, and cover it with a coffee filter. Place a flower on top, and cover it with a second coffee filter.

- Cover with an additional plate and place in the microwave. “Cook” for one minute, then take it out and replace the coffee filter. Top with the plate again and place in the microwave for another minute. Continue this process until you are satisfied with the result.
How To dry flowers with a book
This process may be lengthy, but it’s so simple that you can just set it and forget it!
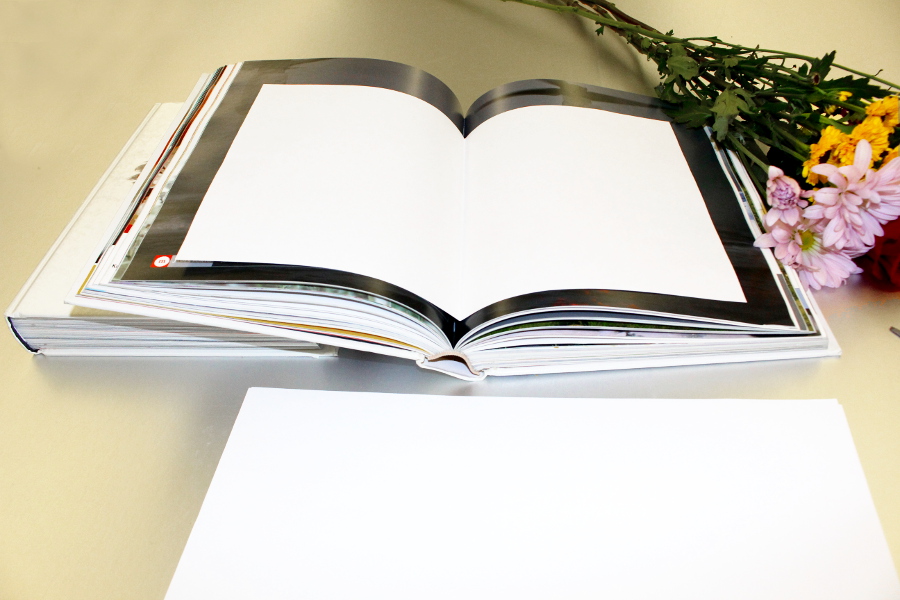
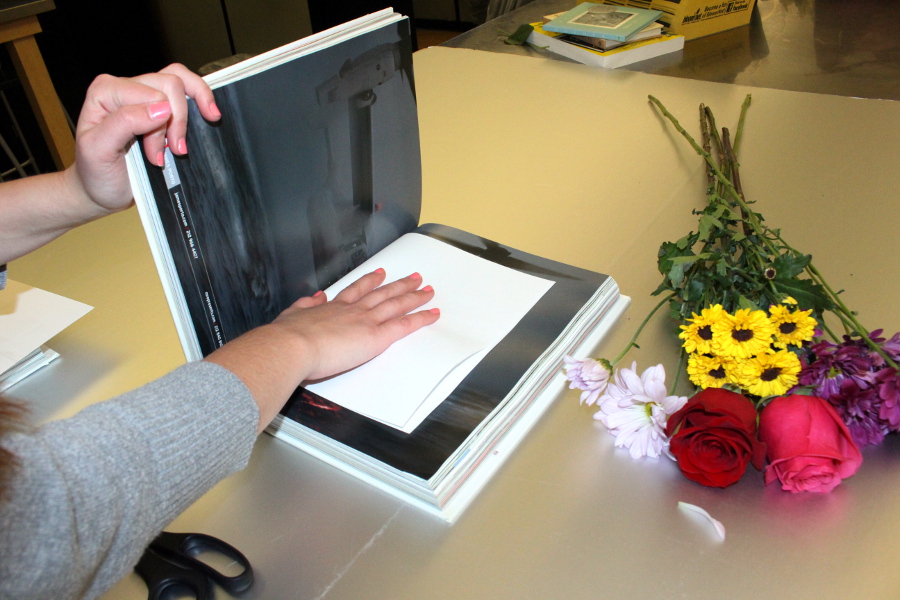
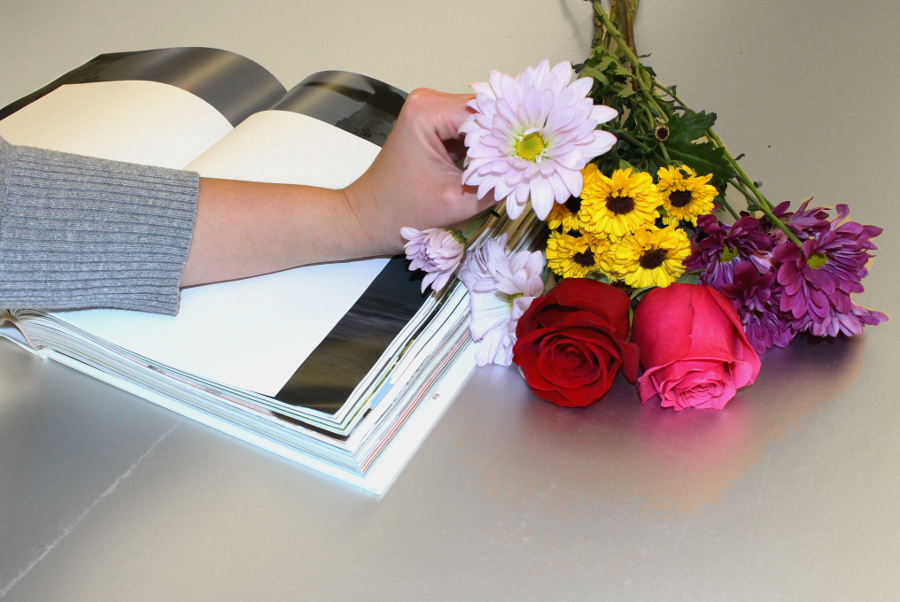
- Grab a heavy book, such as a coffee table book or encyclopedia. Open to the middle of the book and place a folded piece of paper or wax paper inside.
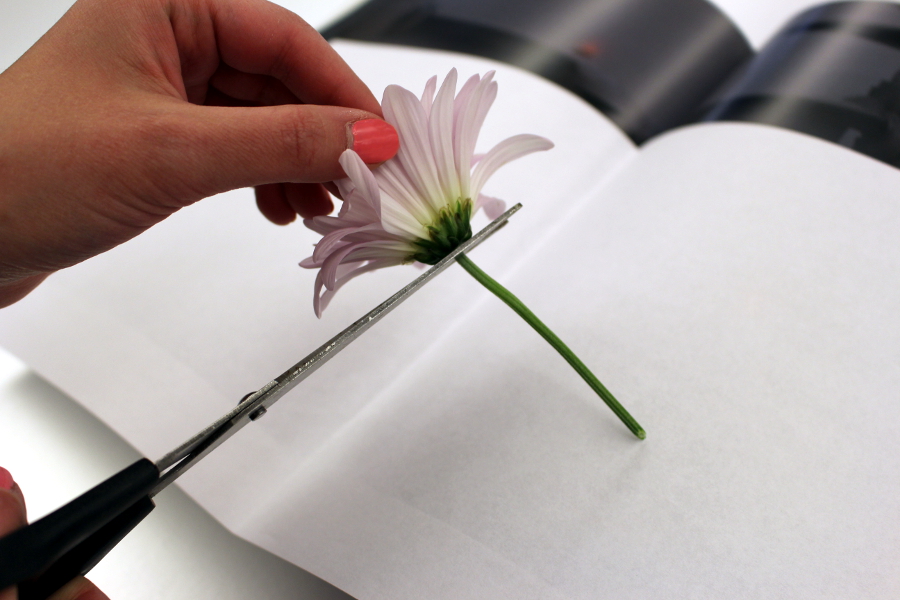
- Cut your flower to remove as much of the stem as possible.
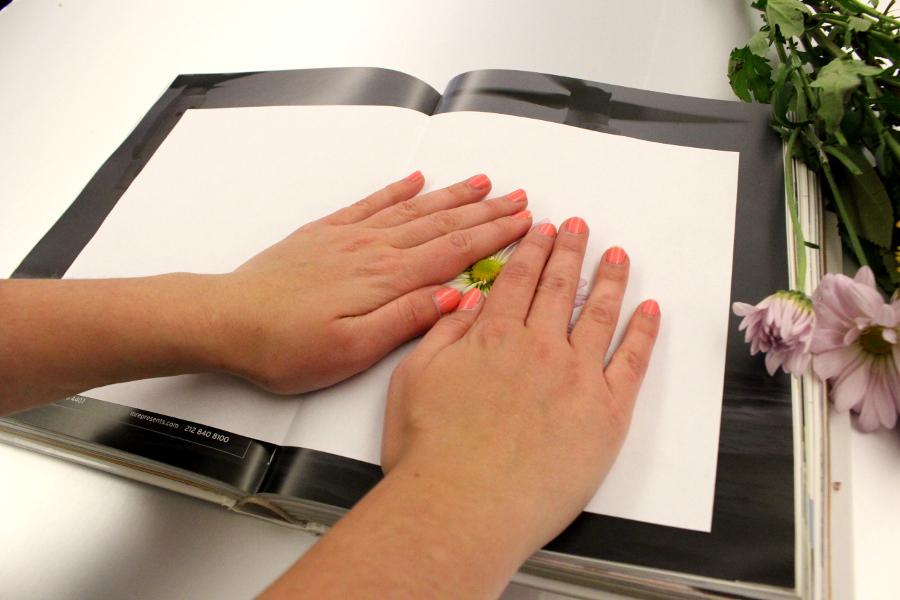
- Place the flower flat in the middle of the book. Use your hands to flatten the flower if needed.
- Carefully close the book while making sure to keep the flower flat.
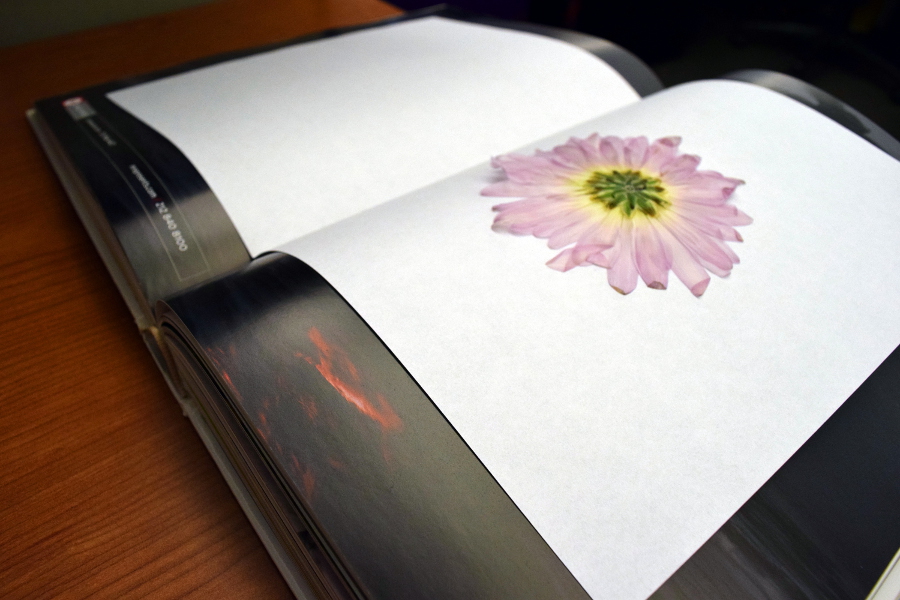
- Leave for 4 to 5 weeks, making sure to replace the absorbent material once every week or so.
Before
After
AUTHOR

Celebrate every occasion and holiday with Michelle Yastremsky! Join her as she comes up with creative ways to make your holiday party stand out!


