Whether you’re making these wine glasses with friends, for a friend, or for yourself, you are sure to have fun letting your creative side come out!
Add a personalized touch to ordinary wine glasses by painting flowers on them to make them extraordinary. Not only are these hand-painted wine glasses easy to make, but they’re pretty inexpensive too, which makes them great gifts if you’re on a tight budget.
Choose the flowers and colors of your choice to make them extra special for birthdays, holidays, or just because. Now, roll up your sleeves because we’re about to dive into Flower Wine Glass Painting 101!
Supplies
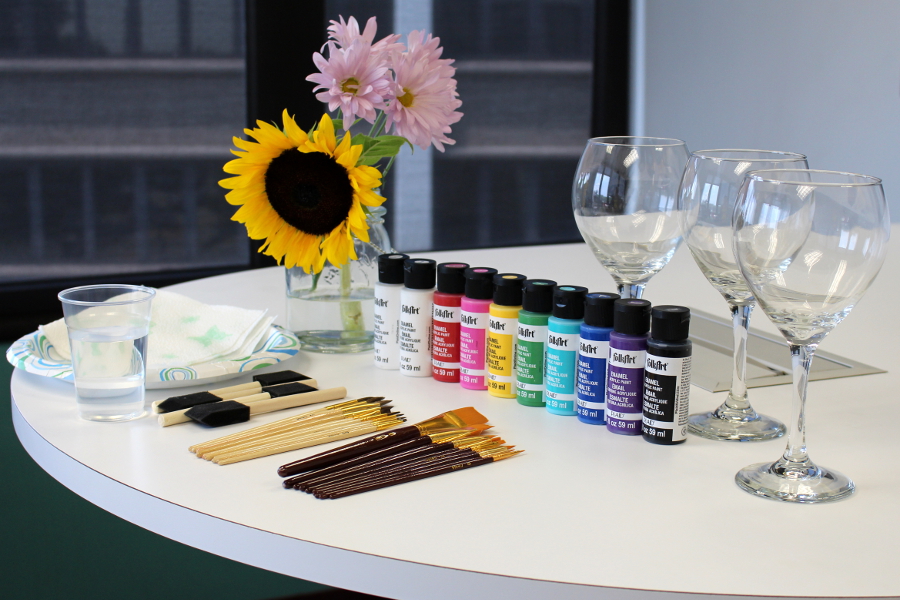
- Enamel paint (Make sure it is specifically for glass products!)
- Variety of paintbrushes
- Clear wine glasses (washed and dried)
- Cup of water (for cleaning your brushes)
- Paint palette or paper plate
- Paper towels, napkins, or rissues
Directions
Step 1: Get inspired with real flowers
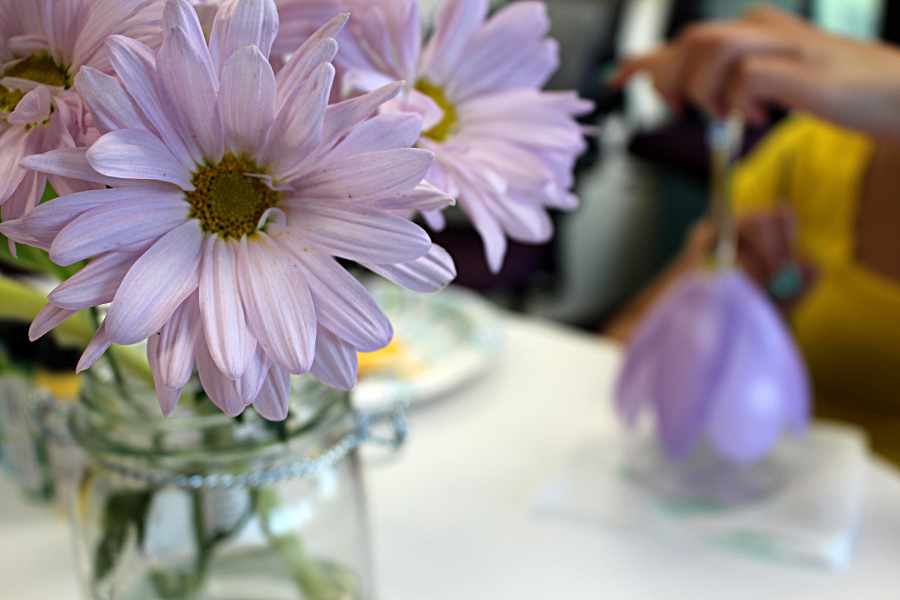
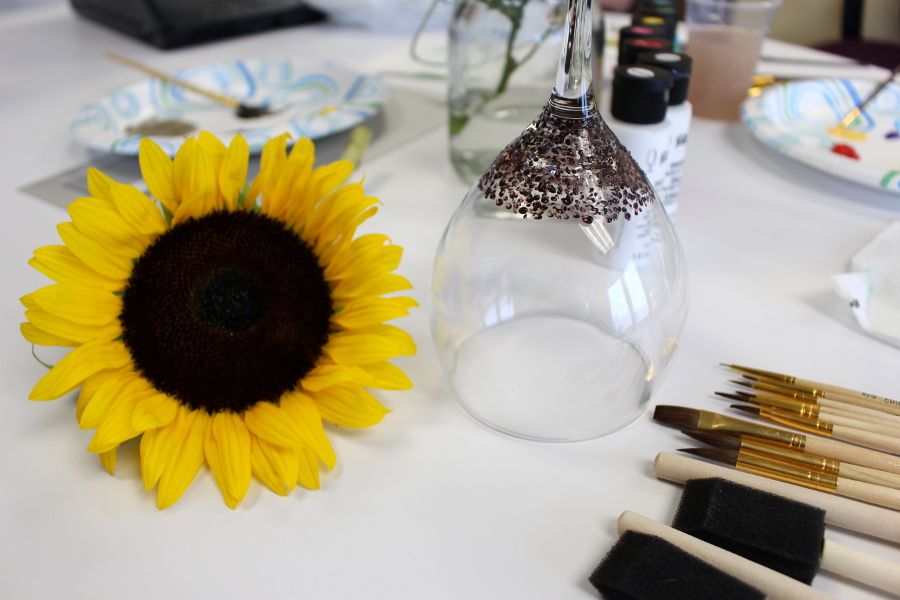
Before starting, think about which flowers you would like to paint on your wine glass. You can use flowers from outside, browse flowers online, or get some stems from your local florist. I was inspired by beautiful yellow sunflowers and lavender daisies.
Step 2: Create your work station
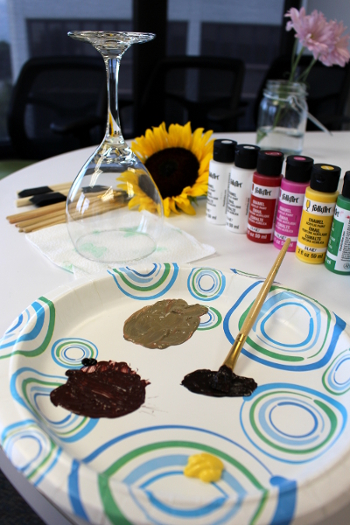
Now that you’ve decided what flower(s) you want to use, select paint colors to match. You can get whatever colors you like, but the primary colors are essential for mixing, while black and white are important for lightening and darkening. As mentioned above, make sure your paint is glass-product friendly. If you are unsure, ask a sales associate at your local craft shop.
Step 3: Organize your paint
Pour a small amount of each color onto your paint palette. (Hint: A paper plate works just as well.) Make sure to have colors for the flower petals, center, and stem. It’s also a good idea to add white and black in case you want to lighten or darken your colors. Once you’ve created your color palette, set your wine glass upside down onto a paper towel (napkins or newspapers are fine, too) to keep paint from getting onto your work surface. You will also want to keep paper towels handy to wipe off your paint brush as needed after dipping it in water or paint.
Step 4: Paint the center of your flower
Select the color you will use as the center of your flower. Feel free to mix colors to get the shade you want. We mixed red and purple to get the perfect shade of brown for the center of our sunflower, but brown paint will work just as well.
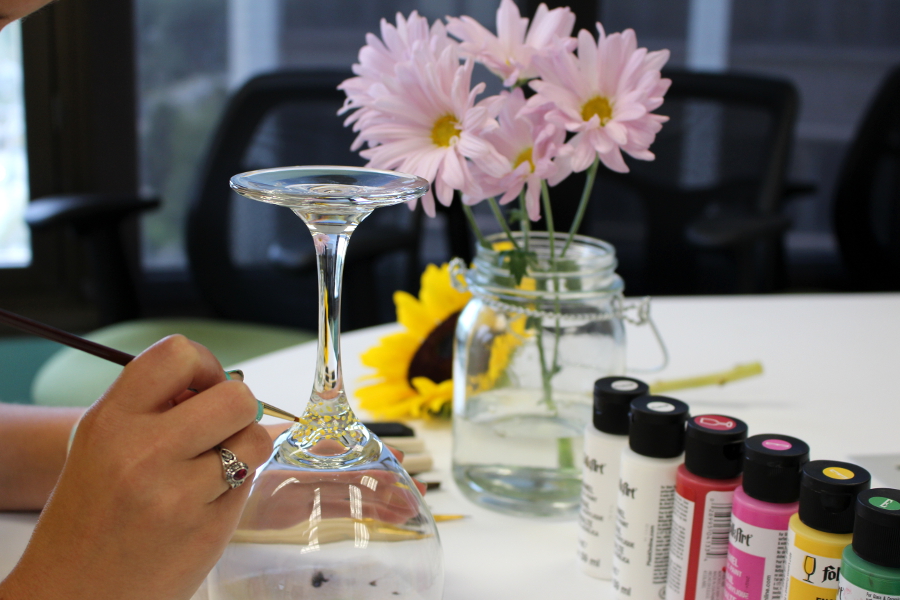
Using a small pointed brush, make tiny dots where the stem meets the bowl of the glass. Make the dots as big or small as you want to represent the flower you’re creating.
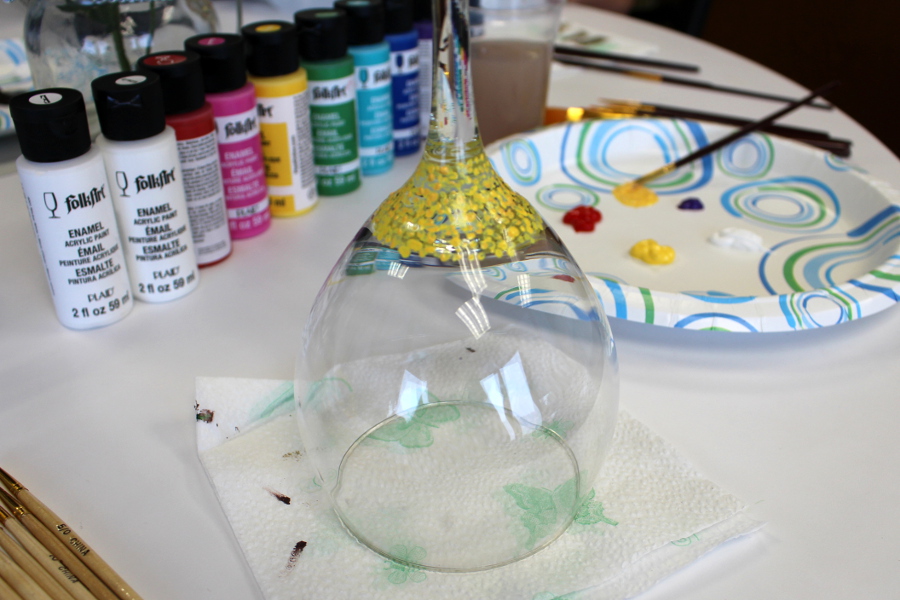
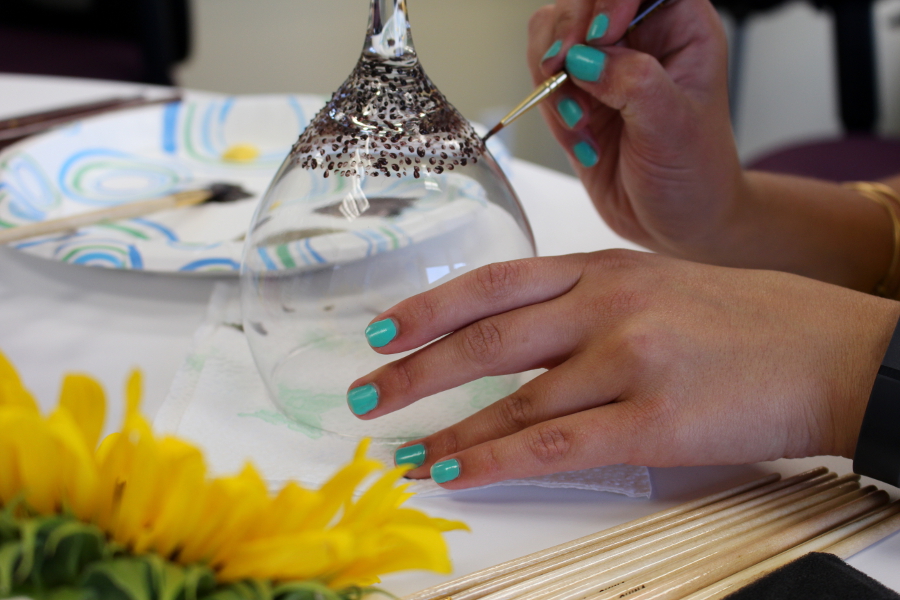
Different flowers will have different centers. For example, I added more dots to my sunflower glass than the daisy glass since sunflowers have very large centers.
Step 5: Add the flower petals
Once the dotted center has dried (feel it gently with your finger tips to make sure), you can start painting your flower petals. You can paint the petals completely over the dotted center, halfway over, or not at all.
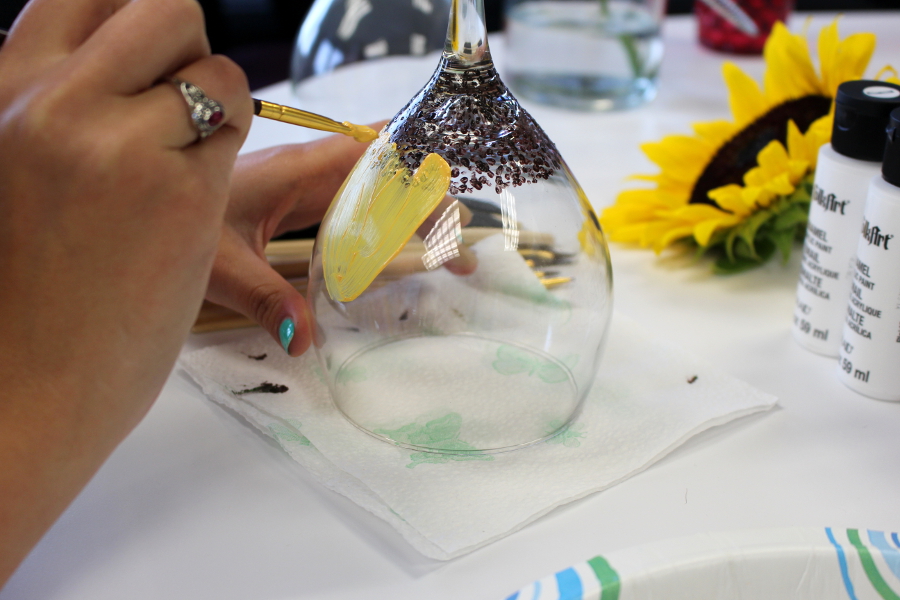
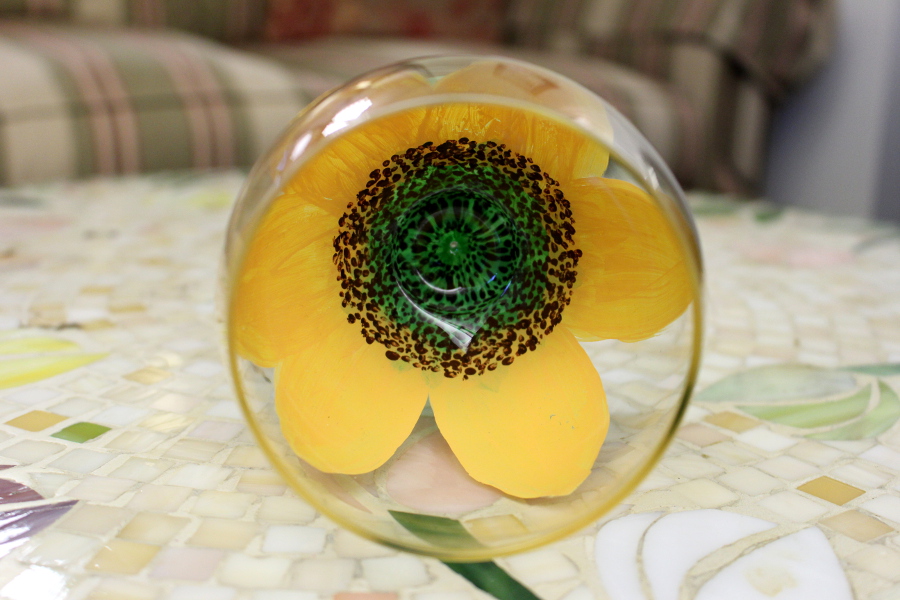
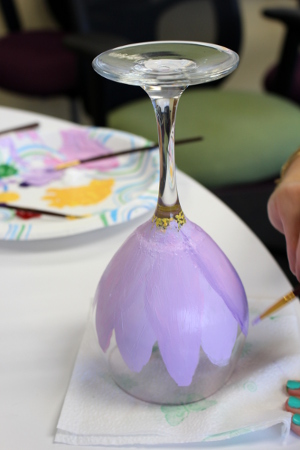
For the sunflower, I painted shorter, wider yellow/orange petals. For the purple daisies, I painted longer, thinner petals.
Feel free to overlap petals or add streaks for a cool color accent. While you’re painting the petals, keep in mind what the glass will look like from the inside.
Step 6: Add a green stem
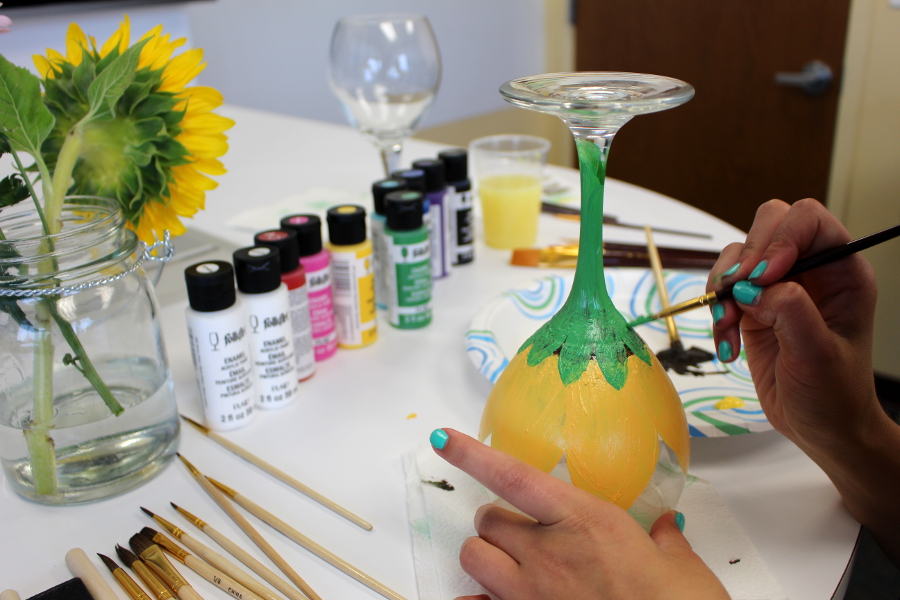
Using your favorite shade(s) of green, paint the stem of the wine glass for your flower stem. Most flowers have green petal-like “leaves” underneath, so you will want to cover the “bowl” of the glass with that. Let the leaves cover the ends of some of your flower petals as well.
Step 7: Add leaves to the wine glass base
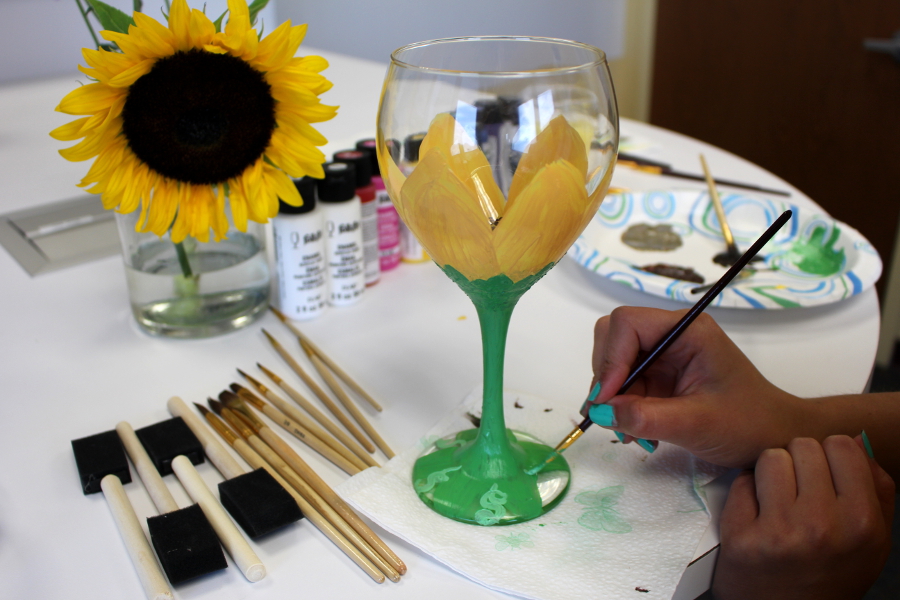
Carefully flip the glass right-side up and paint the base of the glass with leaves or decoration of your choice. This is also a great place to add a name or short message for an extra personal touch.
Step 8: Let your wine glass dry
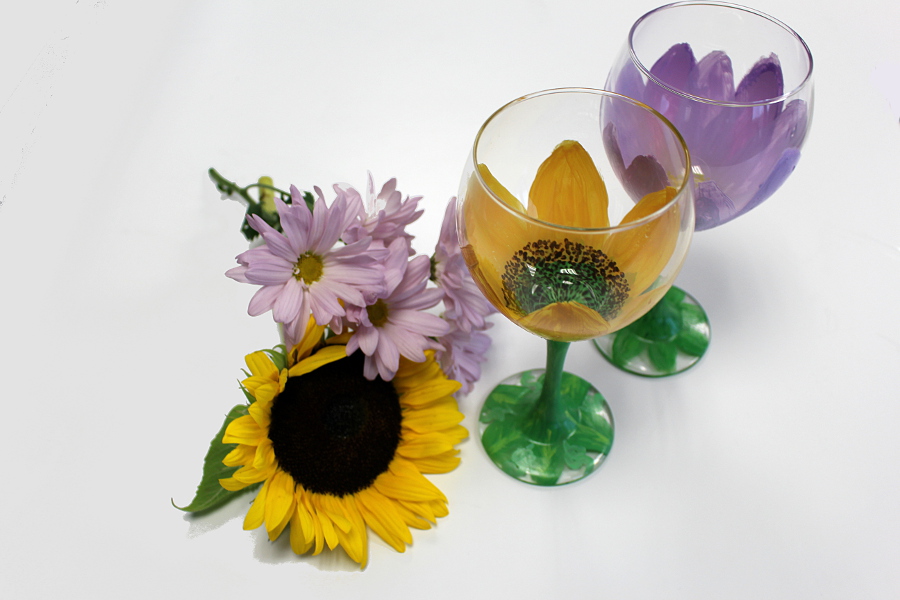
The enamel paint should dry pretty quickly, but make sure to give it a few hours before you start using the glass.
Step 9: Pour yourself a drink!
Nice job and congratulations on creating a beautiful wine glass. Now it’s time to toast to your masterpiece! If it’s a gift, wrap it up with a bottle of wine or bouquet of flowers that matches your wine glass flower design.


Comments are closed.