Mobile Search Menu
Inviting ideas and advice to help you connect, express & thrive
Article Cards Featured Image Bouquet of Tissue Paper Flowers

DIY Valentine’s Day Décor: How to Make Tissue Paper Roses

These "flowers" will bring a beautiful handcrafted touch to your Valentine’s Day décor.

Stella Katsipoutis

Jan 23, 2014

Bouquet of Tissue Paper Roses

Remember when we decked the halls with tissue paper flowers? Well, now it’s time to put a fancy twist on an old favorite. The most romantic day of they year is almost here, so let’s get your house ready for Cupid’s arrival by showing you how to make tissue paper roses! They bring a beautiful handcrafted touch to your Valentine’s Day décor, and they even make a charming gift for that someone special. Here’s how to make them.

Materials for DIY tissue paper roses

  • Red tissue paper (one sheet makes two roses)
  • Wooden skewers (one per rose)
  • Clear adhesive tape
  • Green adhesive tape
  • Scissors
  • Twine or ribbon

How to make tissue paper roses
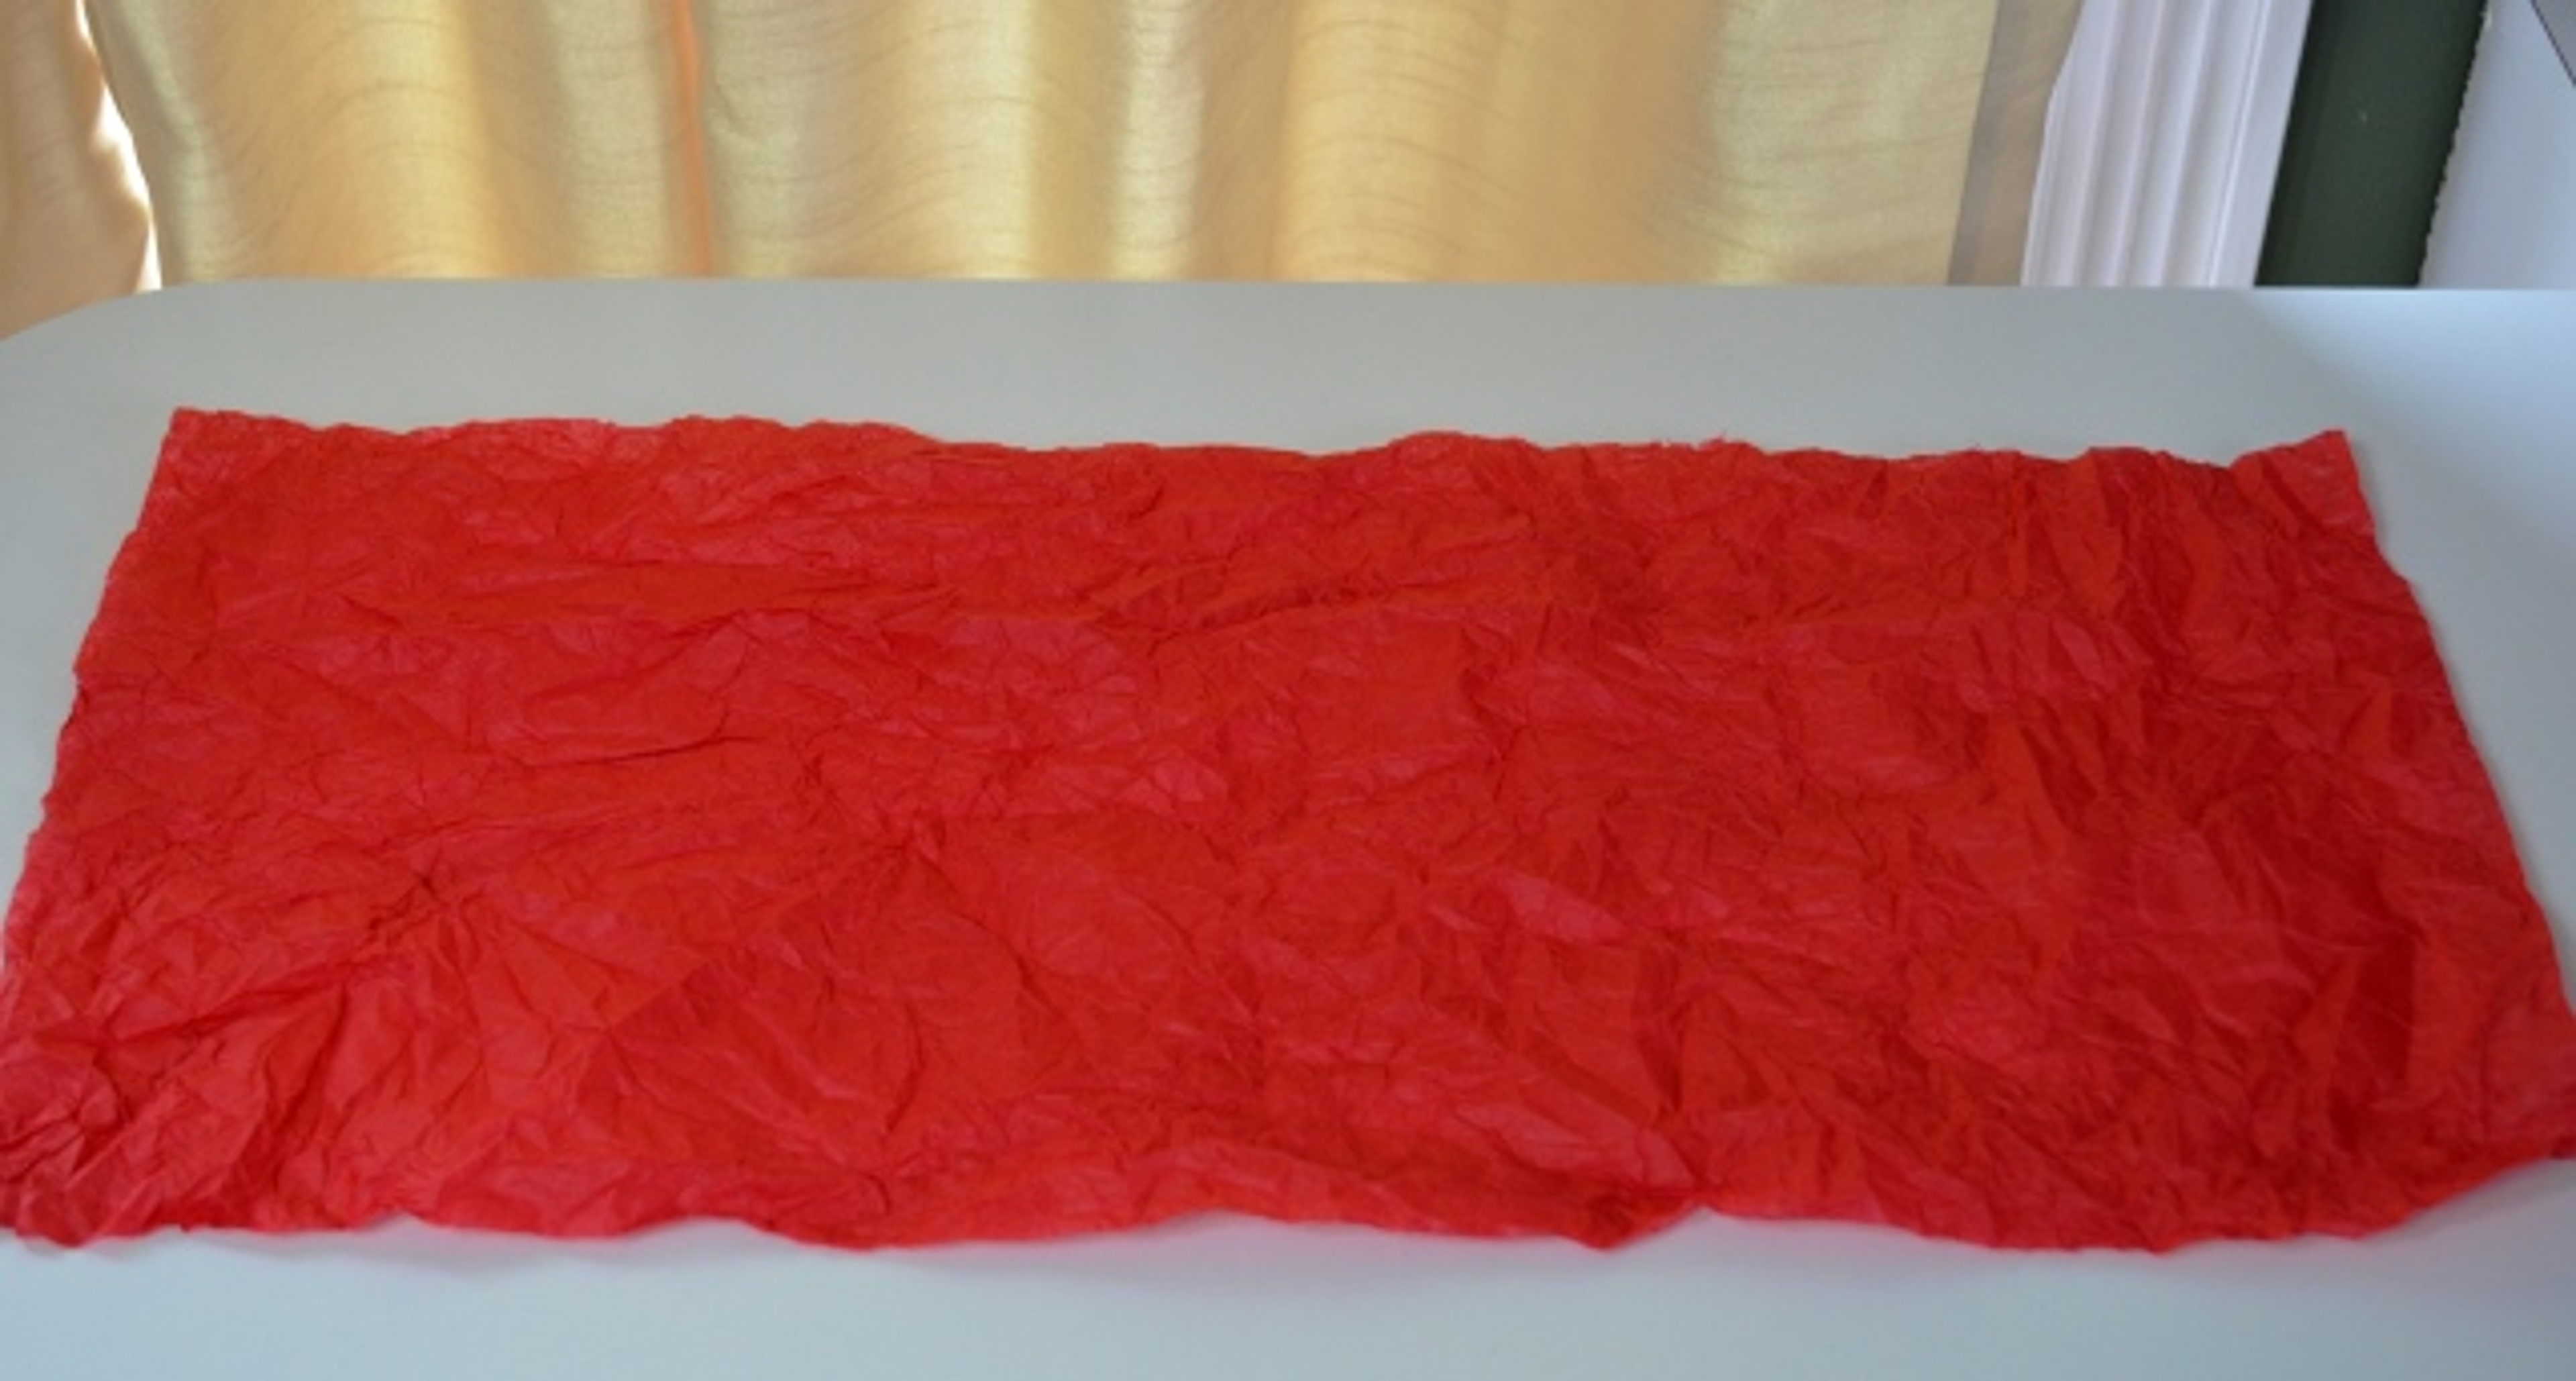
https://flowers.com/blog/wp content/uploads///Crumpled Tissue Paper Flattened out Into a Sheet x
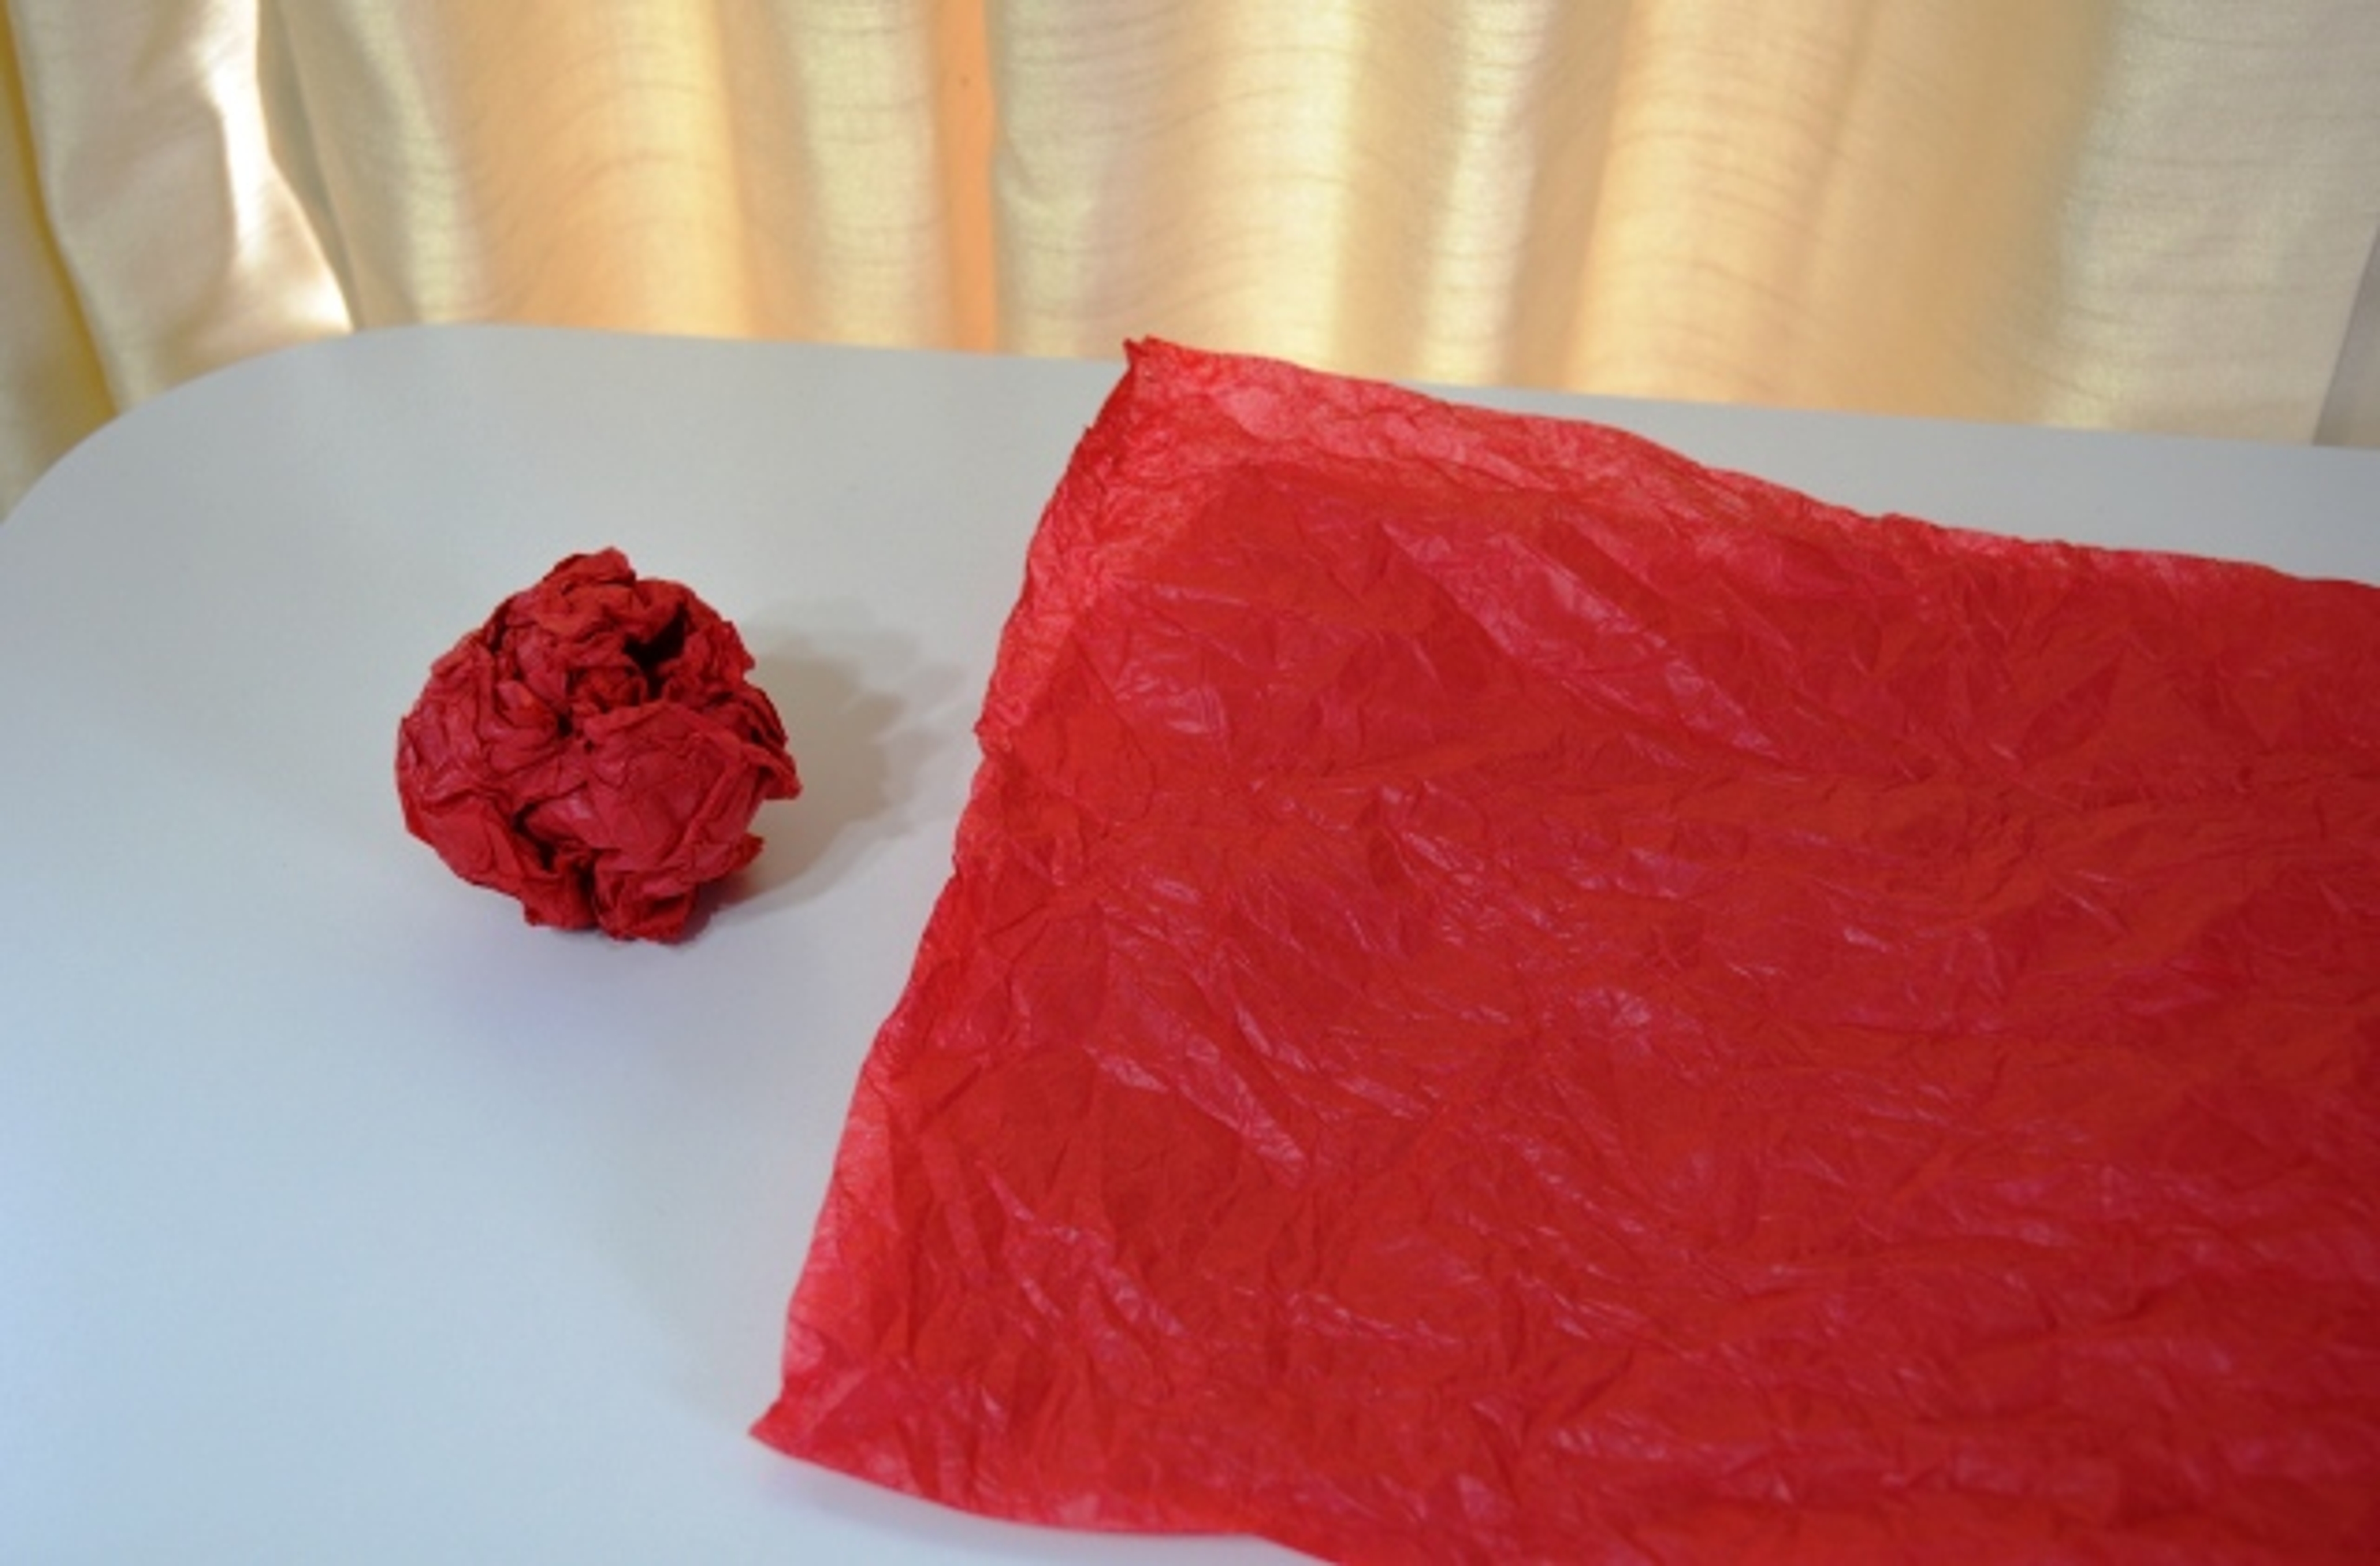
  1. Take one sheet of red tissue paper and crumple it into a ball. Carefully open the sheet again and flatten it out, making sure not to rip it.
    https://flowers.com/blog/wp content/uploads///Crumpled Tissue Paper Cut in Half x
  2. Lay the tissue paper vertically and cut it in half, from bottom to top.
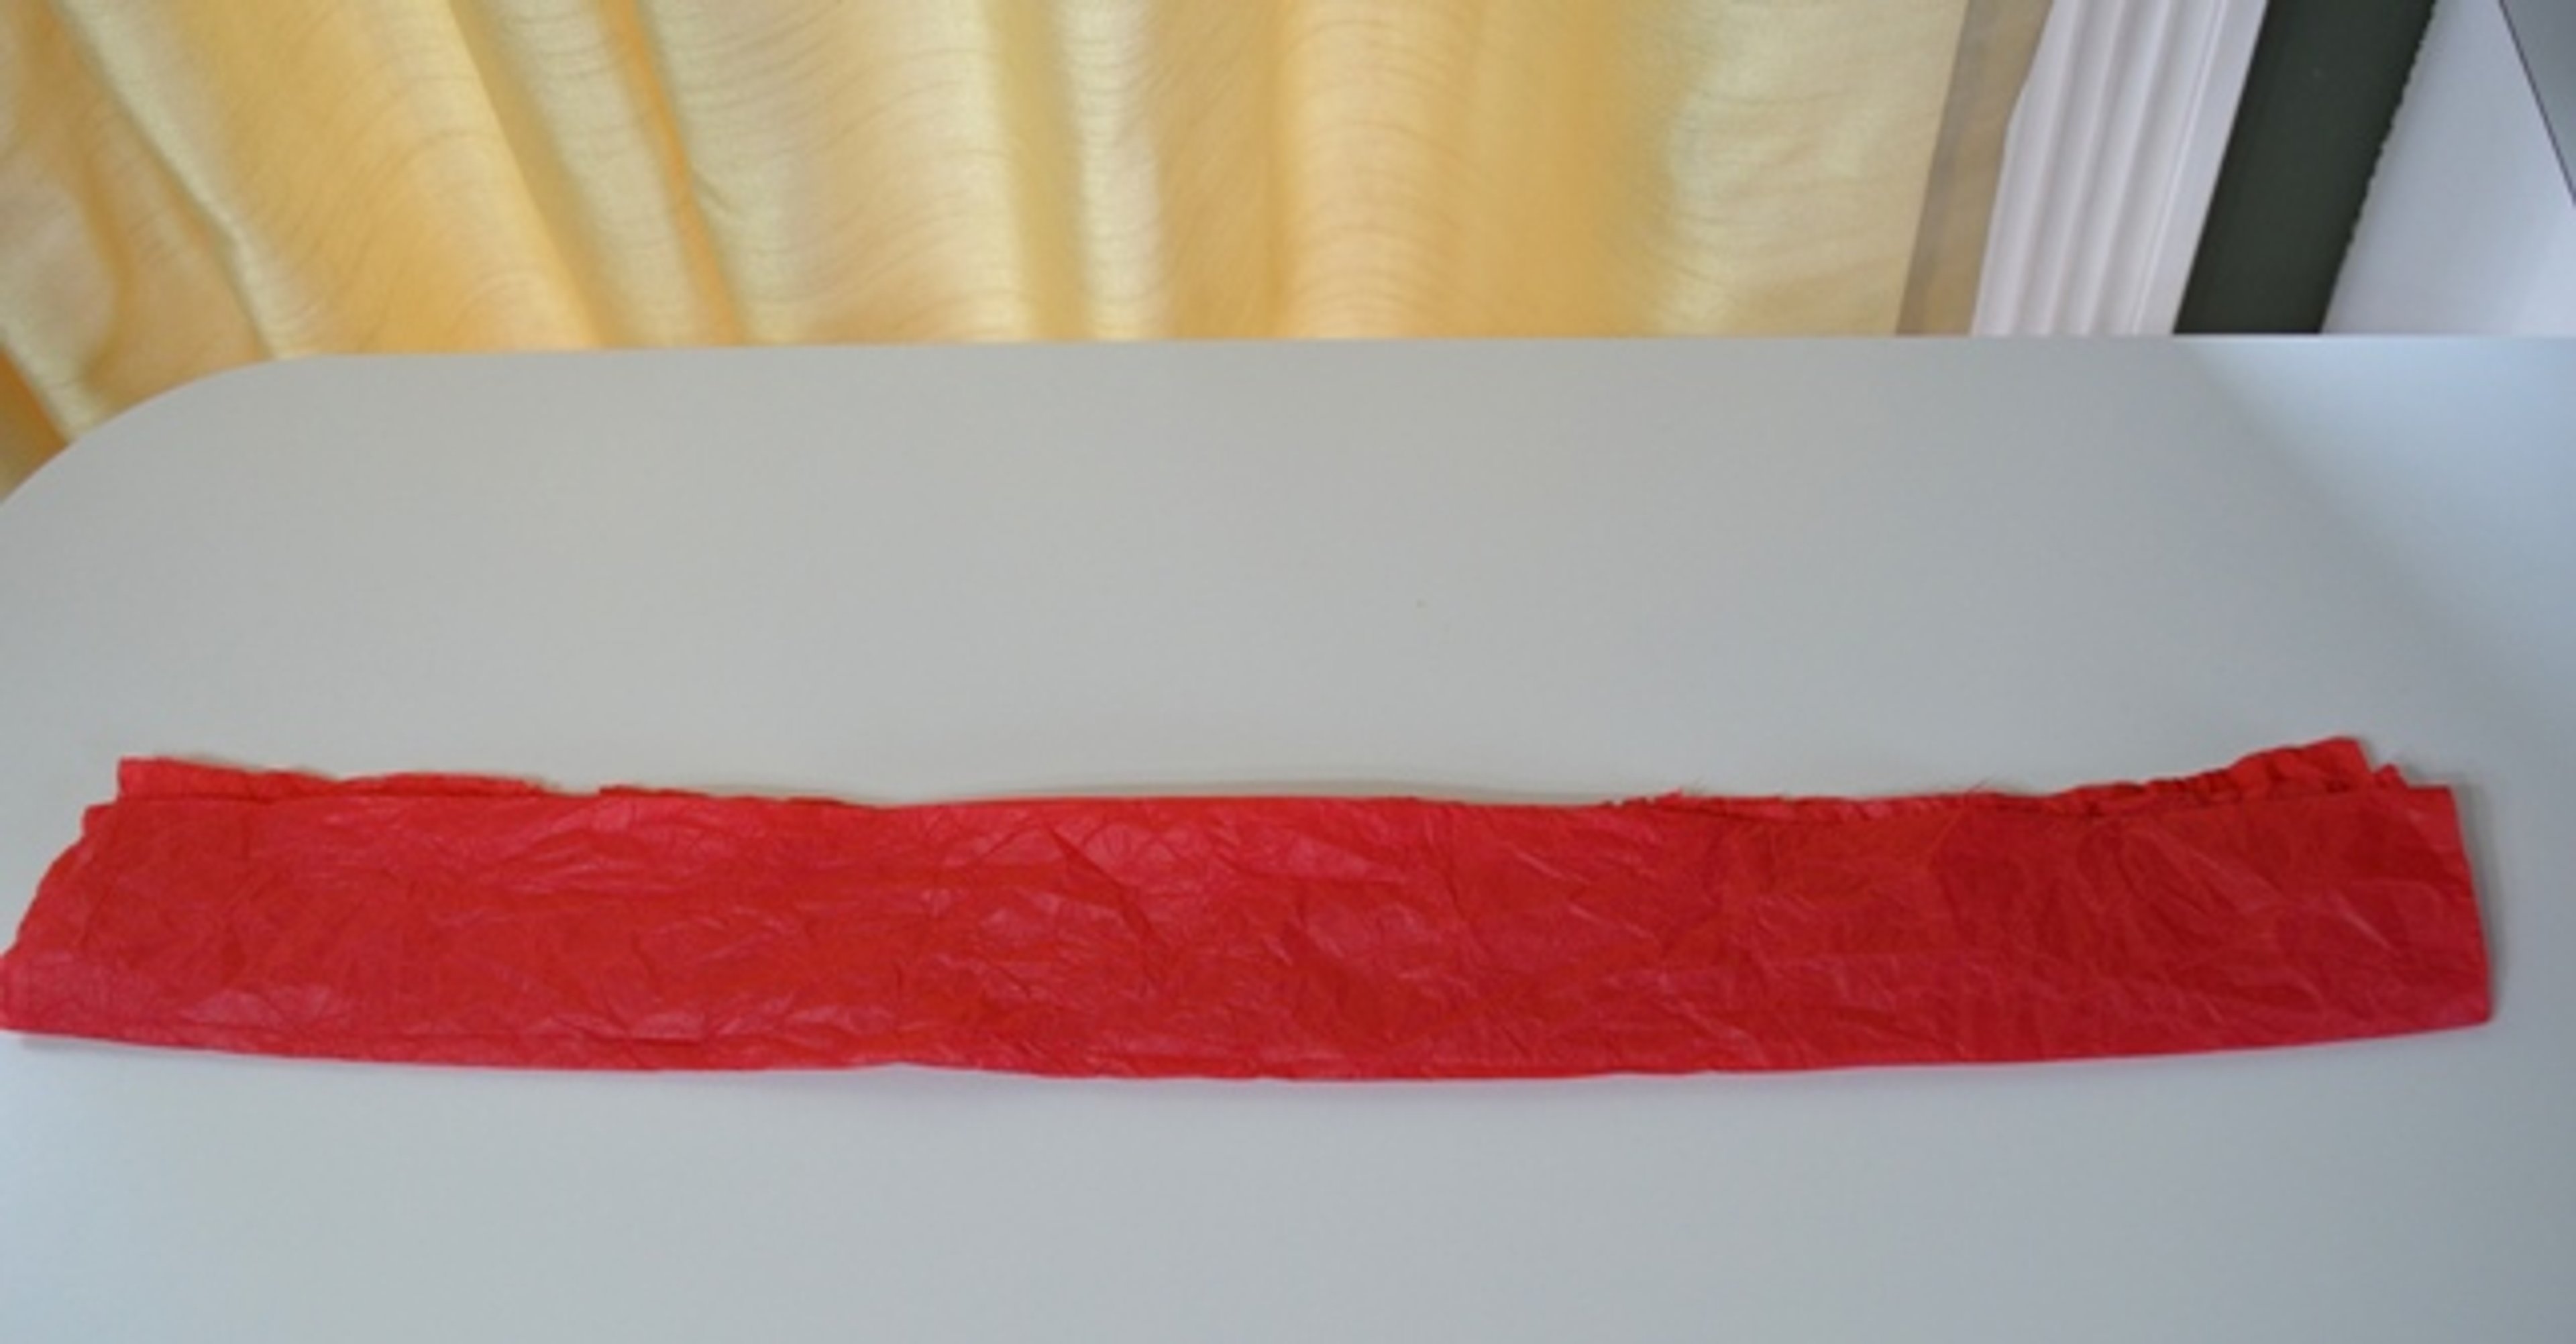
    https://flowers.com/blog/wp content/uploads///Crumpled Tissue Paper Folded in Half Twice x
  3. Fold each cut piece in half vertically twice to create a longer, skinnier rectangle.
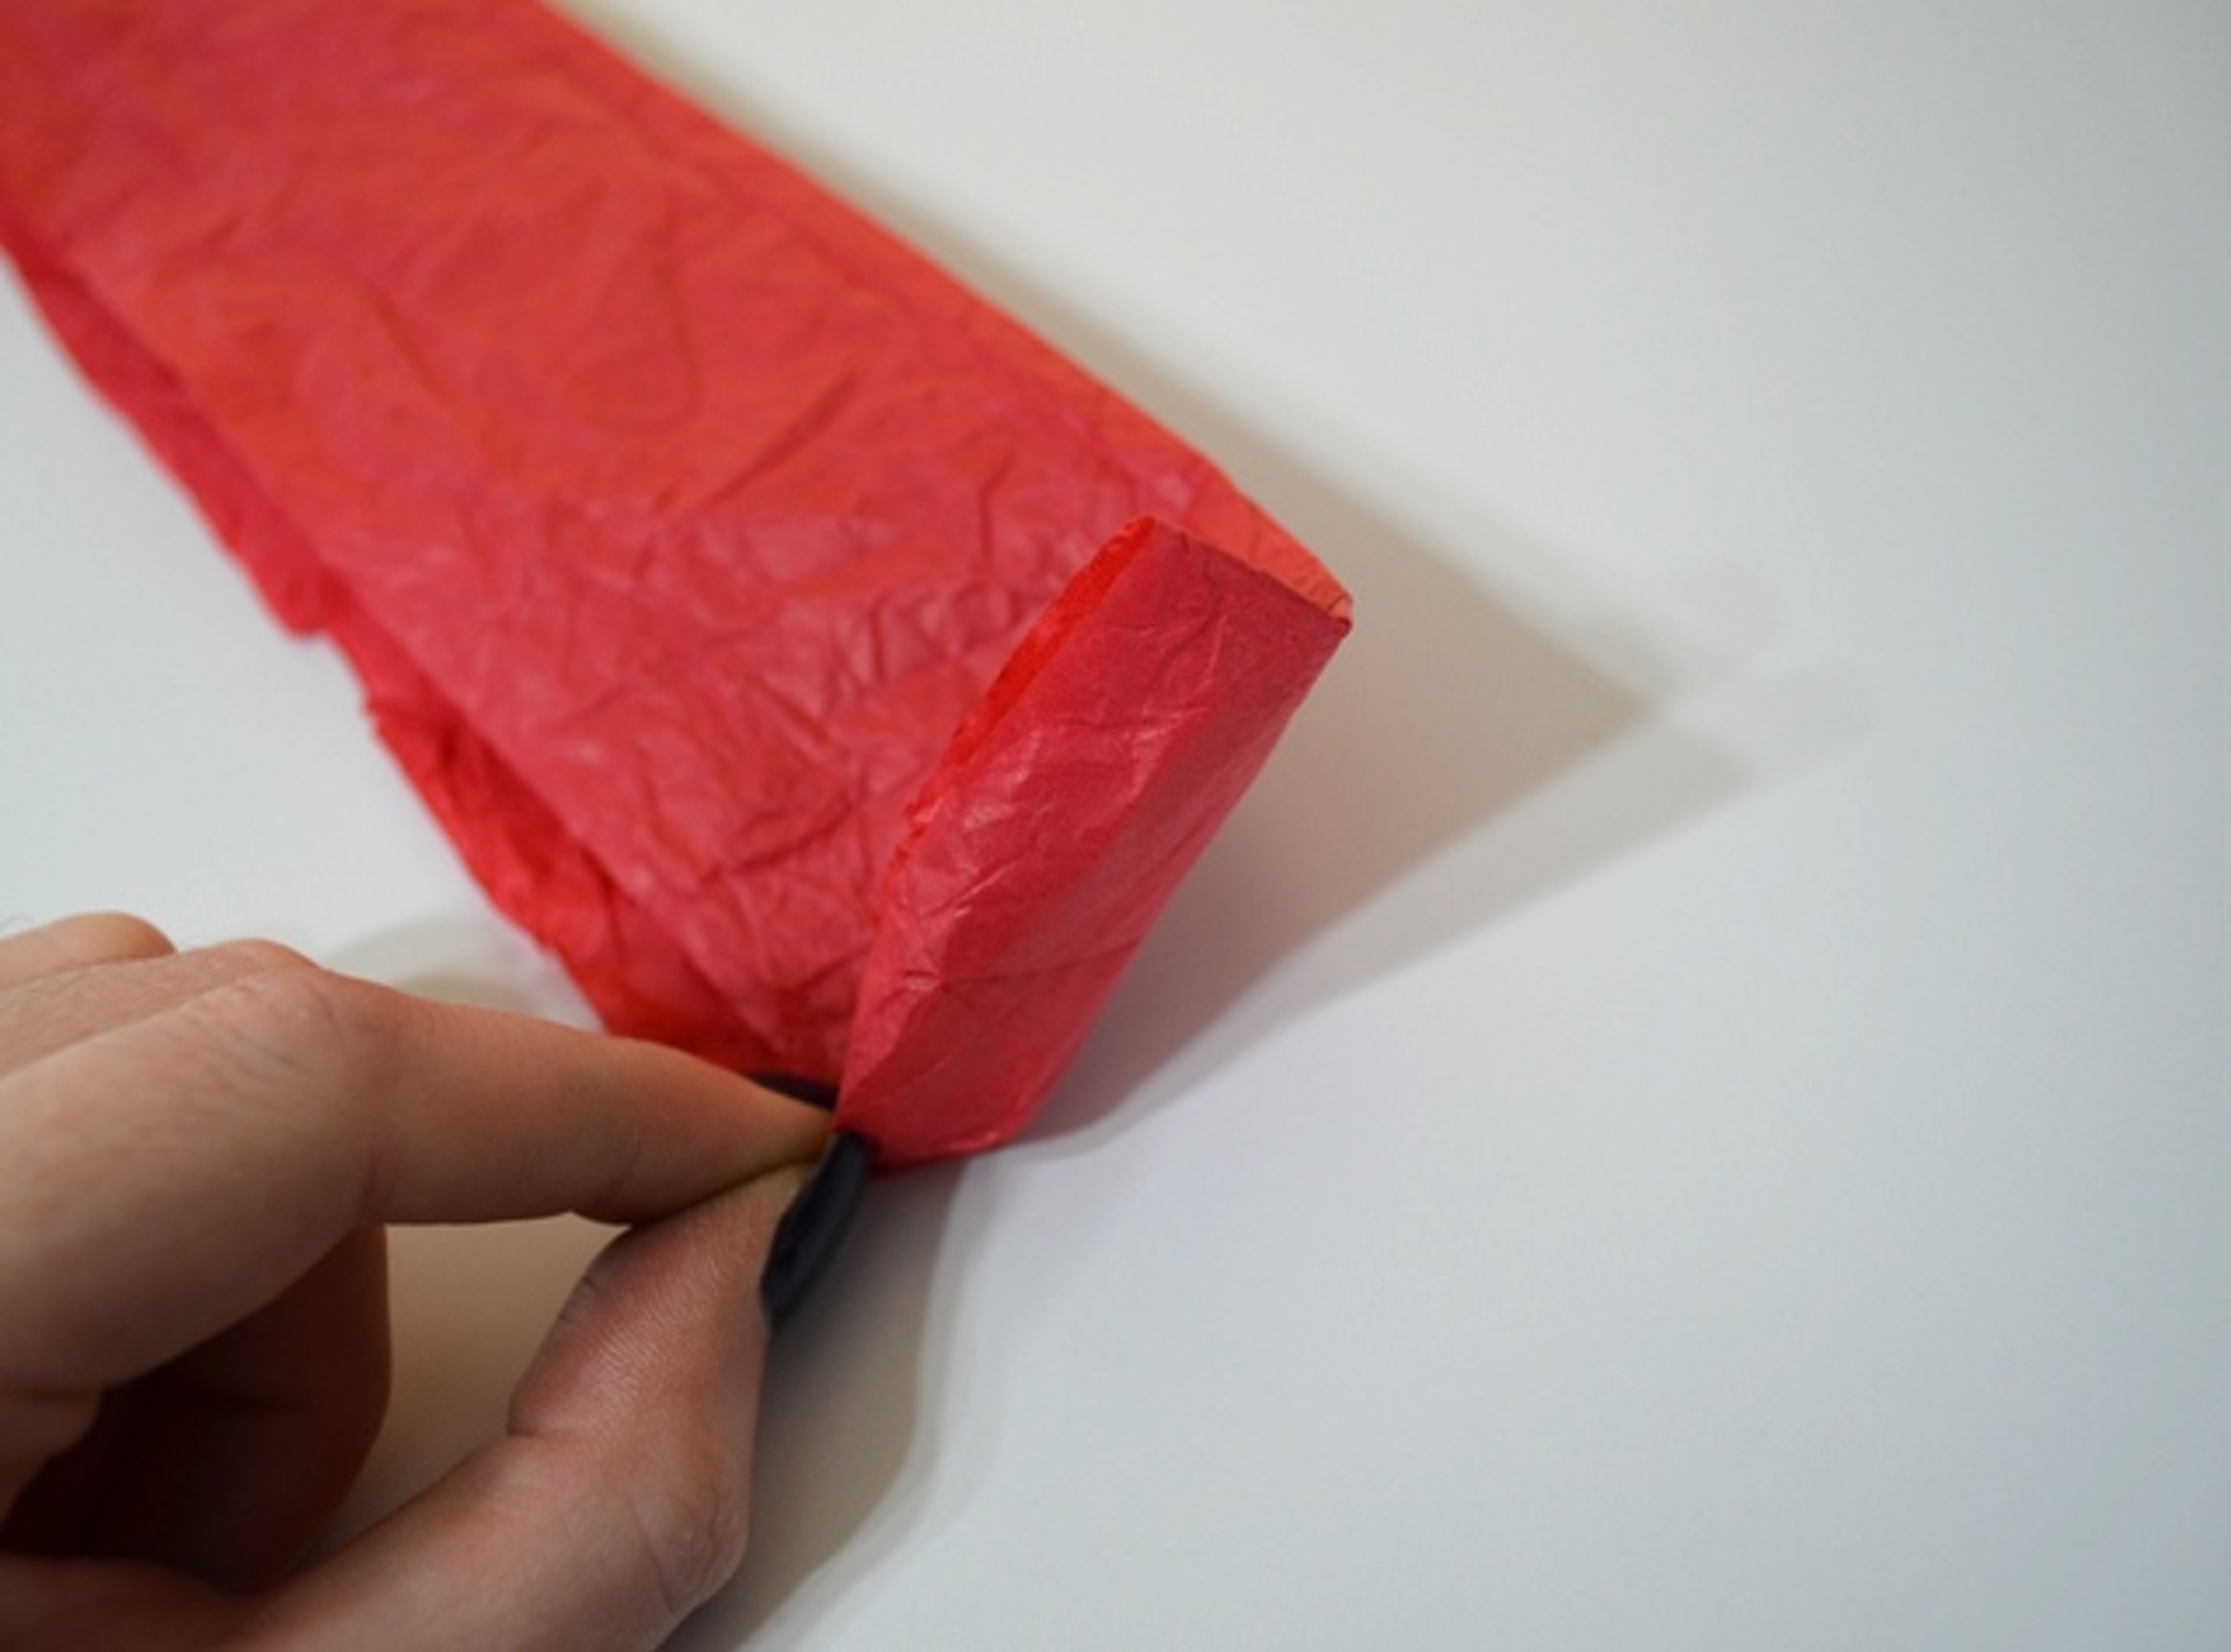
    https://flowers.com/blog/wp content/uploads///Pinching the Corner of the Tissue Paper to Begin Rolling x
  4. Turn the rectangle so that it’s lying horizontally with the folded side at the top. Pinch one of the bottom corners and gently roll the tissue paper inward toward the opposite corner.
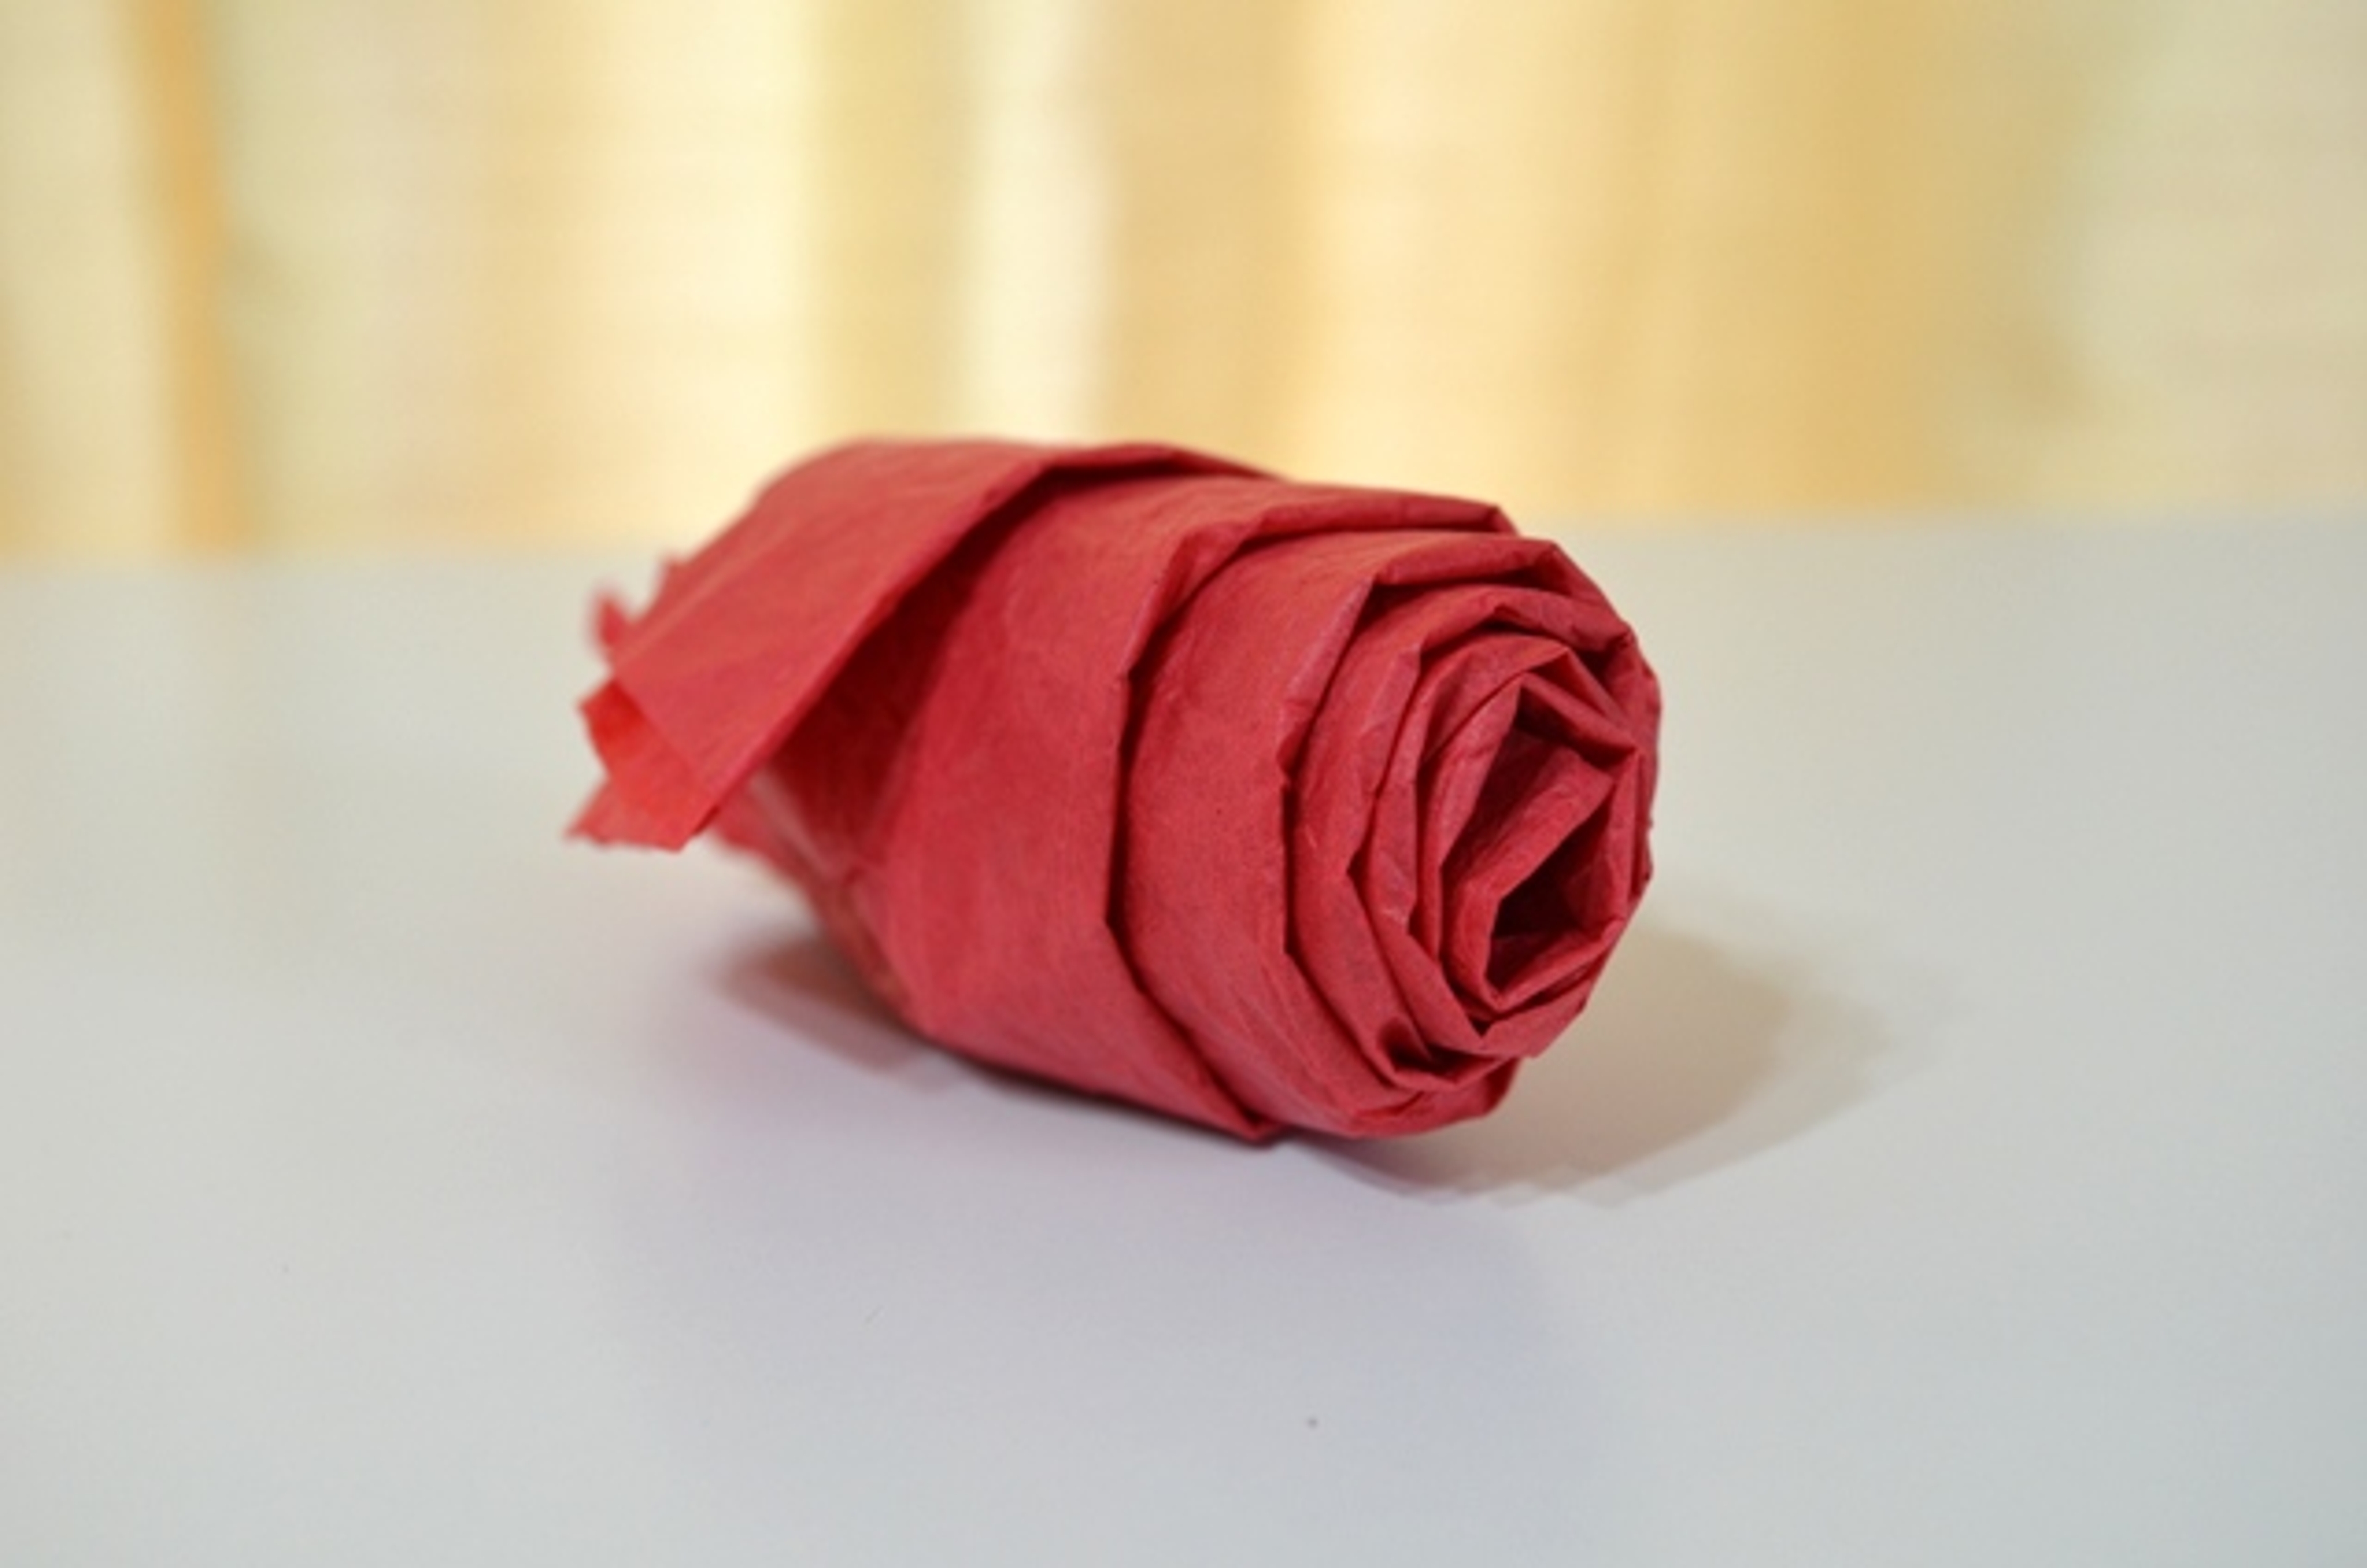
    https://flowers.com/blog/wp content/uploads///Tissue Paper Rolled up Into a Rose x
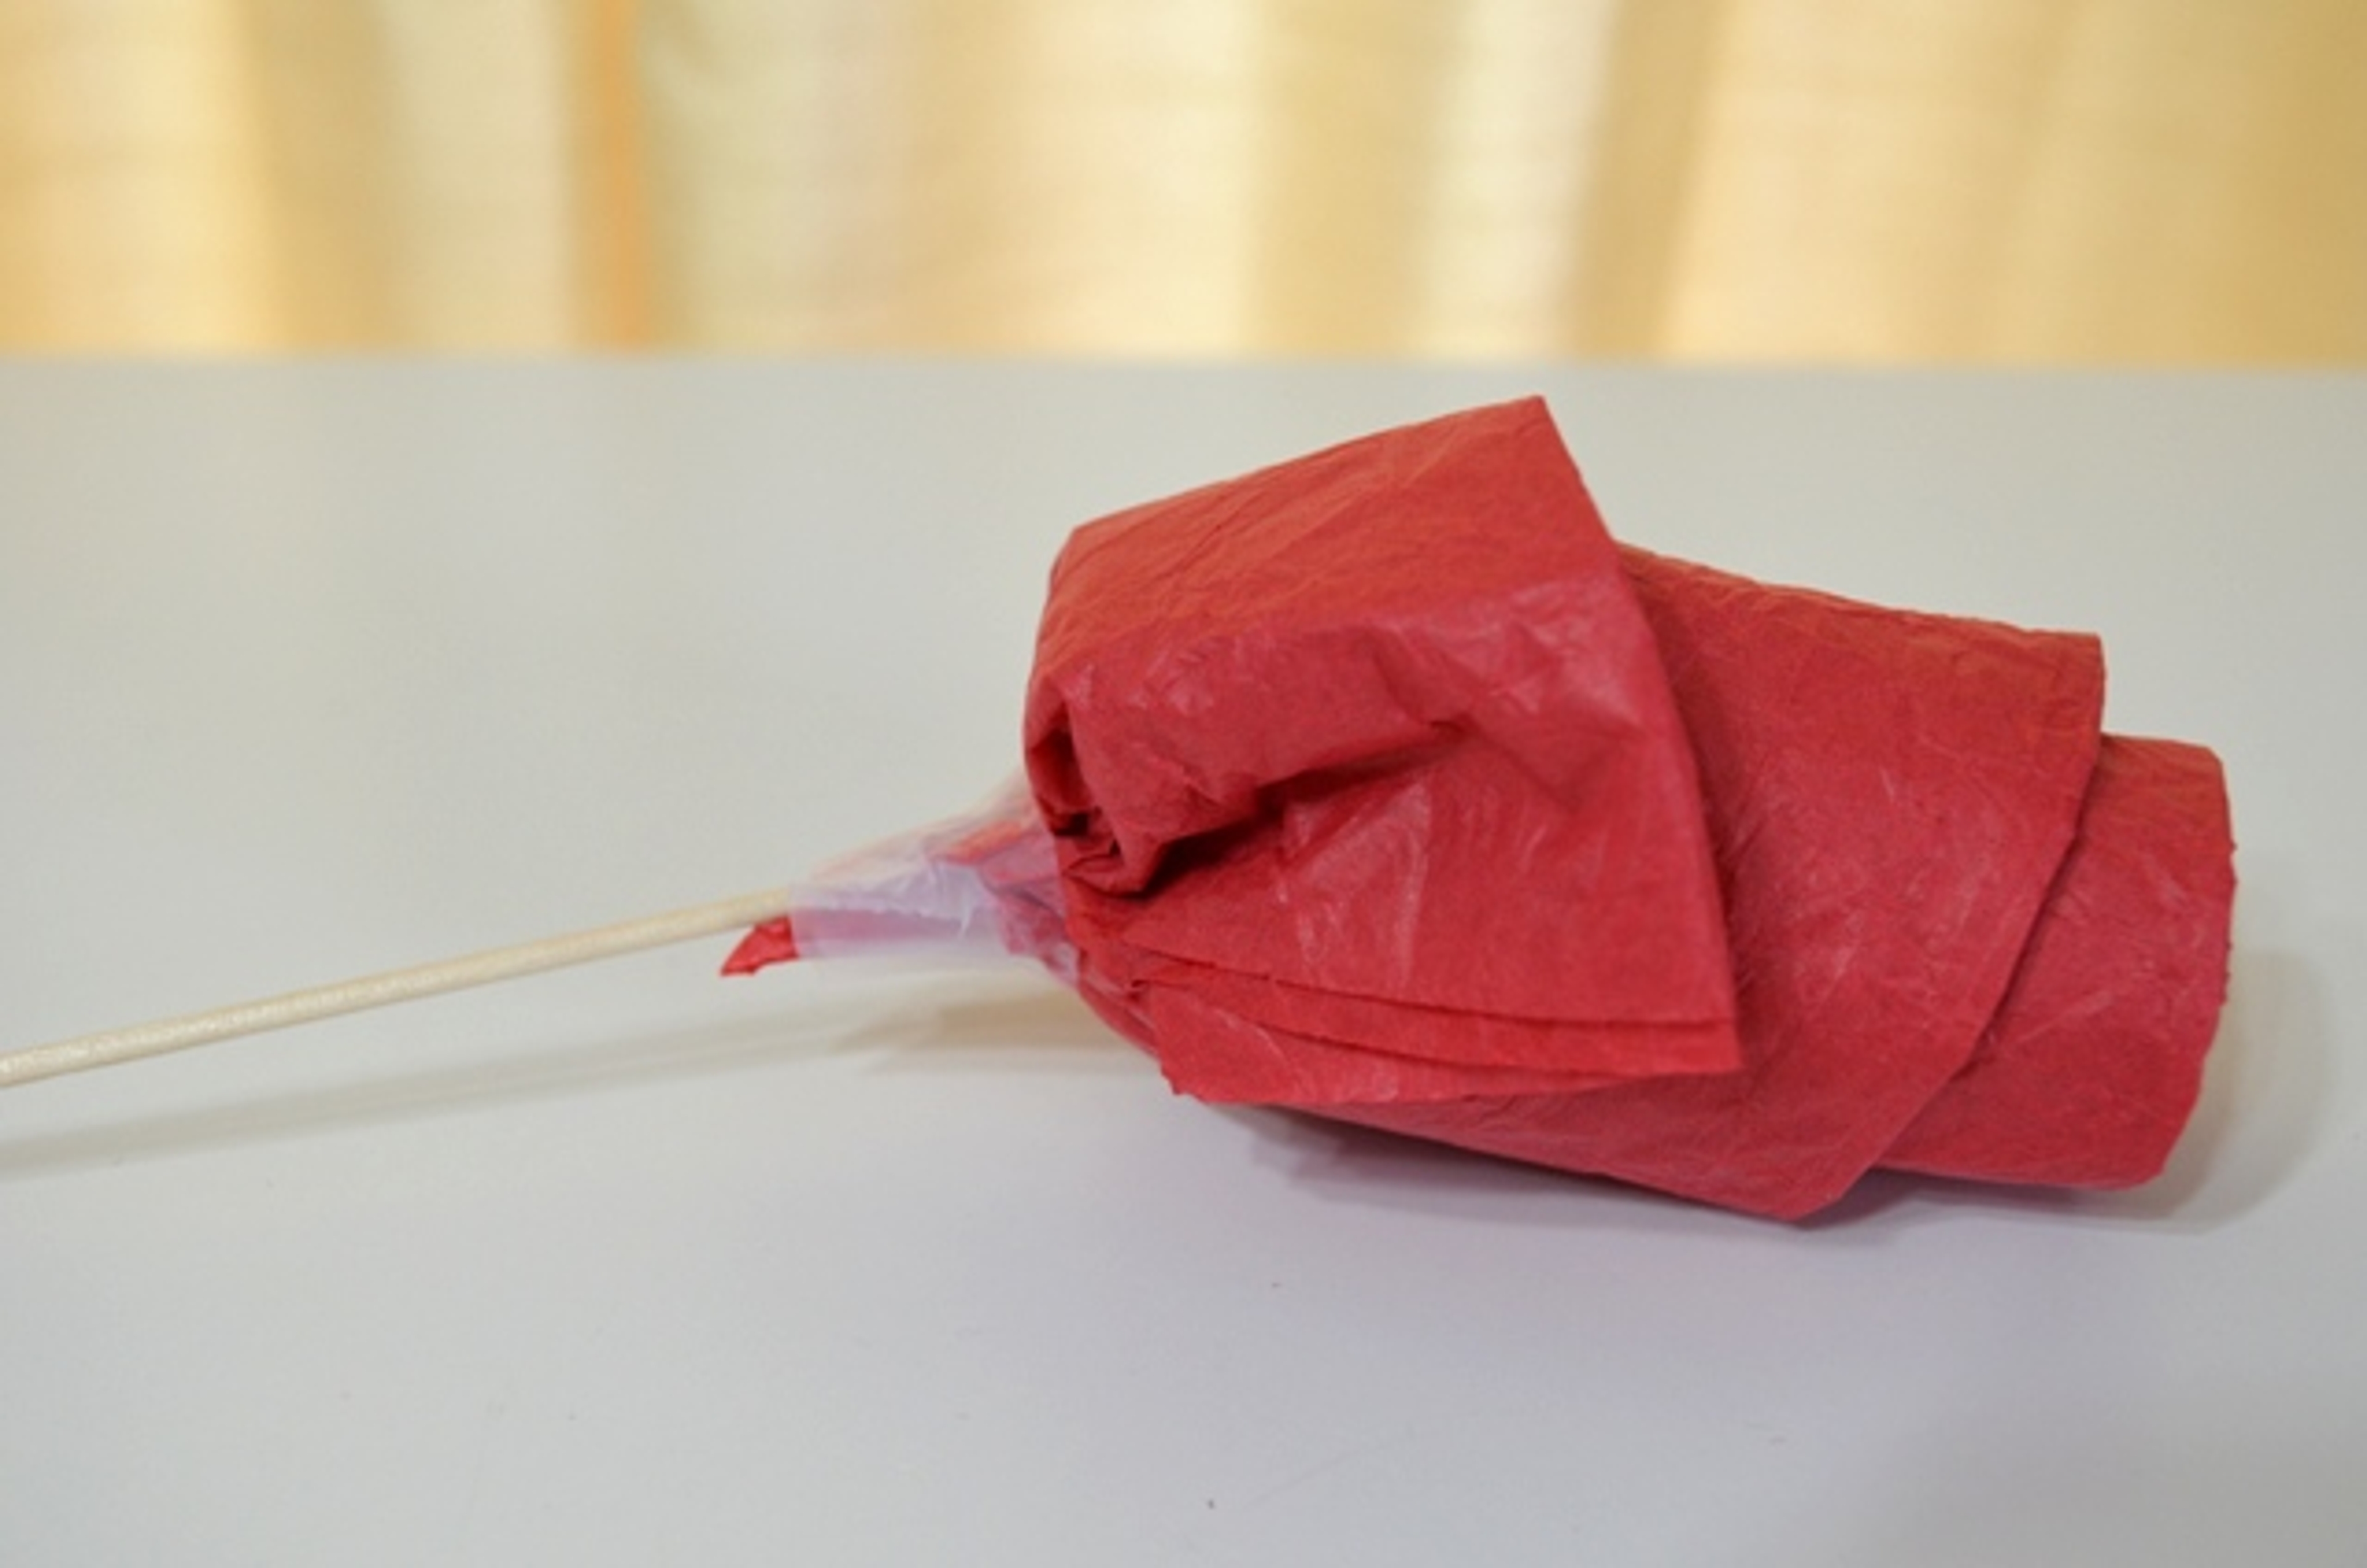
  5. Make sure that the center is the highest point of the flower, and that the tissue paper moves lower and lower from the center as you continue to roll it.
    https://flowers.com/blog/wp content/uploads///Tissue Paper Rose Placed on a Wooden Skewer x
  6. When you’re done rolling your flower, place it on one end of a wooden skewer and secure it with adhesive tape.
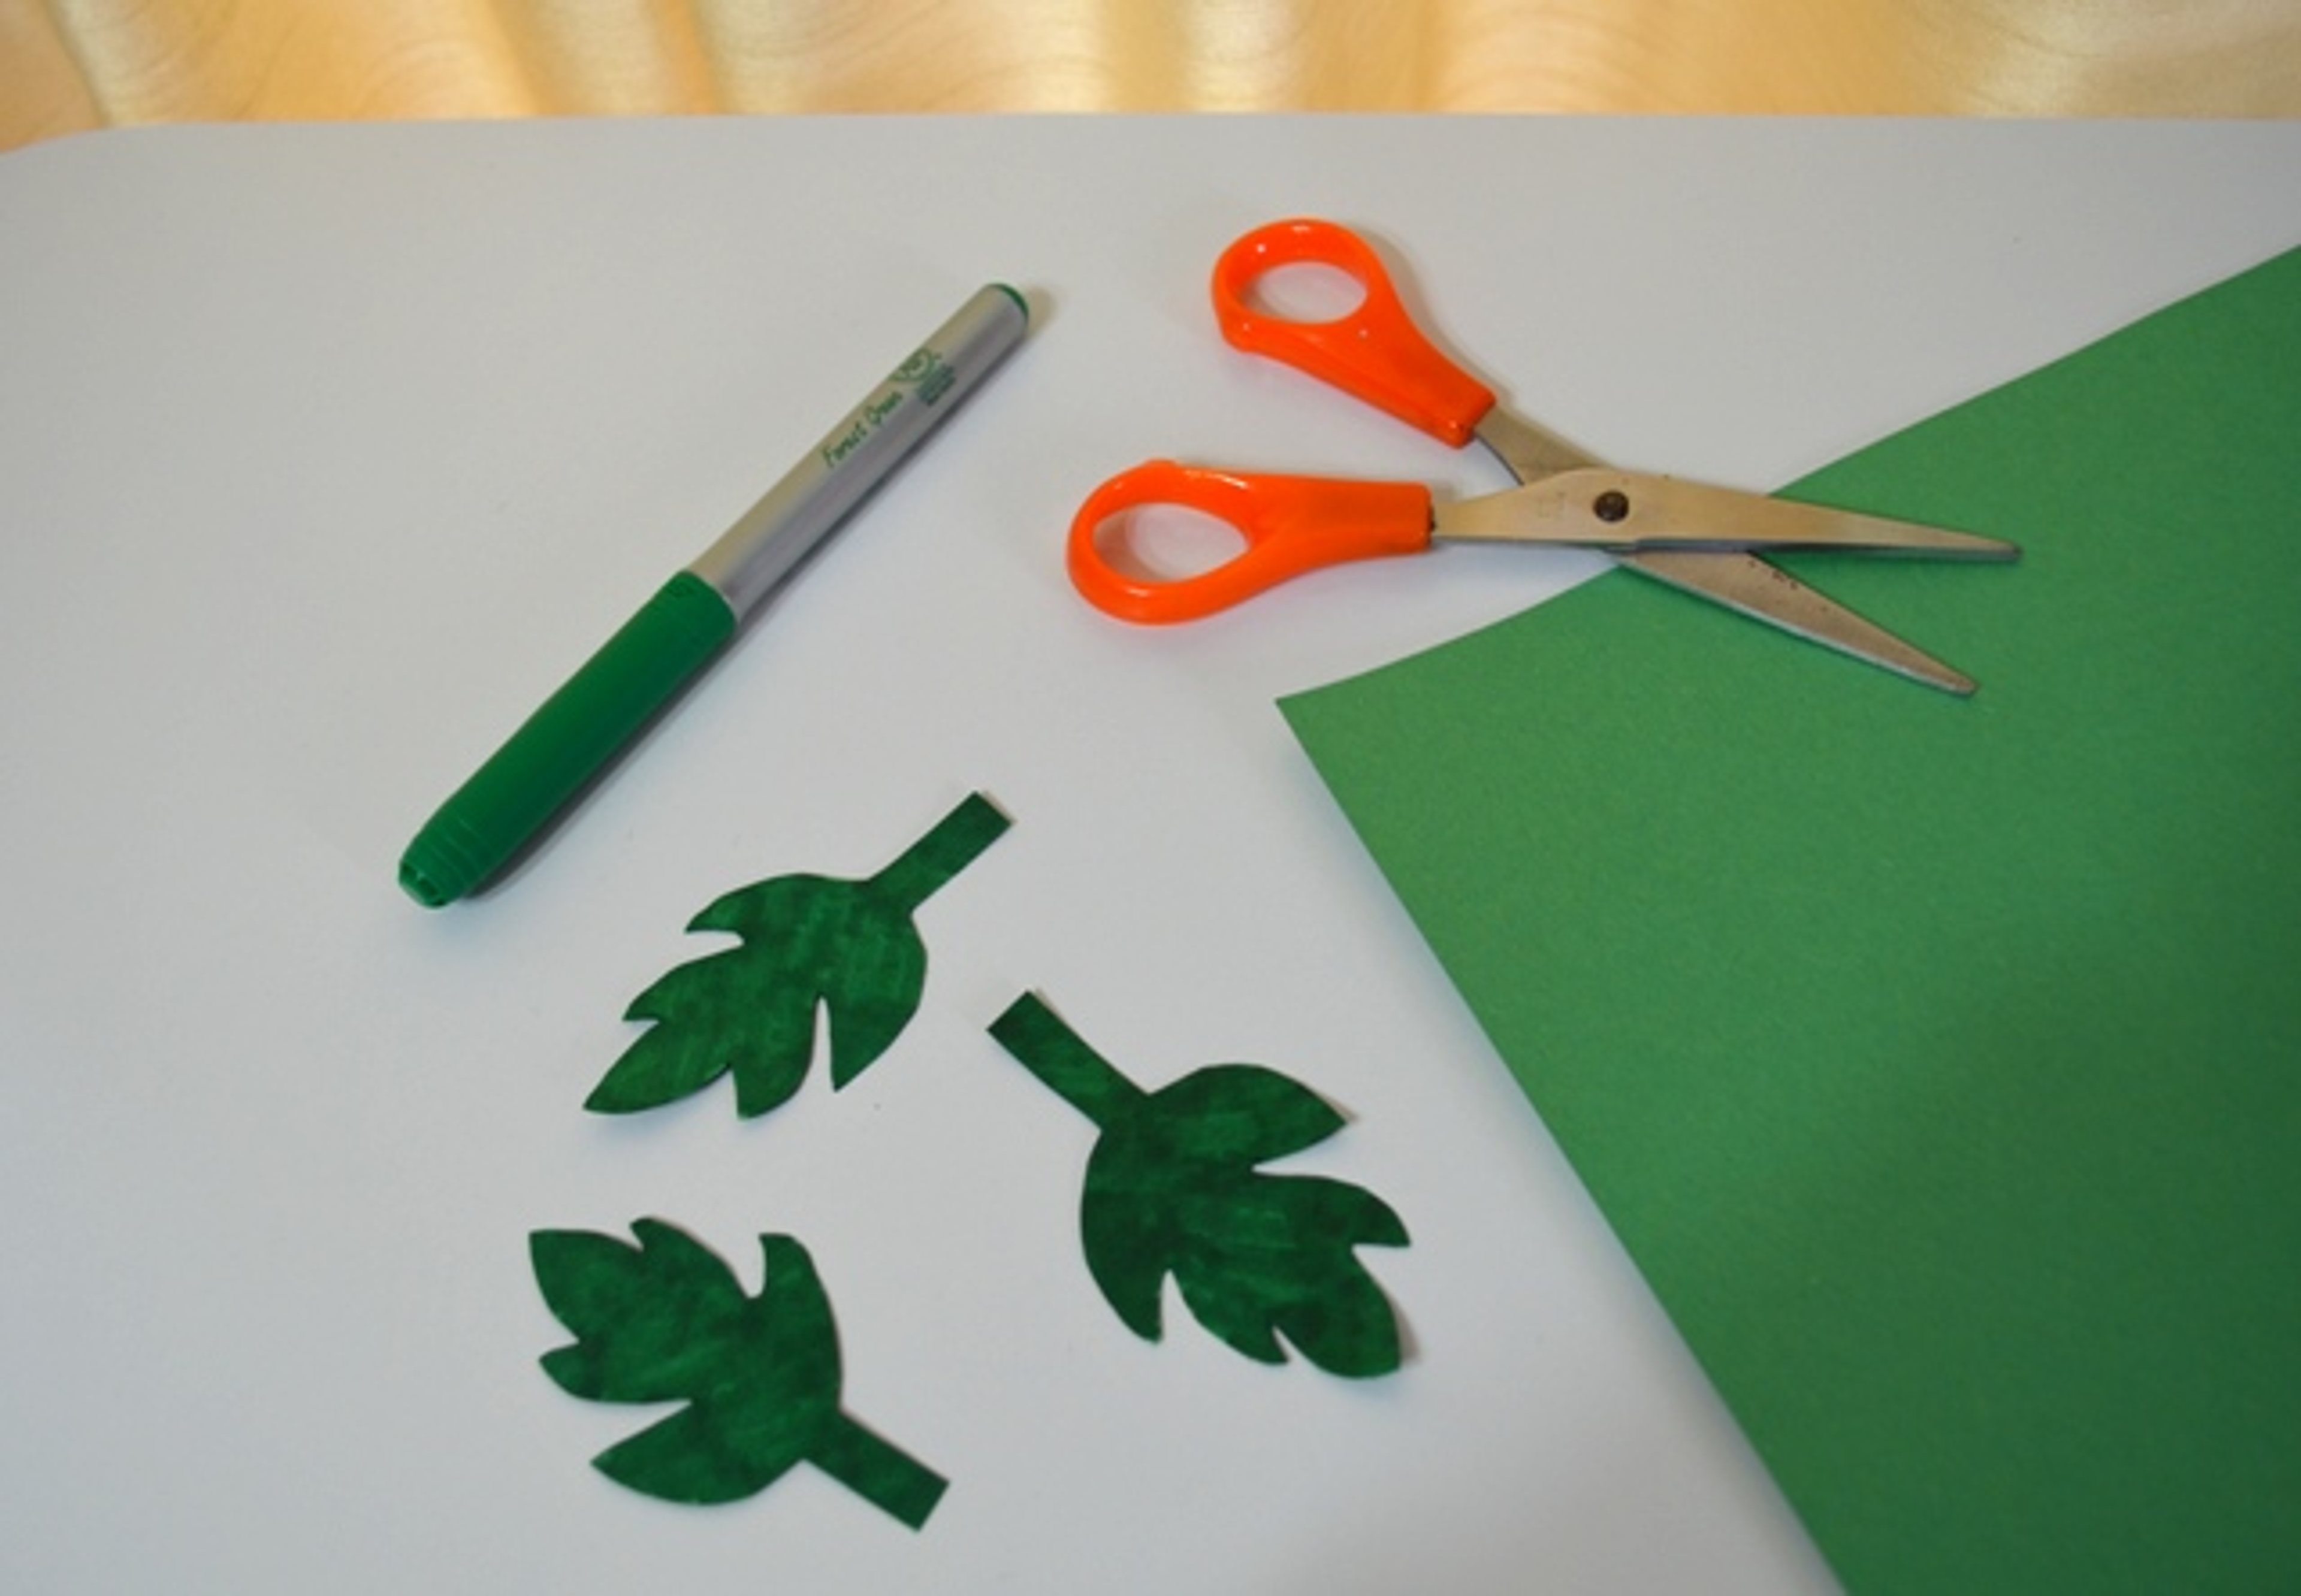
    https://flowers.com/blog/wp content/uploads///Rose Leaves Cut out of Construction Paper x
  7. Using your scissors and green construction paper, cut out a few leaf shapes with stems. To make the leaves look more natural, color them with a dark green permanent marker.
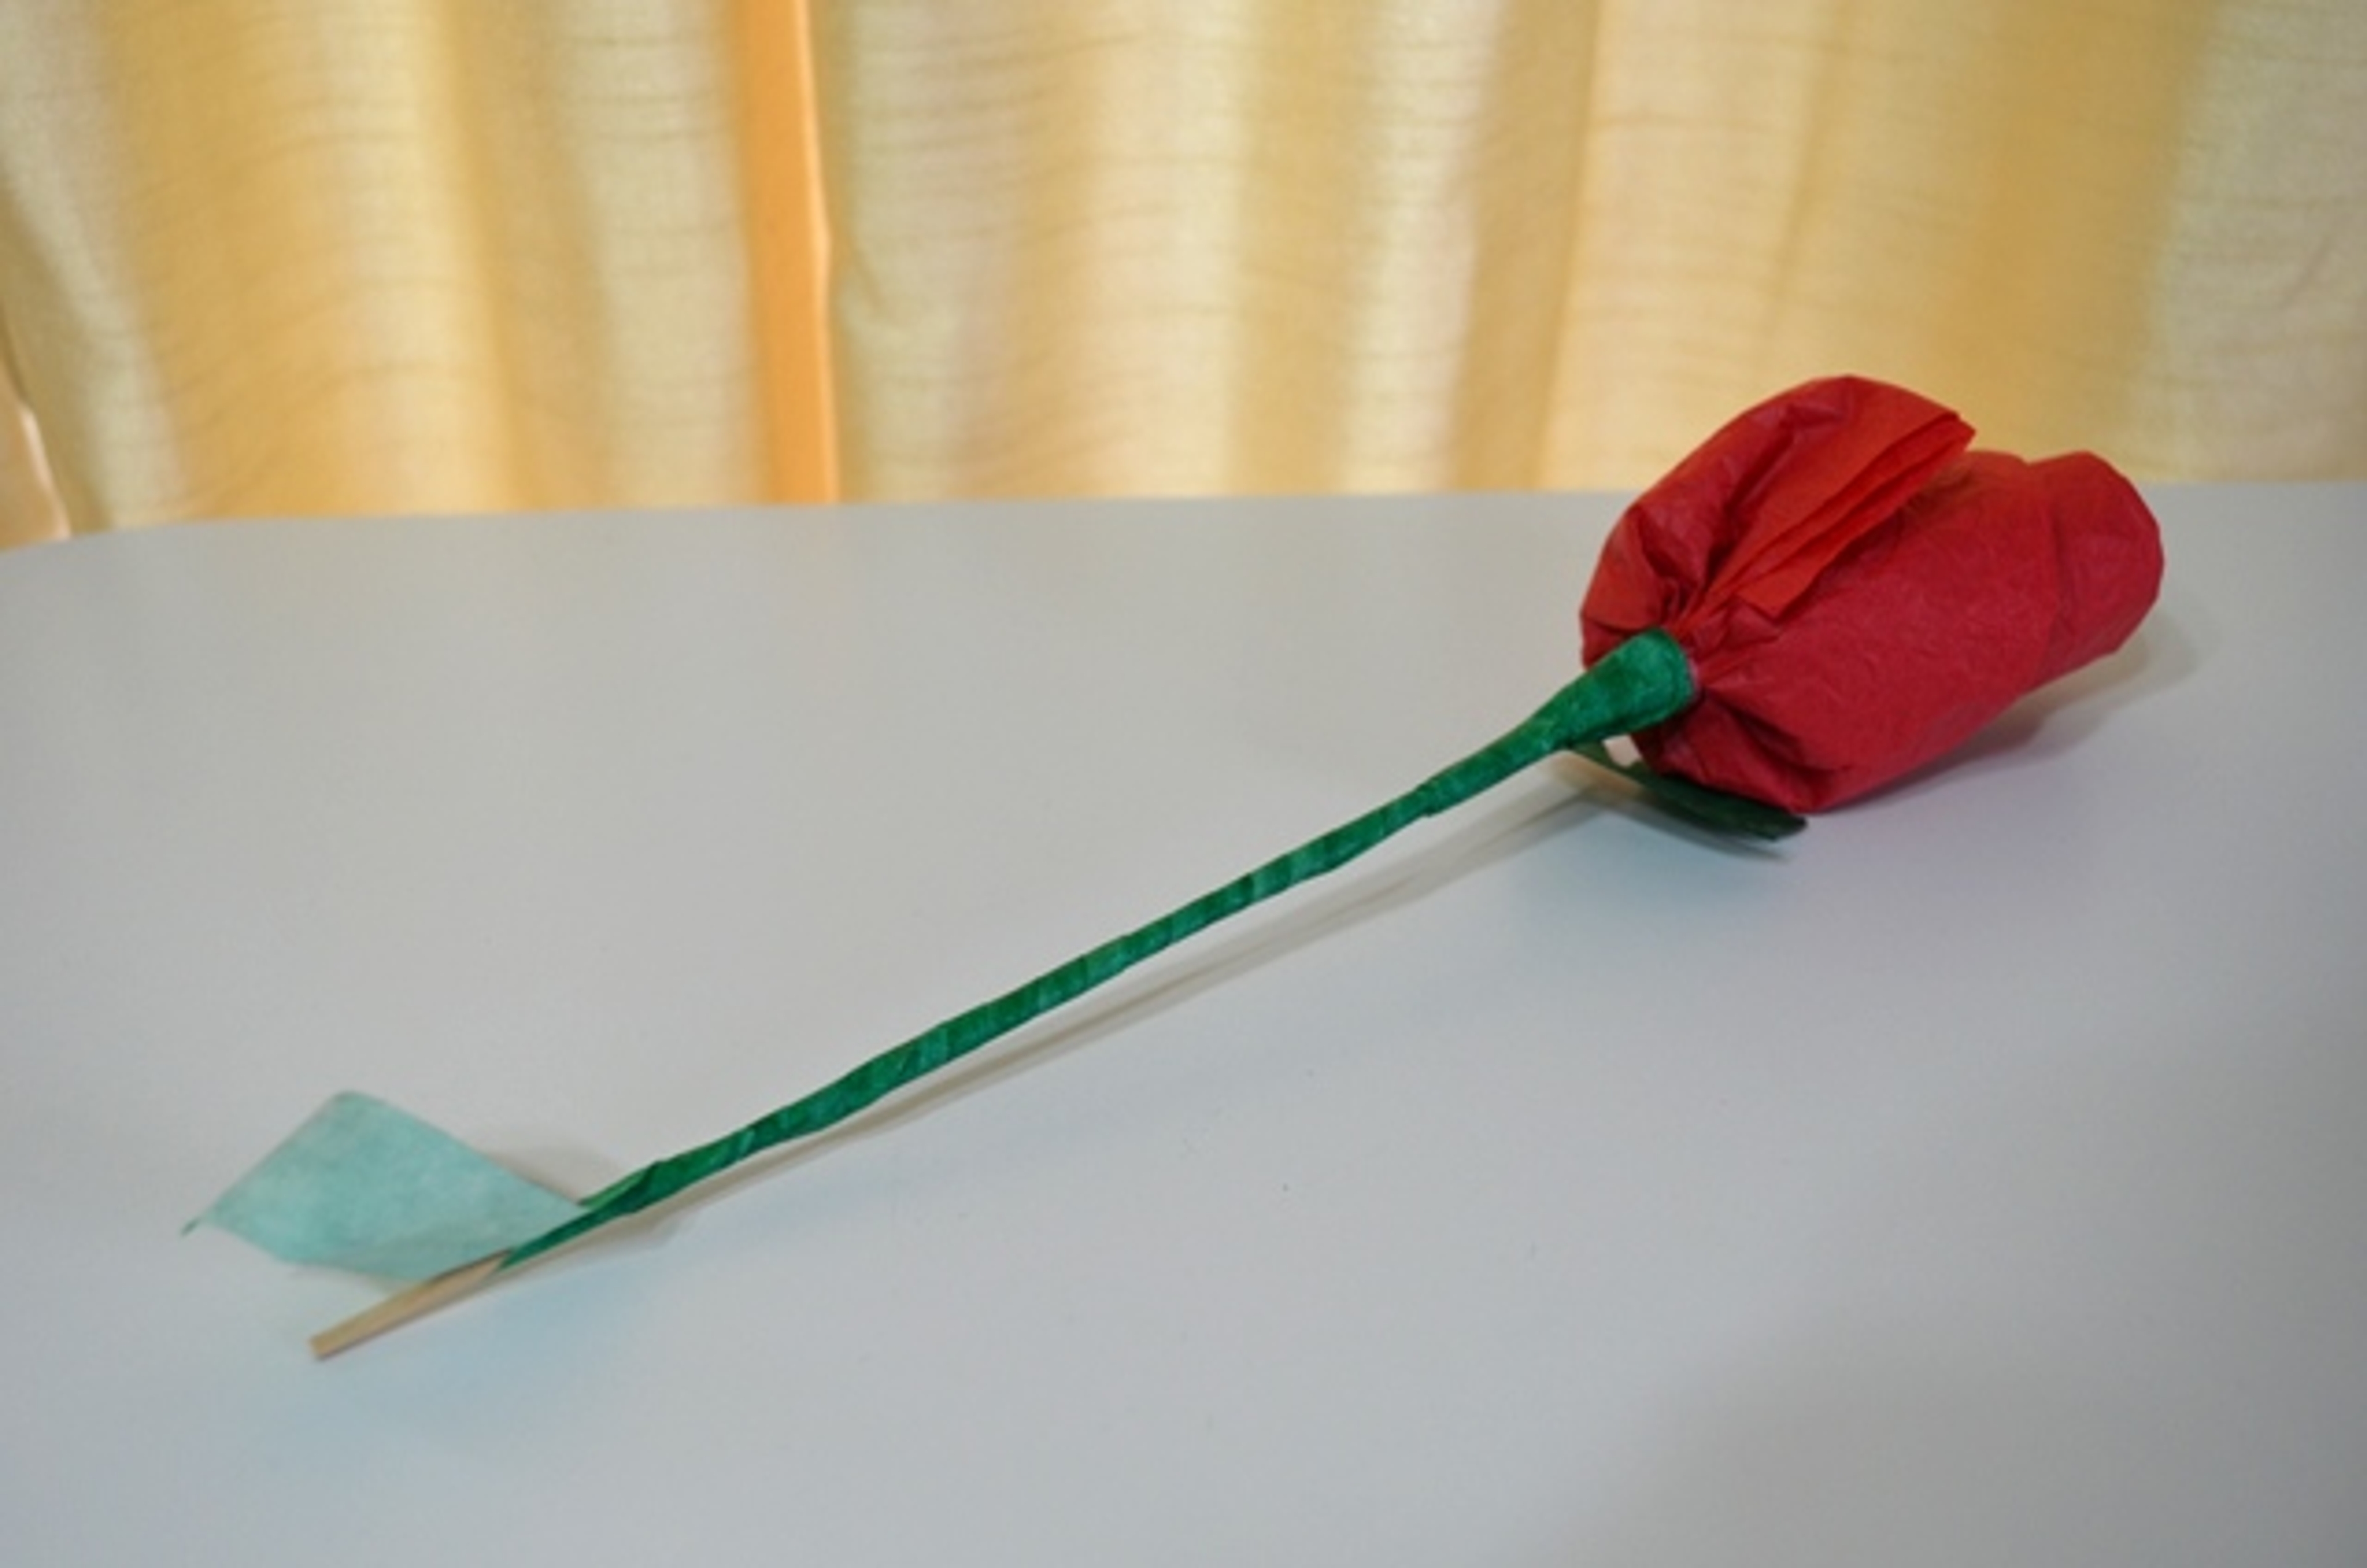
    https://flowers.com/blog/wp content/uploads///Wooden Skewer Wrapped With Green Tape to Create a Rose Stem x
  8. Starting at the top of the skewer, tightly wrap a thin strip of green tape around the wooden stick and work your way down until you reach the bottom of the stick. As you move along, place a few leaves onto the skewer and wrap them with the tape as well.
    https://flowers.com/blog/wp content/uploads///Bunch of Tissue Paper Roses x
  9. Repeat steps 1-8 for each flower you’d like to make.
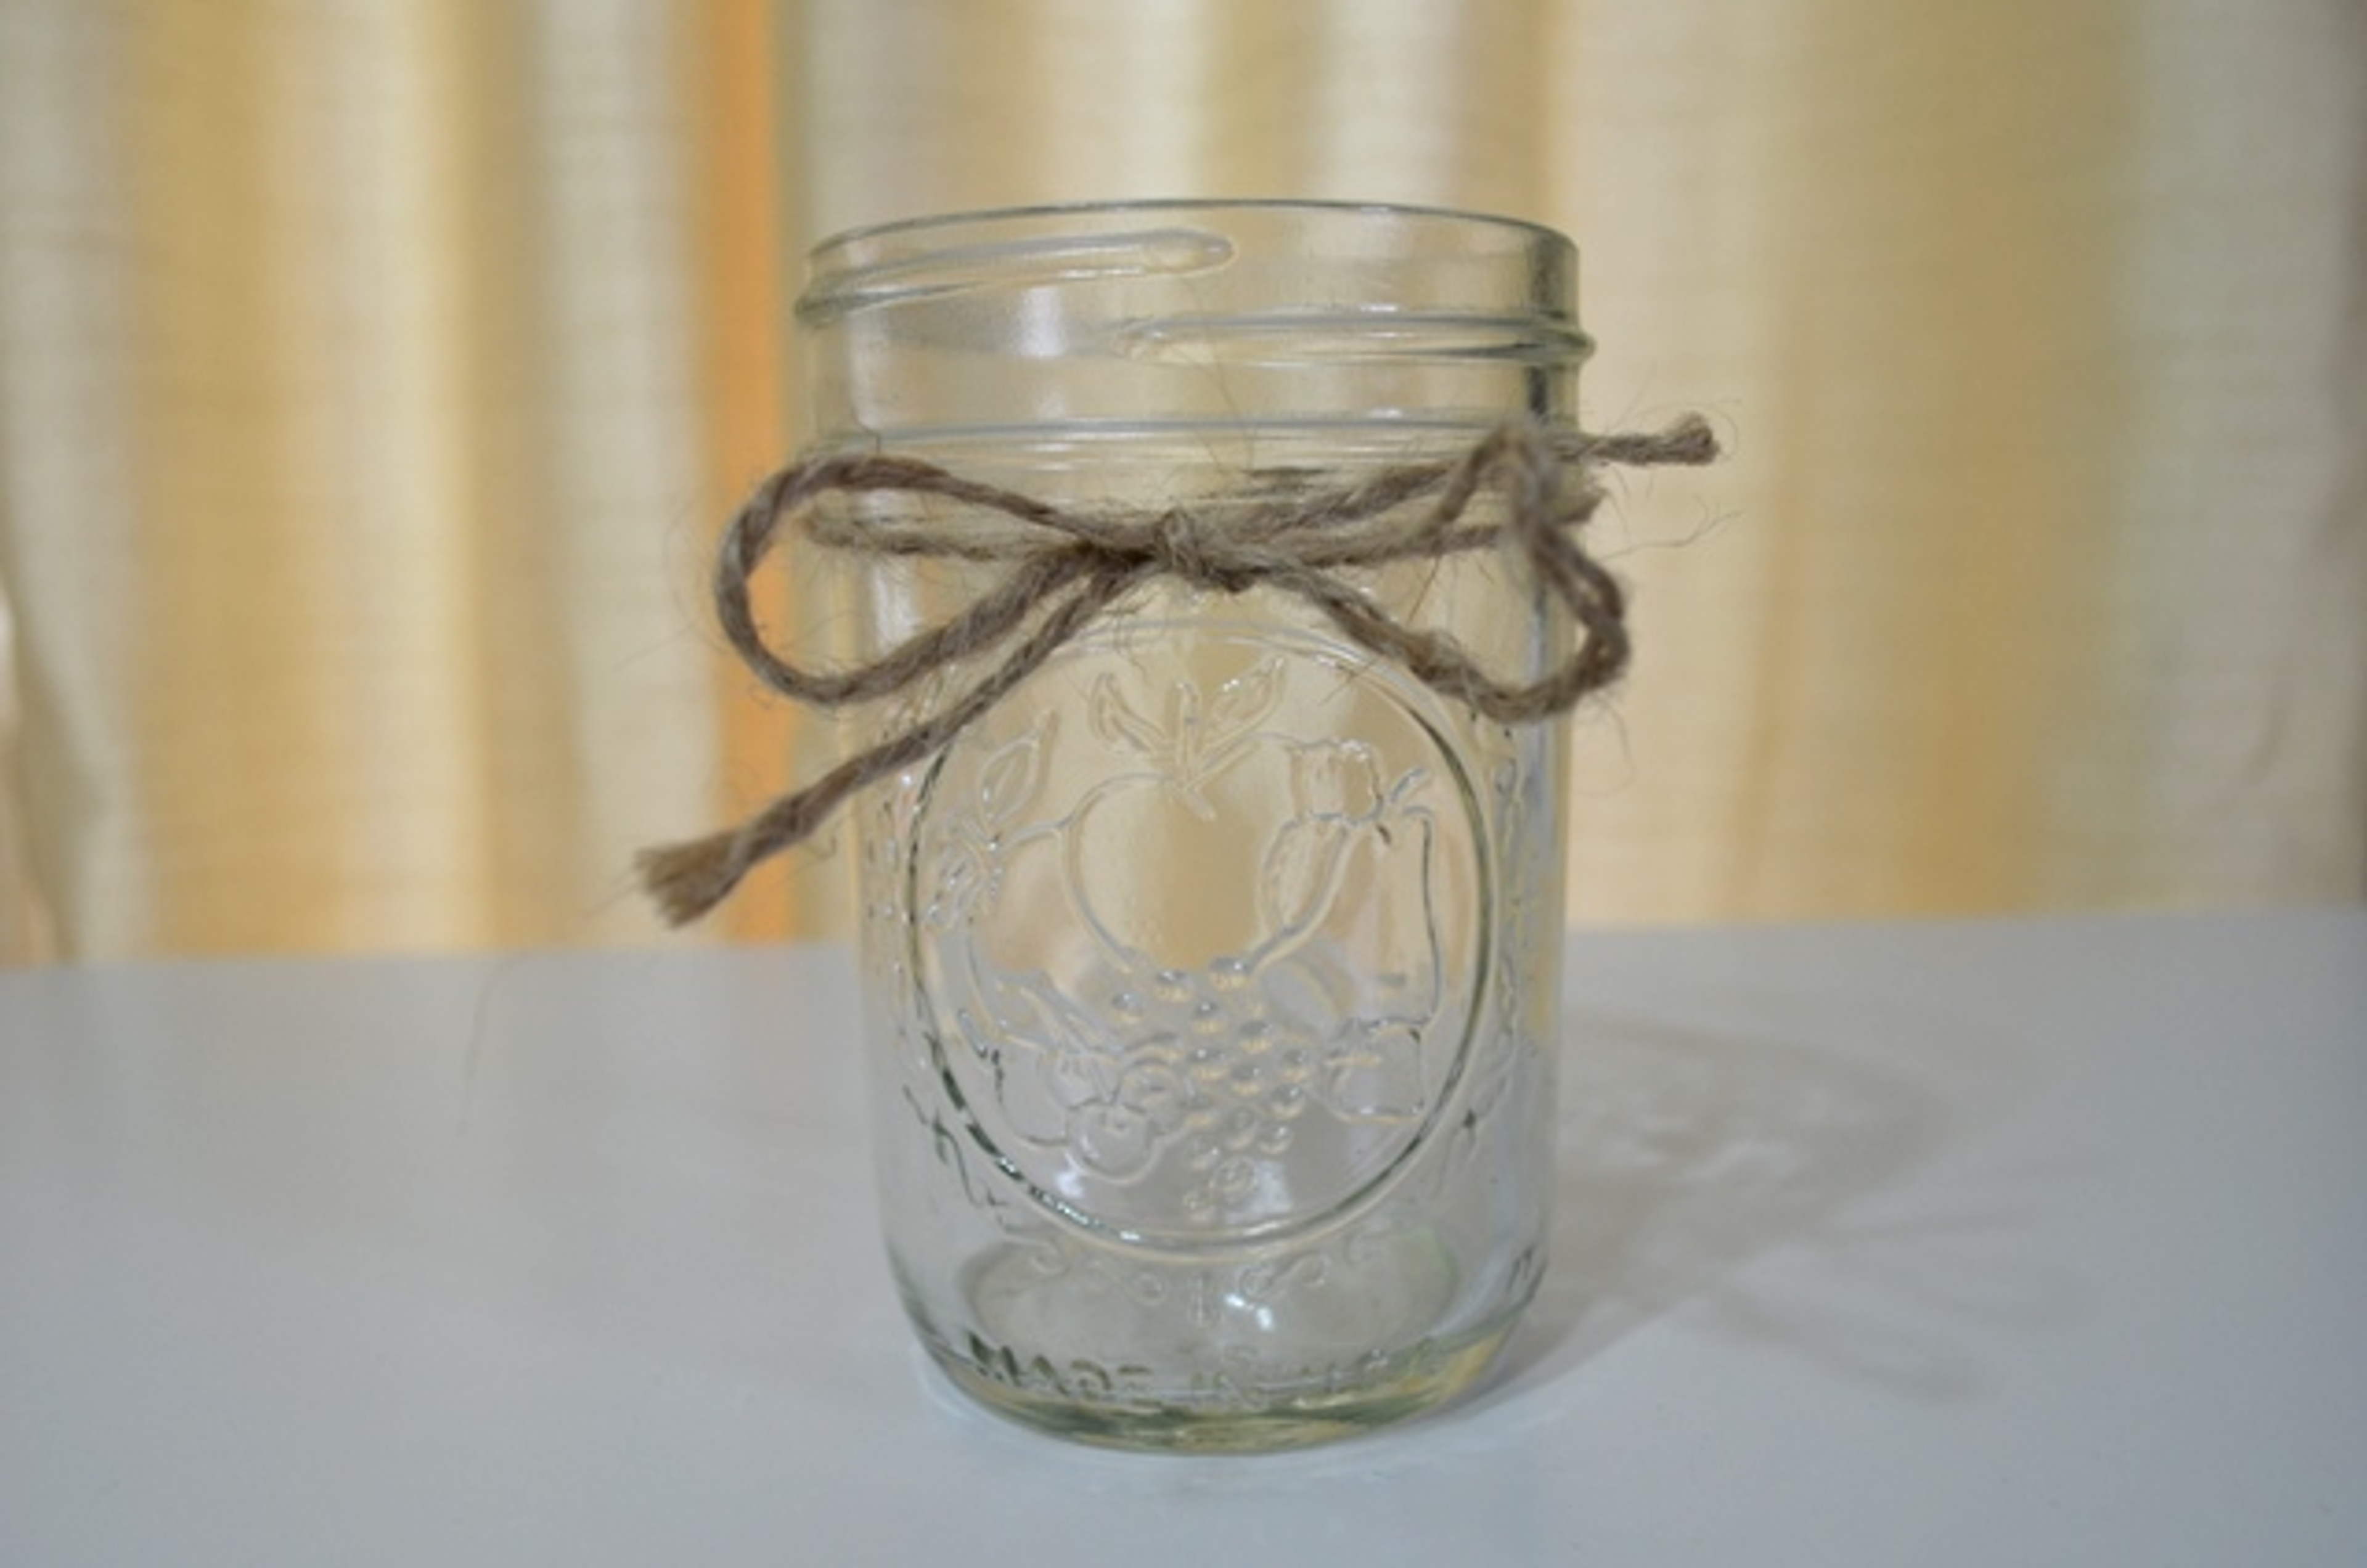
    https://flowers.com/blog/wp content/uploads///Mason Jar Decorated With Twine x
  10. Place your finished flowers into a mason jar. To add a homey touch, tie a piece of twine or festive ribbon around the mouth of the jar.

Of course, if crafting is not your thing, you can always surprise your special someone with Valentine's Day roses. Sure, sending flowers might take as much effort as making them, but they still make for a great addition to anyone's Valentine's Day decor.