
DIY Mother's Day Photo Vase Craft for Kids
Mom will treasure this personalized homemade gift forever.
Apr 05, 2022
This year, take your Mother’s Day flowers to the next level with a creative and personalized DIY photo vase. The beauty of this vase is in the tiny details that reflect each child's personality, making it the perfect Mother’s Day craft for kids of all ages.
Depending on how old the child is, you may want to prepare the tissue paper shapes beforehand, as little kids may have trouble cutting the delicately thin material. Be sure to provide them with a smock and clear out an area for crafting, as this project includes liquid adhesive.
Once this DIY photo vase is completed, add mom's favorite flowers or arrangement for a Mother's Day gift she'll treasure always.
Supplies for DIY photo vase
- Vase
- Liquid adhesive (Mod Podge, PVA glue)
- Small paintbrush
- Tissue paper in a variety of colors
- Photo
- Scissors
How to make a DIY photo vase
Use soap and water to clean any residue off the vase. Set aside to dry.

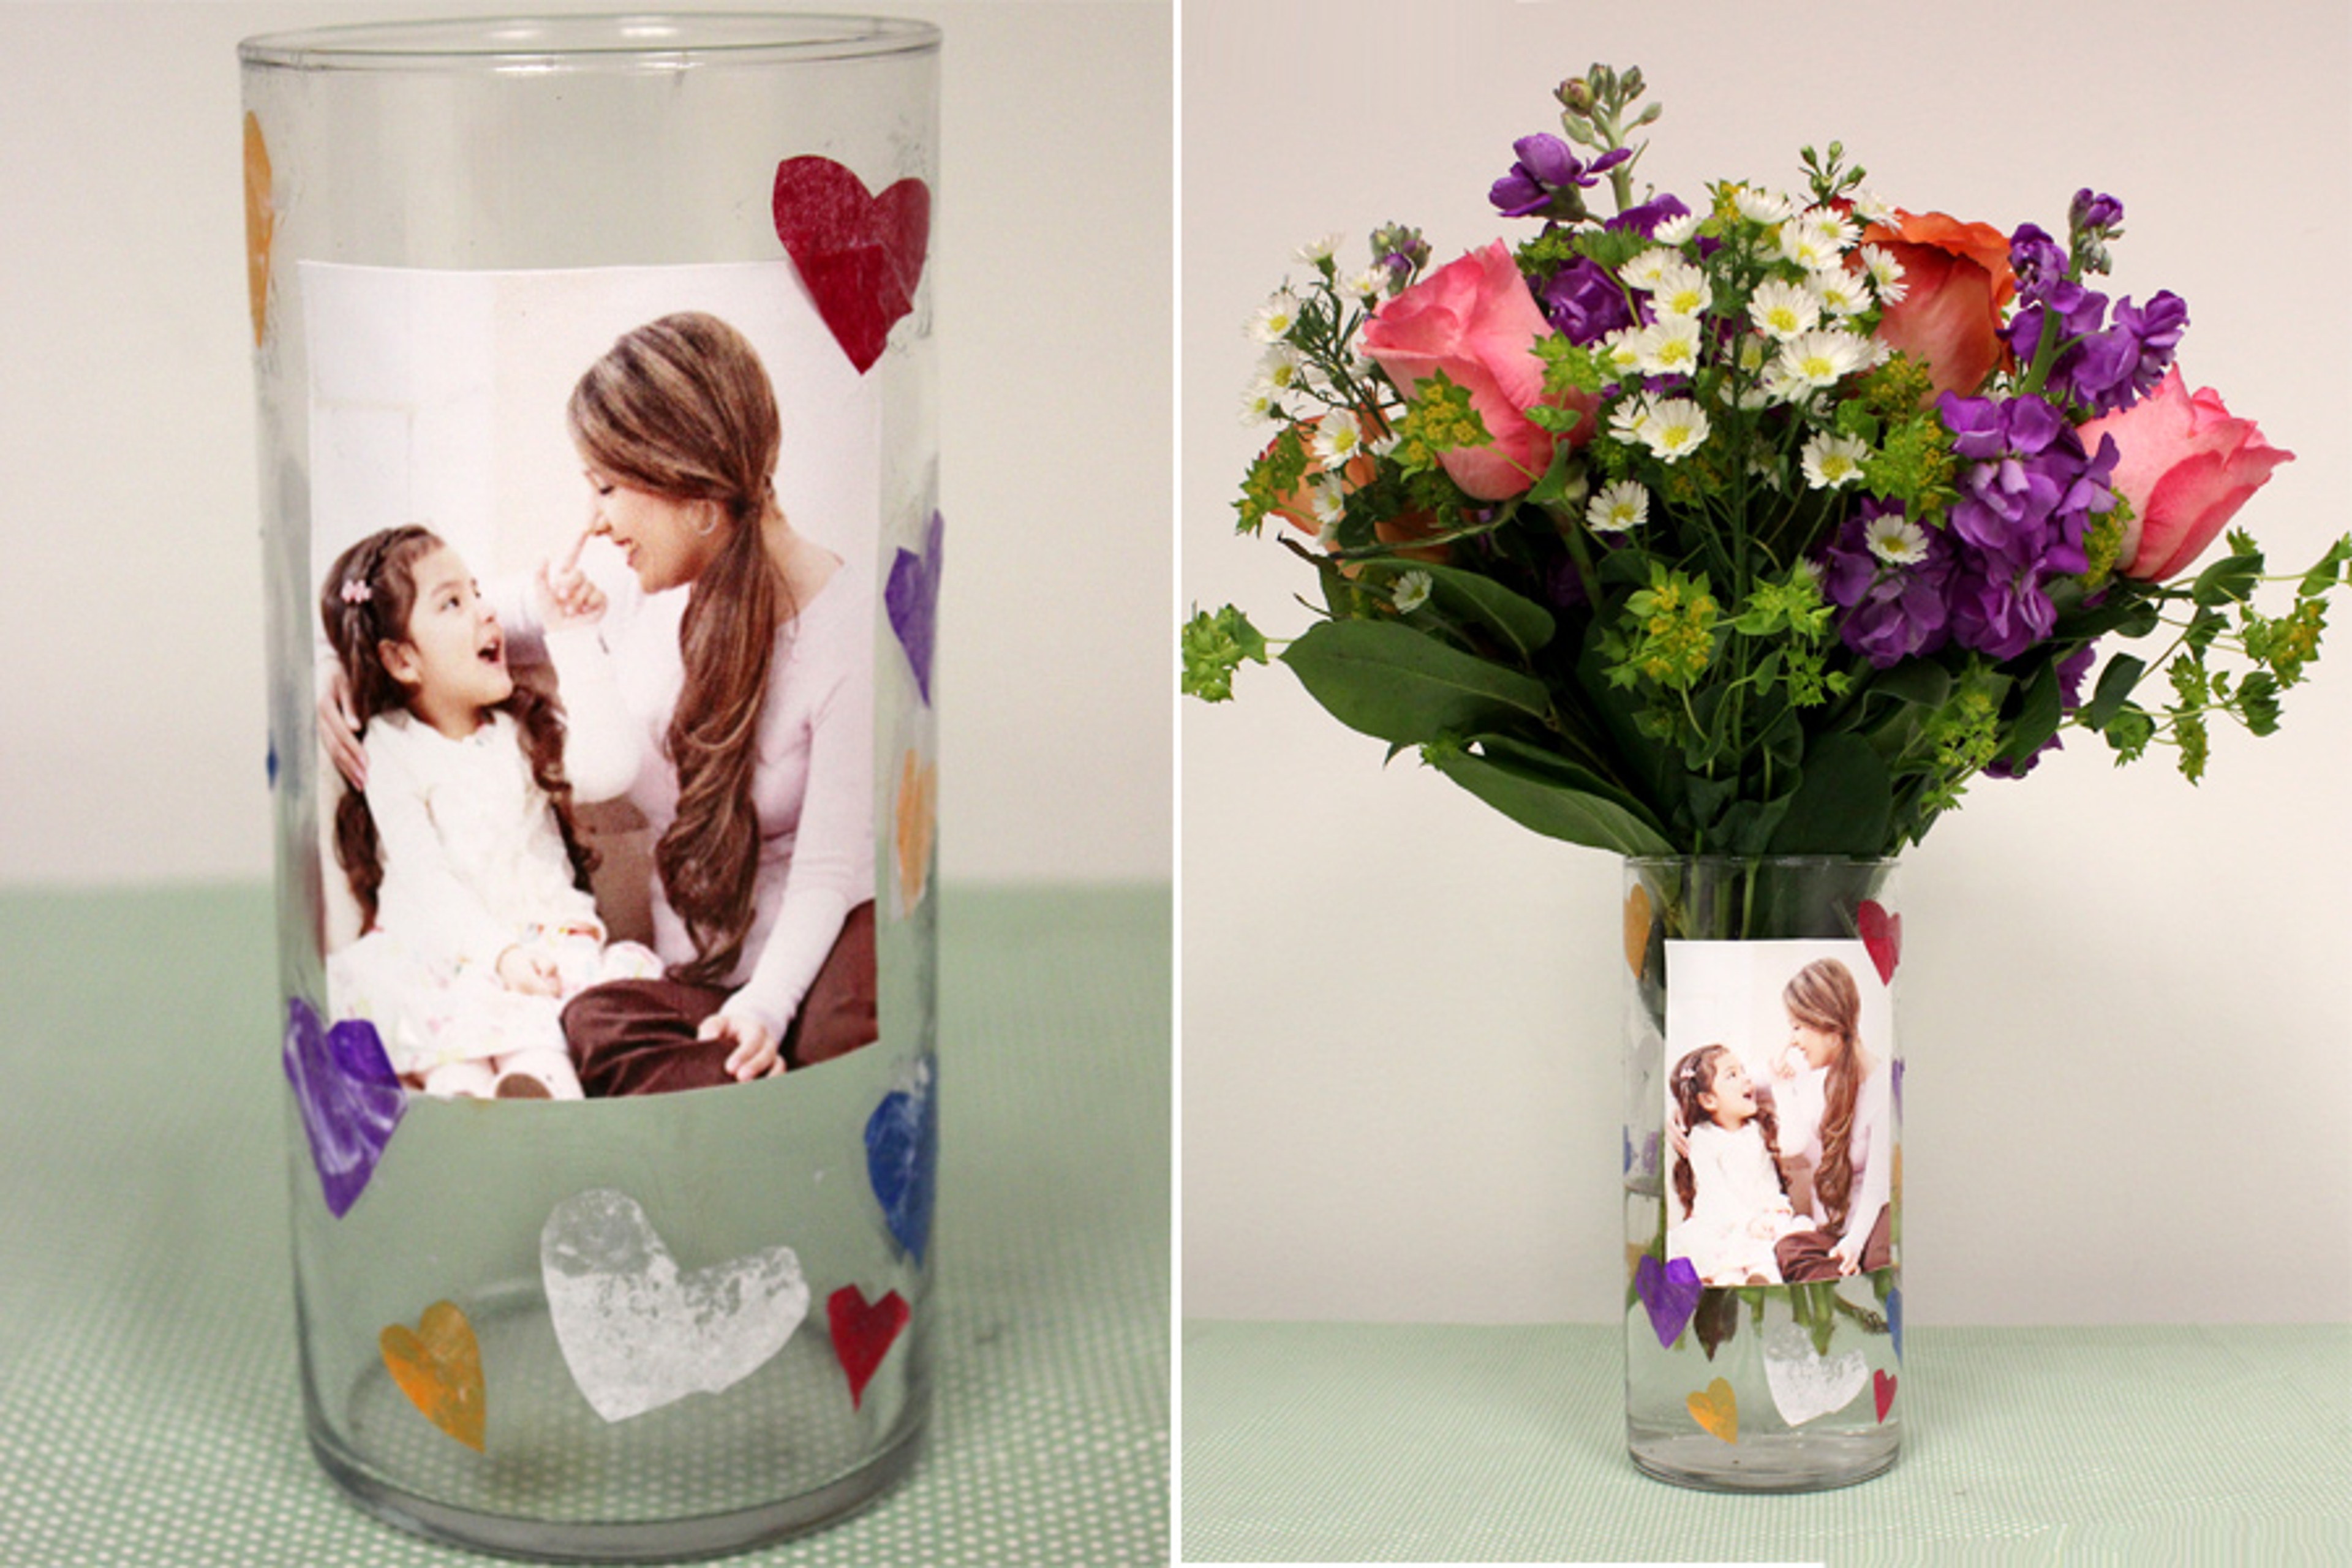
Cut shapes out of the tissue paper. We chose hearts, but you can go with flowers, stars, or diamonds. The homemade touch of this project is what makes it special, so the shapes do not all have to be the same size or shape. Once you have enough shapes, set them aside.

Pour some of the adhesive into a small bowl. Dip the brush into the adhesive and pick up a tissue paper shape with the brush, and “paint” it onto the vase. You only need a light coat of adhesive, so try to avoid drenching the shapes.
Once you have stuck all the shapes to the vase, it’s time to add the photograph. You may want to trim the photo to fit your particular vase before placing it on. Once you have decided where the photo will go, use the brush to paint the adhesive onto the back of the photo. Apply it to the vase and hold it down for 5 to 10 seconds until it's secure.
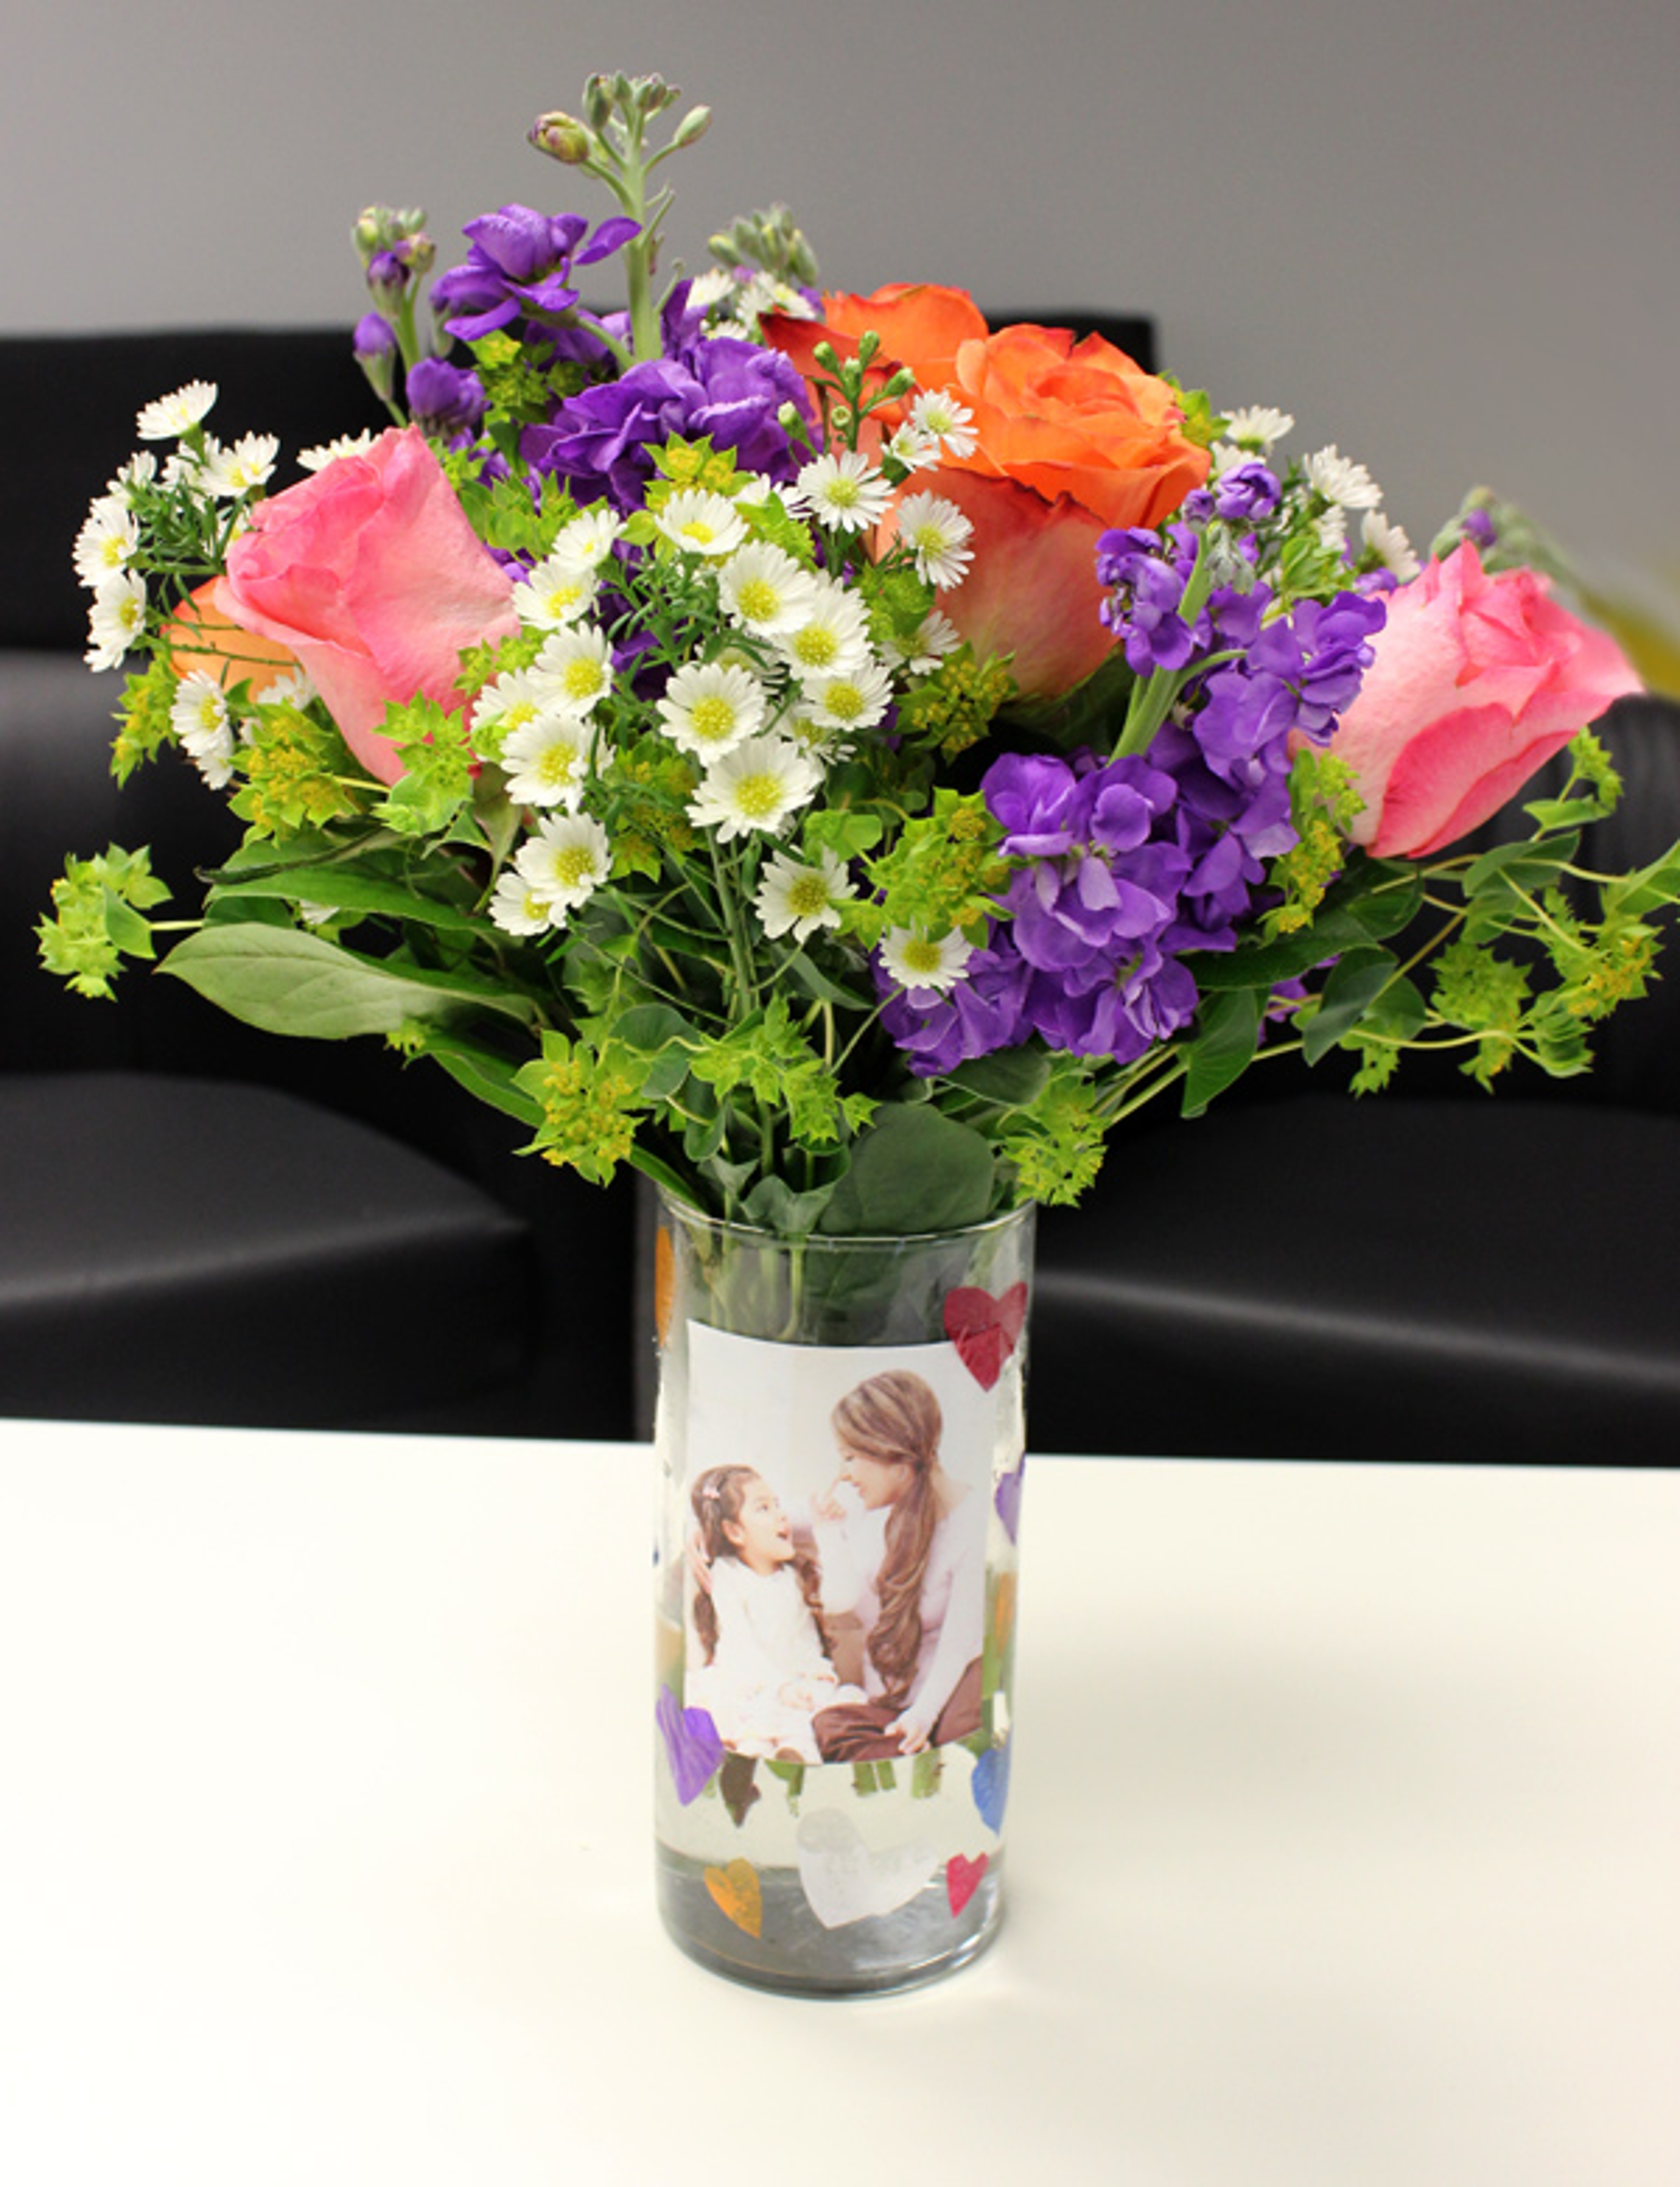
Give the vase a few minutes to dry, and then use a cup or pitcher to carefully pour water into the vase. Then, add the flowers, and your DIY photo vase is ready to show off!

AUTHOR

Celebrate every occasion and holiday with Michelle Yastremsky! Join her as she comes up with creative ways to make your holiday party stand out!


