How to Make a Flower Crown
Join in the DIY flower crown trend and learn how to make a flower crown for all your summer festivals and gatherings.
Sep 08, 2017
Floral crowns seem to be blossoming everywhere you turn these days... and with good reason! They’re delightfully charming, they’re romantic, and they can be worn anywhere from a wedding to a birthday celebration to a music festival. They’re also surprisingly easy to make. There are just a few basic steps to creating your own amazing flower crown!

I’m going to show you how to “wire and tape” using a single floral variety (in this case white waxflower) that can be worn on its own.
And how easy it is to take it up a notch simply by gluing in your choice of additional flora (and even “fauna”)! You can also do a combination of wiring and gluing. Wire the larger flowers and glue the smaller ones. So let’s get started!
Suggested Flowers:
You can pretty much use whatever flowers/foliage you desire. And you can also make the crown as ornate or as simple as you prefer. I like to use flowers that air dry nicely and that are not too heavy or delicate. I also like to have a mix of sizes and shapes. This image shows a nice basic assortment to use as a guideline.

Tools:
The tools required are also pretty basic: clippers; wires; floral tape; and adhesive. My wire of choice for the base is called binding wire. It is a 26-gauge paper-covered wire that’s both strong and malleable.

Step by Step:
Begin by preparing all of your flowers and foliage. Cut all the stems very short—about 1.5"—and strip any foliage from the end of the stems.

You will be gathering a few of the small sprigs of waxflower that you have just prepared by cutting them from the larger multi-lateral stem and stripping off any remaining foliage, then wrapping them with the floral stem wrap. I find it easier to pre-cut small pieces of the floral wrap (about 2" long) from the roll before starting the wrapping process.

Using floral stem wrap can take a little getting used to, in part because it does not feel sticky to the touch. It is a self-sealing material that sticks to itself as well as the flower stems.

Hold the top of the wrap with one thumb while twisting, wrapping, and moving down the stems with the other hand.

The key is to wrap it as tightly as possible.

When you get to the end, just pinch off any remaining tape.

You’re now ready to create your crown. If you know specifically who you’re making the crown for, measure around their head and add an additional 6 inches. This will be the length you should cut the wire to. Generally speaking, 20-22" for the floral will create a crown that fits most people. Leaving 3" of wire at each end allows you to adjust to a perfect fit when you are done.

Hold your first flower cluster against the wire, 3" from the end.

Securely bind the cluster to the wire using the stem wrap, pulling it tight as you wrap it around the wire.

Add the next cluster, slowly overlapping the previous one.

Continue until you have reached your desired length.
At this point, you can simply tie off the two ends of the wire to create a finished wreath.

Or you can add ribbon to each end. The two pieces of ribbon can then be tied in a bow when placed on the head. Not only does it look pretty, but it allows more flexibility for fitting and placing the crown where you want it. Some people like to wear the crown low on the forehead, while others like it more on the back of the head.

Before I show you how easy it is to make this wreath even more spectacular by simply gluing additional flowers onto this already beautiful base, let me show you how to wire a larger flower, such as a rose.
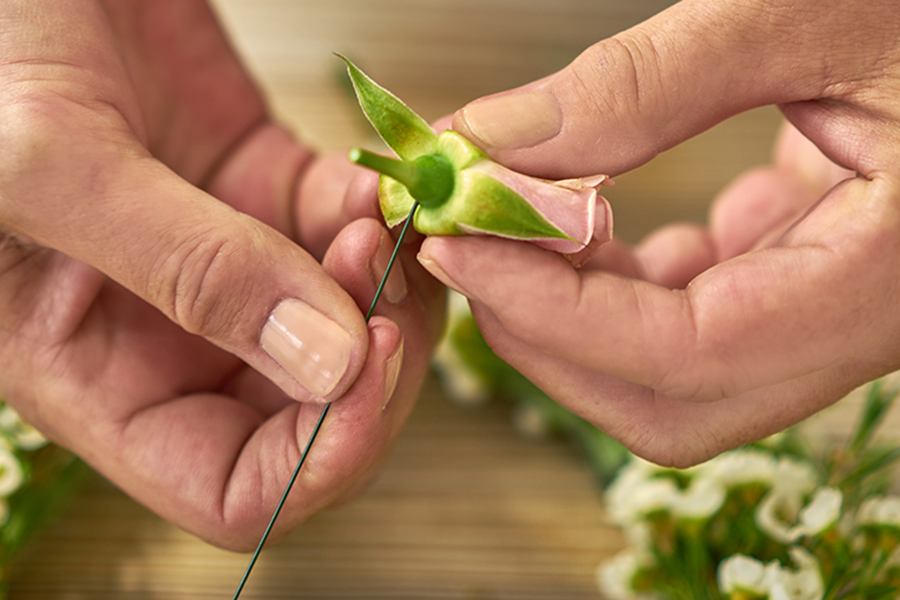
Cut the stem of the rose to 1-2".
Cut a 4" piece of 18-22 gauge wire.
Thread the wire through the rose base and fold each side down and twist.
Fold each side down to be parallel to the stem.
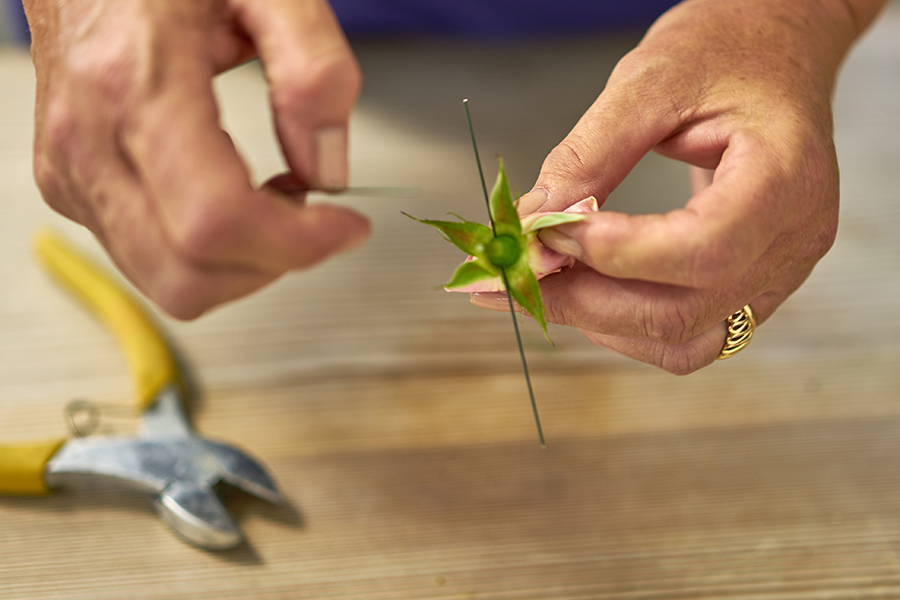
Attach each rose to the base of the crown the same way that you attached the clusters of waxflower.
After attaching a few clusters of waxflowers, place a wired rose bud, slightly overlapping the last cluster.

Secure by wrapping the floral tape around the stem and the base wire.

Wrap around all of the wired stem.

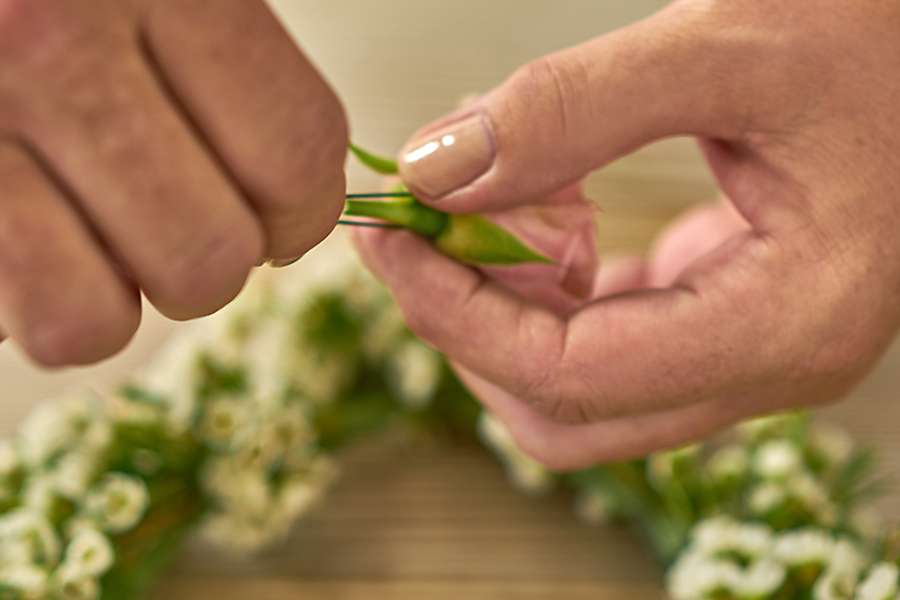
Continue this pattern of waxflower and roses.

Gluing flowers to the crown:

Cut the pieces of accent flowers very short.

Dip the very end of each flower into the hot wax.

Insert between the waxflower and the roses.
Continue with all of the accent flowers until you’re happy with the way your crown looks!

There will probably be a few fine strands of glue left on your crown. These will magically disappear if you go over the crown with a hair dryer set on low.

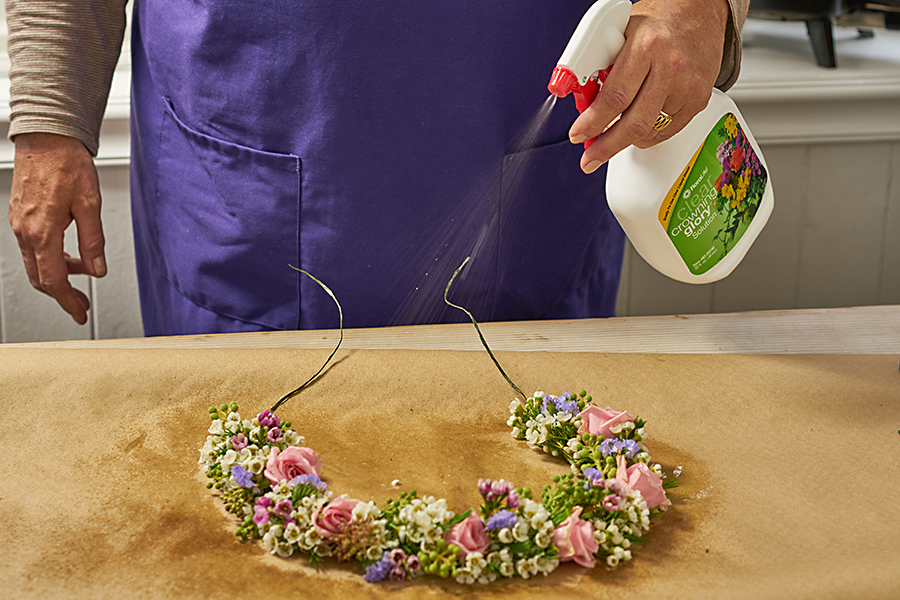
Another tip to prolong the life of your floral crown is to spray the finished product with Crowning Glory. This isn’t necessary, but it can help.

A light mist is all you need. You can also refrigerate the finished crown until you are ready to wear it.
Here’s another way to creatively finish the crown. Twist and secure the end of each side and attach a decorative hair accessory, like this beautiful starfish clip.

Here’s another way to creatively finish the crown. Twist and secure the end of each side and attach a decorative hair accessory, like this beautiful starfish clip.
Now that you know the basic techniques, let your inner flower child bloom and make your own one-of-a-kind floral crown!
AUTHOR

Julie started her career in the floral industry over 30 years ago in a small, family-owned flower shop. From floral designer to author and lifestyle expert, her insight has been instrumental in developing the 1-800-Flowers.com brand. Representing the company’s floral lifestyle vision, Julie has shared her talent and passion in numerous television appearances and national magazine features. She is an active fundraiser and longtime friend of IGHL, a group dedicated to facilitating a more independent life for developmentally challenged adults.