
How to Make a DIY Christmas Stocking to Add Holiday Cheer to Your Home
Sure, you could go to the store to buy stockings. But where's the fun in that?
Dec 06, 2022
When I was asked to write an article about making DIY Christmas stockings, the first thing I did was to go to my favorite fabric store and head straight for the clearance remnant table.
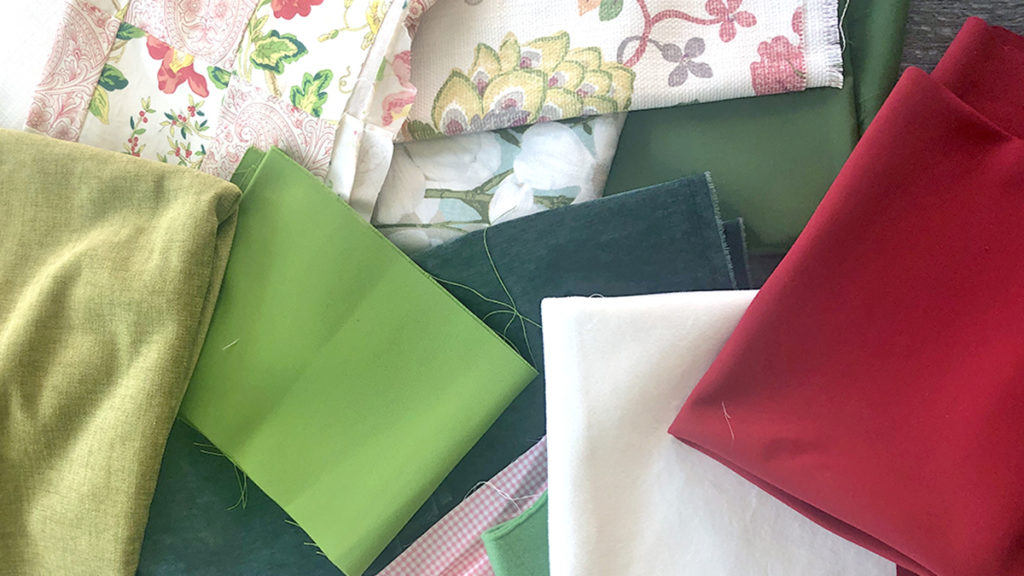
I picked up the holiday color “trinity" — red, white, and green — as well as various prints and florals that just spoke to me. I knew I wanted to show how to make a basic Christmas stocking, but I also wanted to inspire creativity, to make you, the reader, go beyond what's expected and design a stocking that matches your own personal style.
I started with a basic red stocking with white cuff. I am not a sewer and do not own a sewing machine, so I decided to make the stocking using glue — both hot glue and fabric glue. Easier said than done! Here's how it went.
Making a basic Christmas stocking
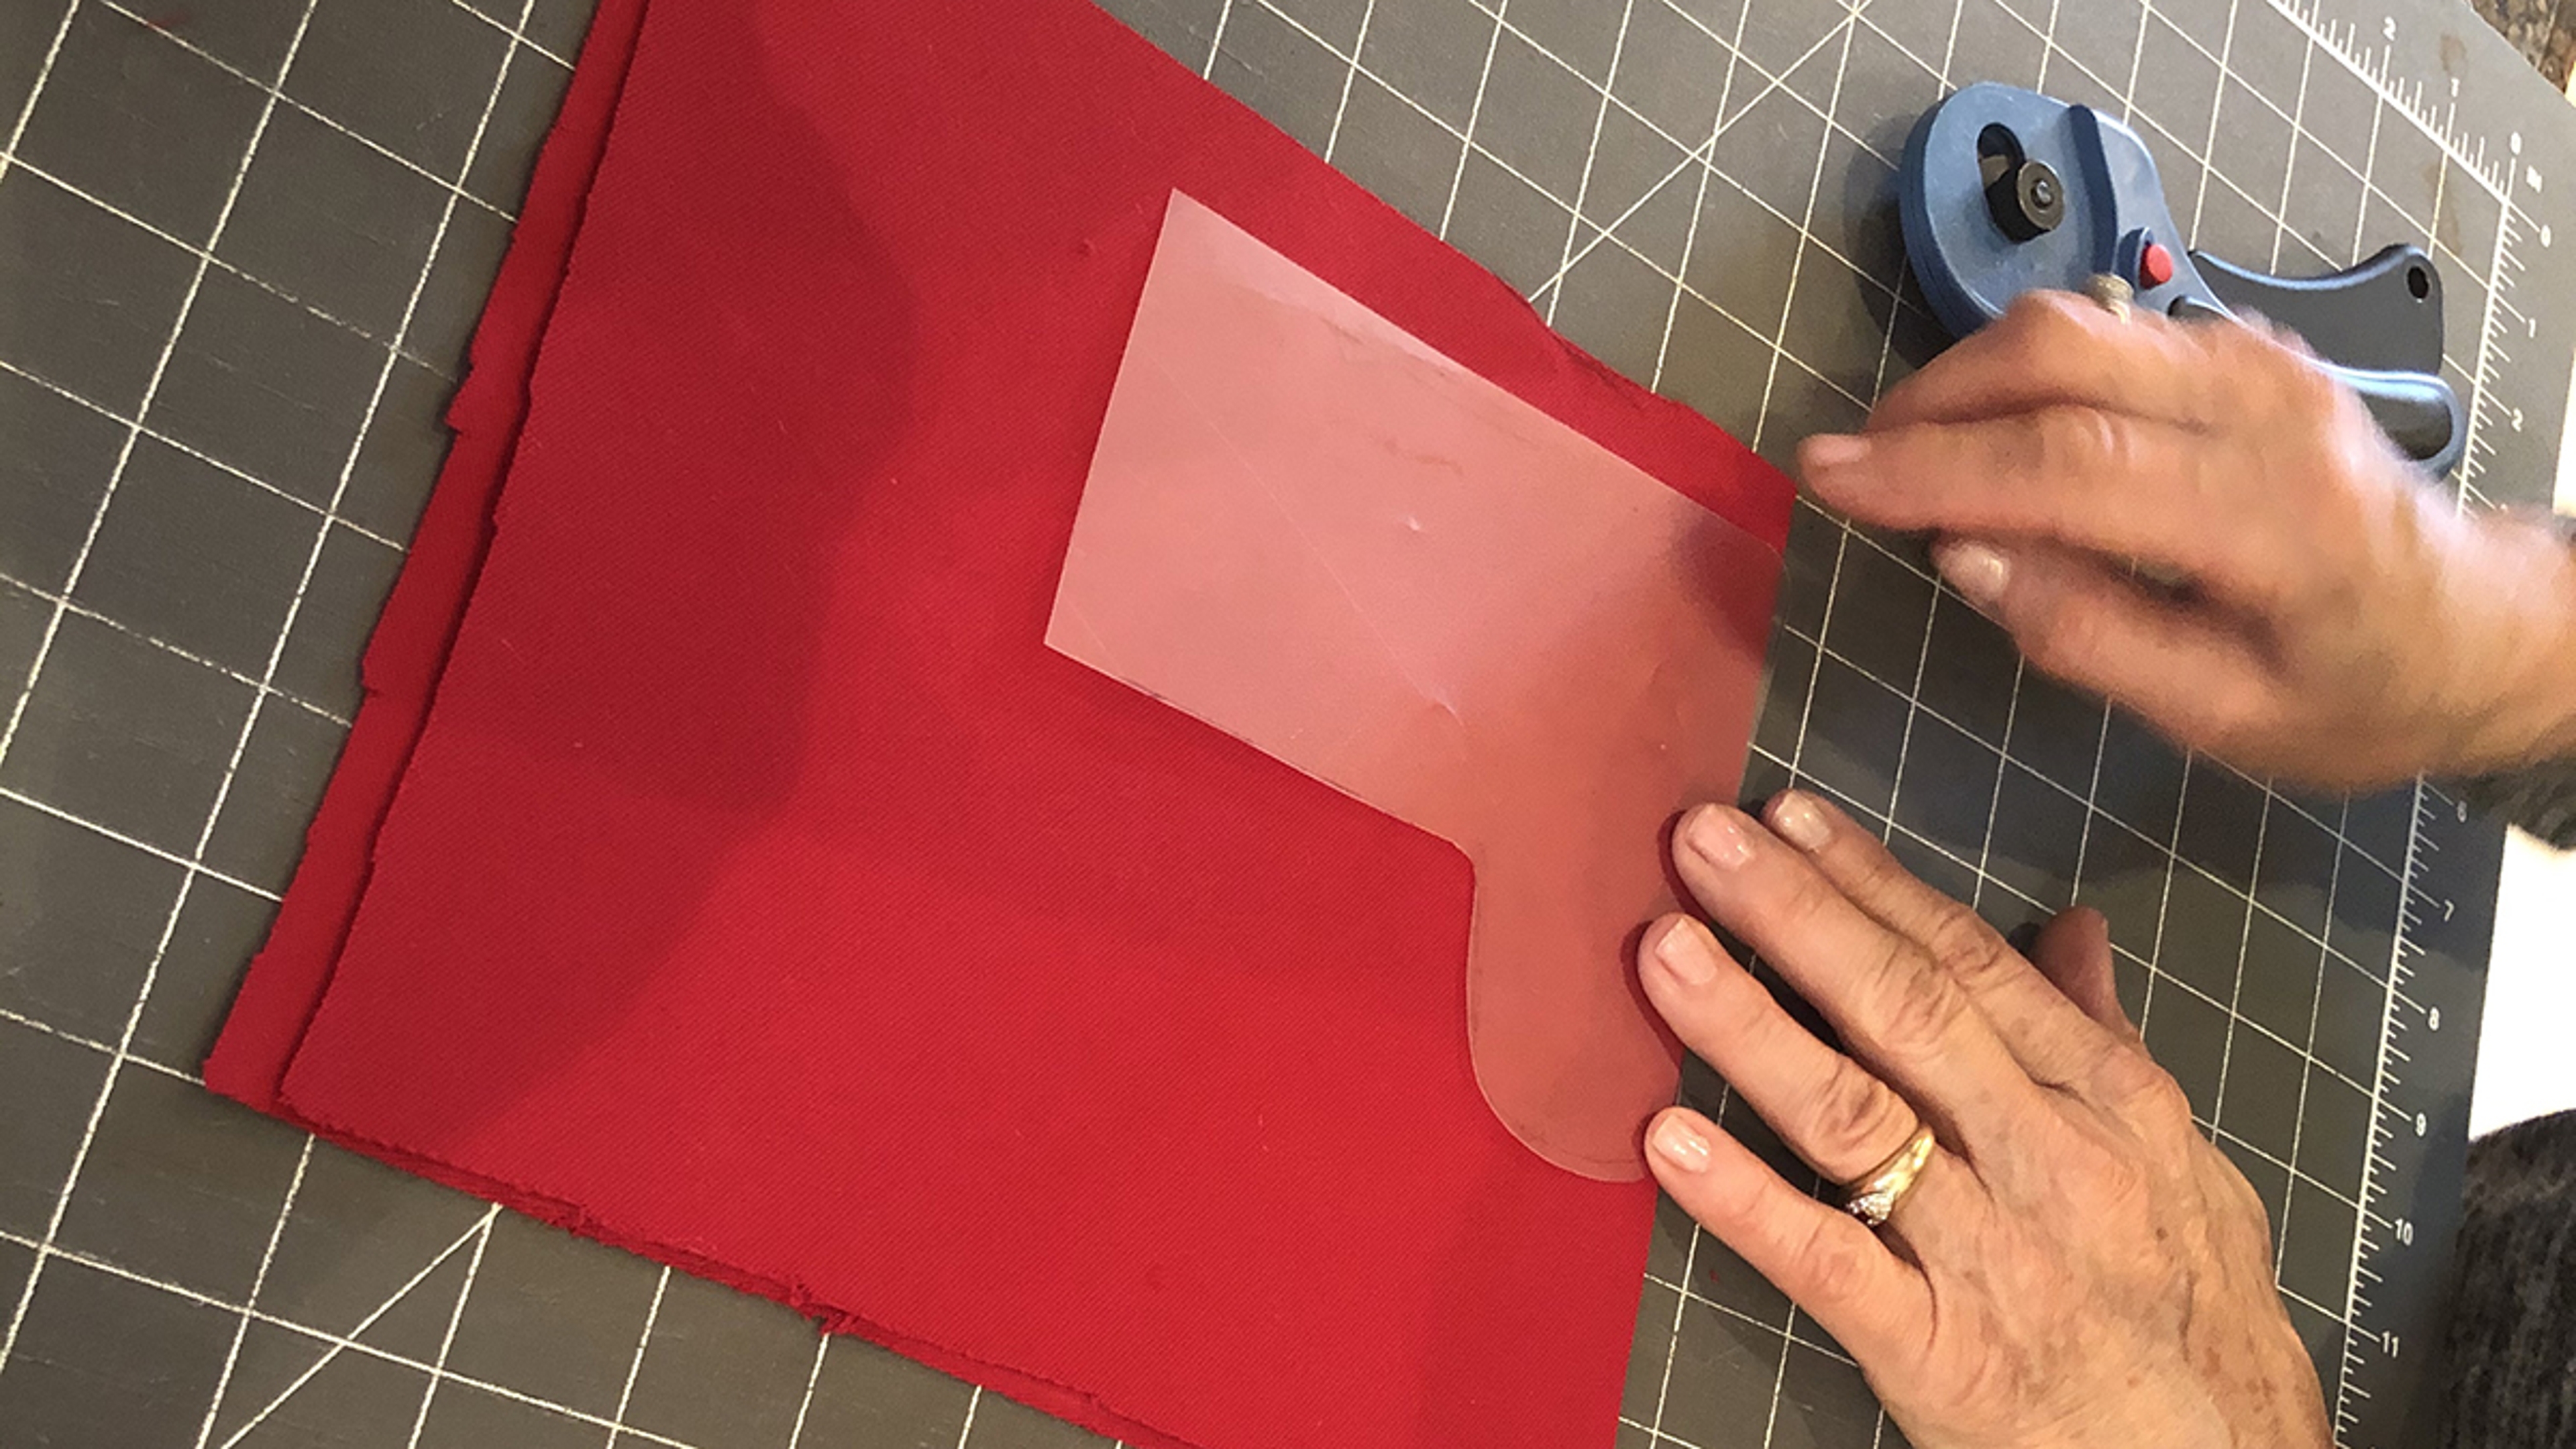
Using an old Christmas stocking, I created a stocking template that you can download here. This stocking measures 7 inches wide at the top and 14 to 16 inches high. Don't feel like your stocking has to be these same dimensions — make your stocking any size you want!

- Trace the stocking template onto your fabric.
- Use a sharp scissors to cut out the stocking. You will need two pieces of fabric. Before cutting, fold the fabric so that you can cut both pieces at the same time.
- After cutting the two stocking pieces, place them right side together.
- Sew or glue the edges together, except for the top, with about a quarter-inch seam.
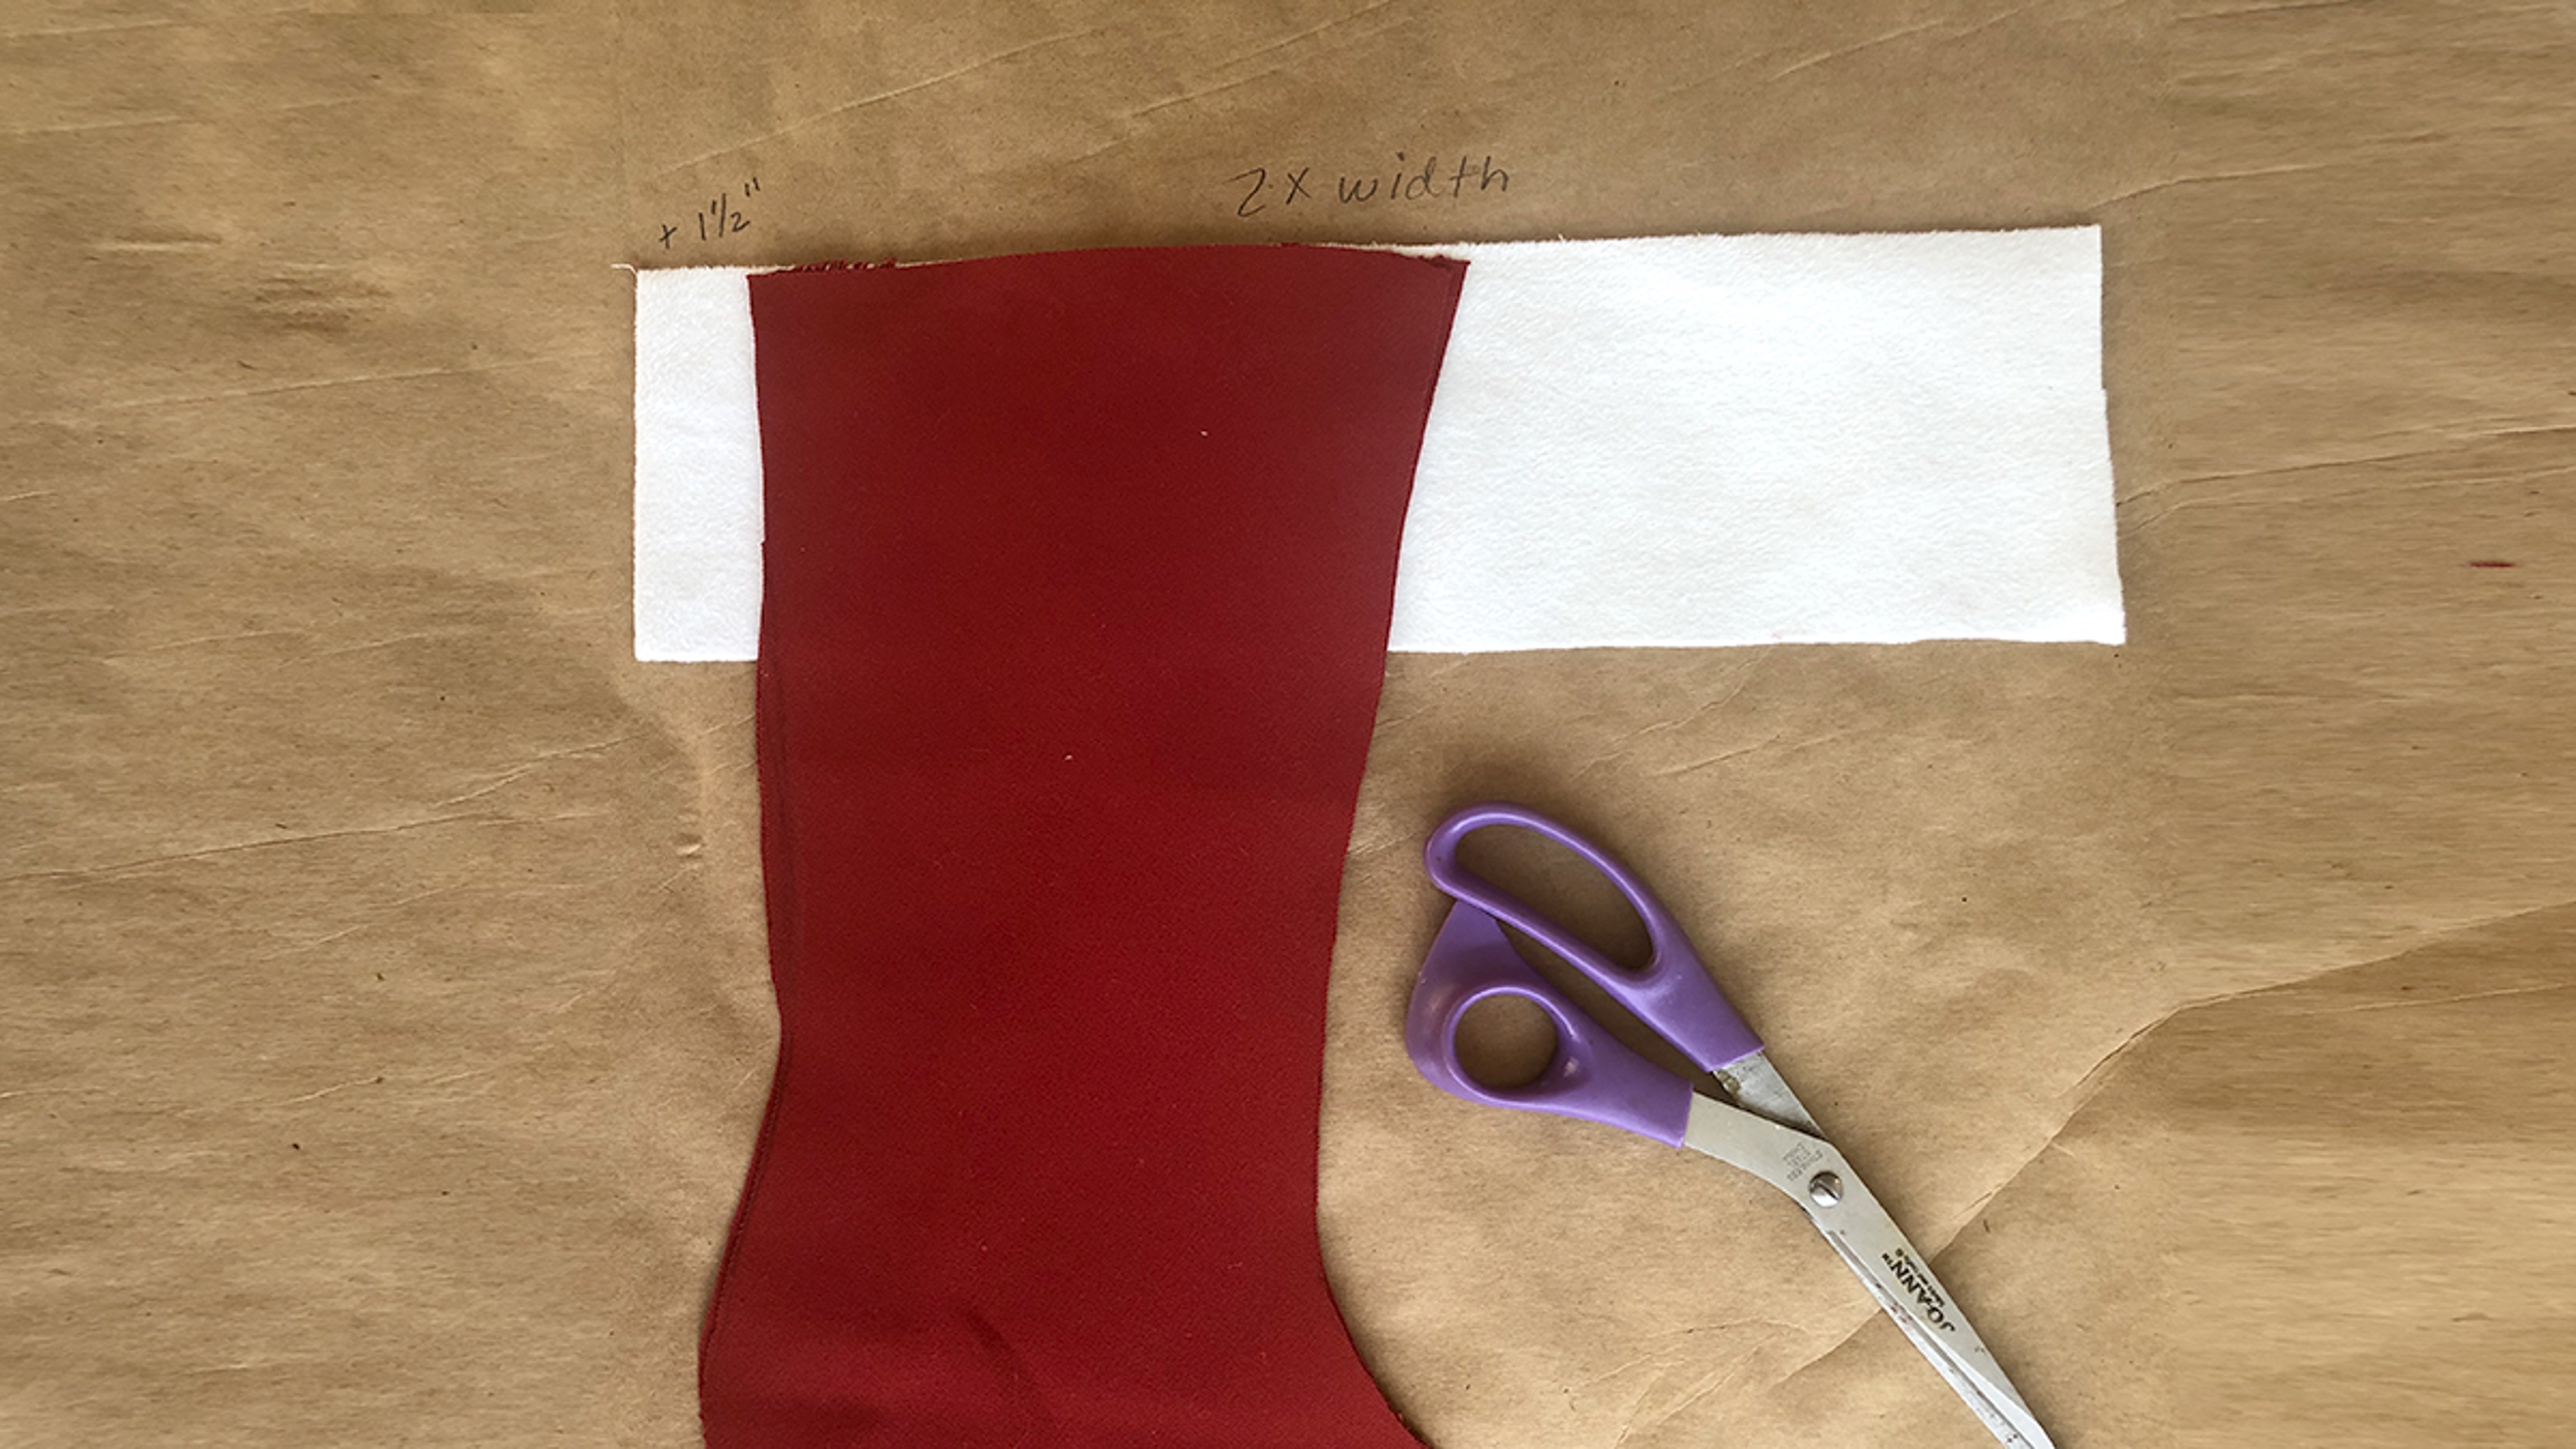
- Cut the material you are using for the cuff. The length should be two times the width of the stocking at the top plus another 1 1/2 inches. The height should be between 3 and 4 inches. If you are using a material that will need to be hemmed, add an additional quarter inch on the top and bottom.
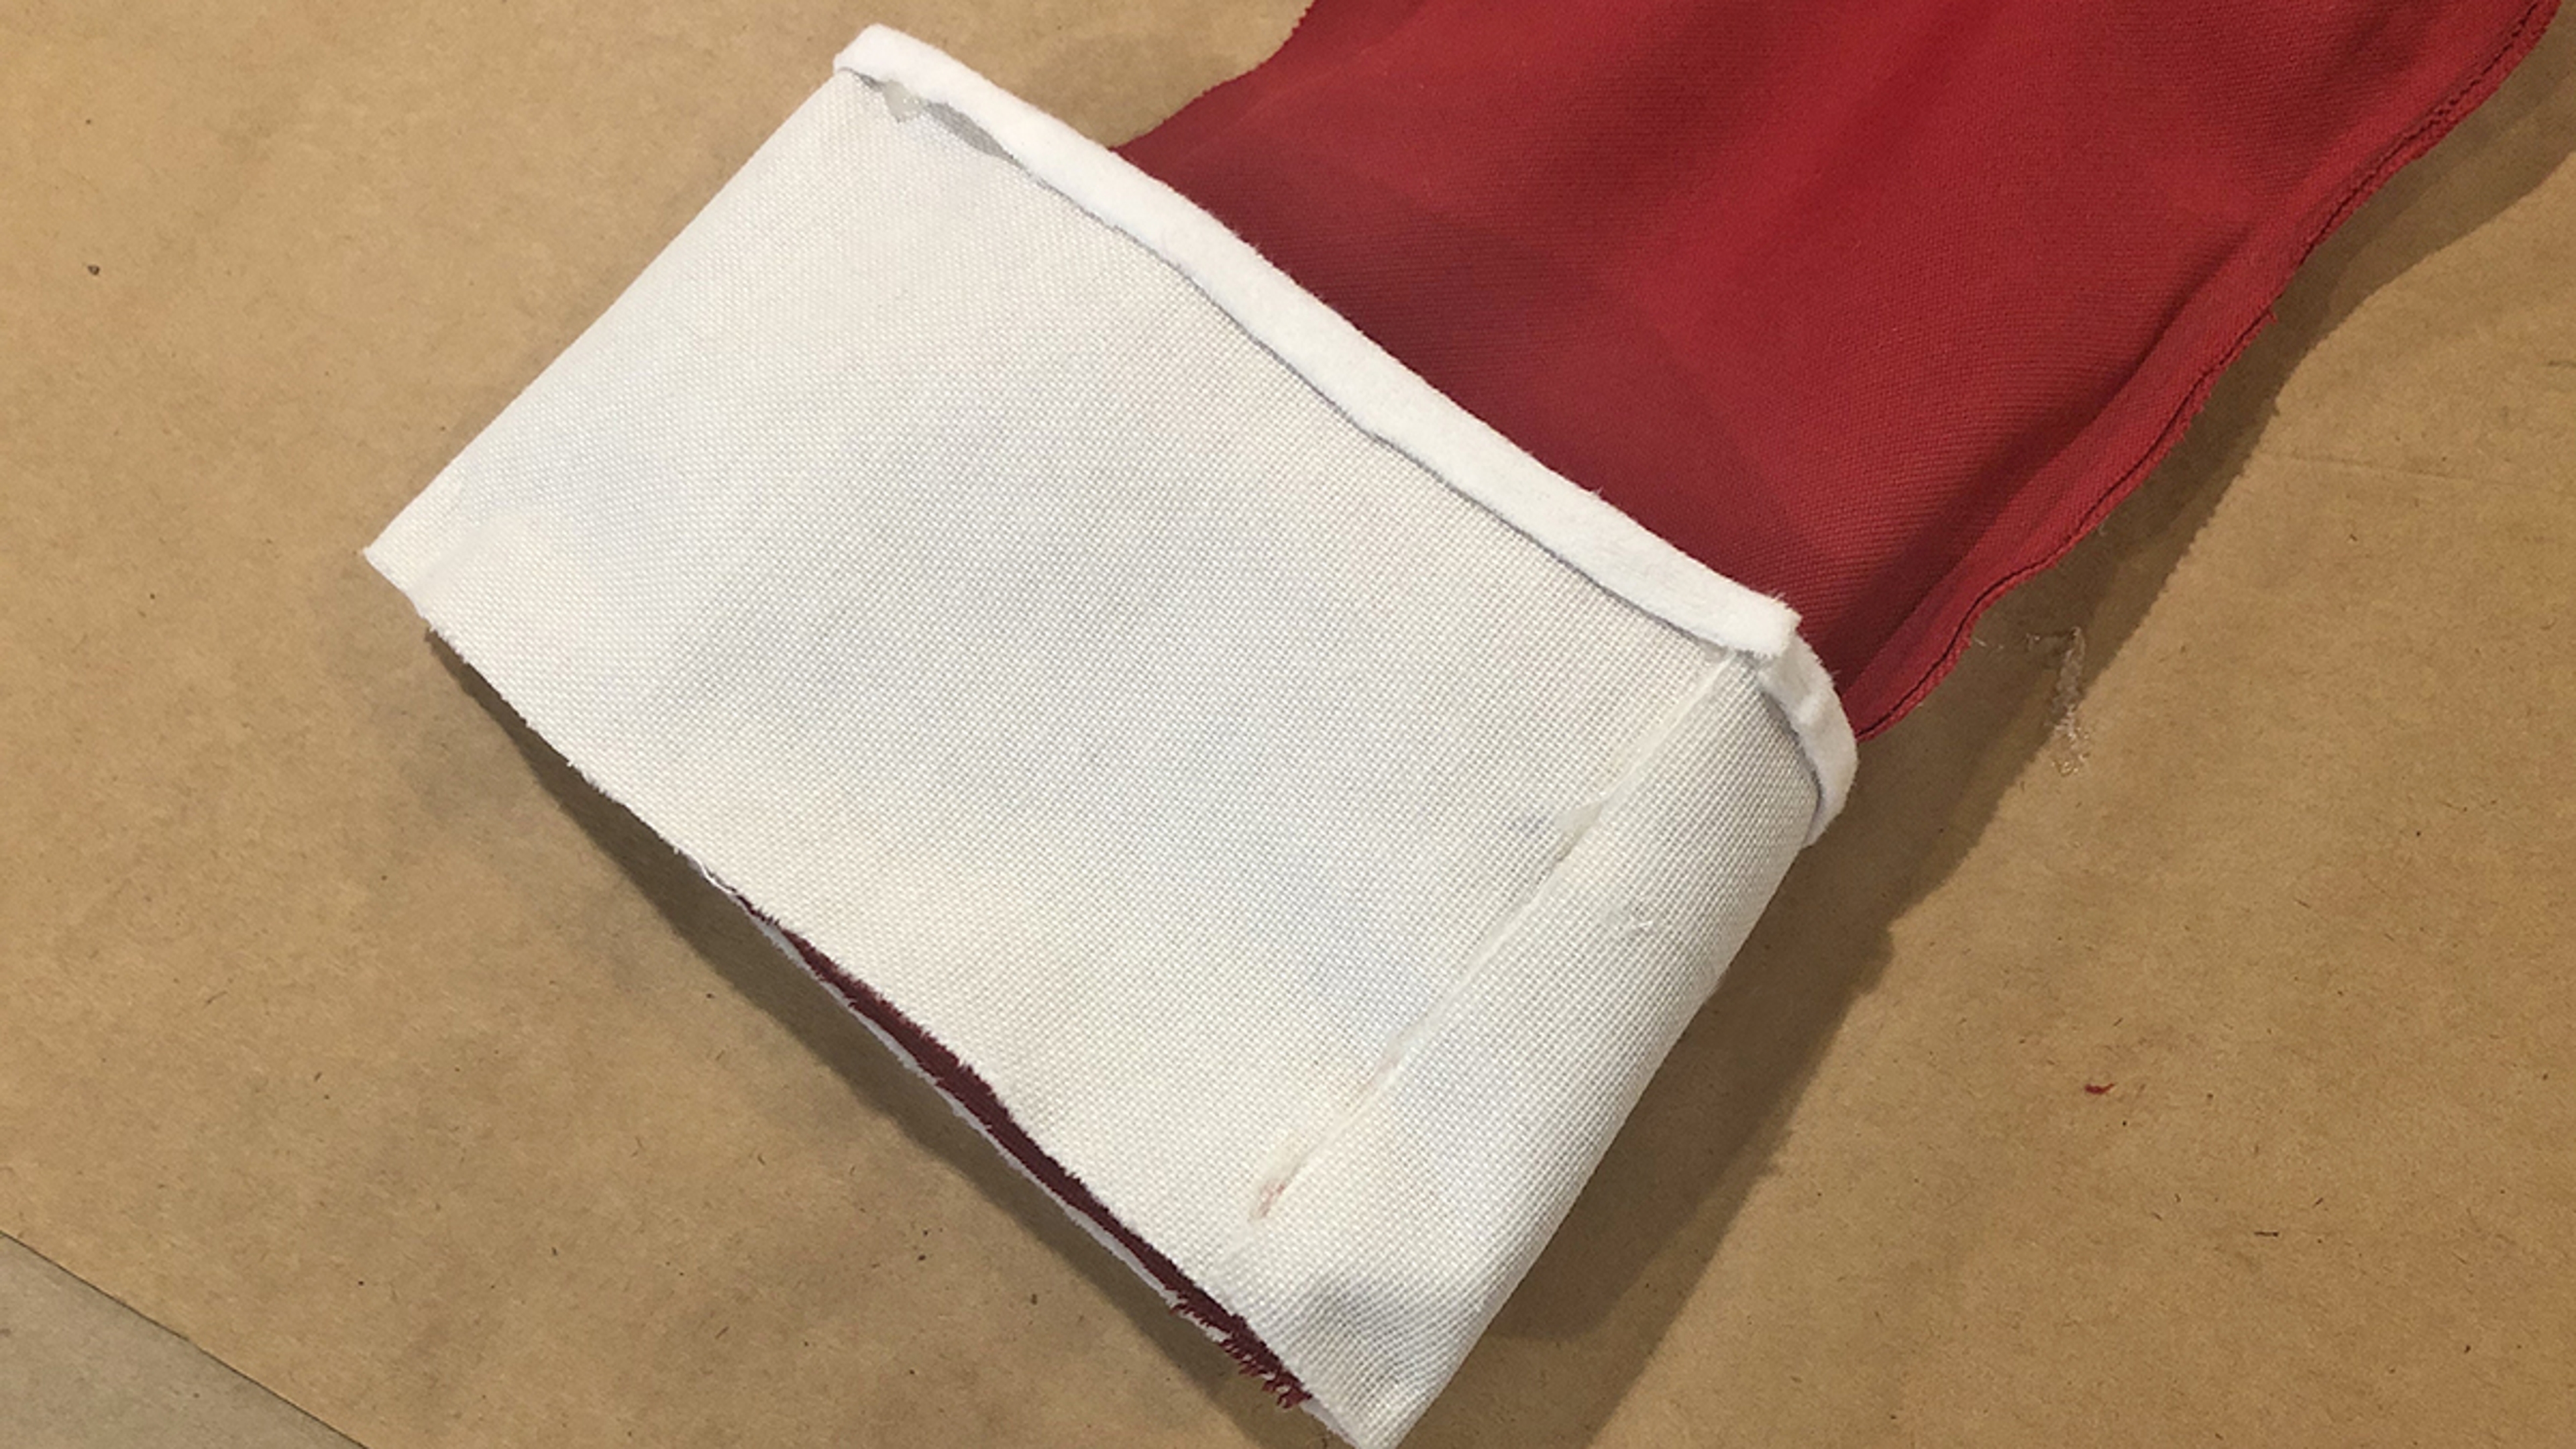
- Hem the cuff, if necessary. Glue or sew the cuff with the right side against the wrong side of the stocking along the top edge only. Remember, your stocking is inside out at this point.
- Turn the stocking right side out and roll the cuff down.
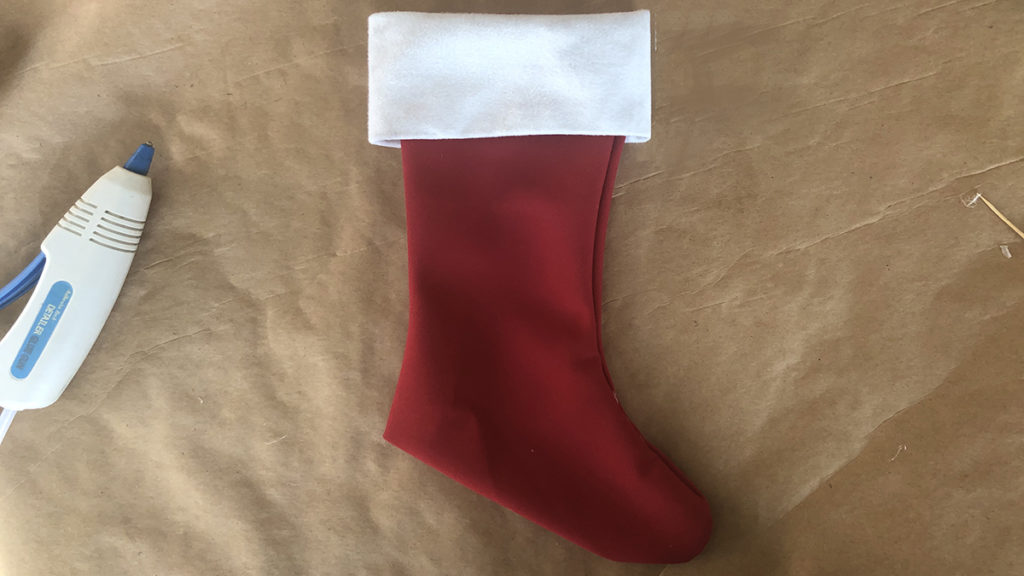
This is your basic stocking. However, I felt it was a bit plain looking, so I used a buffalo plaid wired ribbon to add some personality to it.
Embellishing a basic Christmas stocking
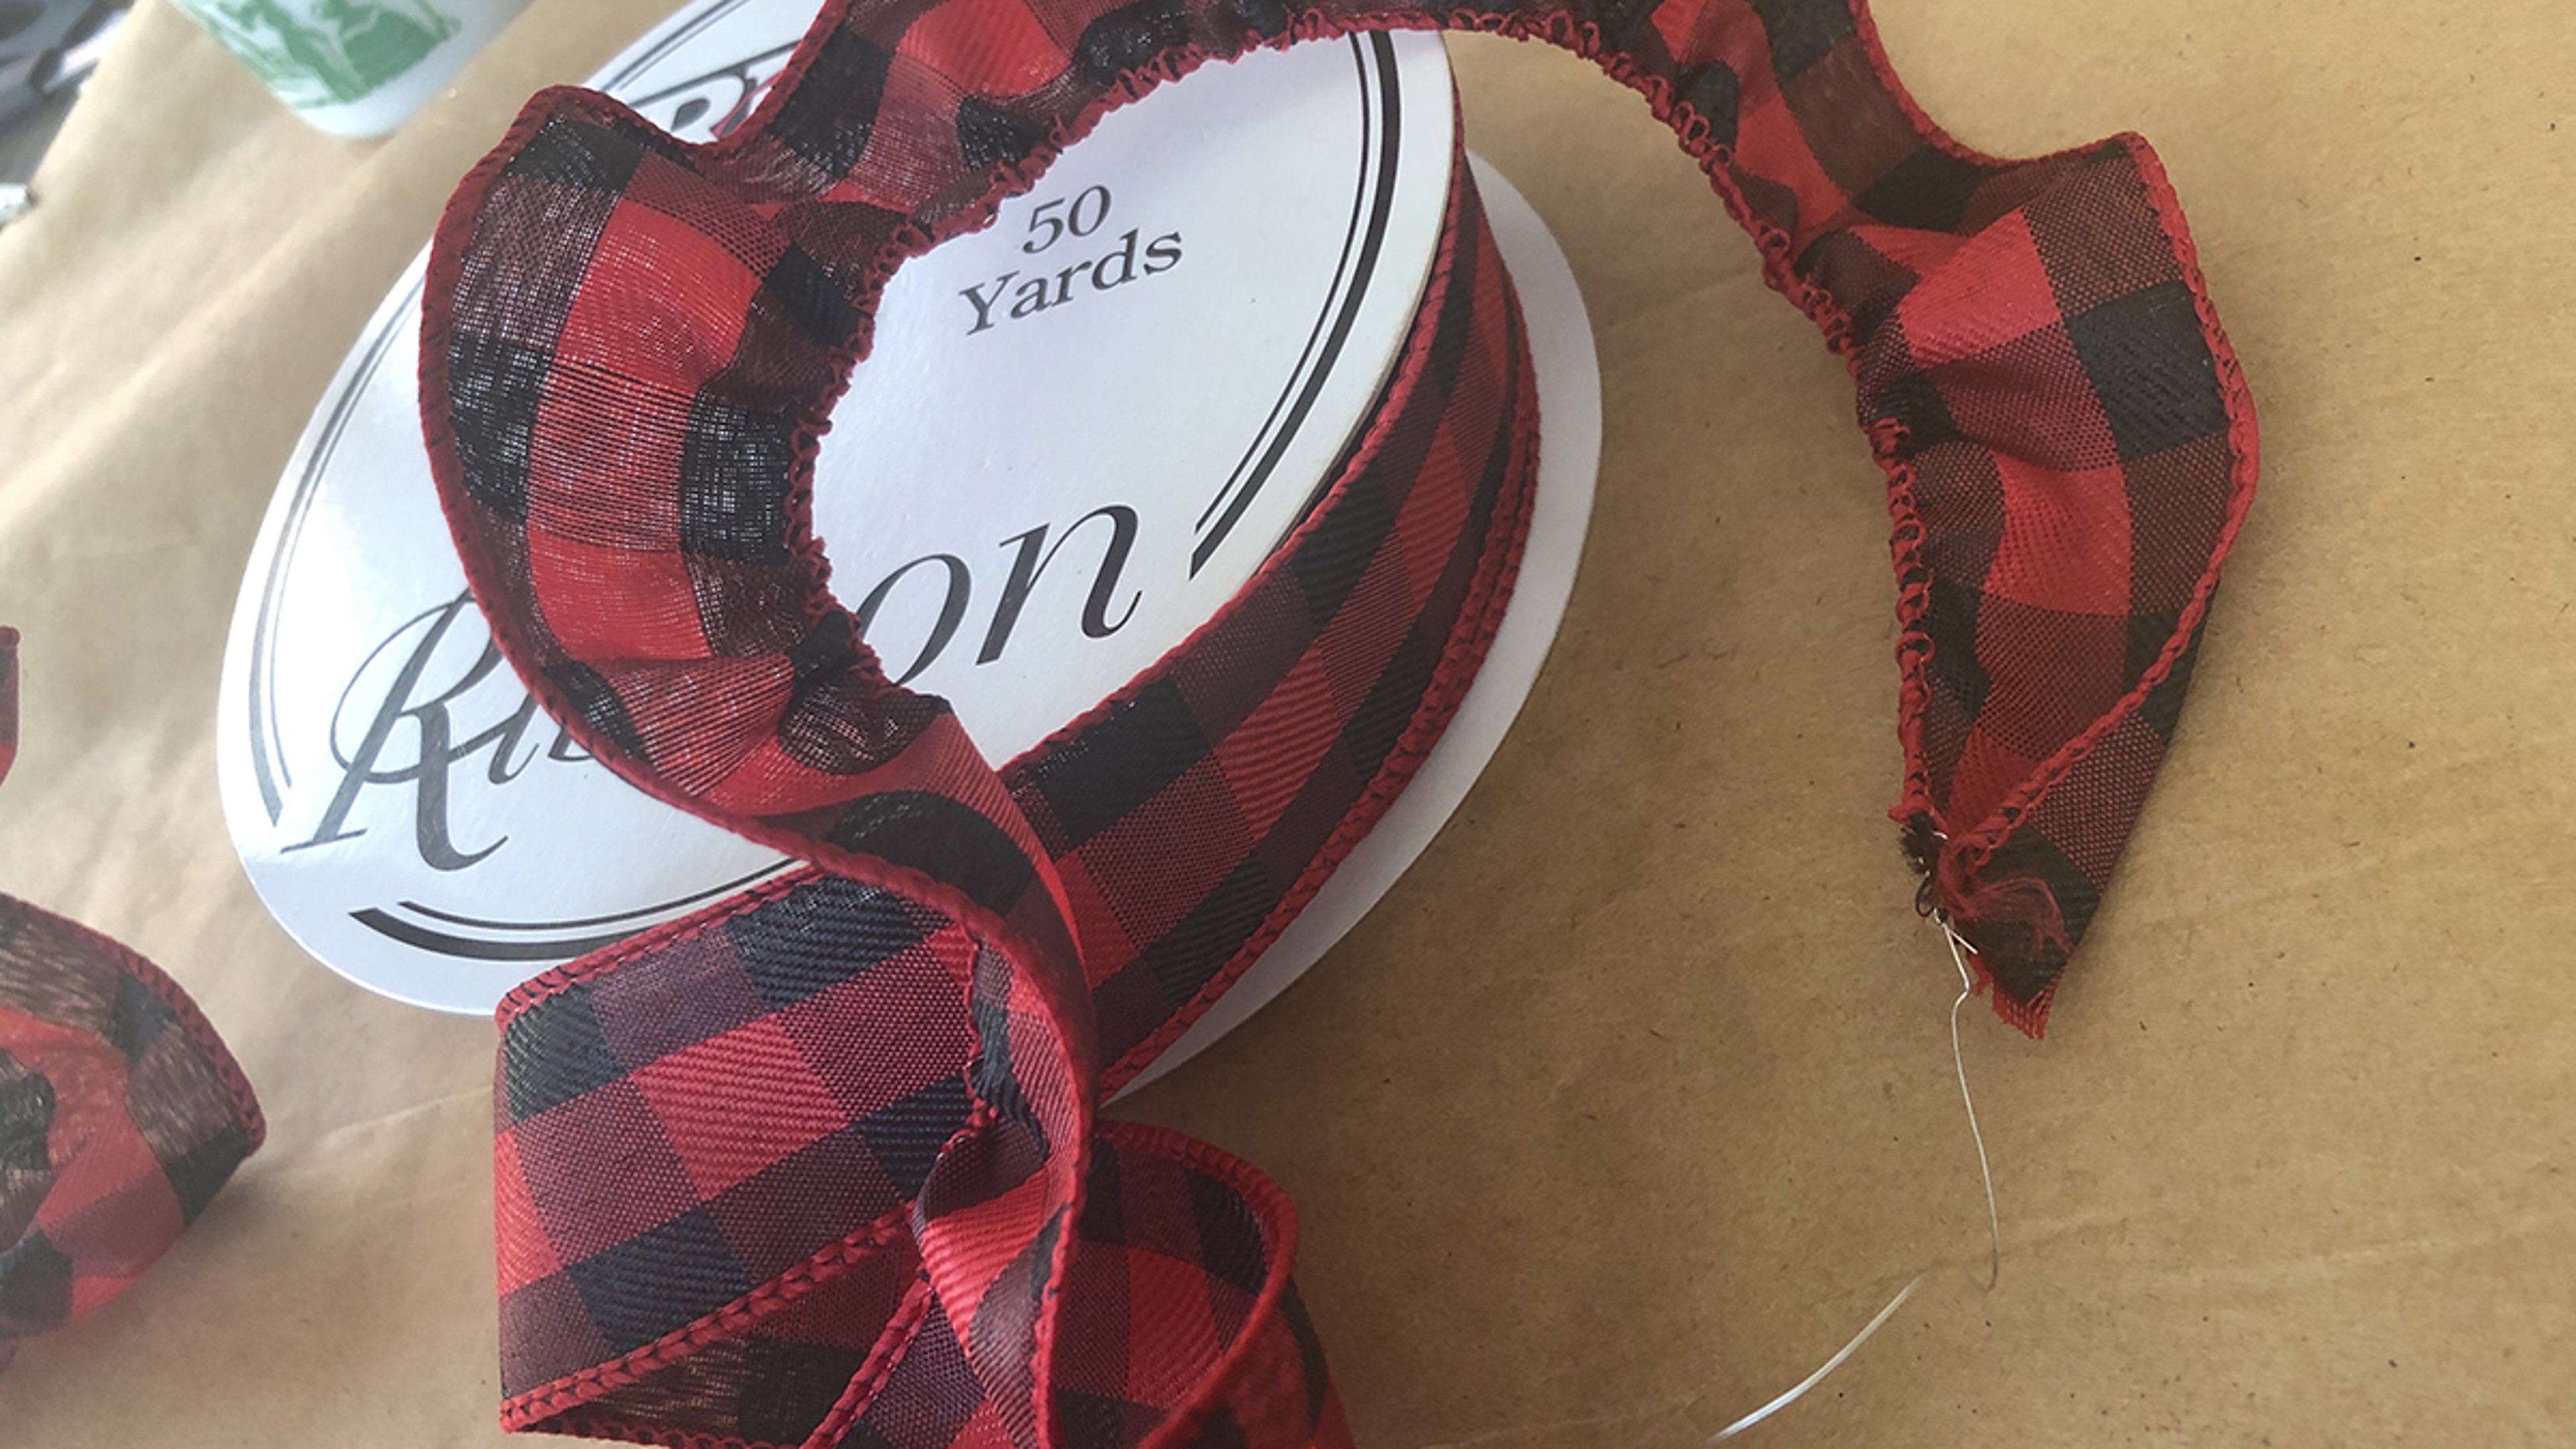
To make a ruffled edge, simply hold the end of one of the wires and keep sliding the ribbon down the wire on that one side. Keep doing this until you have the length of ribbon you need.
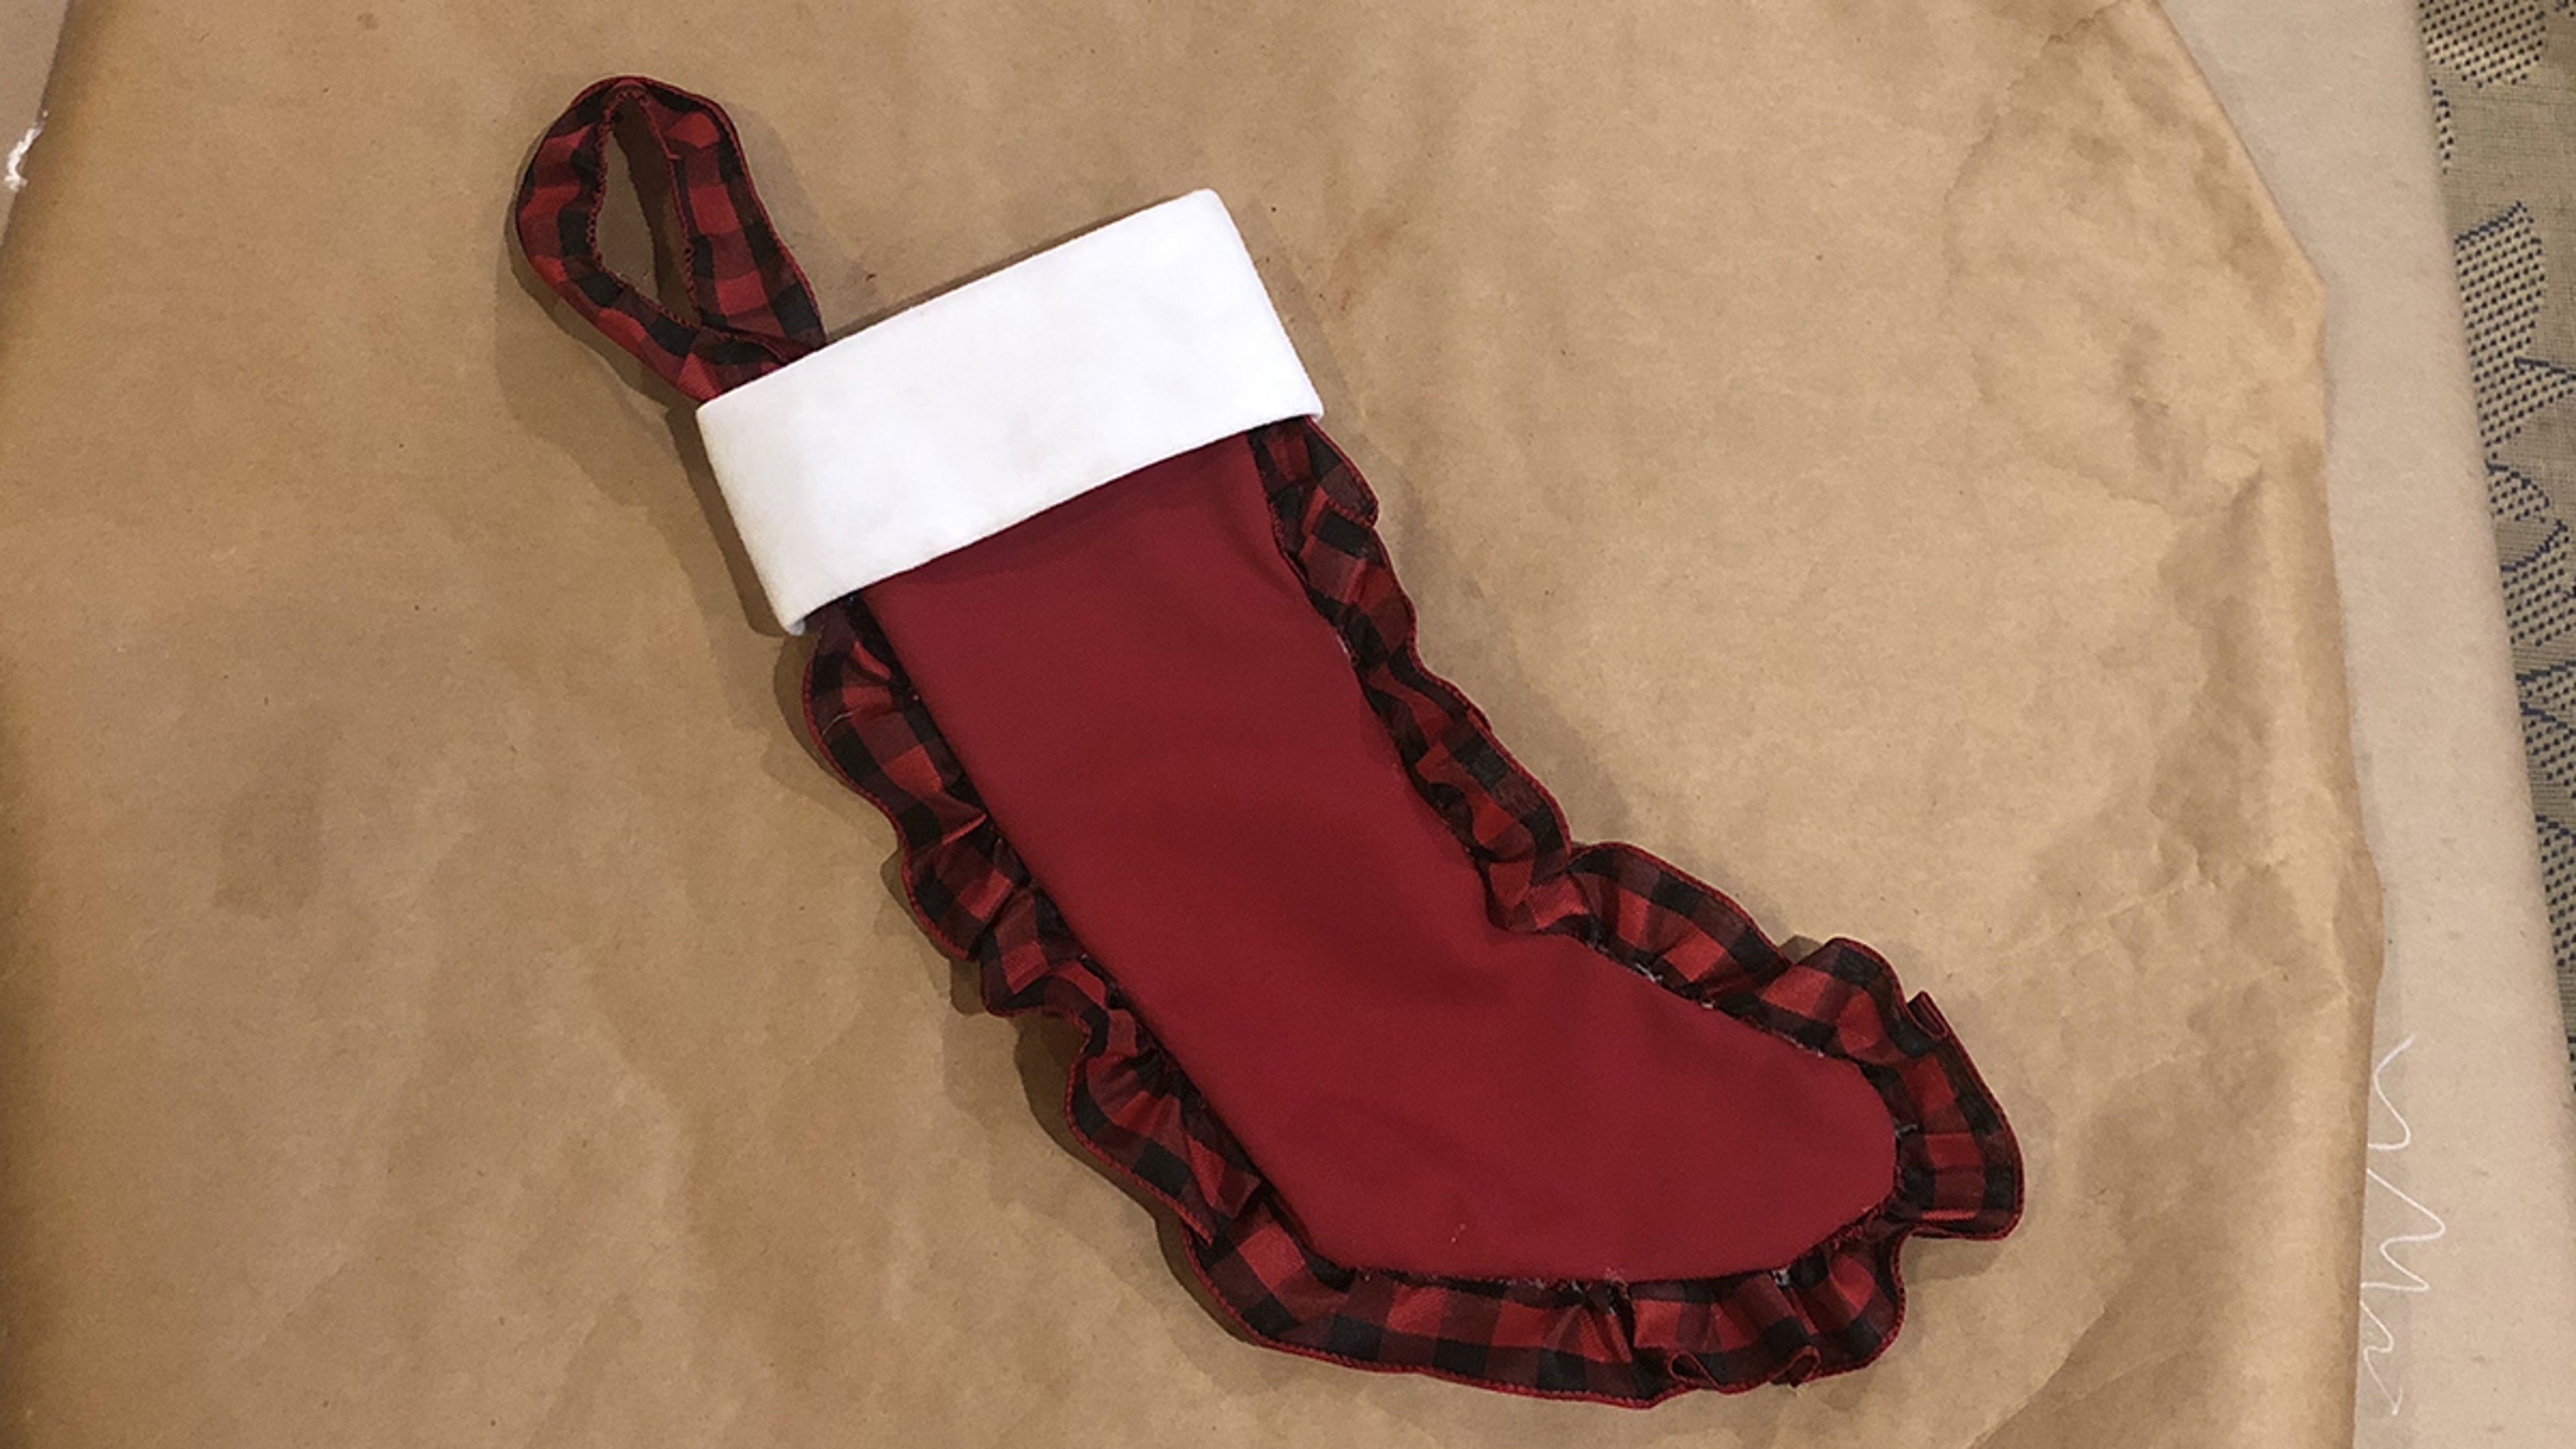
I attached the ruffled ribbon all along the edge of the stocking using a glue gun. I also made the loop for hanging from the same ribbon.
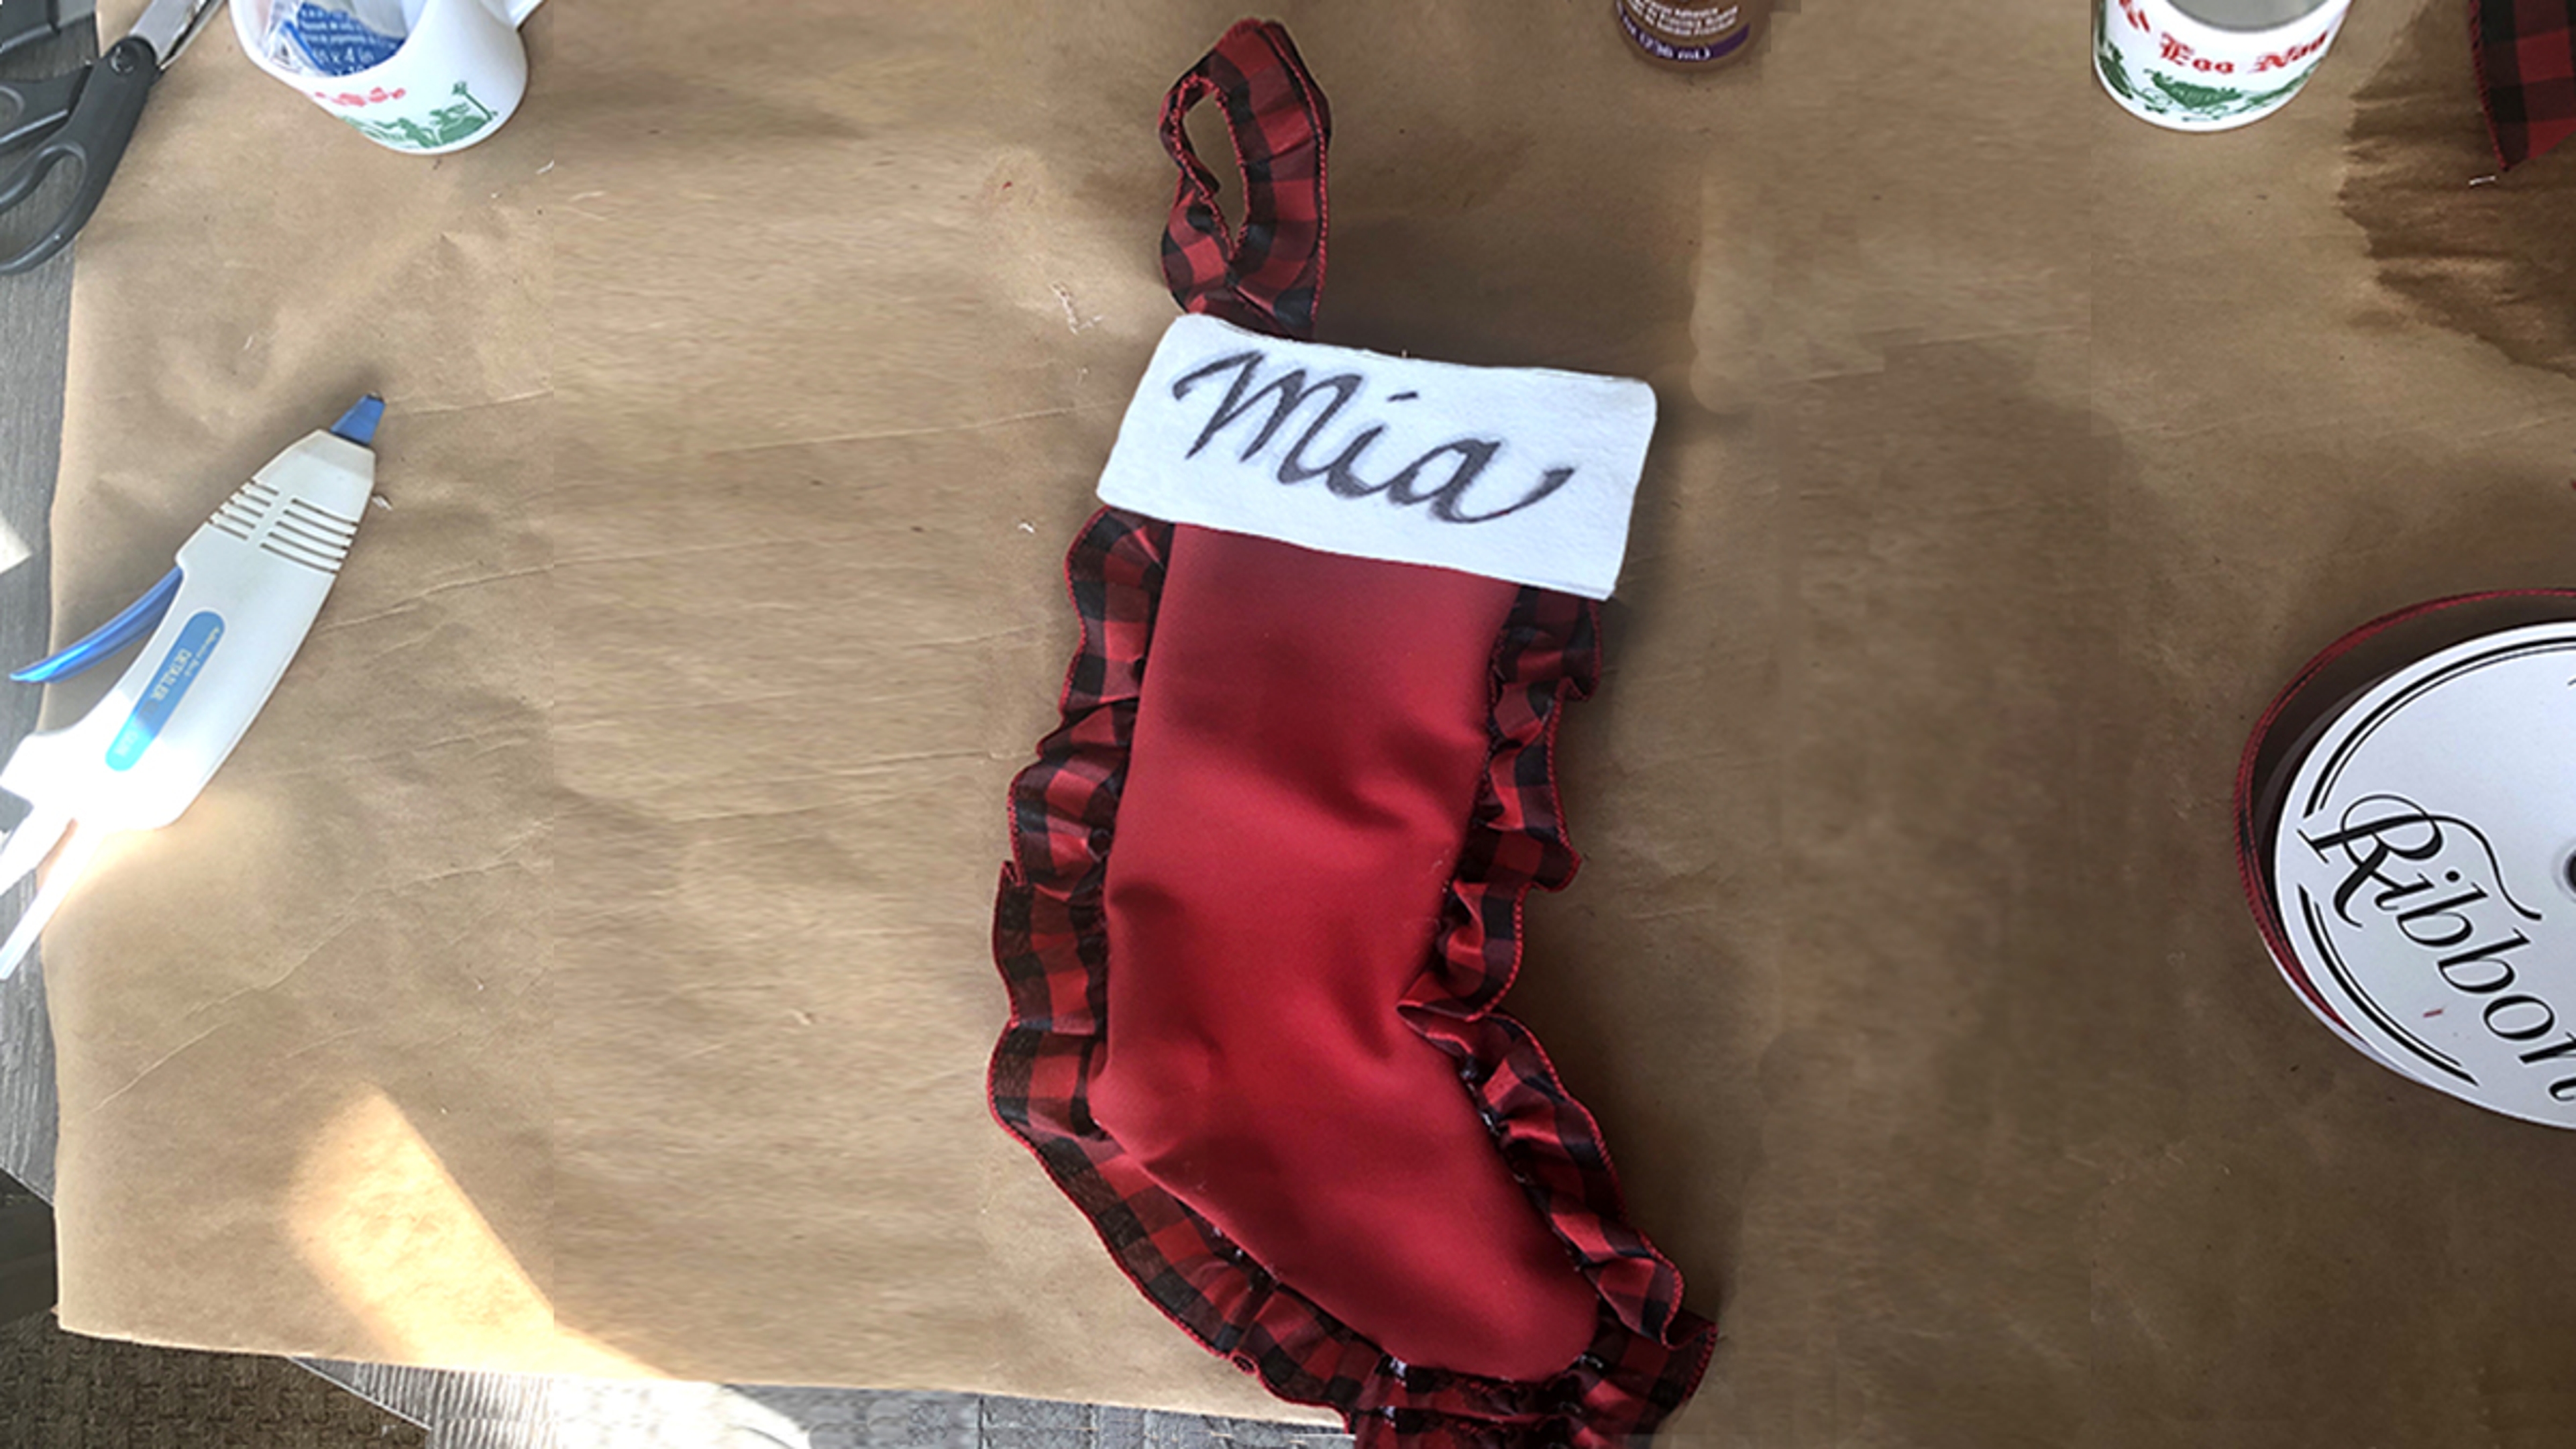
At this point, I thought it needed a little more personalization, so I added a name on the cuff. If you want to create your own custom stocking but don't have the time, you can always order one online.
While making this stocking using only glue was fairly simple, I decided that sewing the stockings would be faster and easier, and make them more secure and functional. However, as I said before, I am not a sewer, so I called my good friend, Ann, who is a master quilter, for assistance. She was happy to help, and it turned out to be a great afternoon of holiday crafting and spending time together.
Making a mini Christmas stocking
We decided to do two stocking sizes: a traditional size and some minis that would be great for gift cards.
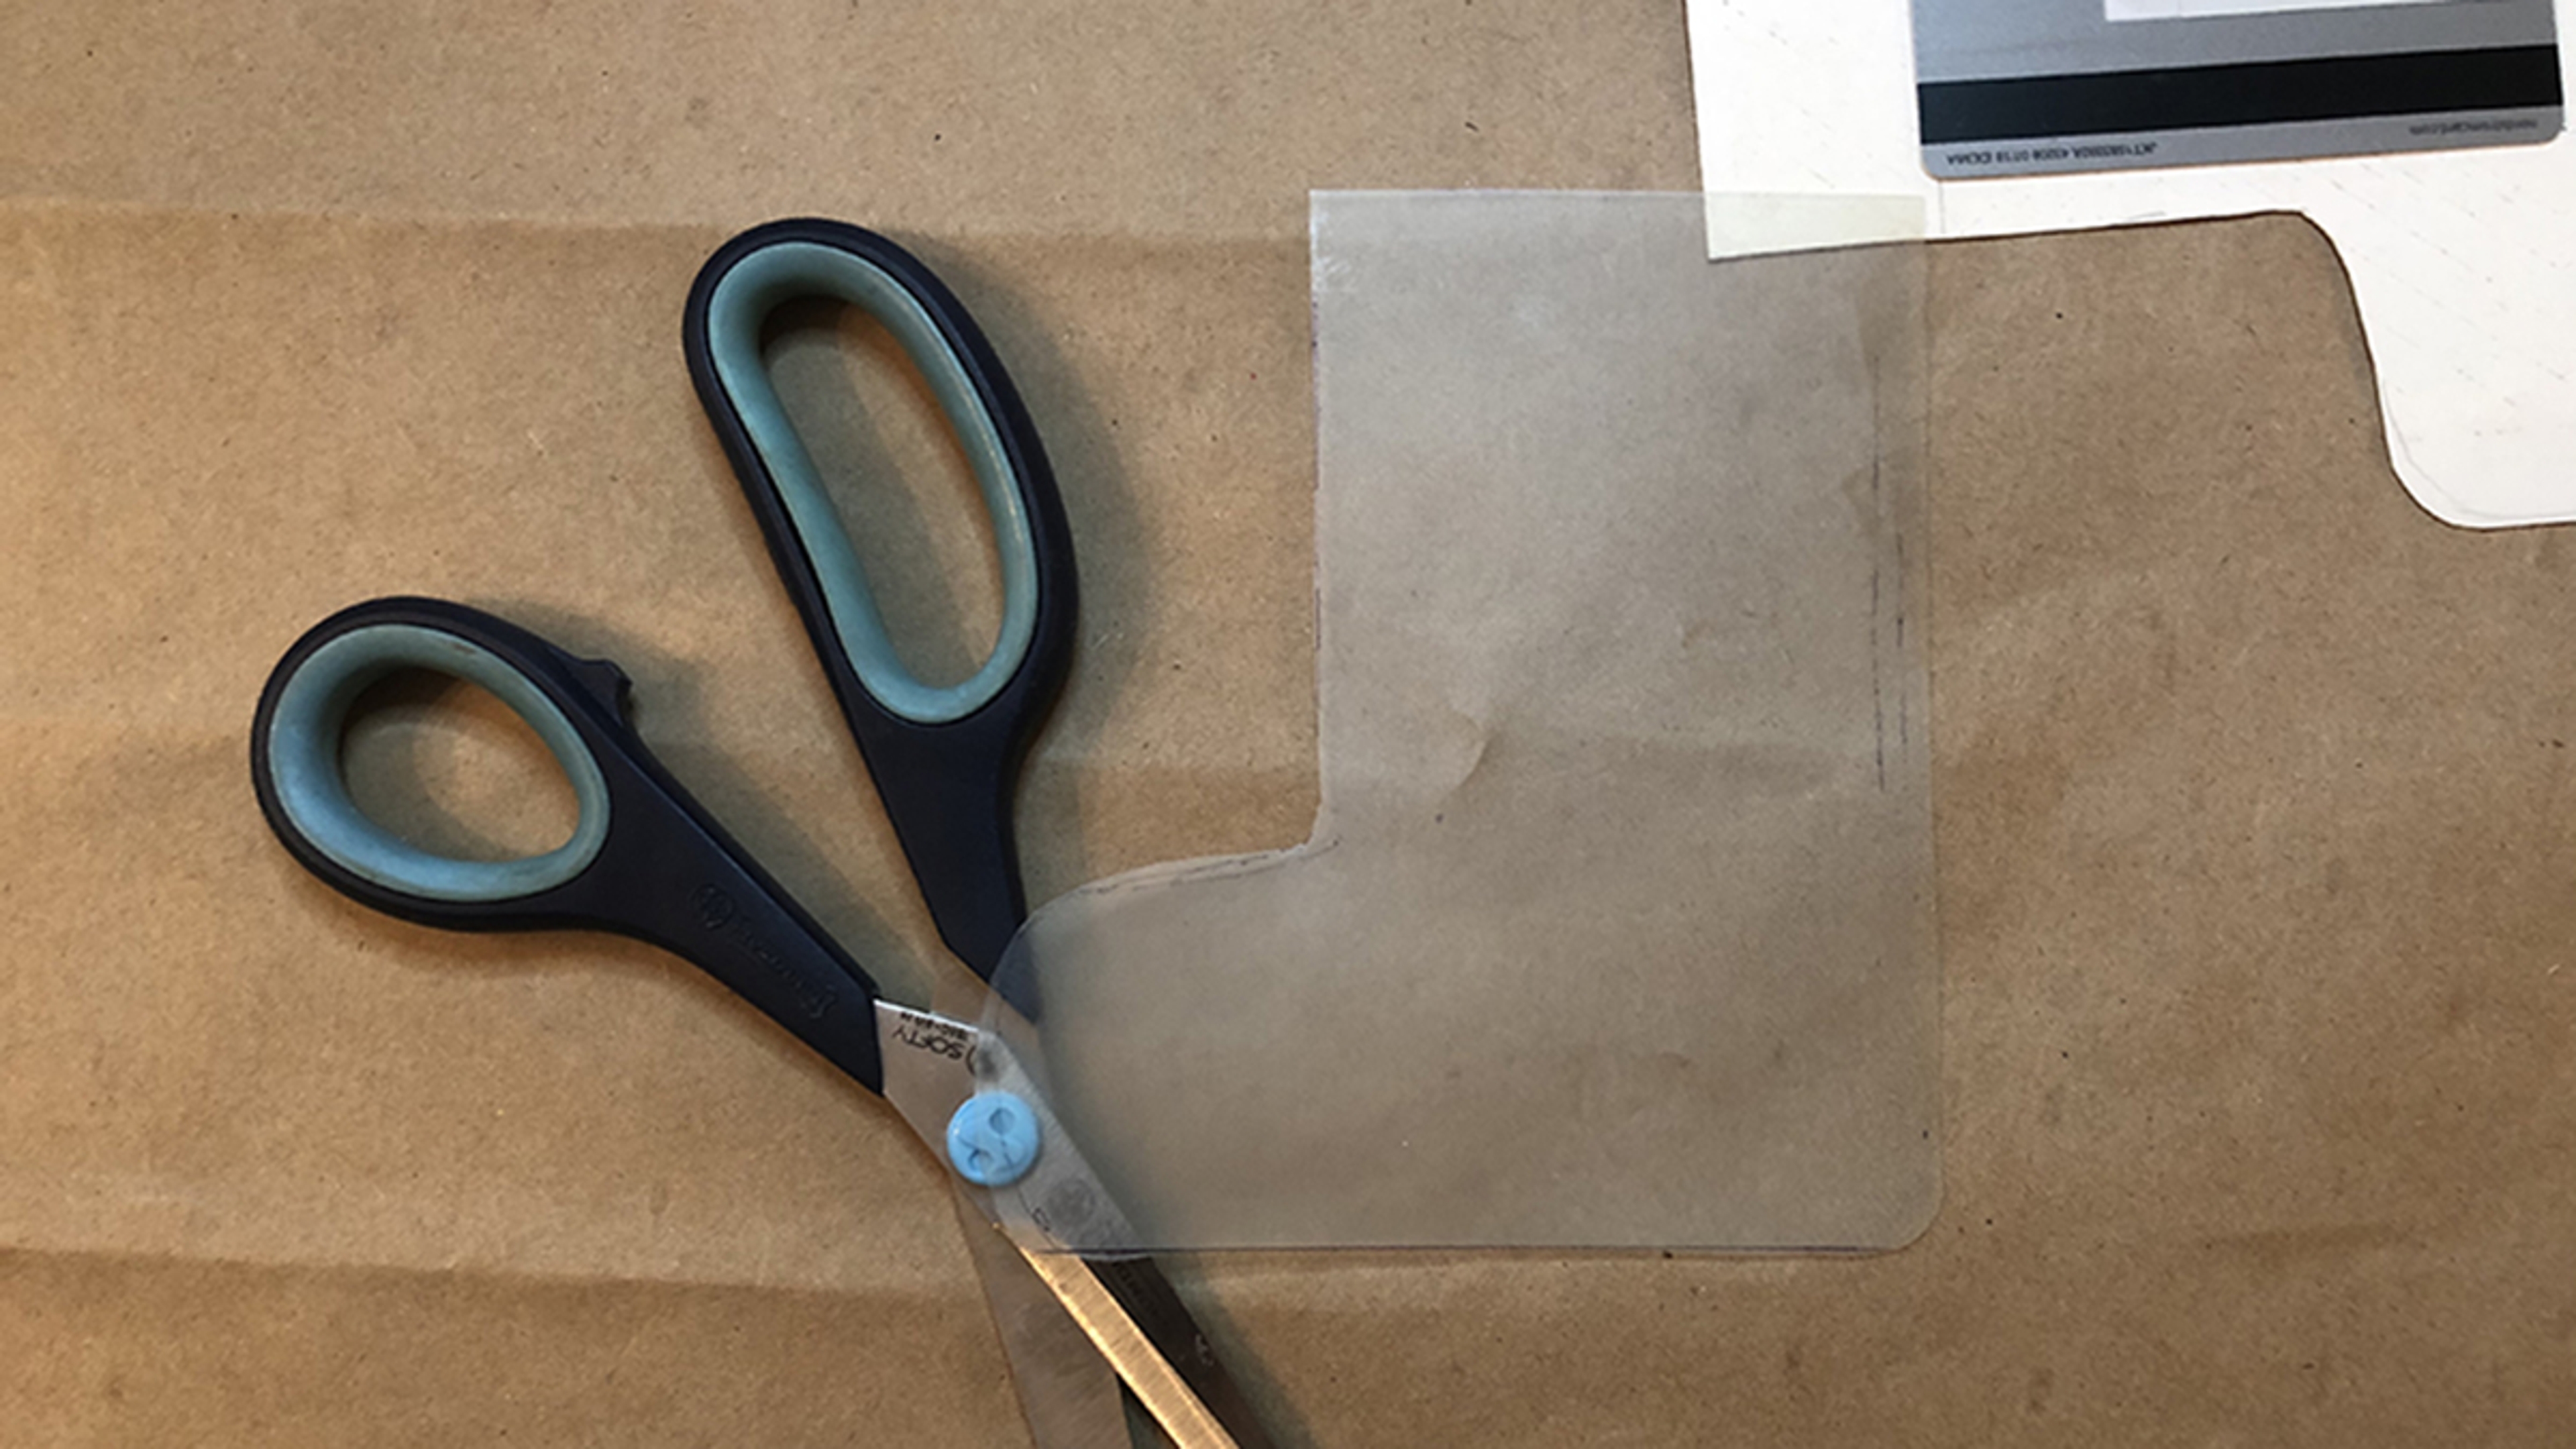
No matter the size you choose, you still need to start with a template. I used a credit card/gift card as a guide and drew the finished size that I wanted the mini stocking to be.
Next, I created the final template that is a quarter inch larger all around to allow for the seams. Then, I followed the same steps as above.
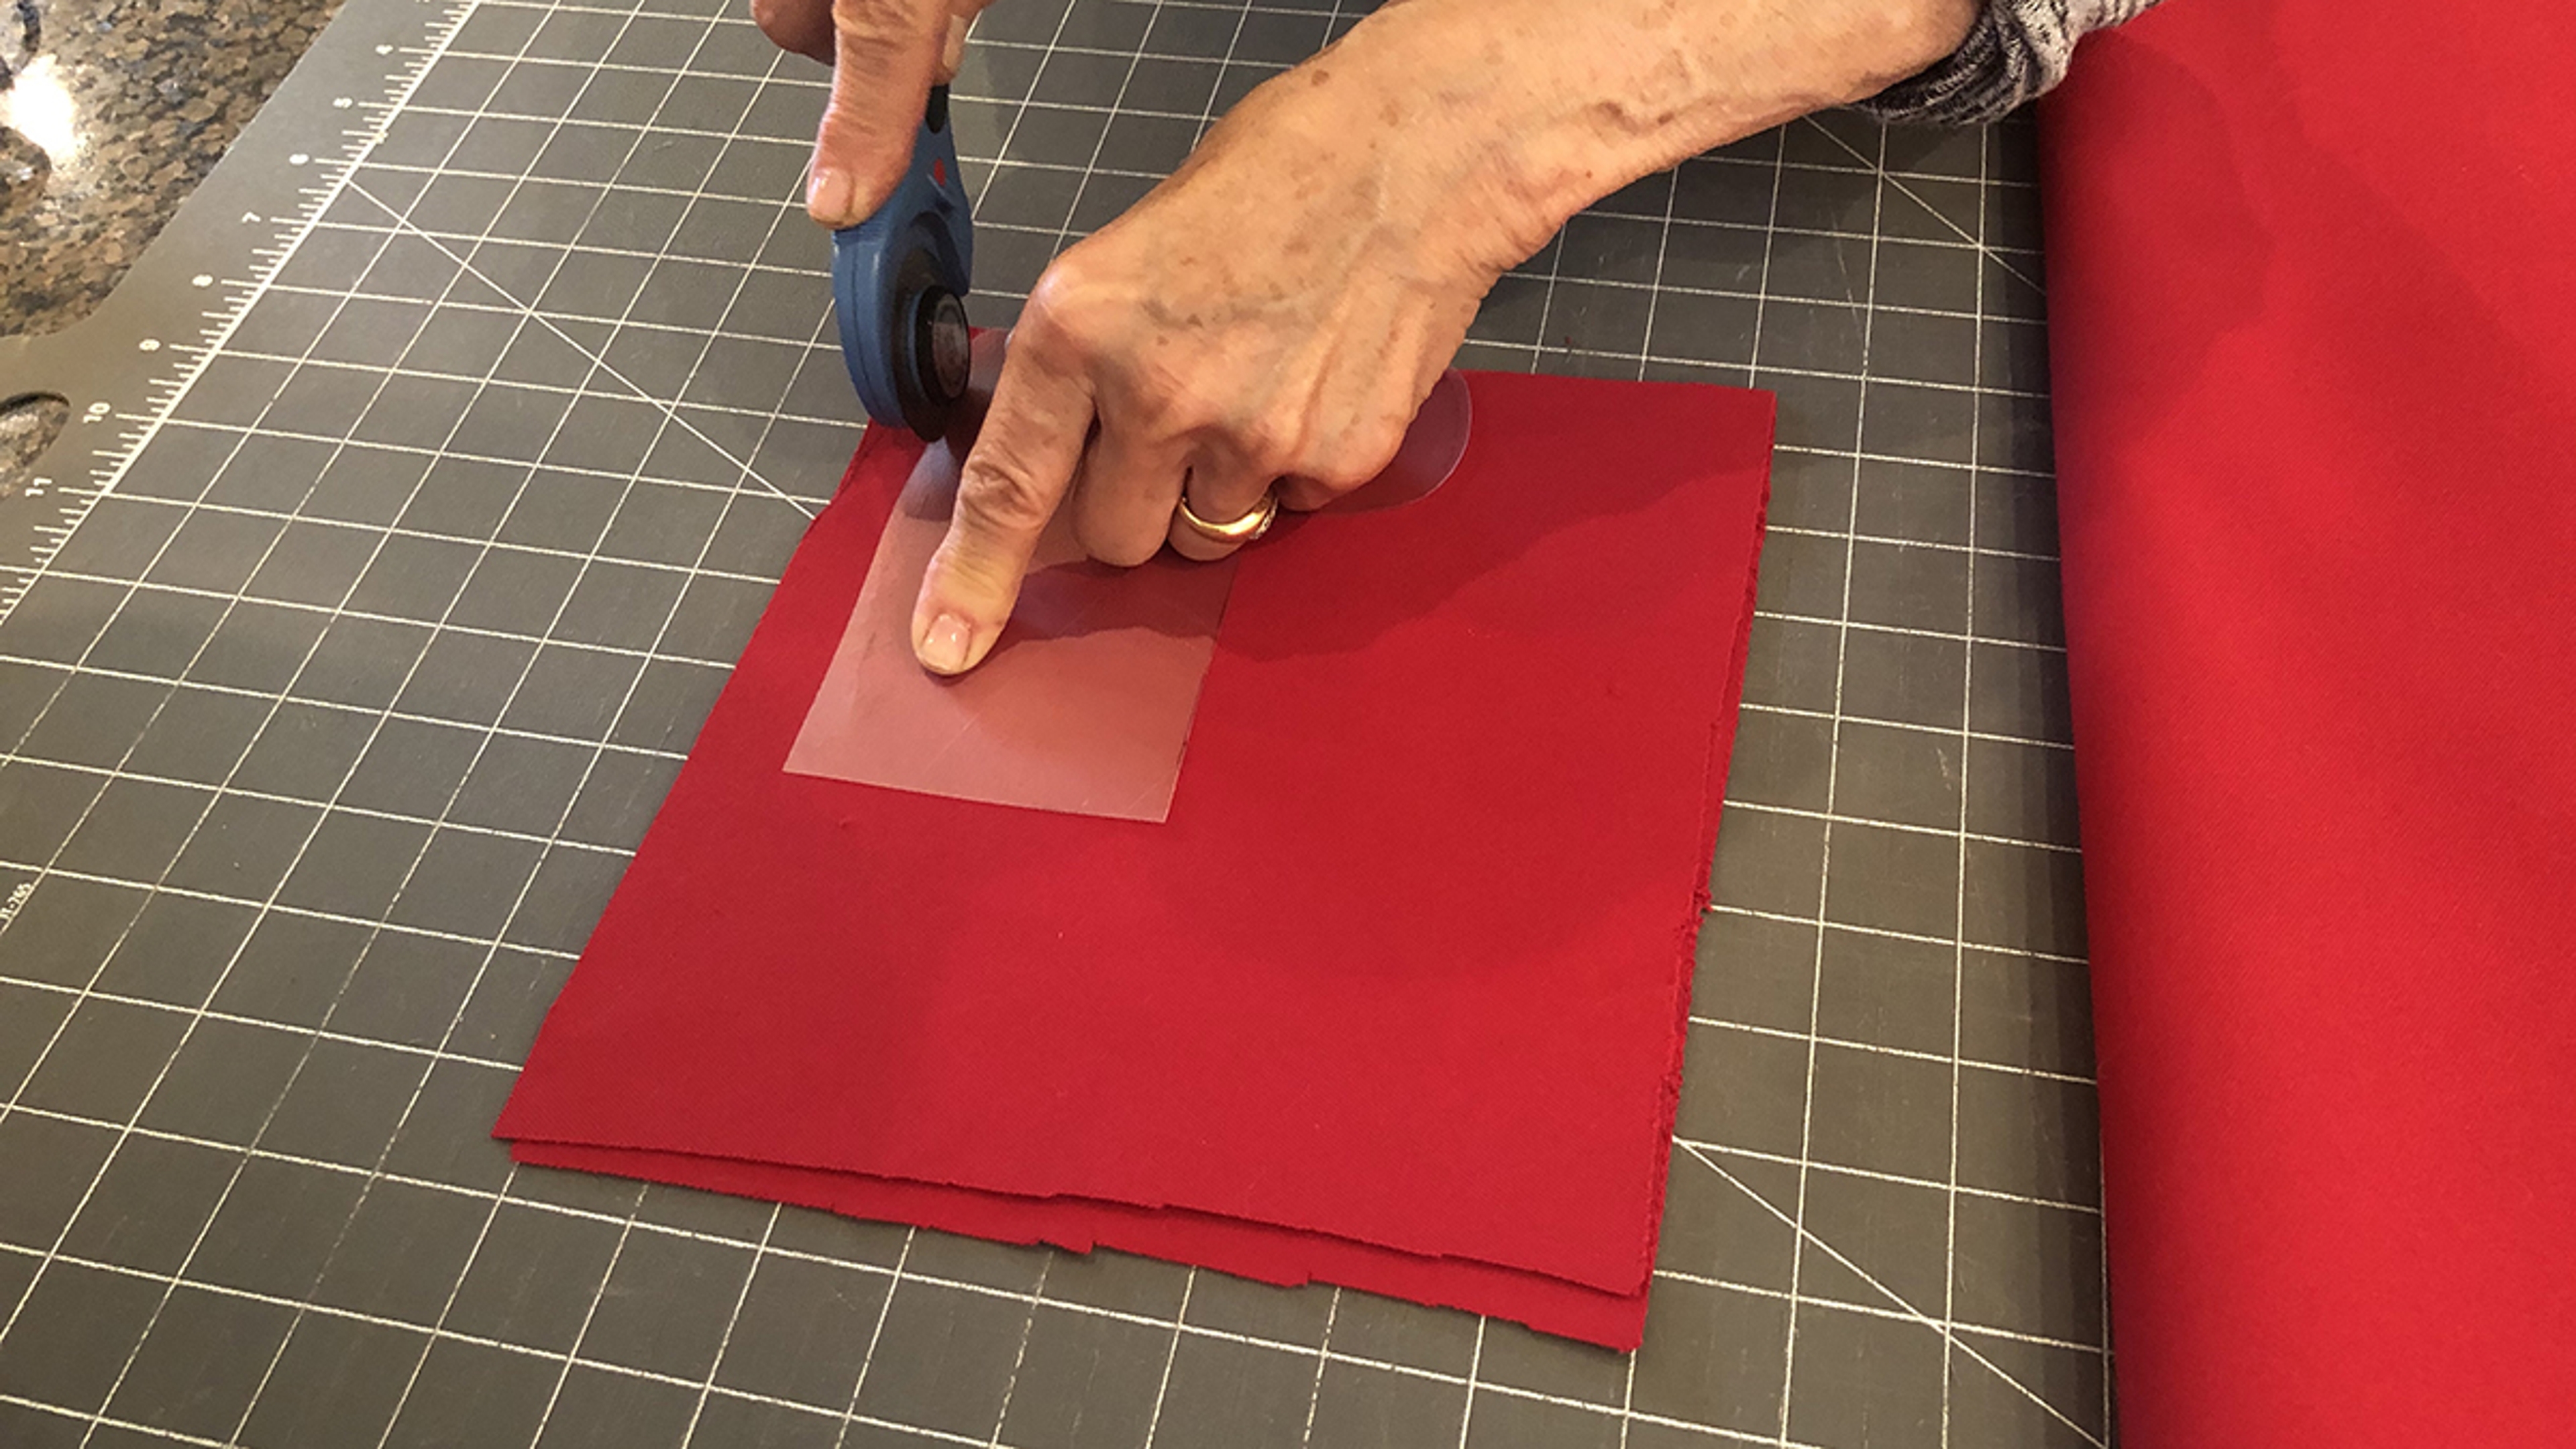
Place the template on two pieces of fabric and cut both pieces at the same time.
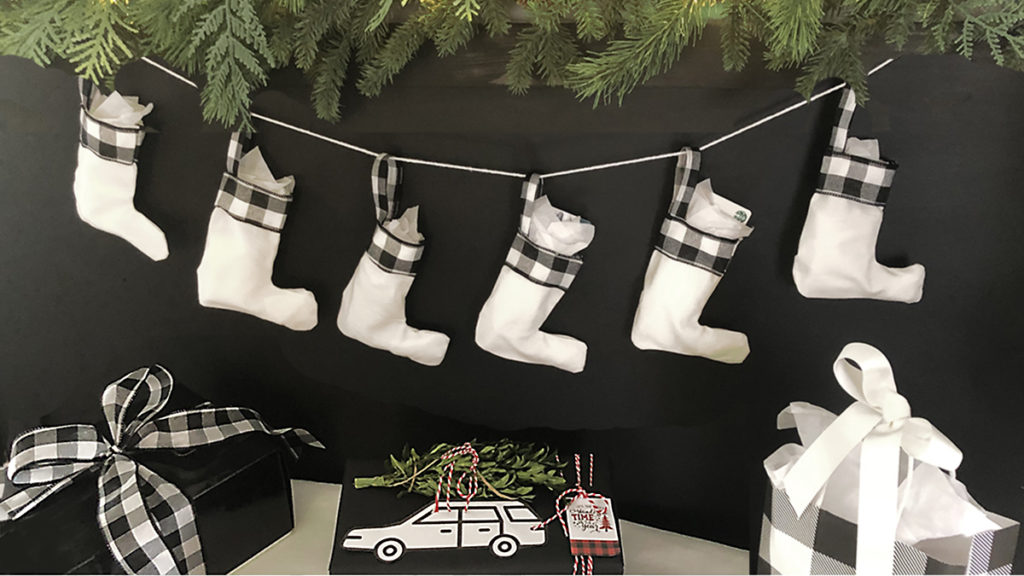
How adorable are these? We went all out on the buffalo plaid, making both red stockings with red and black ribbon cuffs, and white stockings with the black and white buffalo plaid ribbon cuffs. For both versions, we used the same ribbon for the loops.
I will definitely incorporate these mini stocking gift card holders into my wrapping plans this and every year!
More DIY Christmas stocking design ideas
Next, I laid out all the beautiful fabric remnants I bought and had fun putting these fabulous combinations together. Holiday stockings are just one more way to customize your holiday decorating or gift giving. Who said stockings need to be traditional? Why not have them match your style, maybe even using the same fabric as your pillows or curtains?
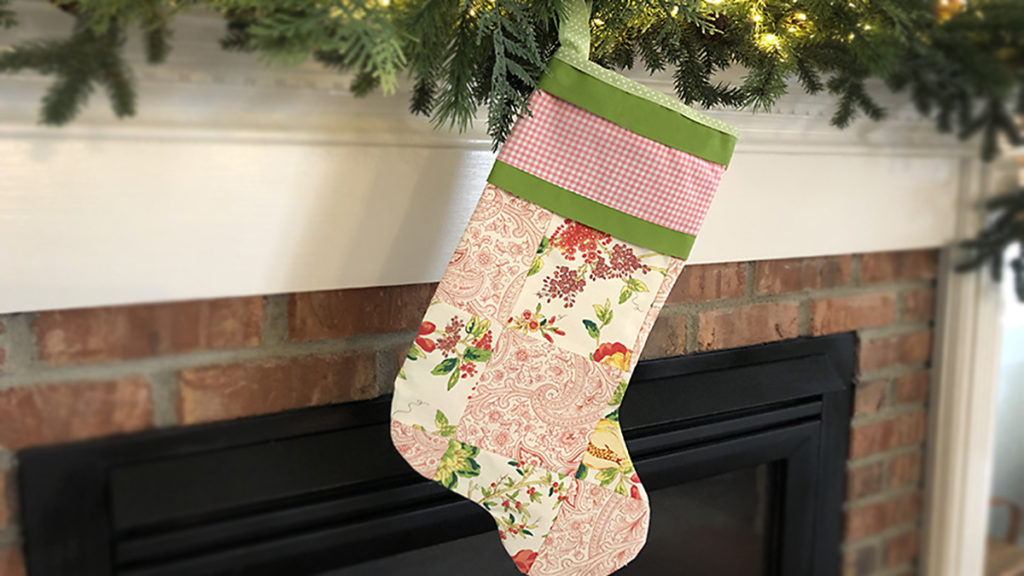
This stocking would be perfect as a gift bag for my quilting friend, Ann. I love the layering we did using both fabric and ribbon for the cuff.
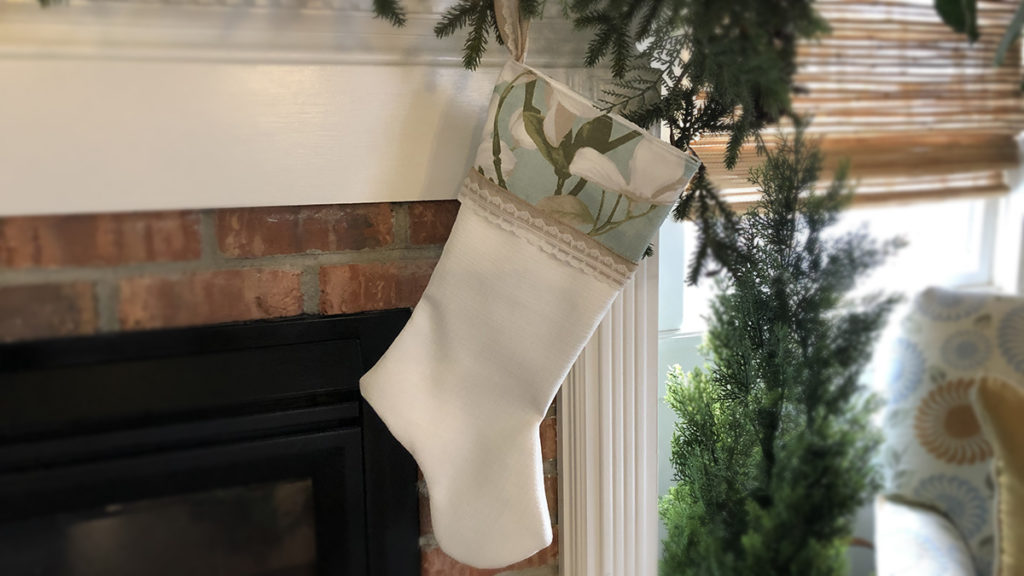
This version is so pretty and modern looking. Adding the burlap and lace ribbon trim on the cuff adds just a touch of rustic to an otherwise elegant stocking.
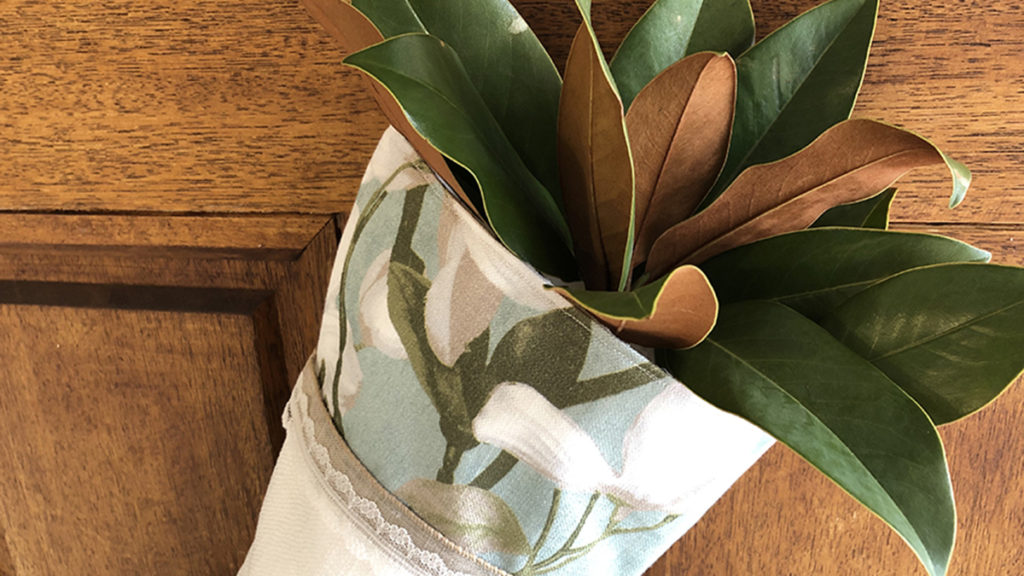
How great does it look on a front door brimming with magnolia leaves?
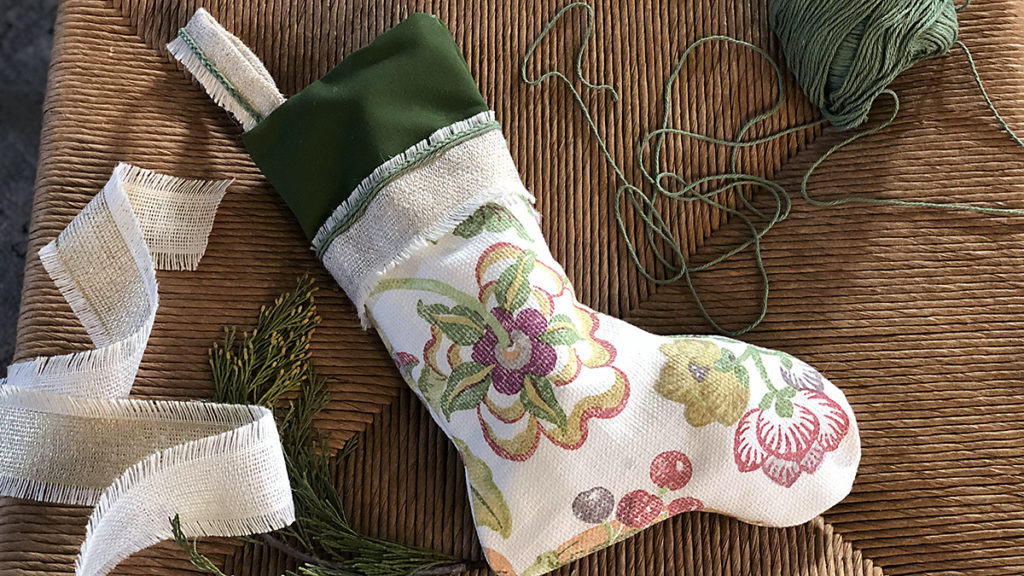
There's something about all the texture in this combo that just did it for me! Again, it's all in the details. Braiding the green yarn before gluing it to ribbon edging just brings it to the next level.
Ann and I had so much fun creating these beautiful stockings, and we hope they inspire you to try making some of your own.
I found the right combination for a detailed and structurally sturdy stocking was sewing the main portion and gluing the details. Find the method that's right for you and remember — just have fun with it!
AUTHOR

Julie started her career in the floral industry over 30 years ago in a small, family-owned flower shop. From floral designer to author and lifestyle expert, her insight has been instrumental in developing the 1-800-Flowers.com brand. Representing the company’s floral lifestyle vision, Julie has shared her talent and passion in numerous television appearances and national magazine features. She is an active fundraiser and longtime friend of IGHL, a group dedicated to facilitating a more independent life for developmentally challenged adults.


