SUBSCRIBE
Inviting ideas and advice to help you connect, express & thrive
Gifting Advice
Gifting Tips
Design Ideas
Rituals and Traditions
Floral and Food Trends
Celebrate Occasions
Mastering the Holidays
Showcasing Parents
Seasonal Trends
Share your Love
Everyday Moments
Securing Relationships
Coping with Loss
Key Milestones
Expertise and Education
Make an Impact
Giving Back
Moments of Connection
Memories and Stories
The World Around Us
Jim’s Corner
Flower Facts
Shop
Inviting ideas and advice to help you connect, express & thrive
Front Porch Ideas That Will Give You a Stylish Summer
Give your home's entryway a welcoming look with these easy tips.
Read More
Editor's Picks
Flower Facts
What Your Birth Flower Says About You
Jim's Corner
The Secret to Living Beyond 100 & Loving Every Minute
Celebrate Occasions
Think Pink: How to Throw the Perfect Barbie Birthday Party
Birthdays
Anniversary
Sympathy
Flower Facts
The Plant Corner
The Latest
Jim's Corner
Life in Full Color: What Art Teaches Us About Friendship
Art helps us appreciate life’s beauty — and reminds us that friendship is life’s most colorful masterpiece.
Showcasing Parents
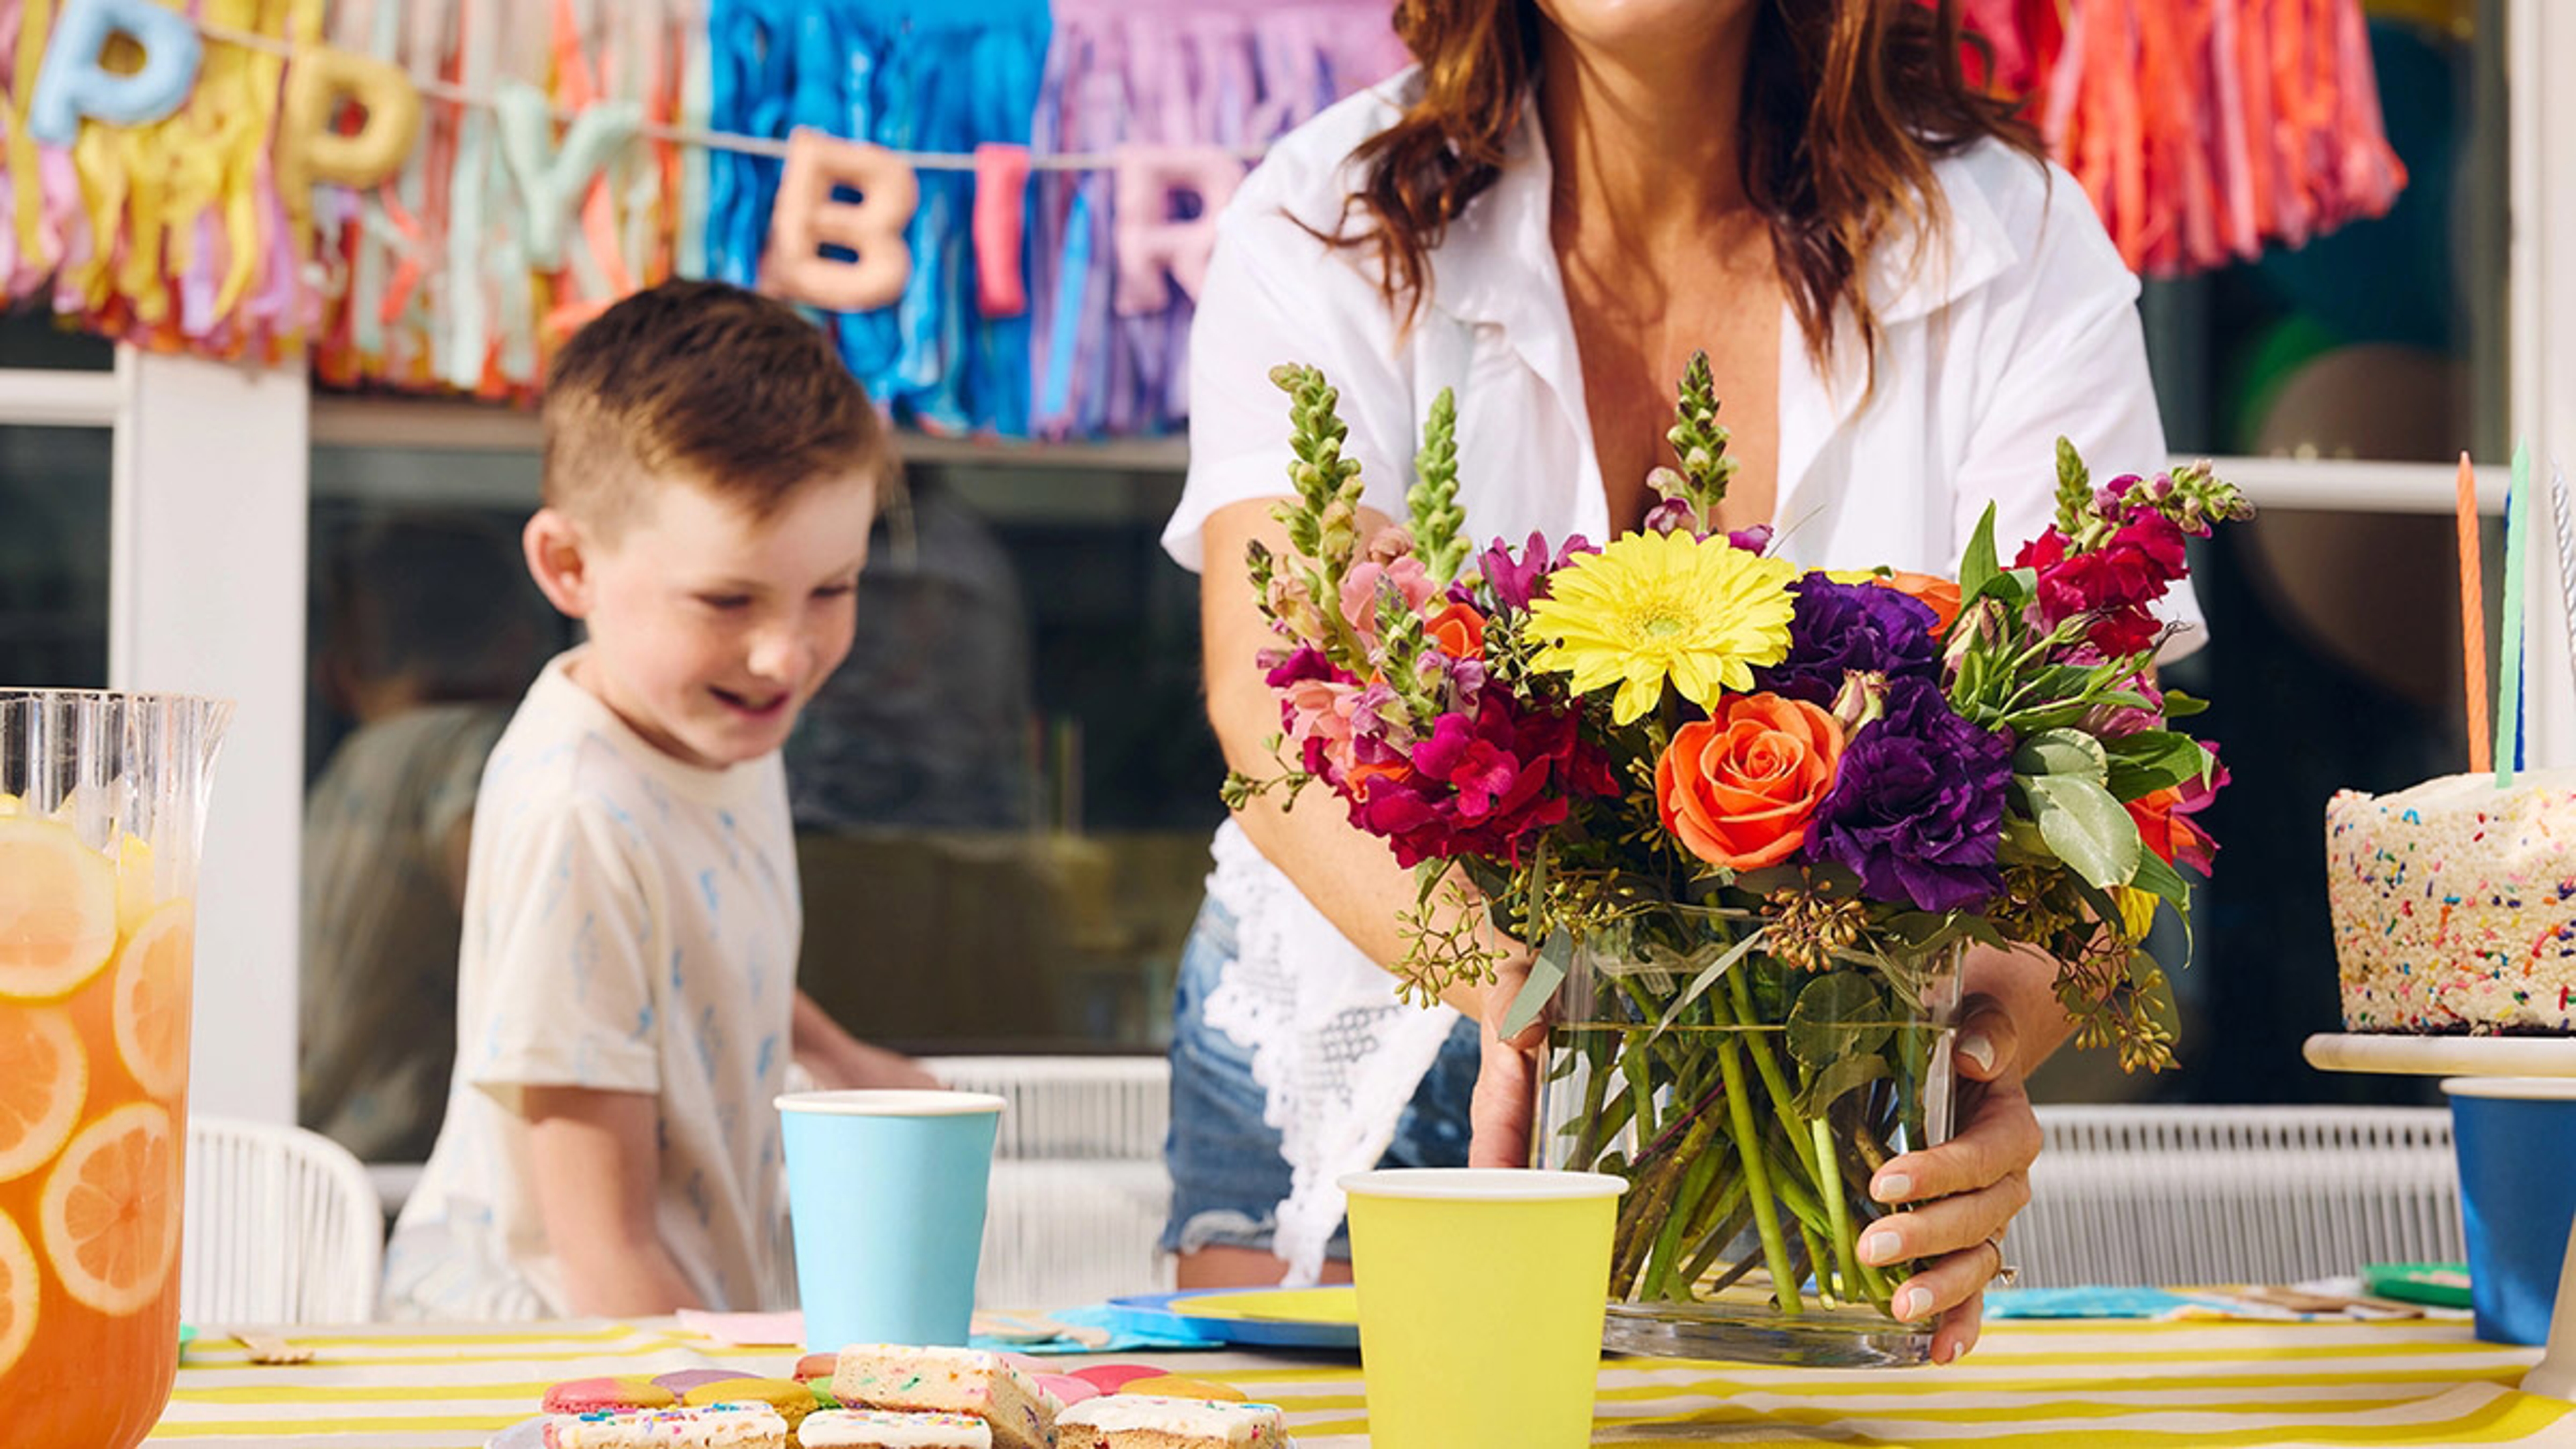
The Art of the Party with Amazing Mom Jacquelyn Kazas
The mother of two brings unforgettable celebrations to life with out-of-the-box themes, plenty of blooms, and kid-approved creative touches.
Jim's Corner
Why We Need Friends More Than Ever
Celebrate Friendship Month by reaching out — and seeing what blossoms.
Floral and Food Trends
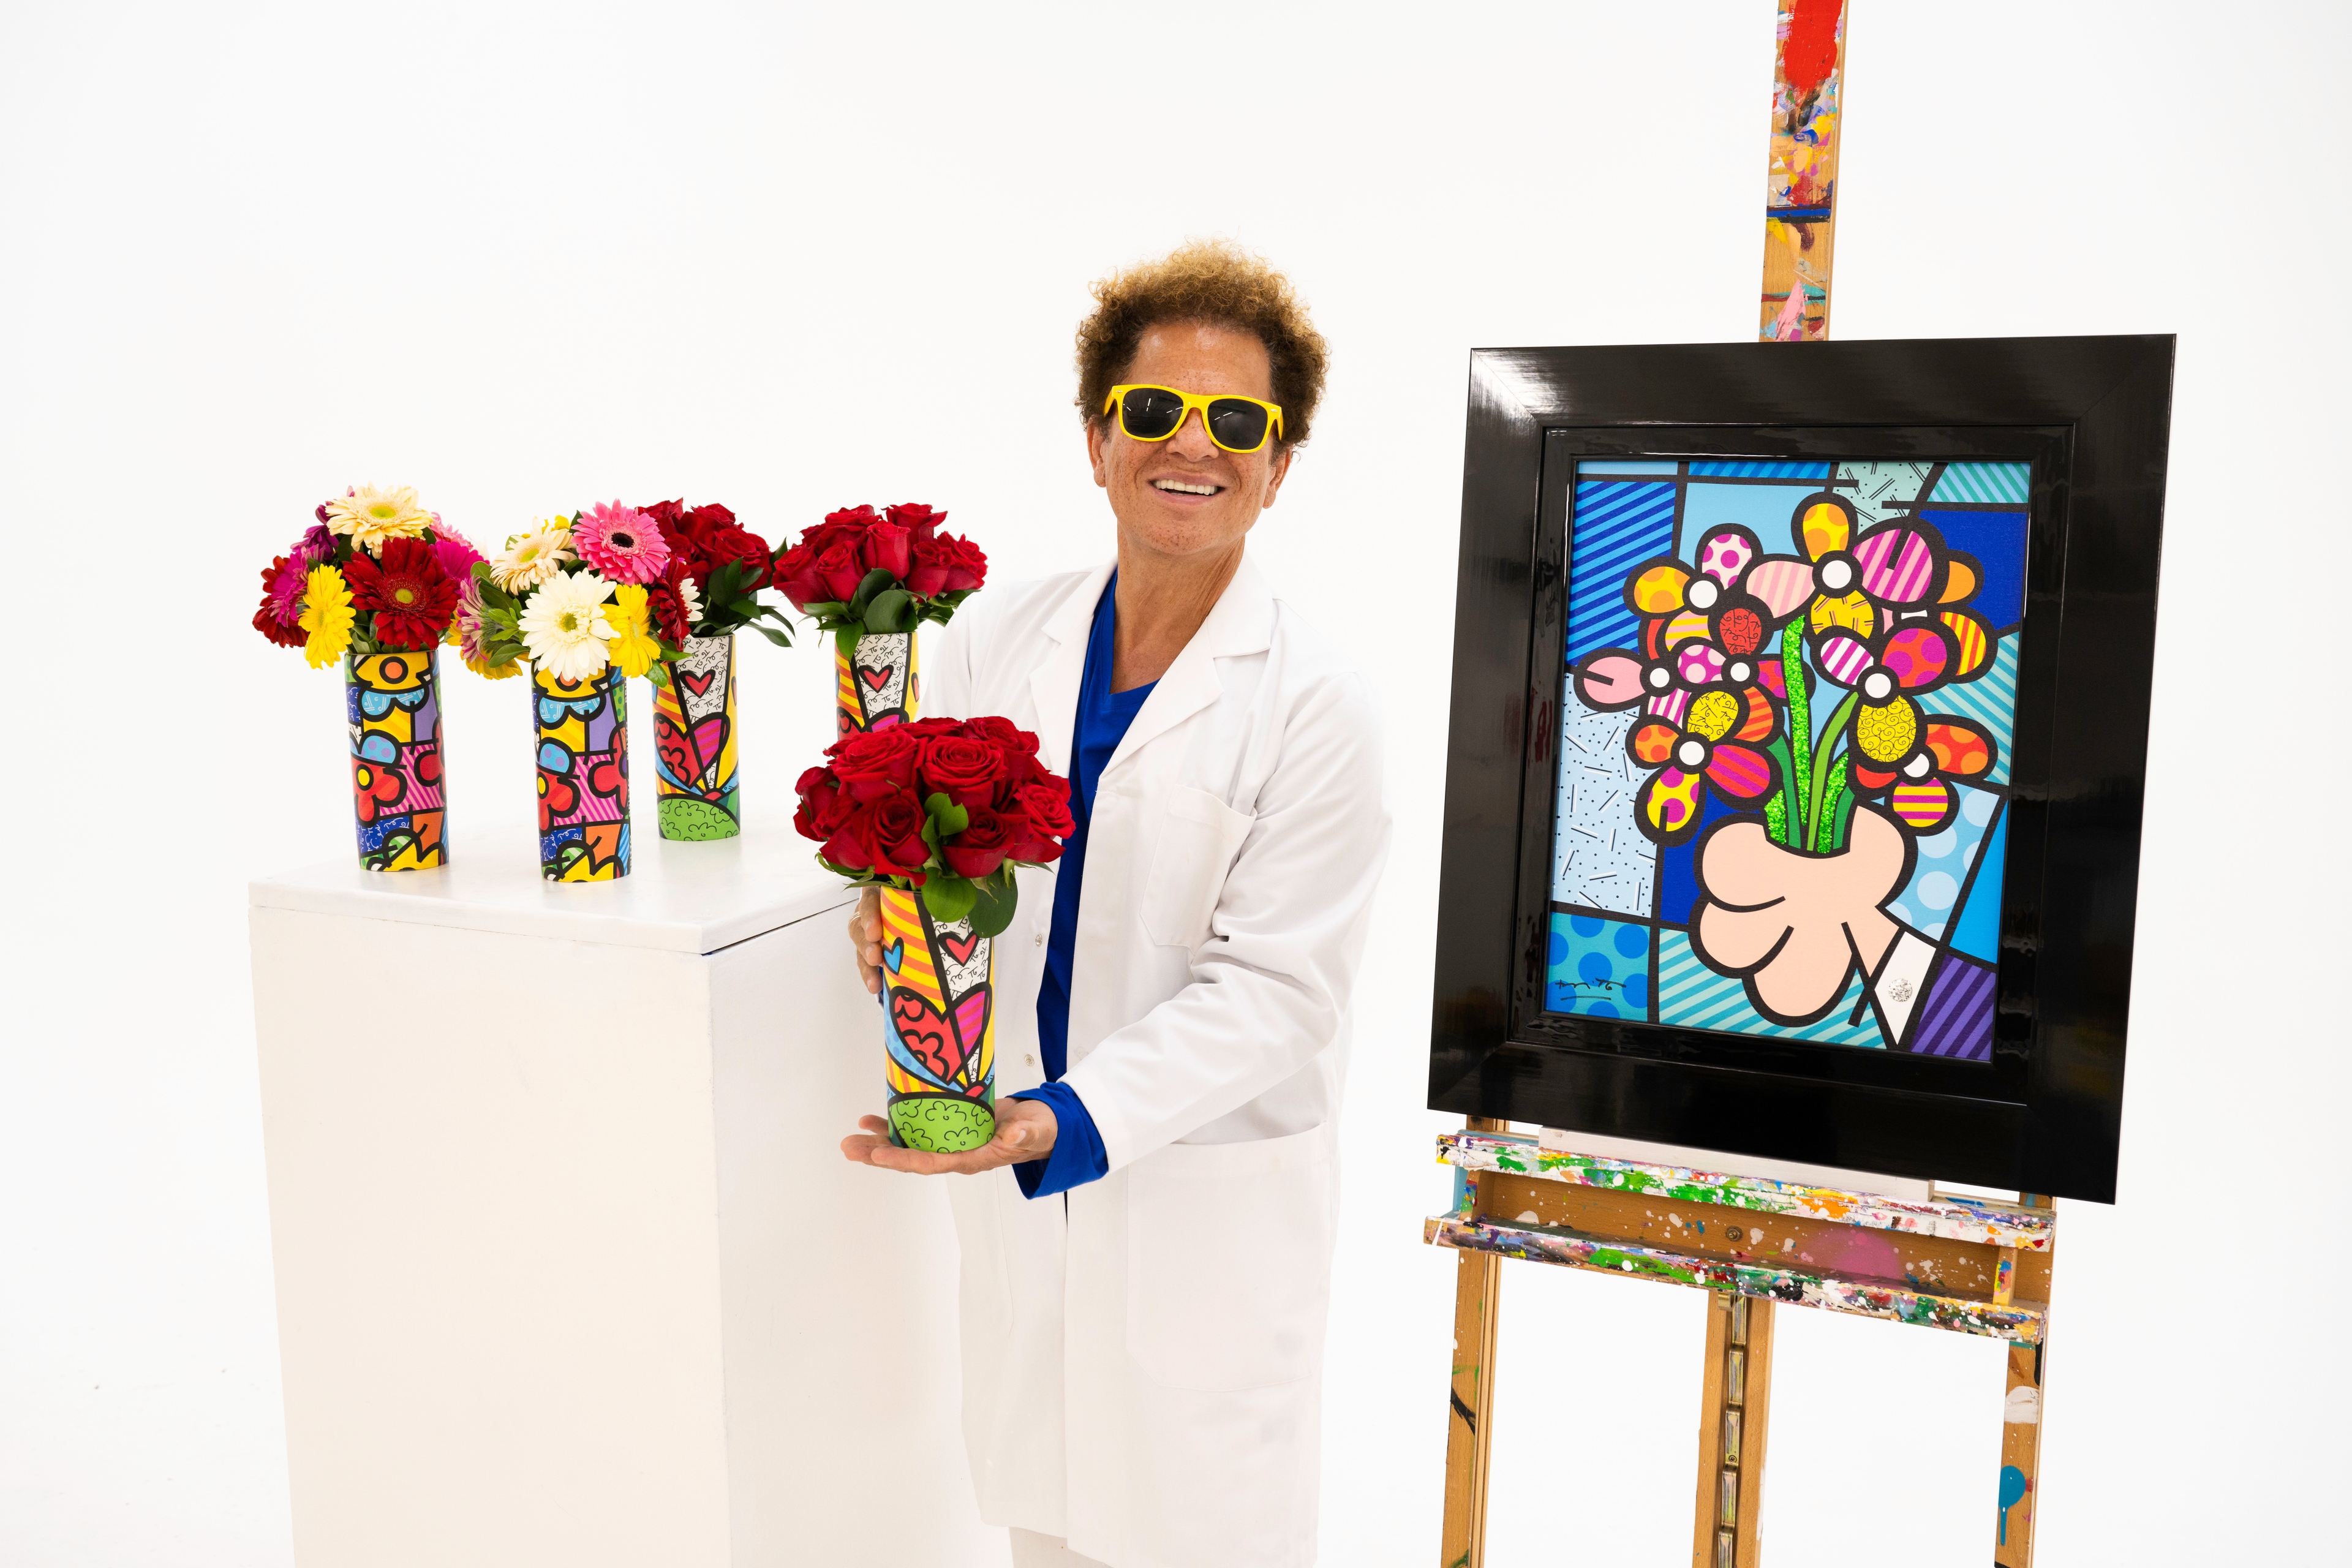
Meet Romero Britto: The Artist Behind the Happy Art Movement
Blending art and emotion, Britto’s exclusive vases transform each bouquet into a lasting statement of beauty.
Jim's Corner
More Than Fireworks: Reflections on July Fourth's Deeper Meaning
Why your Independence Day rituals matter more than you think.
Celebrate Occasions
Amazing Moms in Illinois Show Why Friendship Deserves a Seat at the Table
One woman brought together nine others. What followed was laughter, healing, and something that feels a lot like grace.
Load More