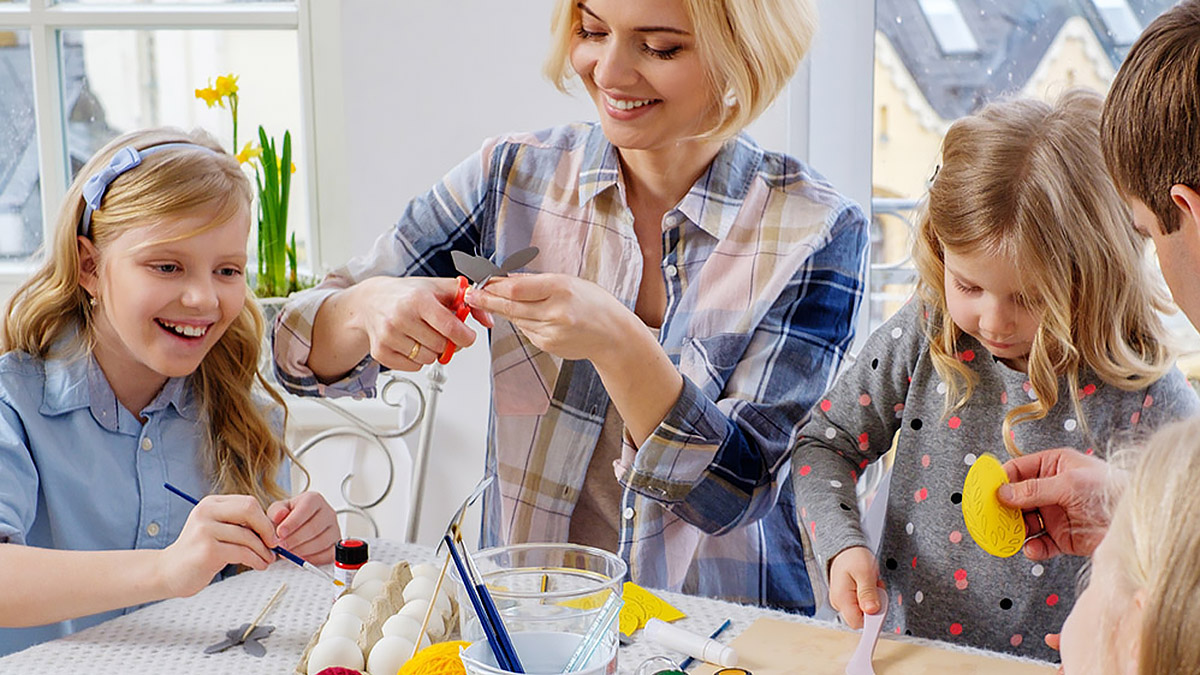
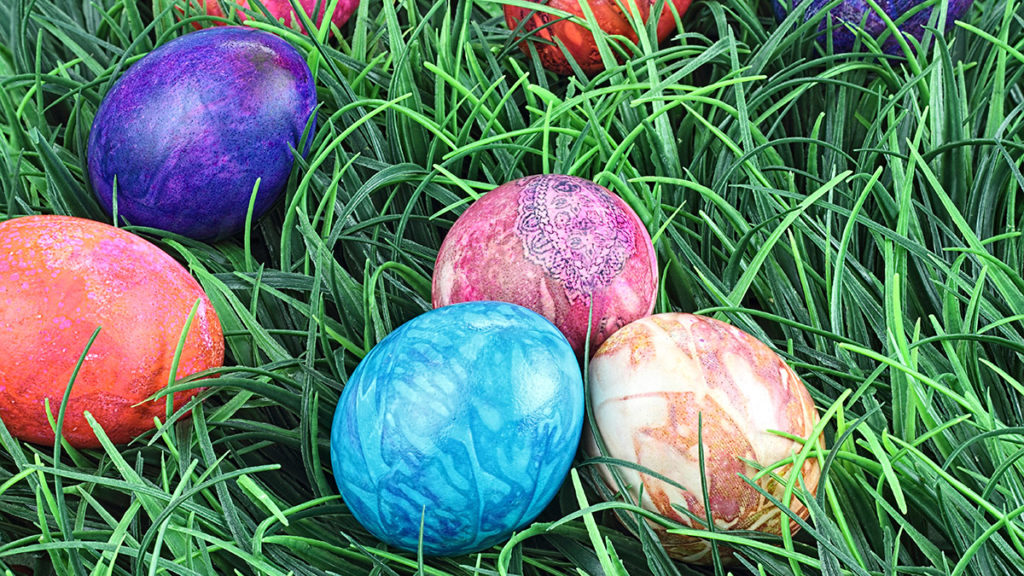
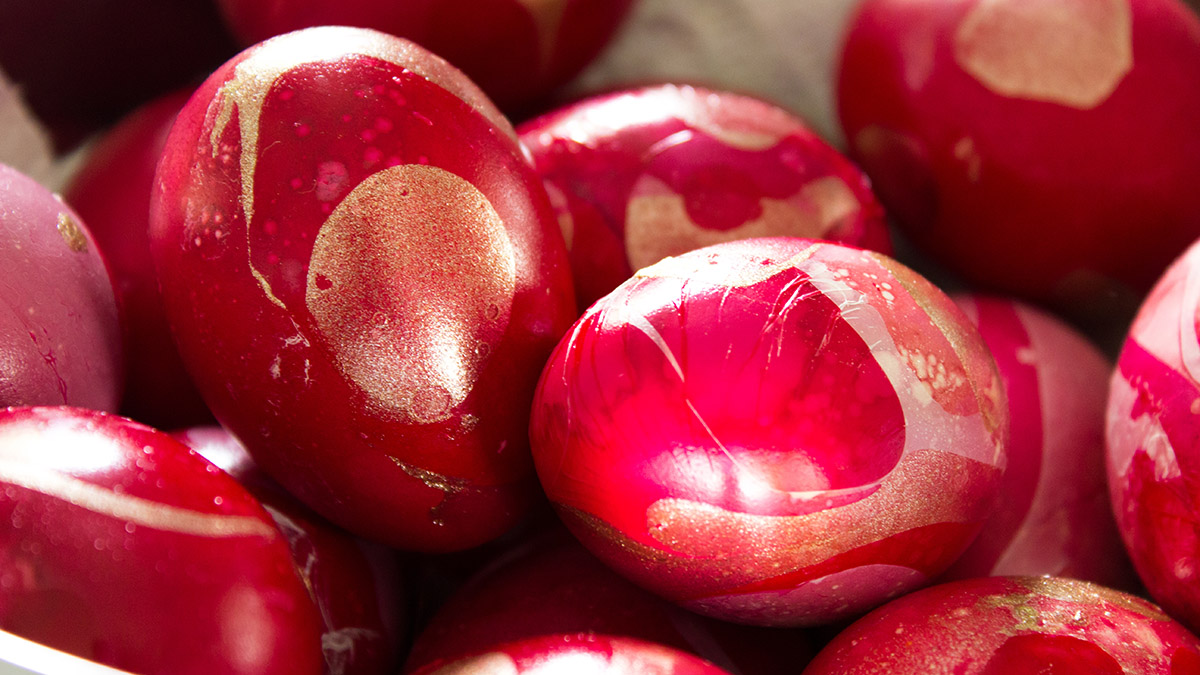
We’ll show you how to tap into your passion for making all kinds of fun and inventive creations in our “Get Crafty” series. Use these Easter egg designs to create the most beautiful Easter eggs you ever did see!
Decorating Easter eggs is a time-honored tradition. This activity is a great way to bond with your family members and spend quality time with the ones you love.
But it doesn’t have to be all fun and games. Add a competitive element to your Easter egg decorating this year by staging a contest to see which member of your household can create the most stunning-looking Easter egg designs. All you need are some eggs (bet you didn’t see that coming) and some everyday household items, such as nail polish, Kool-Aid, stickers, and glitter. When you’re done decorating, vote for your favorites and offer prizes (you can’t go wrong with Easter chocolates!) in different categories, such as most colorful, wackiest, most bedazzled, and most original.
Here are some creative recipes for decorated Easter eggs you can use to wow your family.
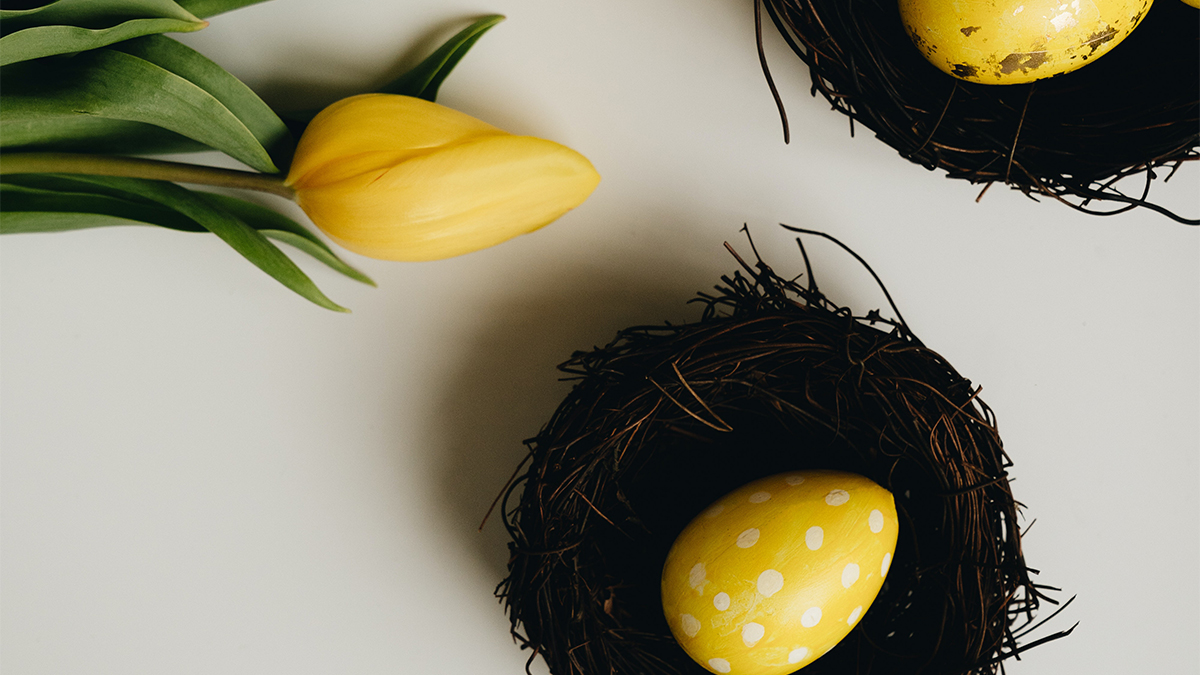
Polka dot Easter egg designs
You’ll need:
- Hard-boiled eggs at room temperature
- Vinegar
- White or light-colored crayons
- Food coloring dye assortment
- Bowls
- Tongs or slotted spoon
- Rubber gloves
Directions:
Start by drawing polka dots on the hard-boiled eggs with the crayons. Next, mix a half cup boiling water, 1 teaspoon vinegar, and 10 to 20 drops of food color in a cup. Repeat this process until you fill all the cups with the desired colors. Use tongs or a slotted spoon to dip the hard-boiled egg in a cup for 5 minutes. Remove the egg from the dye and allow it to dry completely. Repeat until you have a set of polka dot Easter eggs.
Kool-aid Easter egg designs

You’ll need:
- Hard-boiled eggs at room temperature
- Containers of Kool-Aid liquid
- Paper towels
- Baking sheet
- Metal cooling rack
Directions:
Line the baking sheet with layers of paper towels, and then place the metal cooling rack on top. Next, arrange the hard-boiled eggs on the cooling rack. Using one flavor of Kool-Aid at a time, gently squeeze the Kool-Aid liquid over the eggs in a random pattern. Let dry for 10 minutes, and then flip the eggs over on the metal rack to add another layer of color as needed. Allow the eggs to dry completely for another 10 to 15 minutes.
Note: If you use powdered Kool-Aid, mix with less water than the package calls for to create a more concentrated dye. Then, use a spoon to drizzle the Kool-Aid mixture over your eggs.
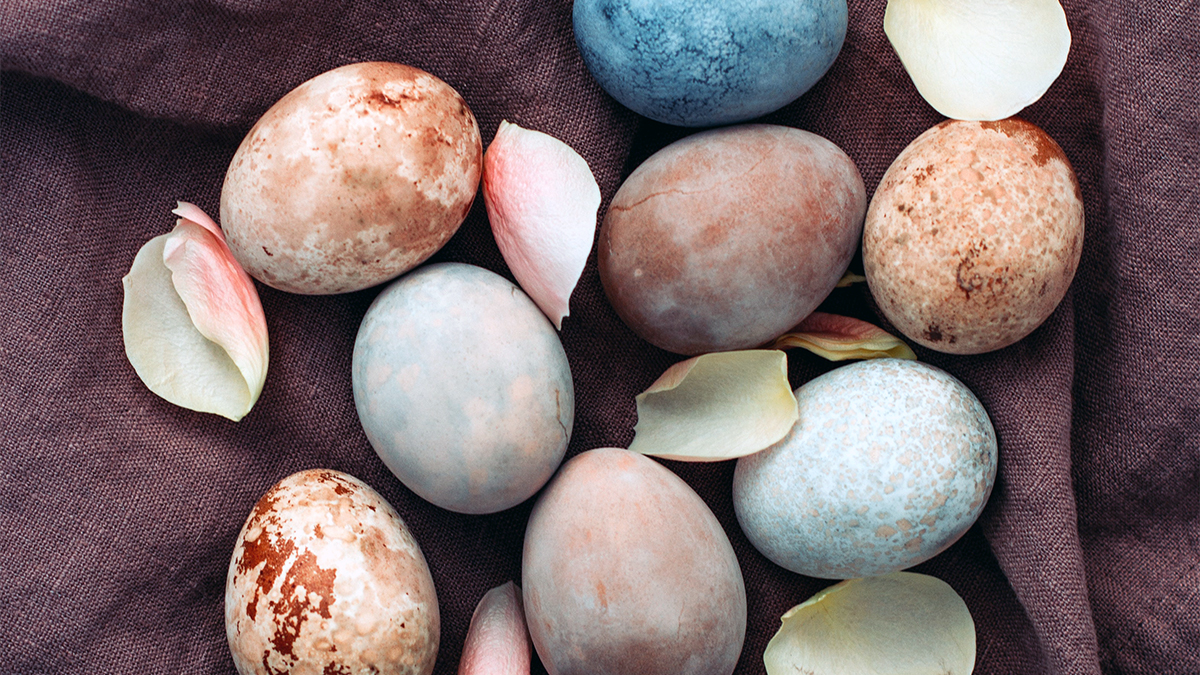
Marbled Easter egg designs
You’ll need:
- Hard-boiled eggs at room temperature
- Whipped cream
- Food coloring dye assortment
- Baking sheet
- Spatula
- Toothpicks
- Rubber gloves
- Paper towels
Directions:
Start by filling your baking sheet with whipped cream until it’s about 1 inch thick. Smooth it out with a spatula. Next, drip food coloring onto the cream. The more colors you use, the brighter your eggs will be. Using a toothpick, swirl and marble your food coloring droplets across the whipped cream.
Put on rubber gloves, and then take a hard-boiled egg and roll it in the cream, coating it completely. Carefully place the egg on a paper towel to dry for at least 20 minutes. When dry, wipe the remaining cream off with a clean paper towel to reveal your colorful marbled patterns!
Stamped Easter egg designs

You’ll need:
- Hard-boiled eggs at room temperature
- An assortment of stamps and stamp pads
- Rubber gloves
- Hair dryer
- Floral temporary tattoos
- Metallic tattoos or stickers
- Easter-themed stickers
Directions:
Start by putting on rubber gloves. Using a plain hard-boiled egg, press a small stamp evenly across the egg’s surface. Repeat as needed for a patterned design. Set the ink by using a hair dryer and blowing it dry on the lowest setting. You can also swap out the stamps for spring-themed temporary tattoos, metallic flash tattoos, or stickers.
Tie-dye Easter egg designs
You’ll need:
- Hard-boiled eggs at room temperature
- Disposable coffee filters
- Twist ties
- Food coloring dye assortment
- Spray bottle filled with water
- Paper towels
- Rubber gloves
Directions:
Start by putting on rubber gloves. Next, wrap a coffee filter around an egg and secure the filter with a twist tie. Drip a few drops of food coloring on the outside of the filter and let them soak for a minute. Repeat with as many colors as you’d like. Using the spray bottle, wet the coffee filter, making sure it fits snugly around the egg. Place on a paper towel for 15 minutes, and then unwrap the egg and rinse with cold water.
Nail polish Easter egg designs
You’ll need:
- Hard-boiled eggs at room temperature
- A variety of nail polish colors
- Small bowls
- Rubber gloves
- Drying rack or stand
- Glitter (as needed)
Directions:
Start by filling the bowls halfway with water. In each bowl, add a small amount of a single color of nail polish. Put on the rubber gloves, and then take a hard-boiled egg and swirl it around the water/nail polish mixture. Set on a drying rack until dry. You can re-swirl the dried hard-boiled egg into a different nail polish bowl to add another layer of color. Set back on the drying rack until completely dry. If you don’t have glitter nail polish, you can sprinkle glitter on the eggs as they dry for extra sparkle!