Father’s Day Craft Ideas: How to Make a Photo Plant for Dad

a photo of father's day photo plant

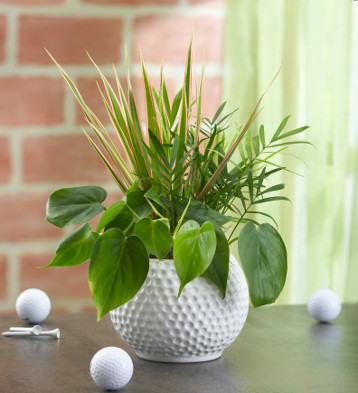
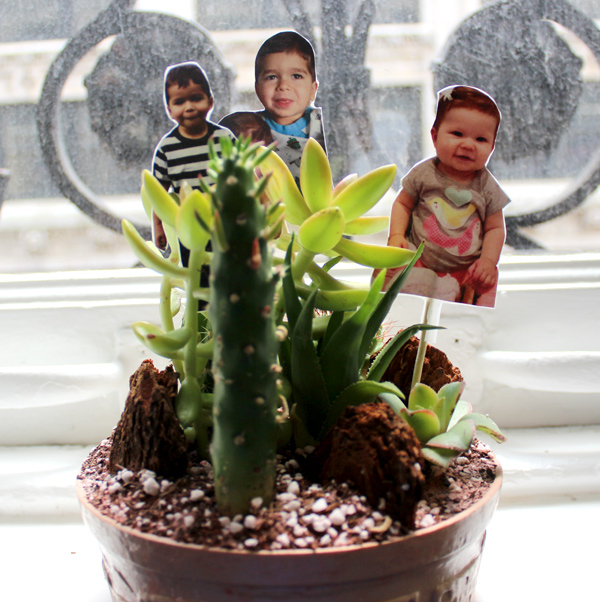
Dad works hard, and while he’s putting in long hours at the office, he could always use a reminder of his loved ones back home (or in the next room, in the case of a home office). Give him something to add some flair to his workspace with a Father’s Day photo plant.

For this project, I used a ready-made cactus dish garden, but you may choose to build your own dish garden or terrarium from scratch. Likewise, I also used clear adhesive mailing labels, but any type of clear adhesive paper, such as contact paper, will do.

The photo picks took about 10 minutes to create from start to finish. You can use photos of the kids, the dog, or the whole family! If Dad is a sports fan, why not throw a baseball or soccer ball into the mix? Get creative and wow him with a Father’s Day craft idea that blends both his loving family and his unique personality.

Supplies for a Father’s Day photo plant

  • Terrarium or dish garden
  • Photos
  • Photo editing software
  • Photo paper
  • Clear adhesive paper
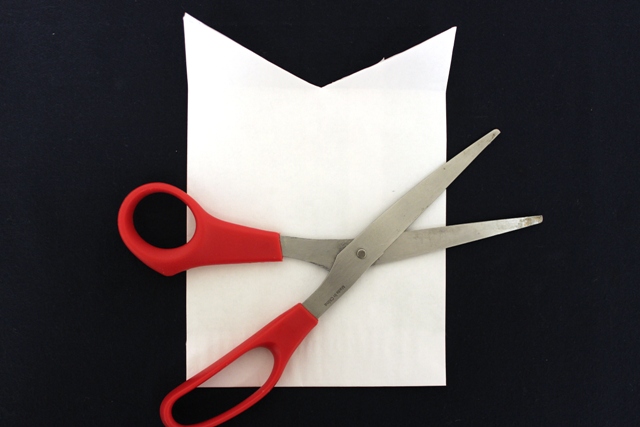
  • Scissors
  • Wooden skewers

How to make a Father’s Day photo plant

  1. Open the photos in your photo editing software. Since I used pre-sized clear labels, I resized and cropped my photos to fit (mine were 2 inches by 4 inches). Choose a size that will work well with your terrarium. When you have your photos cropped and ready, print them out on photo paper.
a photo of father's day craft ideas with photo cutouts
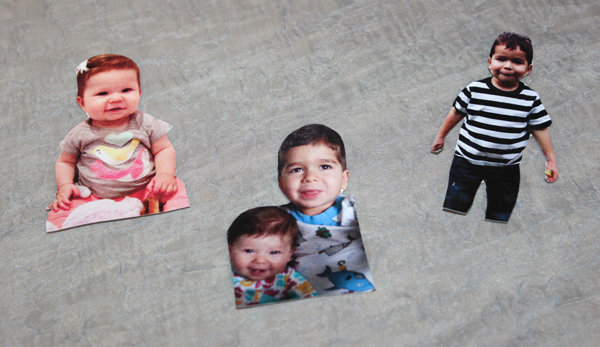
  1. Carefully cut your photos out.
a photo of father's day craft idea with laminated photos
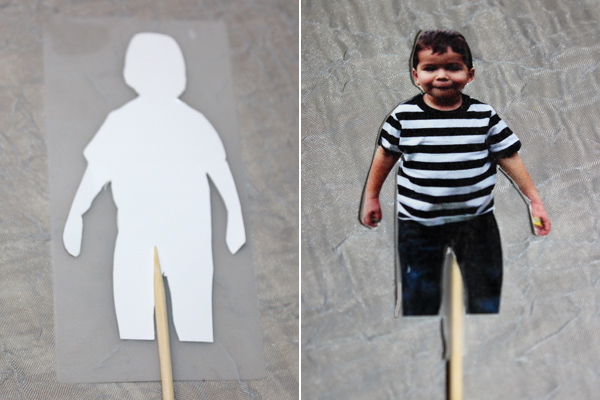
  1. To make the “laminated” photo picks, take a piece of clear adhesive paper and lay it down on the table. Take one of your photos and carefully place it backside up. Put a bamboo skewer in the bottom center of the photo. Now, add another piece of clear adhesive paper to seal the photo. Use your nail to rub out any air bubbles. Then, use scissors to cut off the extra clear adhesive paper.
a photo of father's day craft ideas with all photos laminated
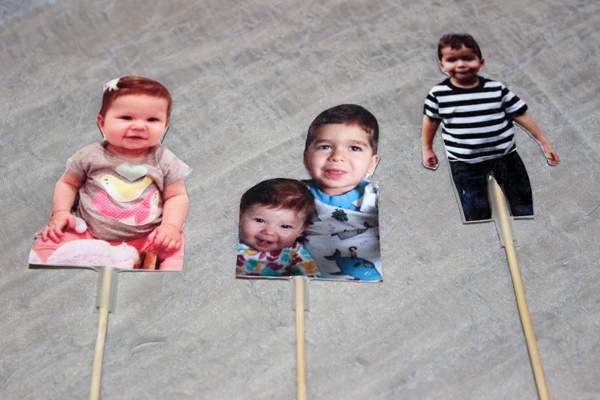
  1. Use this method for all of your photos until you are left with a few “laminated” photo picks.
a photo of father's day craft ideas with a completed terrarium
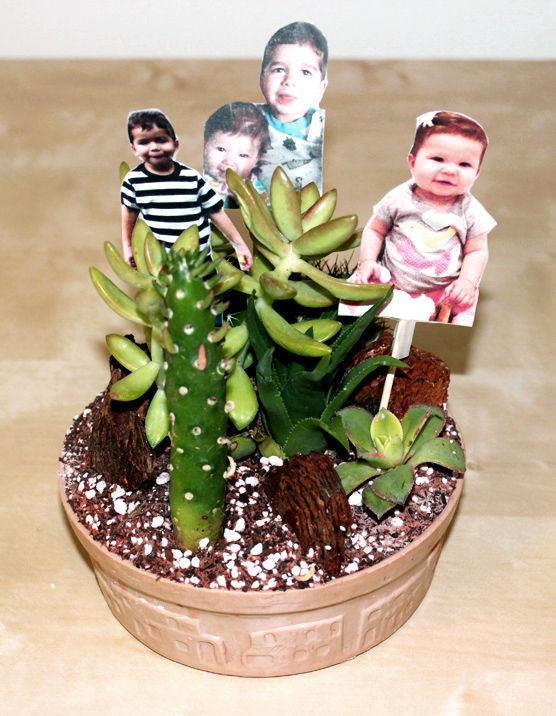
  1. Now, simply stick the picks into your photo terrarium. You are now ready to wow Dad with this creative Father’s Day craft idea!

Father's Day banner

Father’s Day Crafts: DIY Gift Bags for Dad

A photo of diy gift bags

Father’s Day is a holiday when Dad finally gets to sit back, spend quality time with his family, and be pampered like the king he is. And no one is more excited to shower their reigning hero with gifts more than his children!

These adorable and easy-to-make DIY gift bags look like Pop’s favorite button-down shirt and necktie — and inside they hold the most delicious Father’s Day snacks. Best of all, with just a little help from you, your kids can make them.

What you need to make Father’s Day DIY gift bags

  • Paper lunch bags or candy bags
  • Patterned cardstock or scrapbook paper
  • Black construction paper
  • Father’s Day tie and bowtie template
  • Scissors
  • Ruler
  • Pen or pencil
  • Double-sided tape
  • Glue stick
  • Dad’s favorite snacks

How to make Father’s Day DIY gift bags

A photo of diy gift bags with Brown Paper Lunch Bags and White Paper Candy Bags
  1. Find the perfect-sized paper bag to hold your Father’s Day treats. Brown paper bags or mini candy bags in any color work just fine, and you can never go wrong when you pick the color of Dad’s favorite button-down shirt! Standard white is a good option, too.
A photo of diy gift bags with Folded Paper Bag to Create a Collared Shirt
  1. Lay a bag flat on the table, with the opening of the bag at the top. Fold the mouth of the bag down about 3 or 4 inches, depending on how big you’d like the collar of the shirt to be.
A photo of diy gift bags with Traced Lines on a Paper Bag to Create a Collared Shirt
  1. Using a ruler and a pen, draw a diagonal line from the bottom-left corner of the bag’s flap to the center of the top of the flap. Draw another diagonal line from the bottom-right corner of the flap to the same top center point. Once you’re done, the lines will make the shape of an inverted “V” on the flap.
A photo of diy gift bags with Trimmed Paper Bag to Create a Collared Shirt
  1. To cut out the triangle shape in the center, take a pair of scissors and follow the lines on the flap.
Ties Cut out From Cardstock
  1. Print this Father’s Day tie and bowtie template onto a piece of patterned cardstock or scrapbook paper. Pick Dad’s favorite tie shape and carefully cut out the shape from the cardstock. (To make sure the tie fits on your paper bag, we gave you two sizes of ties in our template: large ties for lunch bags and small ties for candy bags.) To create the buttons for the shirt, cut out tiny circles from black construction paper.
Candy Bag Filled With Cookies
  1. Open the paper bag and fill it with some of Dad’s favorite snacks, such as gourmet cookies, pretzels, mixed nuts, candy, or popcorn. Fold the collar back down and seal it by placing two pieces of double-sided tape on the inside of the collar and attaching it to the face of the bag.
A photo of diy gift bags with Gift Bags Decorated With Paper Ties and Buttons
  1. Place a piece of double-sided tape on the back of the cardstock tie cutout and attach it to the bag, right at the top of the collar. Then, using a glue stick, glue the black construction paper buttons in a line going down the center of the bag, right below the tie.

And, finito! Faux formalwear stuffed with Dad’s favorite foods. It’ll be a Father’s Day to remember for Pops!


Father's Day banner

DIY Father’s Day Card for Kids

A photo of diy father’s day card

Store-bought cards are fine, but to show Dad how much you truly care, make him a DIY card for Father’s Day. All you need are paper, glue, and markers to compete this kid-friendly craft that is sure to put a smile on Dad’s face.

Pair this creative card with a delicious homemade brunch or slip it into the amazing Father’s Day gifts you prepared for him. He’ll really appreciate this simple yet sweet statement and will love showing it off to friends and coworkers!

Supplies for DIY Father’s Day card

  • Cardstock or similar weight paper; 2 sheets in one color and 1 sheet in a second color/pattern
  • Glue or tape
  • Pencil
  • Markers
  • Scissors

Directions for DIY Father’s Day card

A photo of diy father’s day card with tracing a hand
  1. Start by tracing your hand on the paper using a pencil. Use the scissors to cut out the shape. Do this for the second sheet of paper as well.
A photo of diy father’s day card with writing an I Love You message
  1. Use a marker to write “I love you” in pencil on one of the paper hands. Then, trace the text with marker and erase any stray pencil lines.
A photo of diy father’s day card with the message inside the card
  1. Now it’s time to create the inside of the card. First, cut a long strip out of the third sheet of paper. Then, fold the strip accordion style. Use a thick marker to write the words “This Much” on the accordion-folded strip.
A photo of diy father’s day card
  1. Using glue or tape, add the adhesive to each end of the accordion strip. Attach the hands to the strip, making sure both hands are facing the same way. Now your card is ready to give to Dad!

Father's Day banner

Father’s Day Crafts: How to Make a DIY Planter for Dad

A photo of father’s day crafts with a DIY Father's Day Planter

It’s always nice to buy dad something for Father’s Day, but making him something you know he’ll love is an extra special touch. If you’re looking for a Father’s Day craft that fits dad’s personality, why not try this unique planter? All you need are just a few plants, soil, and a container!

Materials needed for DIY Father’s Day planter

  • Ceramic container (I used a golf ball planter, but feel free to be creative!)
  • Soil
  • 3-4 plants of different height, preferably a type with vines, such as philodendron.
    • Plants we used include:
      • Tricolor marginata
      • Philodendron
      • Mini palm
      • Spanish moss

How to make a DIY Father’s Day planter

  1. Take your container and fill it one-tenth of the way full with potting soil. (The amount will depend on the depth of the container.)
  2. Place your plants, one at a time, in the container. Use the plant with vines first to one side, the tallest to the back or center of the planter, and the shorter plant to the opposite side.
  3. Add soil, compacting as you go. Compact or compress the soil around the individual plants to get rid of air pockets.
  4. Lightly water the plant.
  5. Add your Spanish moss as a finishing touch to the completed planter.
  6. Give this fun Father’s Day craft to dad and watch him smile with joy!

Note: Plants are easier to work with when the soil is dry. Therefore, if you’re able to, get them a couple of days in advance. If you are not sure how to take care of it, refer to our plant care section.

Hope you and your dad have an amazing Father’s Day!

Exit mobile version