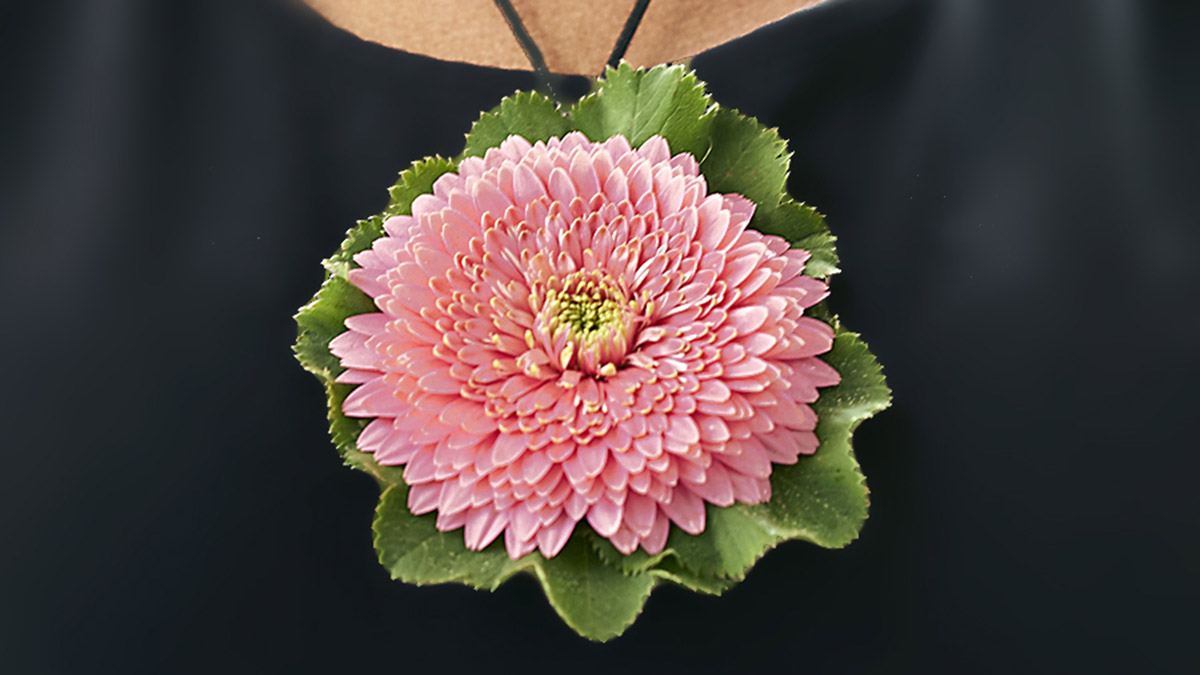
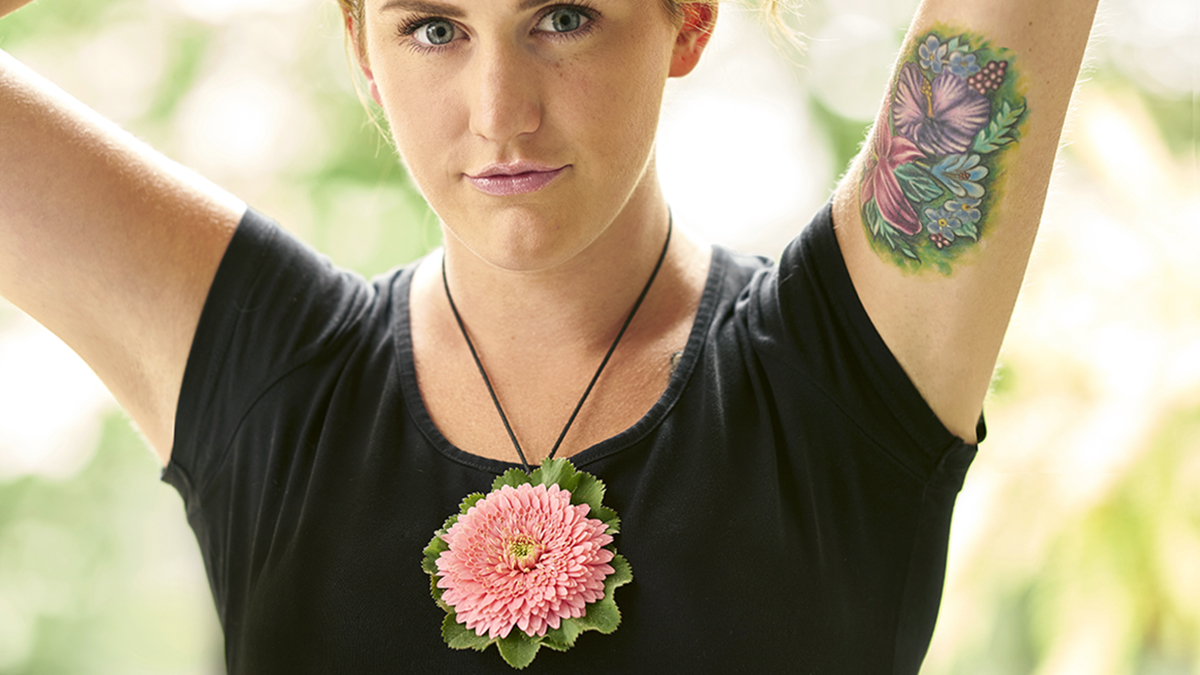
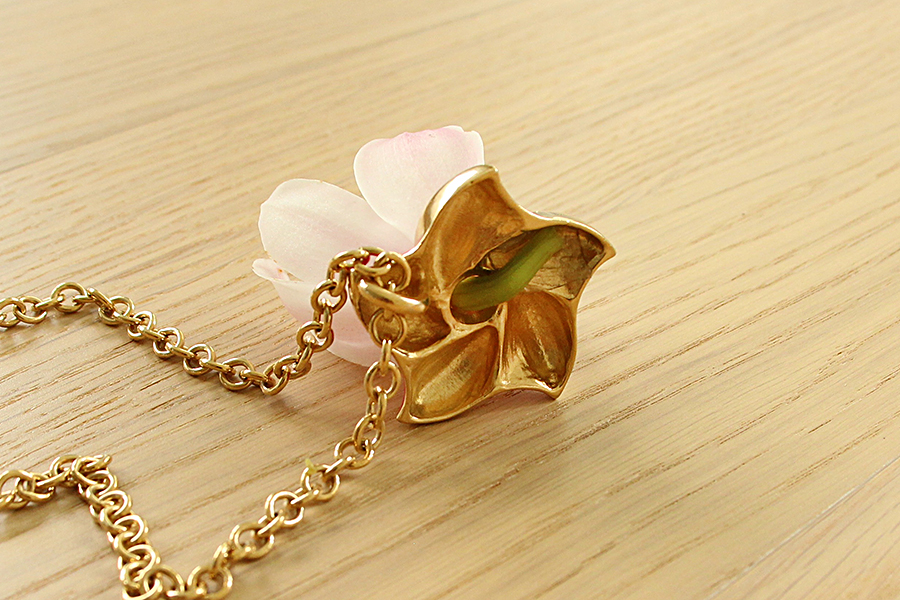
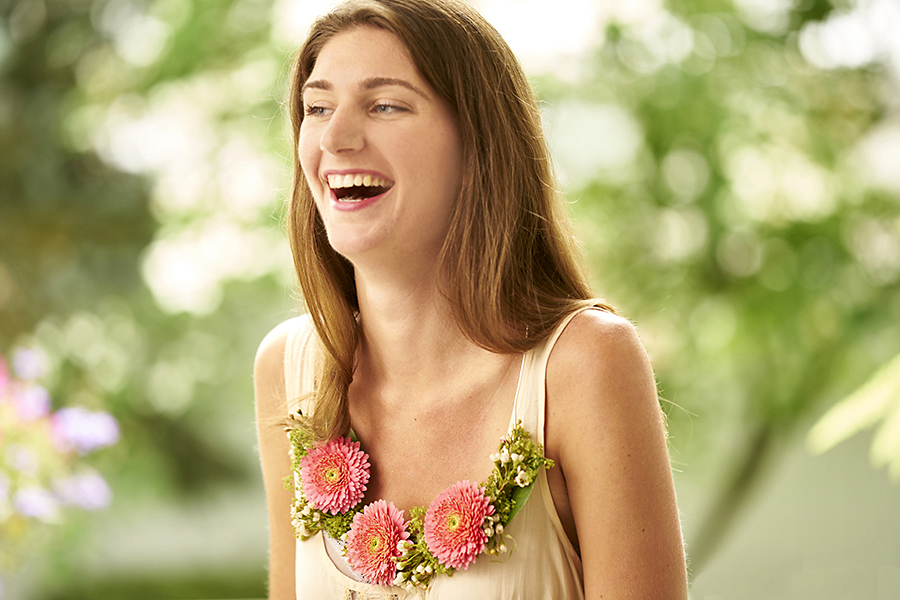
Our series “Get Crafty” gives you the inspiration for creating inventive DIY projects during the holidays and year-round. Learn how to make a gerbera daisy flower necklace in three easy steps daisies and just a few basic materials.
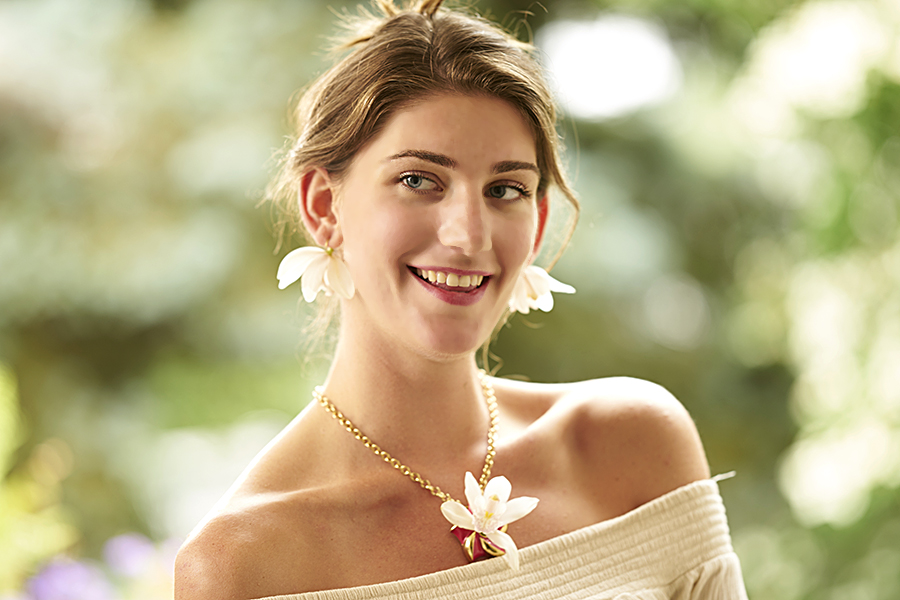
These gerbera daisies are so lovely, you just want to have one on you at all times. So why not make a necklace with not one but three of these gorgeous Gerrondos!
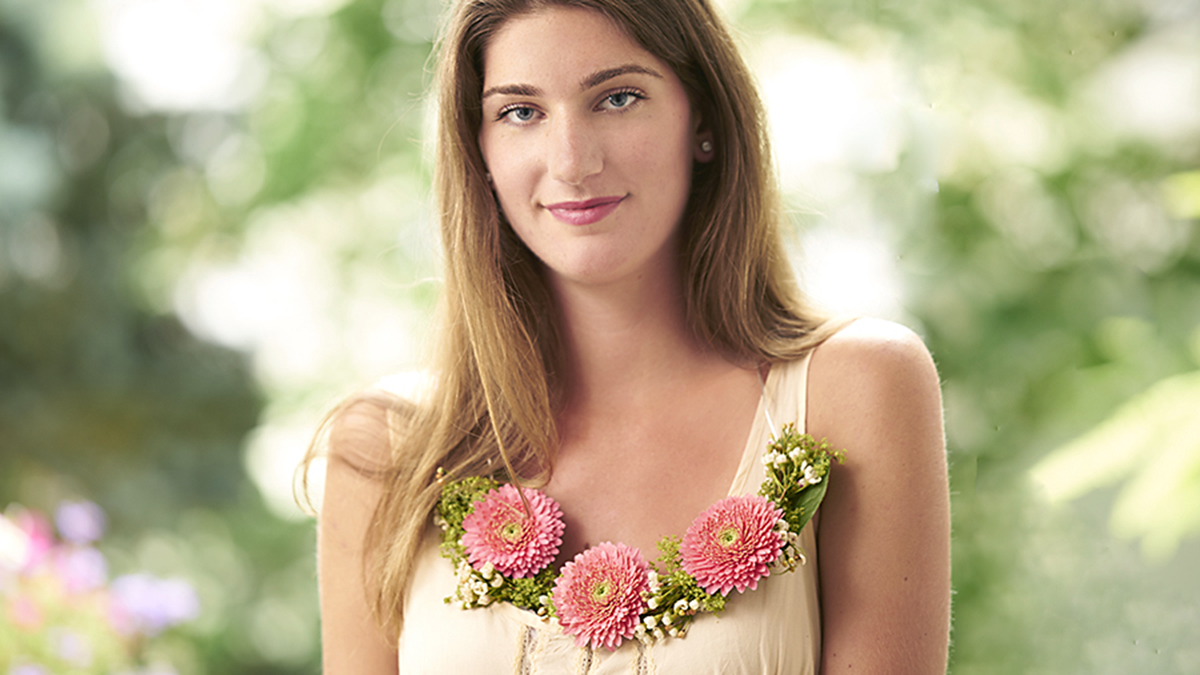
Follow these easy step-by-step instructions to make this fabulous gerbera daisy flower necklace.
Gerbera daisy flower necklace instructions
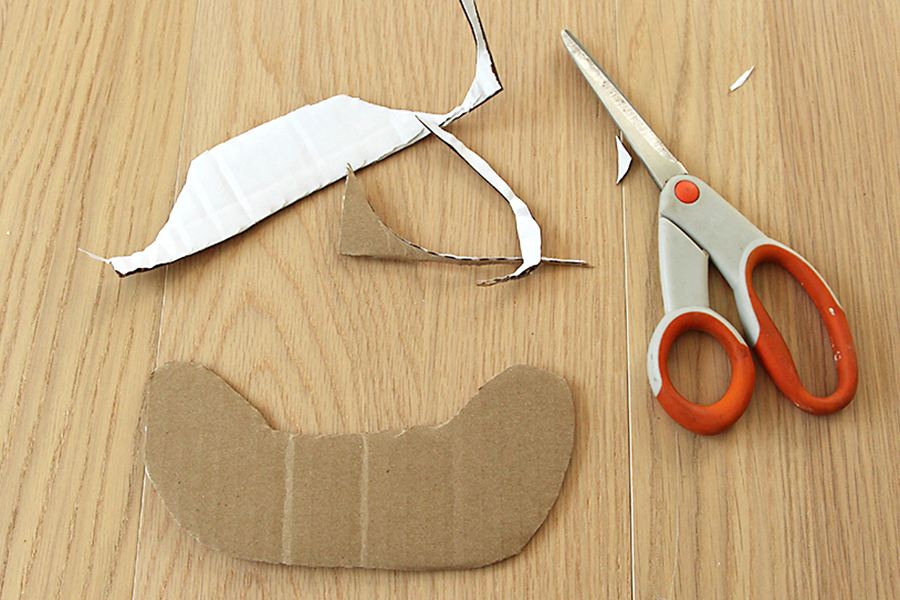
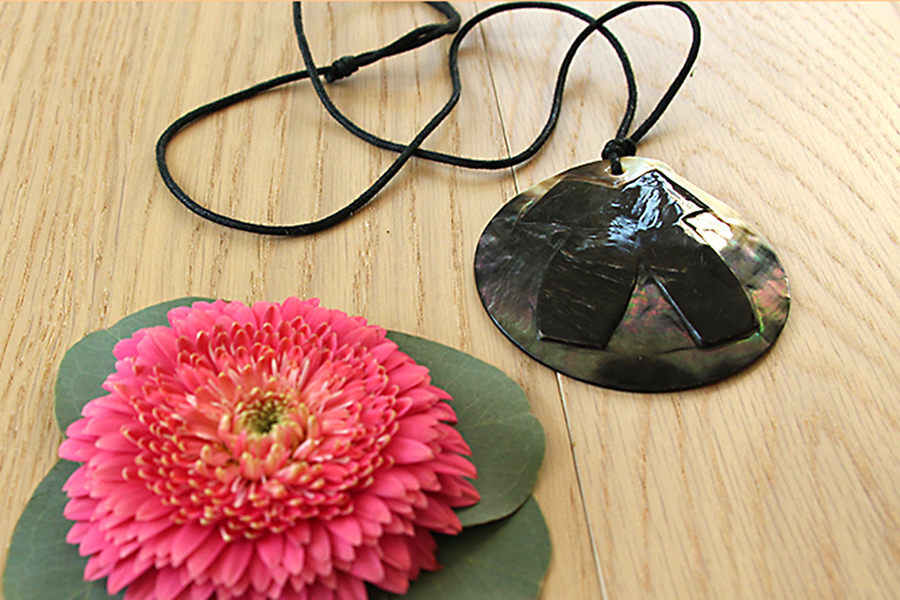
1. Decide on the size you want your necklace to be, and then cut out a base from a piece of cardboard. Attach the material you plan to use as the “chain” for your necklace. I used a 12-gauge aluminum wire in silver. I threaded it through the corrugated cardboard and bent the ends back up behind the cardboard. You could also use ribbon or a jewelry style chain.
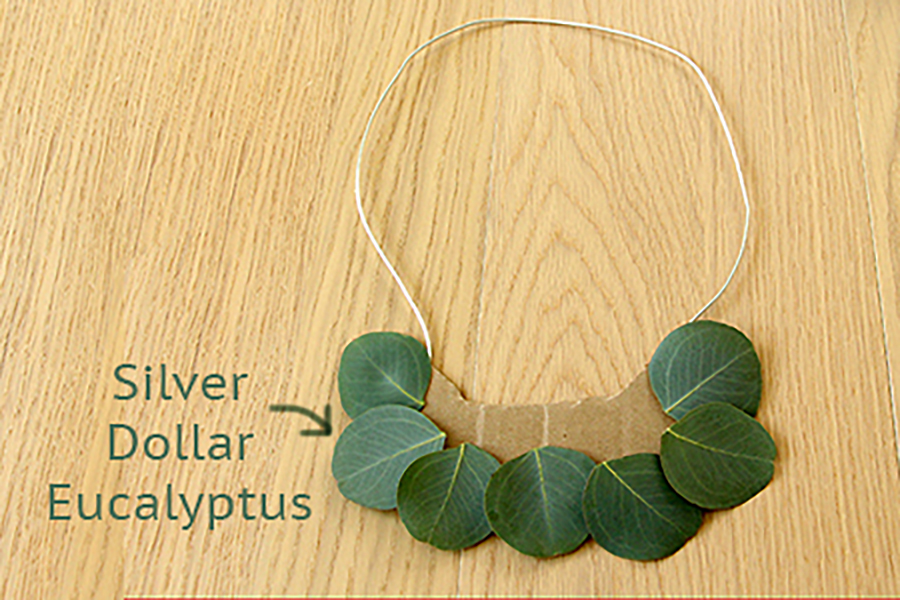
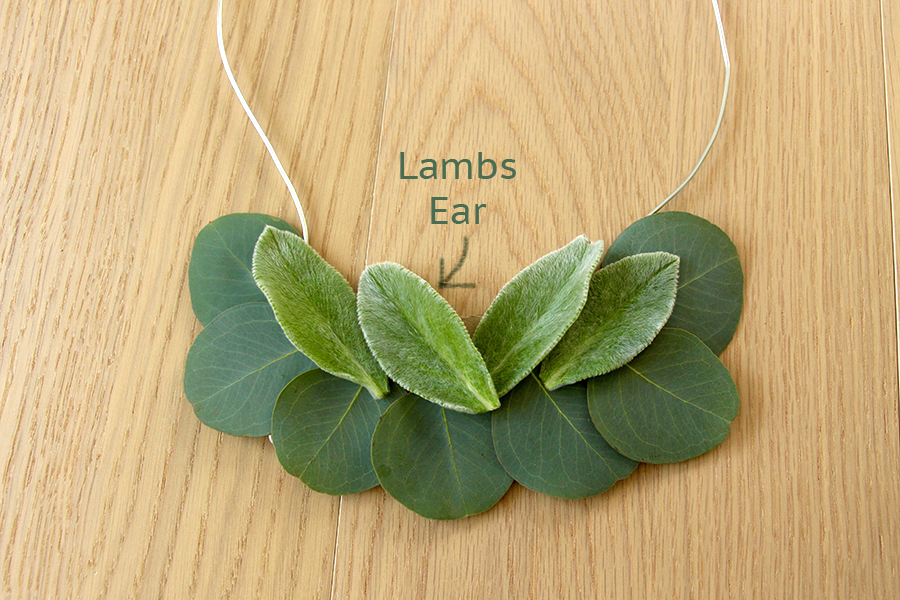
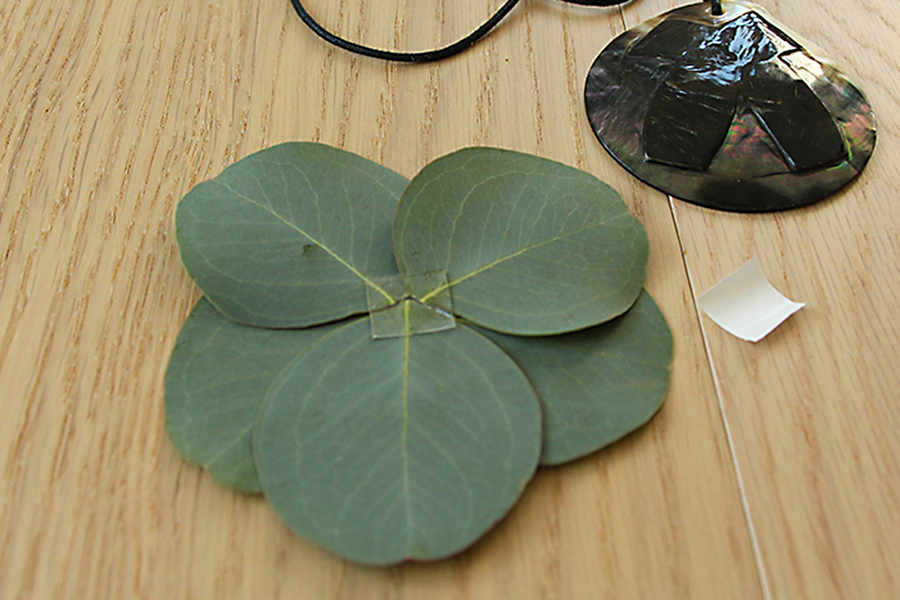
2. Cover the cardboard with flat foliage leaves using either glue dots/dashes, floral adhesive, or hot glue. (Visit this page for more information on various types of adhesive.)
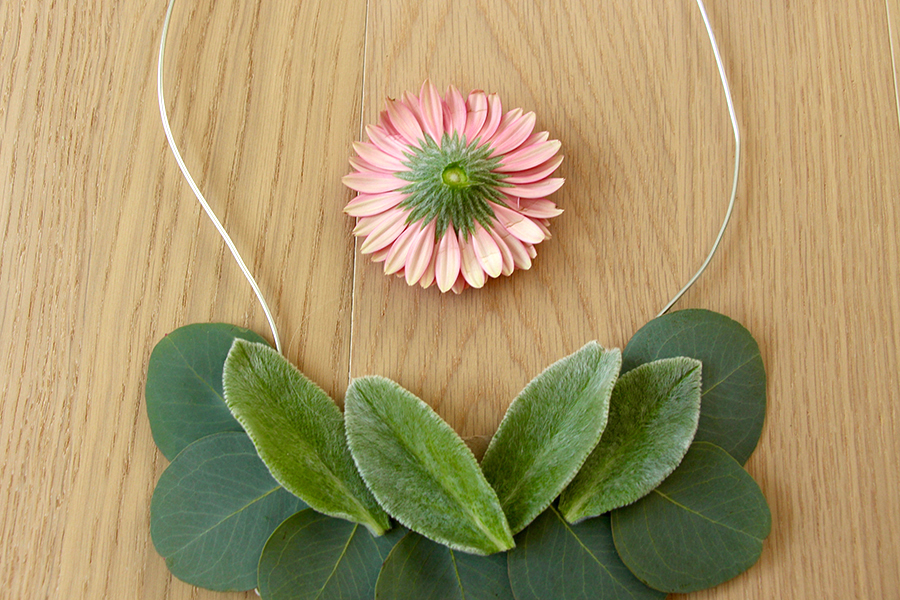
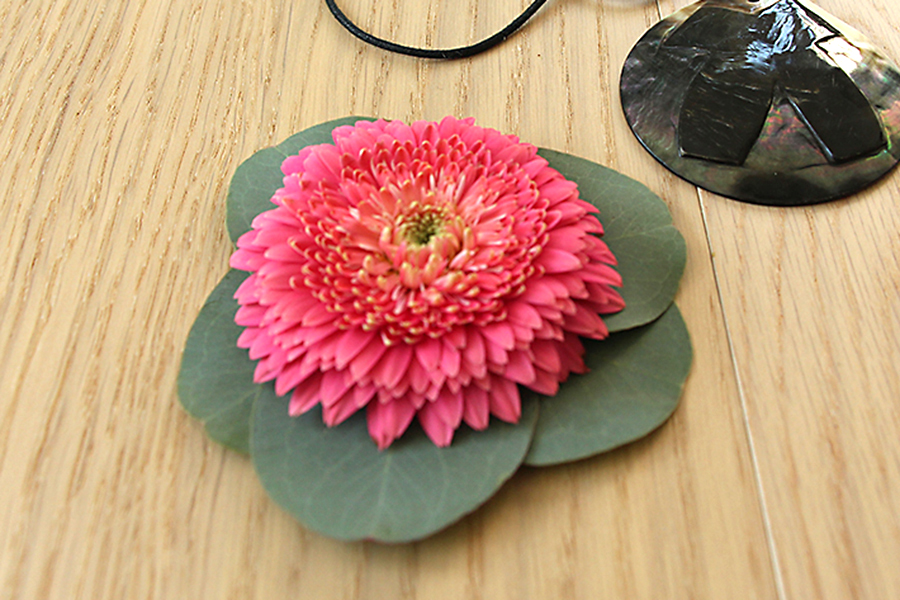
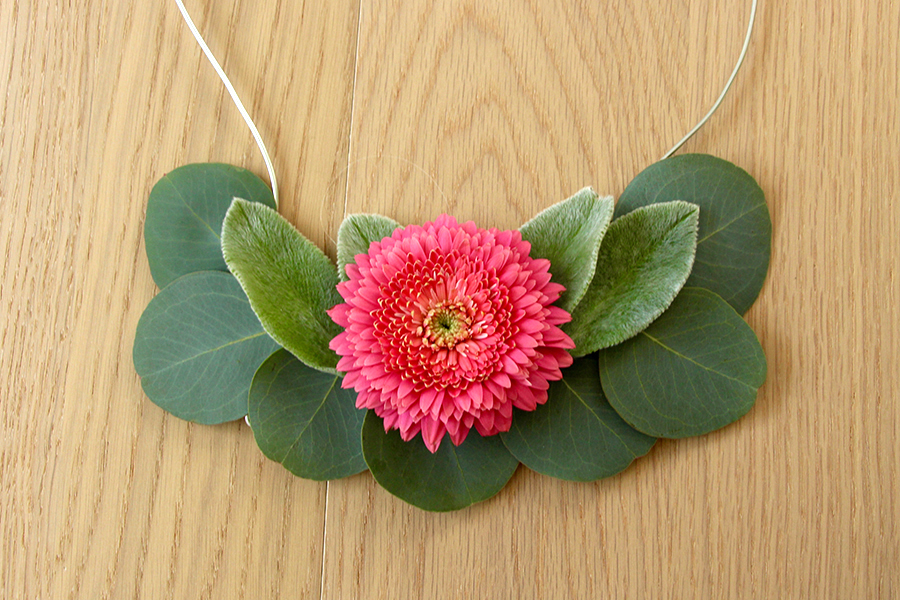
3. Cut the stems off the gerberas and attach them to the foliage base with one of the adhesives.
4. You can add clusters of smaller flowers the same way that you would when making a floral crown, by wrapping the clusters and gluing them to the base.
Above all, use your imagination, and just have fun with it!