Make it Personal: Your Mom, Your Story

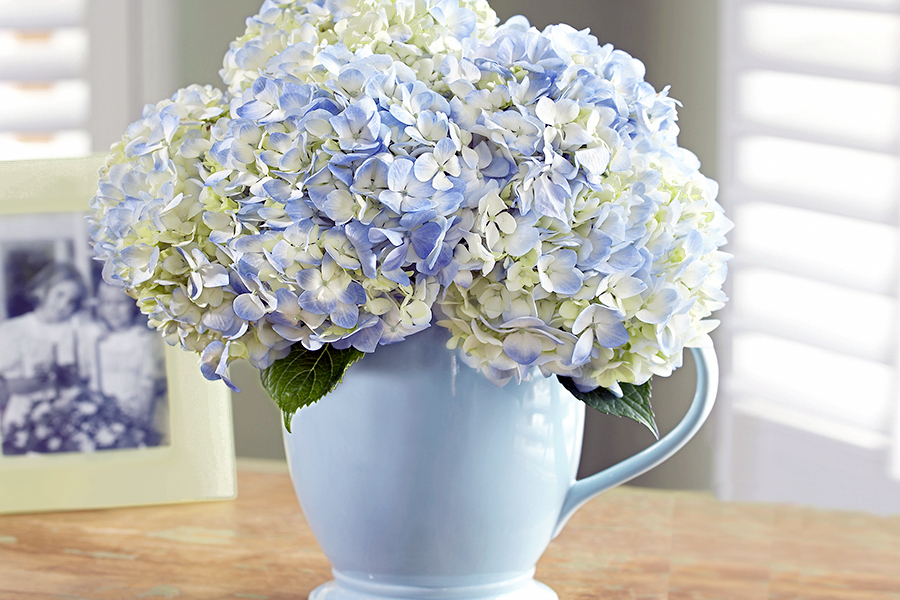
The hottest plant in home décor by far is the succulent I have a bit of an obsession with them (that’s a whole other story, and some day I’ll tell you about it!), but right now I want to show you a few easy ways to use a succulent garden to make DIY succulent craft specifically for your mom.

diy succulent craft with succulent garden

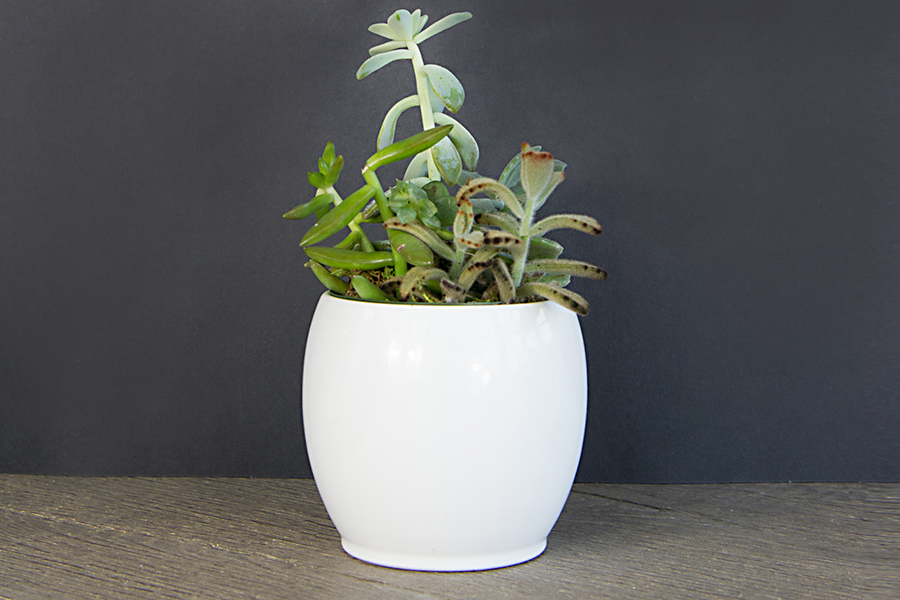
Start with a pre-made succulent garden in a clean, simple container.  The succulent garden is perfect for this project.

diy succulent craft with sharpie

For a gift from a young child, you can go as simple as having them write a special message for mom directly on the container. I worked with my granddaughter, Juliette, on this project and let her do her thing. “Peace, Love, and Happiness” has been our special thing since she was very little!

diy succulent craft with wire and pom poms

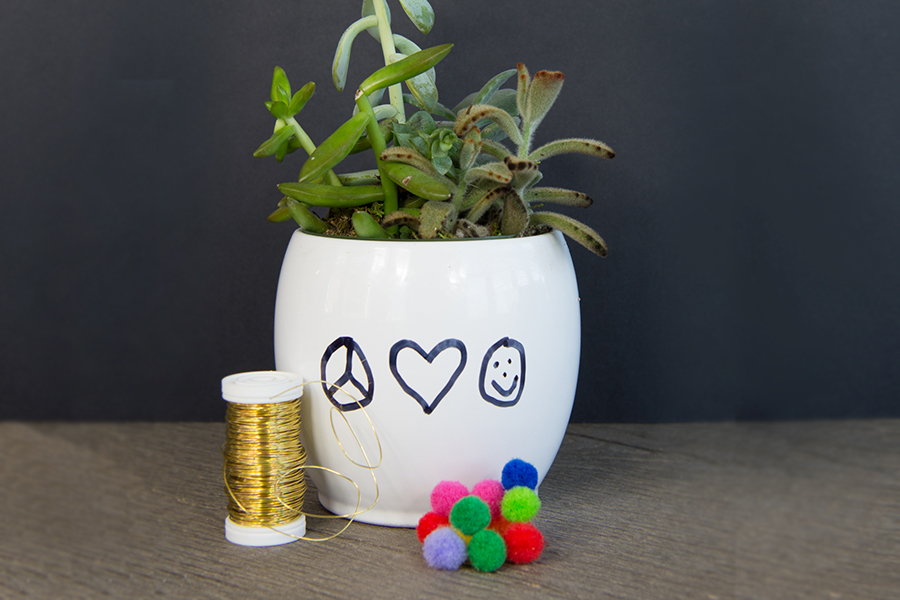
But she wasn’t done there. We have done a few projects together with pom-poms. They are such fun and make any project pop.

diy succulent craft with pom poms on wire

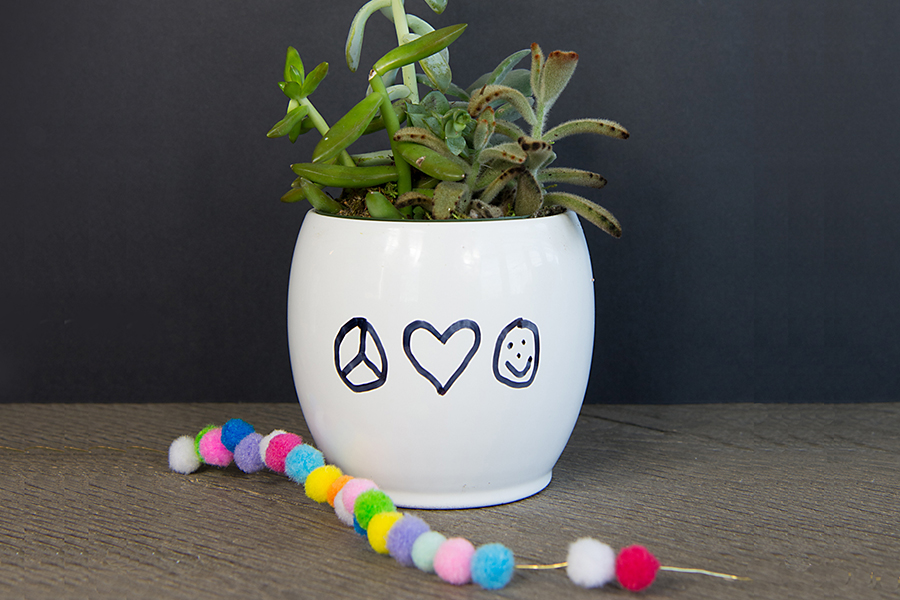
Instead of gluing, she used a thin gold wire, cut to size to be able to wrap around the container, and threaded the pom-poms, alternating the colors.

diy succulent craft completed

Doesn’t it look adorable? Perfect for a desk or bedside table!

diy succulent craft with vintage flowers

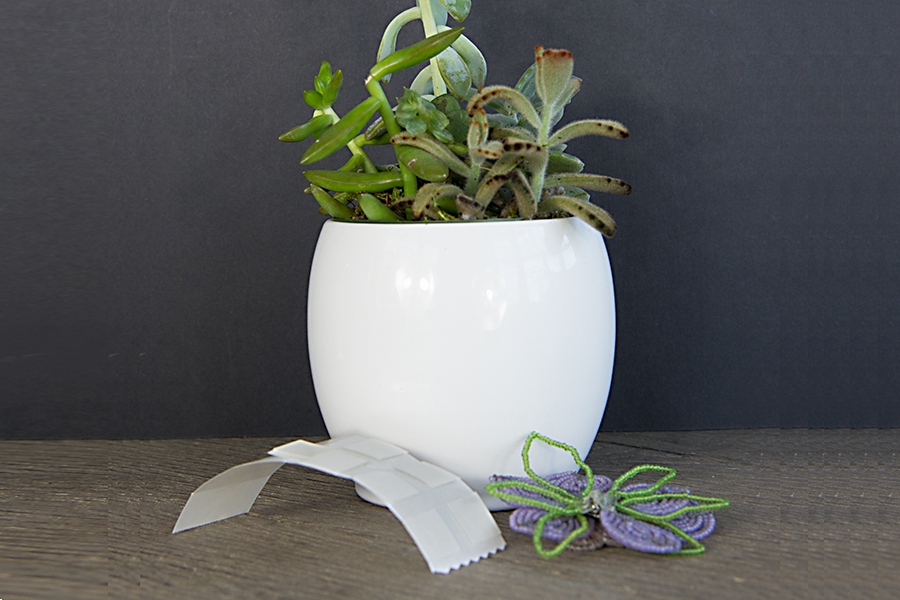
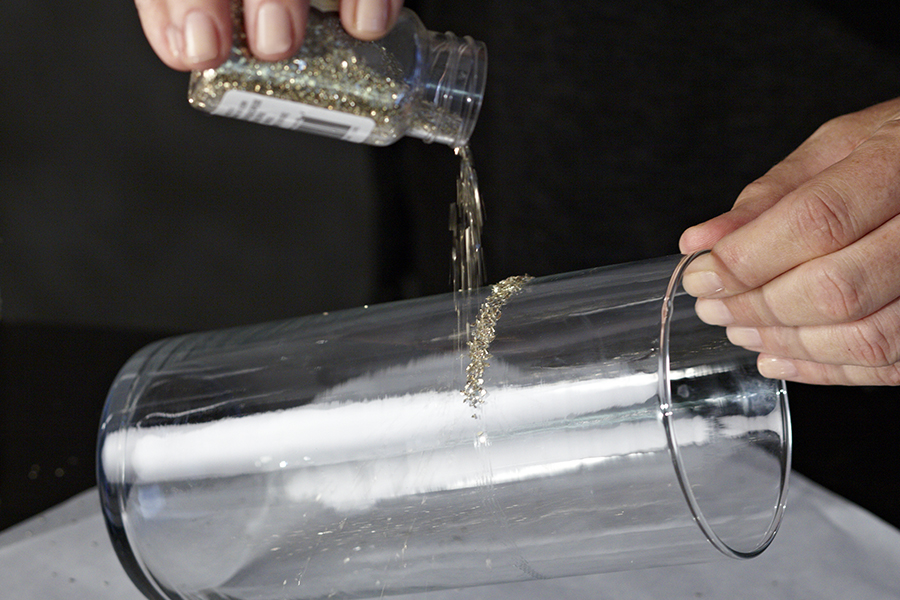
Another way to make this succulent garden one of a kind is to add an embellishment. I have a collection of vintage beaded flowers that I picked up years ago. I’ve been using them to add that special touch to many DIY projects ever since.

diy succulent craft with completed with vintage flowers

This one couldn’t be easier to do. Using your adhesive of choice, attach the embellishment directly to the container. I used U-Glue Dashes by Oasis.

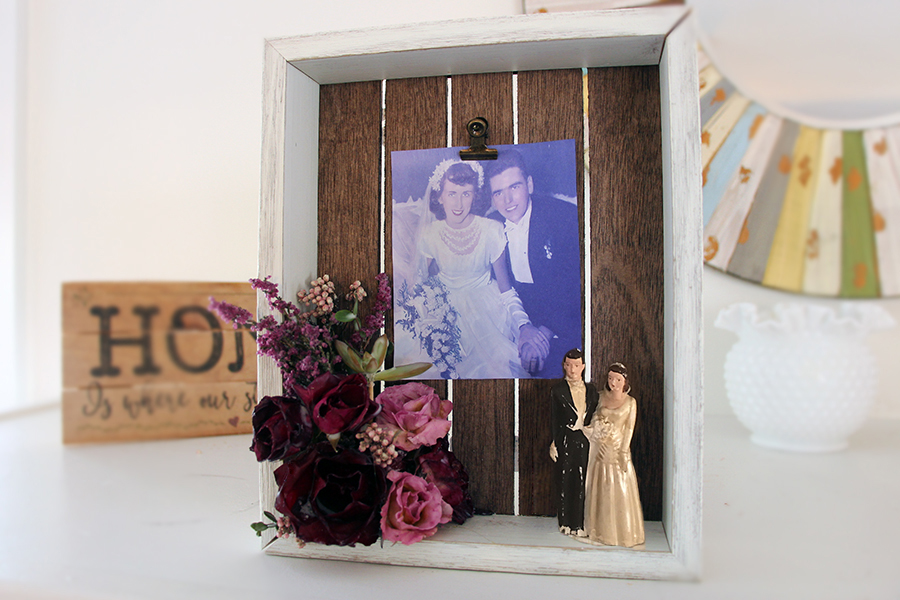
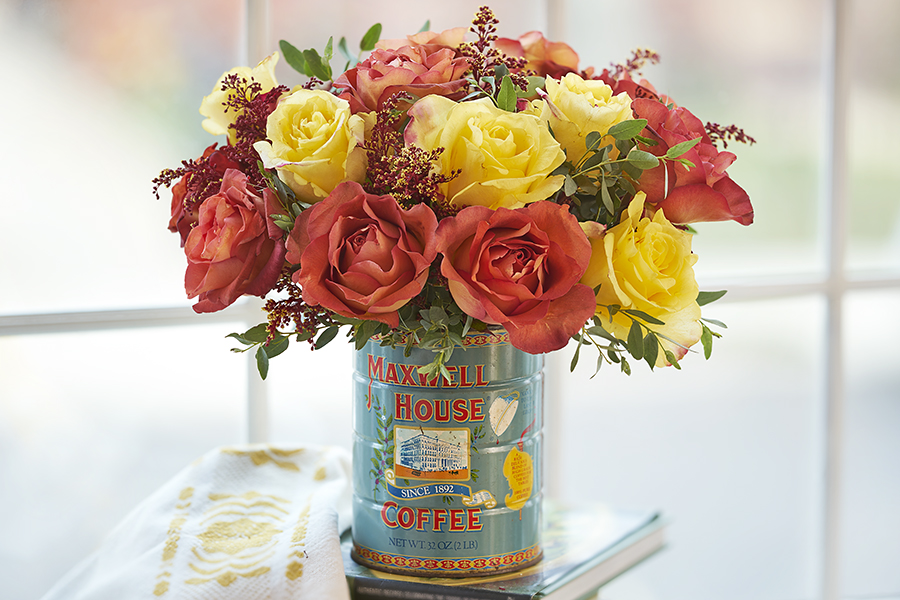
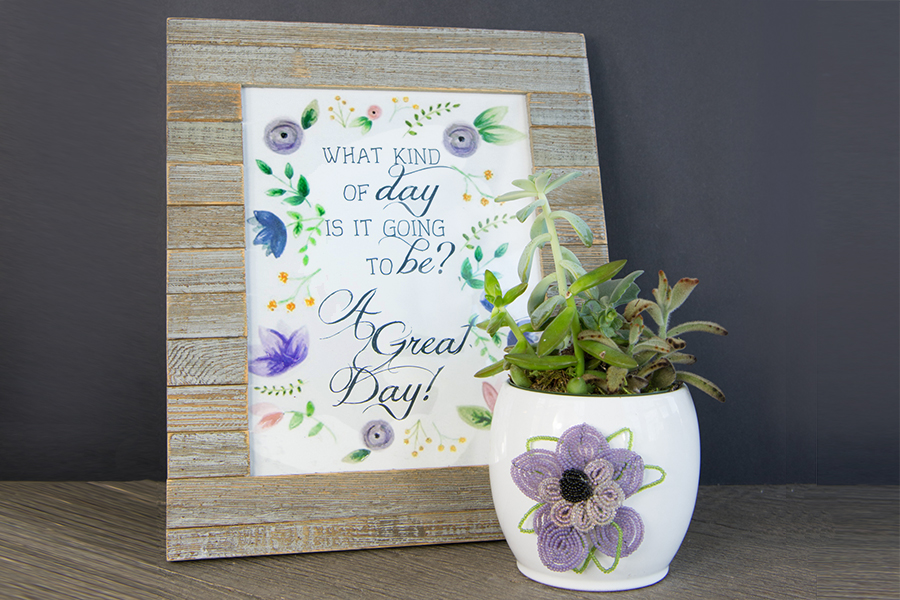
I love how the vintage beaded flower changes the look of the modern container. I especially like the way the succulent garden works so well with a previous Mother’s Day gift that I cherish dearly!

I’ve been asking my kids every day for the last 30 or so years, “What kind of day is it going to be? A great day!”  My daughter Meggie had it made into a hand-painted, framed piece of art!

Flower Jewelry: Techniques Used for Making Flower Crowns

I am in love with flower crowns of all styles and sizes. Sometimes, the bigger the better.

flower-girl-with-flower-crown

Like this one that my granddaughter Juliette wore for my niece’s wedding on Block Island!

It was so much fun watching Juliette and her cousin Abigail enjoying all of the magical moments of their cousin Jenna’s wedding. They were living their own fairy tale! When Jenna placed the flower crowns on their sweet little heads, it was truly their “crowning moment”!

Flower Girl Crowns

All Grown Up

These fairy tale-inspired crowns are ageless and allow girls of all ages to live out their dreams. They are lush with full blown blooms, lots of texture, and soft feminine colors. And our models are picture perfect and really got into the shoot. Carly, on the right, is our studio assistant and a recent grad of F.I.T. Holly is her cousin and a natural, just like Carly. With friends this gorgeous who needs to hire real models!

modeling-flower-crowns

I think we probably used every technique detailed in my previous posts to create these beautiful crowns:

  • The larger roses were wired and taped to a wire base of greenery.
  • Smaller flowers were glued between the larger flowers.

Flowers were actually added to the crown after we had placed it on the girls’ heads. Once it is worn, you start to see it come to life and tweaks are made accordingly. For instance, we wanted to have a little more drama so amaranthus and tuberoses were wired and easily added to the base in just the right spots!

This is one stem of green “hanging” amaranthus. We used pink with the crown pictured, but the technique is the same regardless of the color.

amaranthus

1. Cut individual laterals off of the main stem. These were all from one stem!

amaranthus-laterals

2. Insert a piece of wire into the bottom of stem, leaving just 1-2″ of wire to work with. You can now add this piece of hanging amaranthus wherever you like. Simply loop the wire around the base of the wreath.

wired-amaranthus

Here’s a tip from Louise Zeller, one of our top designers here at 1-800-Flowers, who created Holly’s beautiful flower crown.

carly-flower-crown

In order to capture that full bloom rose effect, Louise actually created the larger roses! She took a rose apart and glued a few petals together and then glued the center of the original roses (the pistil and stamen) into the center of those petals! She gets the look that she was going for, but this new rose is flatter and much lighter than the original rose and therefore easier to work with and easier to wear!

carly-flower-crown-close-up

Next up, I’ll show you how to make this amazing fresh flower necklace to wear with the coordinating crown or on its own. It’s easier to make than you think!

Repurposed Beauty

Wouldn’t it be great if the beautiful blooms someone has sent you could last forever, especially if there’s a special sentiment attached to them? There are a few ways that you can preserve and re-purpose your flowers, allowing you to enjoy them for much longer than you would think! There’s drying and pressing, but one of my favorite methods of preserving flowers is waxing. I’ve written about waxing flowers in the past and loved all the feedback and questions the post generated, so I thought I’d let you know about my recent find that makes waxing flowers even easier to do!

This Wilton candy melt machine is literally a “plug & play” dream.  Below are a few simple steps on how to use it to preserve your blooms.

It comes with 2 silicone pots (one divided and one not) that make clean up a snap! I used the full pot and shredded soy wax.

  1. Fill the pot to the top with the wax.
  1. Plug in and turn on high to totally melt the wax. You can continue to add new wax as it melts down. You want to be able to dip your flower all the way in to totally cover it with the melted wax.
  1. Here’s where the easy-to-clean part comes in! When you’re done waxing, simply turn the machine off and let the wax cool completely. Once it’s a solid mass, it can easily be removed by pushing on the bottom of the silicone pot and the wax will pop out. Store in a plastic zip lock bag or another container until you’re ready to wax again.
  1. Using soy wax also makes it eco-friendly, and there are no issues or problems using the machine for actually melting candy as well!
  • Here are a few of the flowers that I waxed using my new machine:

Hardy flowers with smaller blooms such as dianthus, rice flower, leucadandron and waxflower tend to hold up well to waxing.

Full blown roses are the best, especially spray roses, which are smaller and have multiple blooms per stem.

Look at how beautiful this pink spray rose looks after it’s waxed!

I had such a good time working on this post and getting to know how best to work with the candy melting machine. It was so easy to be able to just unplug it when I needed to move on to other things. Then when I had a little time again, I’d just plug it in and was good to go. I could just keep waxing all day!

Before trying for yourself, here are a few helpful tips to keep in mind:

  • Be prepared to test your wax a few times before waxing your final blooms.
  • Follow the directions for melting candy—melt on high heat and then turn to medium to keep warm.
  • I continued to dip flowers for at least 20 minutes after turning the machine off.
  • Make sure to hold your flower over a paper towel or scrap paper to allow all the excess wax to drip off. The less wax that remains on the bloom the better.
  • I used a tall plastic, recycled takeout container so that I could work the excess wax off by twirling the flower between my fingers while holding it down in the container.
  • Just have fun with it!

Here are some creative ideas for enjoying your blooms in their new form. I have many more ideas that I will photograph and share with you soon. Once you get going with this stuff, it’s hard to stop!

A single rose in an unexpected place is always a treat.

Use a shadow box style frame to keep your preserved Valentine’s bouquet along with the card that accompanied your special gift from that special someone!

When I was working on this Valentine’s keepsake, I remembered my mother-in-law’s bride and groom from her wedding cake. I had been planning to create something with it for so long. I love the way it looks with the preserved flowers and their wedding photo. I can’t wait to give it to her. I know she’s going to love it!

Beautiful DIY Winter Centerpieces

Instead of bemoaning the cold winter with all the icy and bare branches, why not just celebrate the beauty of the season!

diy winter centerpieces with winter branch arrangement centerpiece

I think it’s magical when the bare tree branches become covered with ice during winter.  You can easily create that same dramatic look in your home using birch branches and acrylic icicles.  I filled the cylinder with a strand of clear lights and pinecones before inserting the branches, which gives this arrangement a more dramatic impact.

DIY fire and ice votive centerpiece

For this candle centerpiece, I first sprayed the outside of clear glass votive holders with spray adhesive and then dusted them with stardust glitter. I sprinkled faux snow on the glass top of a pastry stand and placed the candles in a line right down the middle. You can also create this centerpiece directly on the tabletop as opposed to having it raised on a stand.

For a little more sparkle, weave a strand of crystals around the candles.  The flickering light of the candles reflected in the crystals is stunning. It’s so simple yet so elegant.

DIY glitter vases

Adhesive and glitter can do amazing things together!

diy winter centerpieces with Creating strip of glitter around a clear vase

Look how you can take a dollar-store glass vase to the next level with double-sided tape. White roses are always elegant, but pairing them with gold leaves and sparkly glitter makes an even bigger statement, don’t you think?

diy winter centerpieces with white roses in glitter vase

Try multiple thin bands or one large one. The process is the same — apply tape and add glitter!

DIY winter white tulip centerpiece

You really can’t go wrong with “winter white”!

diy winter centerpieces with winter white tulip arrangement for table

Believe it or not, tulip production starts now even though it is traditionally a spring flower. There is something so effortlessly elegant about white tulips. Set a winter table with white tulips and lots of crystal and silver accents for a guaranteed wow!

Take it up another notch by attaching chandelier crystals to the tulip stems.

diy winter centerpieces with white tulips with hanging crystals for stunning winter centerpiece

We’ll be bursting with color before you know it, but for now I’m just going with the winter flow.

A Gift of Flowers That’s a Flower Present?!

Giving someone flowers as a gift is a wonderful thing to do.  Giving flowers that look exactly like a gift is not only wonderful but also a very creative and fun thing to do!  And it’s so easy!!

flower present arrangement

Start with a piece of floral foam cut to your desired size.  Thoroughly soak the foam before placing on a tray.  It is important to let the foam drain after soaking to eliminate excess water.  Place in a low disk or tray.

floral foam

Poms are the best variety flower to use for this project.  They are inexpensive and extremely hardy.  This fresh flower present is made with green button poms.  Each pom has about 5 flowers per stem, so this should help you figure out how many stems you will need to complete your flower present.

green poms flowers

Cut each pom from the main stem leaving 1-2” stem to insert into the foam.  Simply continue to insert the poms until you have covered the foam.

insert poms into floral foam

Choose a coordinated decorative ribbon and secure to the foam with a straight pin.  Poms come in a beautiful variety of colors, shapes, and sizes.  The choices for ribbons and other decorative accessories are practically limitless!  Just think of the possibilities!

add ribbon to floral present

Some of the best-selling flowers at 1-800 Flowers.com are what we call our “3D designs” including the original Birthday Flower Cake™, the A-DOG-able™, Fabulous Feline™, and other Party Animals™. These unique arrangements are a great way to change up a celebratory gift and make it special!

RED WHITE AND BLUETIFUL

Last week Crayola announced their new crayon color – Bluetiful – replacing Dandelion which was recently retired. As soon as I heard about this bluetiful, I mean beautiful, new color I immediately thought of one of my favorite flowers – the hydrangea!

There are so many shades of blue within a single hydrangea that I thought it would make a great coloring page to help celebrate this new Crayola introduction.

I found this one by Nata Silina at Supercoloring..  You can download or color online at their website or you can download right here.

hydrangea outline

Crayola is all about inspiring creativity and asking the question “What If?”  Well what if you thought “outside of the vase” and created a vase using Crayola crayons?  That’s exactly what I did here!

It’s so easy to do.  Just find a waterproof container that is slightly smaller than the crayons.  Either fill with water or insert a piece of floral foam cut to size and totally soaked with water into your container.  Put a rubber band around the container and insert crayons, one at a time, until you have covered the container all the way around.  Arrange your flowers and enjoy.  It’s a fun arrangement to welcome a new baby, say Happy Birthday to a child (or child at heart), or as a decoration at a kid’s party!

How to Make a Flower Crown

Floral crowns seem to be blossoming everywhere you turn these days… and with good reason! They’re delightfully charming, they’re romantic, and they can be worn anywhere from a wedding to a birthday celebration to a music festival. They’re also surprisingly easy to make. There are just a few basic steps to creating your own amazing flower crown!

I’m going to show you how to “wire and tape” using a single floral variety (in this case white waxflower) that can be worn on its own.

And how easy it is to take it up a notch simply by gluing in your choice of additional flora (and even “fauna”)! You can also do a combination of wiring and gluing. Wire the larger flowers and glue the smaller ones. So let’s get started!

Suggested Flowers:

You can pretty much use whatever flowers/foliage you desire. And you can also make the crown as ornate or as simple as you prefer. I like to use flowers that air dry nicely and that are not too heavy or delicate. I also like to have a mix of sizes and shapes. This image shows a nice basic assortment to use as a guideline.

Flower Crown Ingredients

Tools:

The tools required are also pretty basic: clippers; wires; floral tape; and adhesive. My wire of choice for the base is called binding wire. It is a 26-gauge paper-covered wire that’s both strong and malleable.

DIY Flower Crown Tools

Step by Step:

Begin by preparing all of your flowers and foliage. Cut all the stems very short—about 1.5″—and strip any foliage from the end of the stems.

Prepare Flowers & Foliage

You will be gathering a few of the small sprigs of waxflower that you have just prepared by cutting them from the larger multi-lateral stem and stripping off any remaining foliage, then wrapping them with the floral stem wrap. I find it easier to pre-cut small pieces of the floral wrap (about 2″ long) from the roll before starting the wrapping process.

Cut Floral Wrap

Using floral stem wrap can take a little getting used to, in part because it does not feel sticky to the touch. It is a self-sealing material that sticks to itself as well as the flower stems.

Floral Wrap

Hold the top of the wrap with one thumb while twisting, wrapping, and moving down the stems with the other hand.

How to Use Floral Wrap

The key is to wrap it as tightly as possible.

Wrapping floral wrap around flowers

When you get to the end, just pinch off any remaining tape.

Prepared Flowers

You’re now ready to create your crown. If you know specifically who you’re making the crown for, measure around their head and add an additional 6 inches. This will be the length you should cut the wire to. Generally speaking, 20-22″ for the floral will create a crown that fits most people. Leaving 3″ of wire at each end allows you to adjust to a perfect fit when you are done.

Measure Flower Stems

Hold your first flower cluster against the wire, 3″ from the end.

Bind Cluster to Wire

Securely bind the cluster to the wire using the stem wrap, pulling it tight as you wrap it around the wire.

Add Second Cluster of Flowers

Add the next cluster, slowly overlapping the previous one.

Continue Adding Clusters

Continue until you have reached your desired length.

At this point, you can simply tie off the two ends of the wire to create a finished wreath.

Or you can add ribbon to each end. The two pieces of ribbon can then be tied in a bow when placed on the head. Not only does it look pretty, but it allows more flexibility for fitting and placing the crown where you want it. Some people like to wear the crown low on the forehead, while others like it more on the back of the head.

Add ribbon to end of crown

Before I show you how easy it is to make this wreath even more spectacular by simply gluing additional flowers onto this already beautiful base, let me show you how to wire a larger flower, such as a rose.

How to Wire a Rose Step 1

Cut the stem of the rose to 1-2″.

Cut a 4″ piece of 18-22 gauge wire.

Put wire through rose stem

Thread the wire through the rose base and fold each side down and twist.

How to wire a rose step 2

Fold each side down to be parallel to the stem.

Attach each rose to the base of the crown the same way that you attached the clusters of waxflower.

After attaching a few clusters of waxflowers, place a wired rose bud, slightly overlapping the last cluster.

Attach rose to flower crown

Secure by wrapping the floral tape around the stem and the base wire.

Wrap floral tape around stem

Wrap around all of the wired stem.

Wrap floral tape around all of the wire stem

Continue this pattern of waxflower and roses.

Gluing flowers to the crown:

Cut accent flowers short

Cut the pieces of accent flowers very short.

Dip stems into hot wax

Dip the very end of each flower into the hot wax.

Insert between waxflowers and roses

Insert between the waxflower and the roses.

Continue with all of the accent flowers until you’re happy with the way your crown looks!

There will probably be a few fine strands of glue left on your crown. These will magically disappear if you go over the crown with a hair dryer set on low.

Use a hairdryer to get rid of hot glue strings

Another tip to prolong the life of your floral crown is to spray the finished product with Crowning Glory. This isn’t necessary, but it can help.

Help preserve the flower crown with crowning glory

A light mist is all you need. You can also refrigerate the finished crown until you are ready to wear it.

Spray crown with crowning glory flower preserver

Here’s another way to creatively finish the crown. Twist and secure the end of each side and attach a decorative hair accessory, like this beautiful starfish clip.

Flower crown with starfish

Here’s another way to creatively finish the crown. Twist and secure the end of each side and attach a decorative hair accessory, like this beautiful starfish clip.

Now that you know the basic techniques, let your inner flower child bloom and make your own one-of-a-kind floral crown!

Vegetable Vase Ideas: Asparagus, Artichokes, and Squash, Oh My!

Here are a few more vegetable vase ideas to inspire you to create floral arrangements that are uniquely yours.

FARM FRESH STYLE

Look no further than the produce department or your local farmers market for the most innovative and interesting vessels for your fresh cut flowers!

vegetable vase ideas

I have been making “asparagus vases” for many years for events both big and small. Everyone is always so impressed and excited to see how easy it is to re-create. A single bunch of asparagus can make the simplest bouquet, like these Black-eyed Susans straight from my garden, a stand-out star!

vegetable vase ideas with asparagus how to

All you need to do is:

  1. Take the rubber band that comes around the bunch of asparagus and put it around a regular kitchen/beverage glass.
  2. Cut the ends of the asparagus slightly.
  3. Place each asparagus spear one at a time between the glass and the rubber band.
  4. Fill the glass with water.
  5. Tie some raffia or a ribbon around the glass to cover up the rubber band and add another decorative element.
Unique Vase Idea: DIY Asparagus Vase

Another approach is to the scoop out the inside of a vegetable and arrange your flowers right inside for a delightful, whimsical look!

Vegetable Vase ideas with asparagus and squash
vegetable vase ideas with potato

Be creative with these vegetable vase ideas, work with what’s in season, and just have fun with it!

“Think Outside the Vase” for Unique Summer Flower Arrangements!

Whether you’re cutting flowers from your garden or picking up a pretty bunch of blooms from your local florist, here are a few “vase hacks” that will take your summertime arrangements to a whole new level!

Kitchen Colander

New or vintage, I think colanders make great containers for fresh, farm-to-table-looking arrangements.

First, choose a variety of colorful garden flowers with different textures.

Find a waterproof liner that fits nicely inside the colander, such as a plastic takeout container.

Place floral foam that has been thoroughly soaked in water into the liner for easier arranging.

Give each stem a fresh cut before inserting into the foam. Start in the middle of the foam and create your desired height. Insert shorter stems horizontally on the sides creating the width and continue filling in all around until you have the shape and look you desire.

Flowers in Floral Foam Colander Arrangement

Tin Can Do!

Another go-to container for me is a tin can. It can be a plain, old recycled tin can from the supermarket or a pretty, decorative one like this vintage- inspired floral one from Ree Drummond’s The Pioneer Woman Collection.

You can do the same thing and line the container with floral foam. Or if the container is waterproof, make sure that it is completely clean, fill with water and arrange your flowers that way.

I chose flowers that coordinated with the floral pattern on the tin.

Isn’t it just perfect!

Tin Can Flower Arrangement

Some other ideas using new, recycled and vintage tins:

An inexpensive farm theme tin looks fresh as a daisy!

Don’t throw out the can the next time that you make sauce! Fill it with daisies, roses and hydrangea for an arrangement that is a feast for the eyes!

Coffee Break roses in a vintage Maxwell House® coffee tin make an arrangement that’s good to the last drop!

Plants, including fresh herbs, are a great way to decorate too.

Just remember to think outside of the vase and just have fun with it!

Exit mobile version