Bye, Bye, Buggy: How to Remove Bugs From Plants

Lucky Ladybug

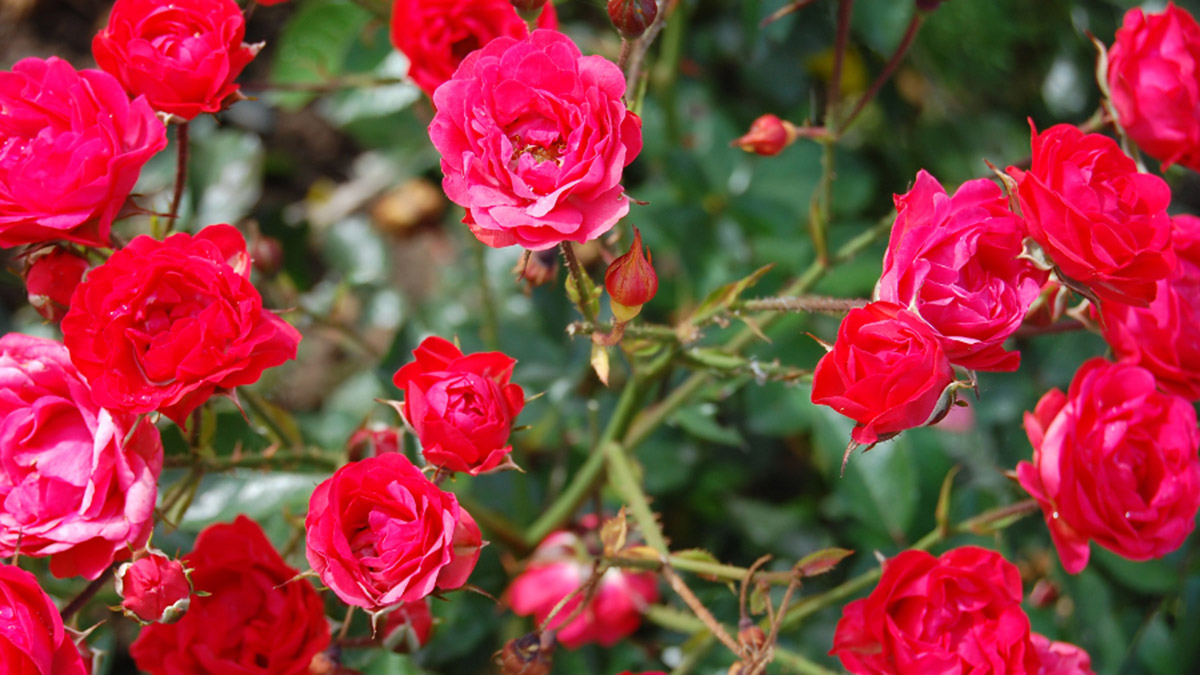
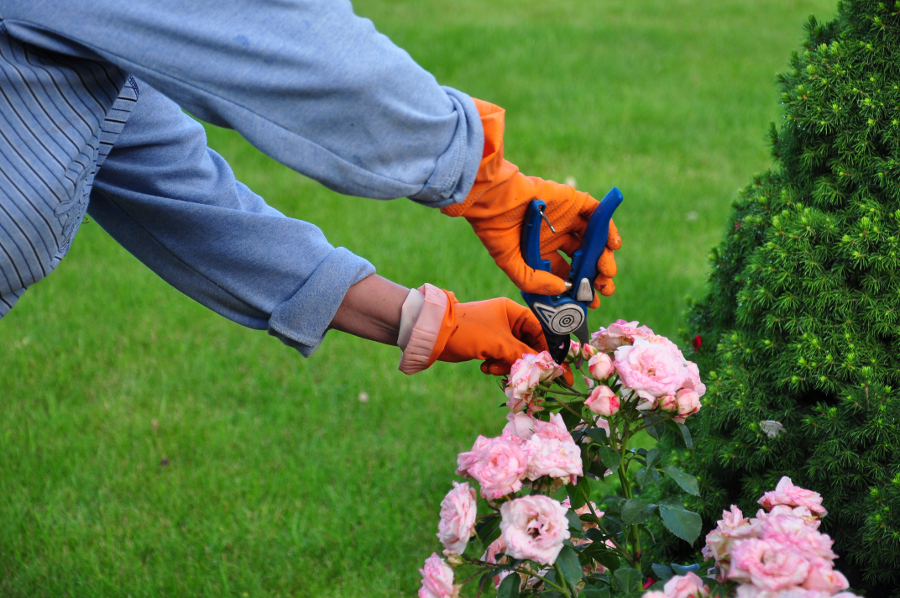
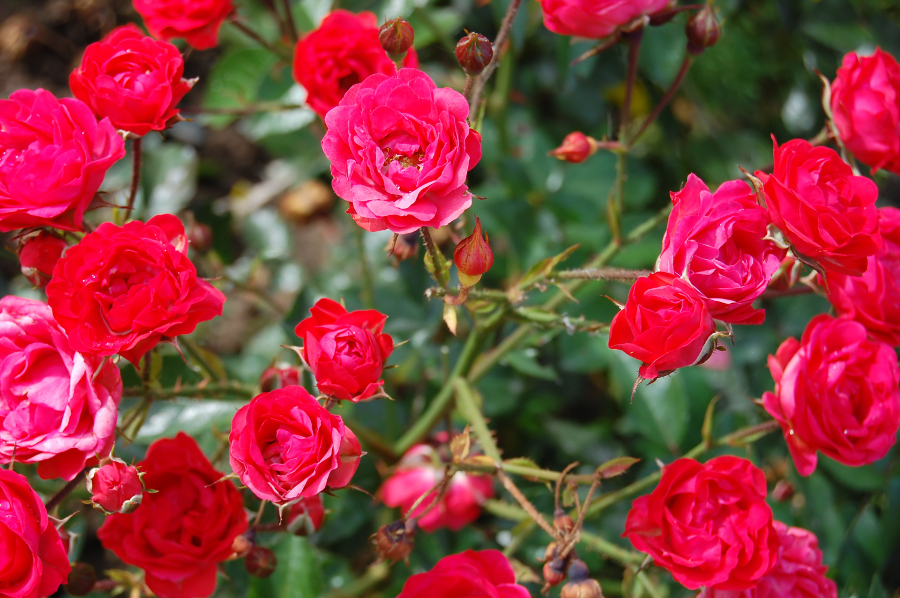
After all the time you spend caring for your plants, the last thing you need is a gang of reckless insects sabotaging your hard work. Here are our expert tips on how to remove bugs from plants (both indoors and out) so you can have a happy, healthy, pest-free garden!

How to Get Rid of Flies and Gnats

Buzzing flies and gnats that cloud around your garden pose more of a nuisance to you than they pose a threat to your plants. But since their larvae feed on roots, you’ll need to shoo those flying pests away before their hungry little ones come along.

An ordinary store-bought insect spray that contains Acephate should do the trick. Just lightly tap the leaves of your plant so the flies or gnats can swarm into the air. Spray the solution into the air around your plant, and then mist it onto your plant and the soil surrounding it. Make sure to follow the directions on the bottle: Too much Acephate could damage your plant.

If you want to take a more natural approach, set up a homemade fly trap. First, paint a strip of wood with a bright color (e.g., yellow or orange), and then cover it with any sticky substance from your kitchen pantry (e.g., honey or molasses). Place the covered wood into the plant where the flies can easily see and reach it. The bright paint will draw in the pests like magnets, and the glue-like coating will snatch them up midflight … and keep them there.

To keep those irritating airborne buggers from descending on your garden again, keep the soil around your plants clear of fallen flowers and leaves, which is where flies and gnats usually take shelter.

How to Get Rid of Nematodes

What’s scary about a nematode infestation is that you can’t see it happening. These microscopic worms thrive within the leaves and roots of plants, and they almost always prove to be fatal to your foliage. So the best way to oust them from your garden is to make sure they never show up there in the first place.

Because the only nematode treatments that really work can only be used if you have a pesticide license, your best option is to throw away your severely infested plant. If your plant isn’t beyond all repair, though, you can try to salvage it by removing all of its leaves and repotting the crown of the plant in an isolated area. If the crown hasn’t been contaminated, then it will grow back to normal.

There are a few steps you can take to keep these unwanted visitors from invading your garden. Whenever you buy a new plant, always keep it separate from the rest of your greenery until you’re positive that it’s nematode-free. Always wash your hands before working with your plants, and don’t forget to disinfect your pots before you use them. Soil amendments that contain seaweed or humic acids also help keep the worms at bay.

How to Get Rid of Plant Lice and Mealy Bugs

Although they only measure in at 1/16-1/8 inch in size, plant lice are tiny, pear-shaped insects can do big damage to plants. They often carry viruses and they tend to gather ’round the undersides of leaves. Mealy bugs are just about the same size and dwell in the same spots as plant lice, except they’re covered in a white, waxy substance that makes them look like cotton when they’re clinging to the bottom of a leaf. Both plant lice and mealy bugs quite literally suck the juice out of your plant; so if you leave them untreated, they could mean the end of your dream garden.

Come to your infected plant’s rescue by first isolating it from the rest of the garden to prevent the lice or mealy bugs from conquering other plants. If the infestation is still in its early stages, soak a cotton swab with 70 percent isopropyl rubbing alcohol and dab it on the pests. Once the plant is cleaned, hold it upside-down and thoroughly rinse it off with lukewarm water. For a more serious infestation, try treating your plant with Acephate, making sure to follow the directions on the label. Neem, a biodegradable and nontoxic insecticide, is another more natural option that could be just as effective at wiping the pests out.

Plant lice and mealy bug infestations aren’t preventable, so always keep a close watch for any signs, and start treatment as soon as you see any warning signs.

How to Get Rid of Snails and Slugs

Like flies, snails and slugs are more annoying than they are life-threatening to plants. Sometimes they make a tasty midnight snack out of plant leaves: Snails and slugs mostly come out to eat at night, and then hide underneath fallen leaves and flowers during the day.

Your best plan of attack against these slimy creepy-crawlers? First, you’ll have to remove them from the plants by hand. Catch them unawares either at night or in the early morning, when they come out from their hiding places to feed. If you can’t capture them yourself (yuck!), you can always buy a trap to lure the snails and slugs away from your garden, or make one yourself. To make a snail or slug trap, fill a plastic saucer with beer and place it near your plants. The irresistible smell of the beer draws the slippery insects—which are also terrible swimmers—into the saucer, where they drown. Sprinkling your plants with Diatomaceous Earth, a natural pest repellant, also helps make your garden a no-entry zone for slugs: It’s made of tiny, sharp particles that are too painful for slugs to glide over with their smooth bodies.

Since leaf and flower debris provides safe haven, keeping the soil around your plants tidy will prevent your garden from becoming a hot vacation spot for slugs and snails.

Elegant Calla Lily

How to Get Rid of Beetles

Beetles are infamous leaf-chewers. Small holes around the edges of your plant’s leaves are often a telltale sign of a beetle invasion. To drive away these uninvited guests, first try manually removing them. If there are too many to handle, you can spray your plant with a Malathion pesticide mixture (1 teaspoon Malathion for every gallon of water). Be aware, though, that Malathion could temporarily discolor your plant’s flowers. (Don’t worry; the flowers regain their normal color once new blooms open.) The natural insecticide Neem is also another great option: It makes the leaves taste a little less appetizing, so beetles will no longer make a gourmet meal out of your plant!

When you’re doing your gardening work outside, always remember to dust yourself off and change your clothes before you go back inside. Sneaky little beetles can sometimes hide in your clothing and then stealthily make their way to your indoor plants.

How to Get Rid of Cockroaches

Like little nocturnal ninjas, cockroaches can quickly and silently raid your beloved plants at night, without you even picking up on it. Once they take over, they wreak havoc on your garden: They bite big chunks off your leaves and can even eat entire flower blossoms! To beat cockroaches at their own game, you need to act fast.

Take a trip to your local gardening center or hardware store and pick up some traps or repellant spray specifically made for roaches. Place cockroach traps right near your plants, or spray your plant with roach repellant, making sure to follow the label and avoid applying the spray directly onto your flowers. Keep the area around your plants clean, and remove any other food sources that the roaches may be munching on when they show up at your garden.

How to Get Rid of Caterpillars

They may be cute and fuzzy, and they may one day morph into pretty butterflies, but hungry little caterpillars won’t hesitate to feast on your foliage. If you can’t pluck the bugs from your plants yourself, try spraying the leaves with Acephate (opt for the powder form that you can mix yourself) or nontoxic Neem, which makes the plant a lot less scrumptious for the caterpillars.

Again, always change your clothes after working with outdoor plants. Caterpillars can cling to your clothes and crawl their way to your indoor plants. Also, be careful that you don’t trap any moths inside your house, since they may be carrying ready-to-hatch eggs.

How to Get Rid of Ants

Ants are certainly admirable creatures (what other animals do you know that can carry up to 100 times their own body weight?), but when the entire colony starts to lay their claim on your plants, the results can be extremely frustrating for you. Ants don’t pose any real danger to your garden—they only come to snack on the honeydew that’s left by other bugs—but the last thing you want is to have these little insects crawling all over you and your blooms.

Baited ant traps are the safest and most effective way to send the colony back to the anthill. Try to figure out where the ants are coming from, and place the trap close by. Also, rinsing off your plants may help remove any sweet and sticky residue that ants may be looking for come dessert time.

More Tips on Getting Rid of Bugs

Here are a few extra DIY remedies that’ll help you banish bugs from your garden for good:

  • When sprayed on your plants, a homemade solution of one part lemon juice and one part water can also help repel bugs.
  • Vegetable oil soap can be a very effective home remedy for getting rid of insects too, since soap suffocates bugs. To make it, combine 1 tablespoon of vegetable oil soap with 2 quarts of water. Put the mixture in a sprayer, and be sure to cover the tops and bottoms of leaves as well as the surface of the soil. It’s a mild remedy, so it may be necessary to repeat the application in a few days.
  • Make sure your plants aren’t stressed; check to ensure they’re thriving in correct temperatures and are getting adequate amounts of water.
  • Always remove heavily infested foliage, and then spray plants with strong jet of water to knock the bugs off the healthy leaves.

Do you have any of your own tried-and-true methods for removing bugs from your plants? Share them with us!

8 Herbs You Should Grow In Your Indoor Herb Garden

Mixing up a fresh dish packed with herbs for dinner? Skip the trip to the grocery store and grow herbs in your own indoor herb garden, instead! Here are 8 herbs you can grow right from your kitchen!

herbs-for-an-indoor-herb-garden

Grow these Herbs in Your Herb Garden

Lemongrass

Did you know that Lemongrass doesn’t even need dirt to grow? Simply buy a stalk with extra stem and place in water. Lemongrass can be used in cooking and for medicinal purposes.

Basil

With its distinct scent and flavor, basil is the perfect addition when you want to add a bit of extra flavor to any dish. The best part? The basil plant is extremely easy to grow, just make sure to give it plenty of sunlight (at least six hours a day).

Cilantro

In addition to its distinct flavor, cilantro boasts a plethora of nutrients and anti-oxidants when consumed. While the cilantro plant does grow quickly, it does not regrow once harvested, so it is best to have several plants in different stages of life in your indoor herb garden.

Parsley

This fresh-scented herb is chockfull of nutrients such as vitamins A, C and K. While the parsley plant is very easy to grow, it grows at a slower rate than other herbs.

Thyme

A delicious herb used in a variety of cuisines, the thyme plant requires a lot of sunlight – at least 6-8 hours. When in bloom, the plant is covered in small pink or purple flowers which are sure to add some dazzling color to your herb garden.

Mint

There’s nothing quite like the scent of fresh mint. Put mint in your teas, salads or garnish for a fresh aroma and burst of flavor. The mint plant grows like a weed and can be overpowering in an herb garden, so consider putting it in its own pot.

Oregano

Add a sprinkle of oregano to any dish to take it above and beyond! The oregano plant requires massive amounts of sunlight, so place in a well-lit window.

Looking for more scented herb fun? Check out our post on using herbs to turn a bouquet into a fresh scented arrangement!

How Are Colored Orchids Made?

Among other things, flowers are known for their natural beauty and the amazing variations of colors that we find them in. But despite their current aesthetic appeal, sometimes we’re left wanting more – more flowers in more different colors!

If you’ve ever seen your favorite flower in a color that’s different from how they normally look in full bloom, you may be familiar with the phenomenon that is “painted flowers.” Today, we’re specifically taking a look at colored orchids (one of our favorites!) and answering one of the biggest questions we’re sure you have – how are they made?

Blue Orchid

How Colored Orchids Are Made

While you may think that colored orchids are made simply by spray painting the stems and the flowers, the process is actually a bit more complex than that. In fact, there are a few different ways that you can make colored orchids, but for this example we’re going to focus on watercolor orchids. The following are the primary steps that are taken to create these beautiful blooms:

  1. First, a small hole is made in the stem of the plant that is going to be dyed.
  2. Next, colored dye is injected into the hole that was created in step number one.
  3. Once the dye has made its way into the stem, the hole is sealed by covering it with wax.

After these three steps have been taken, the orchid’s blooms will usually start to change color about 24 hours later. Wondering what happens to the plant’s natural color? Well, after the dye is initially injected, the plant’s natural process of transporting water to the stem and blooms takes place, and at that point the dye is carried and distributed throughout as well.

Colored Orchids

Now we know what you might be thinking – can I make one myself? Truth is, the process of creating watercolor orchids really requires a professional, as the dye can be harmful if not injected correctly. Not to mention, plants that undergo this process require a little extra TLC and attention.

How To Care For A Colored Orchid

If you ever get the chance to have a colored orchid of your own, the procedure you should follow for its care is pretty similar to what you do for a non-dyed orchid. Most importantly, make sure that your orchid is getting enough water – about five ice cubes once a week should do it. To tell if your orchid is receiving the amount of water it needs, start by looking at the roots – roots that are green and shiny are usually a good indication that the plant is in good shape. And remember, always keep the hole where the dye was originally injected covered with the wax!

green-colored-orchid

Rose Garden Care & Tips

From tulips to chrysanthemums, our series “The Language of Flowers” explores everything from fresh flower care tips to flower symbolism and meaning. Learn from floral expert Jerry Rosalia about how to care for your rose garden, including when and how to prune, plant, and fertilize roses.

Garden roses come in several different categories — including miniature, climbing, and hybrid — and each category contains many types of roses. But regardless of the variety of garden rose you’re growing, the maintenance of these flowers is more or less the same.

Read on to learn my tips on rose garden care, including where and when to plant your roses, and how to care for them once they’re in the ground.

When and how to prune roses

a photo of rose garden care: pruning a rose bush

In the Northeast, the best time to prune is in the spring, when forsythias are in bloom, and again in the fall, four to six weeks before the first hard frost. Pruning in the early spring is done to remove any damage that occurred during the winter months, as well as to remove any old flowers. Always prune dead wood back to healthy tissue by removing dead, damaged, or diseased branches. Healthy branches will be white or light green in the center. Any discoloration, spots, or mildew on branches should be cut out. Removing spent or withered flowers encourages more future blooms; this is called “deadheading.”

Where to plant roses

Roses should be planted in an area in your garden that receives a minimum of five to six hours of full sun. Don’t overcrowd the plants and don’t plant rose bushes too close to walkways — you want to give them plenty of room to grow. Leave enough space so they will not be affected by winter snow removal or the “ice melt” on your walkway, which can hurt or damage your plants.

Nourish your roses

Prepare the soil

Add the amount of organic material suggested on the product you have purchased. You can buy compost from your local garden store or make your own from grass and leaf clippings around your yard. Some gardeners recommend adding a four-inch square of gypsum (wallboard) and a 16 penny nail at the bottom of the planting hole to provide calcium and iron. Do this whether your rose bush comes already planted or dry pack, where the rose stems have been coated in wax. Once established, roses should be fed on a regular basis throughout the blooming cycle.

a photo of rose garden care: roses growing in a garden

Fertilize your rose garden

Usually starting in April (and each month thereafter), apply about 1 cup of balanced rose fertilizer (5-10-5) to each bush and sprinkle around the plant but not against the plant itself. (For those unfamiliar, balanced rose fertilizer simply means a blend of nitrogen, phosphorous, and potassium with the ratio 5-10-5.) In May and June, add a tablespoon of Epsom salt (magnesium sulfate) to the fertilizer; this will encourage new growth from the bottom of your bush. If you spot pests or disease, such as black spot, powder dew, and cankers, on your bushes, consult a county extension service or local garden center.

Prepare for winter

In late fall, stop feeding six weeks before the first anticipated frost but continue watering during the dry autumn weather. After the first few frosts, mound mulch or compost around the plants. In the spring, start the process all over with your rose pruning and fertilizing!

Woman with glass of rose

How to Keep Animals Out of Your Garden

A cucumber missing, tomatoes with bite marks, nibbles in your basil…after all of the time you spend growing and caring for your garden, the last thing you want is to come out and find it taken over by animals! For the critters that just can’t seem to stay away – we’re talking squirrels, birds, stray cats, raccoons, rabbits, chipmunks, deer, etc – you need to have a few tricks up your sleeve to ensure that all of your hard work doesn’t go to waste. Here are a few strategies that you may find helpful to keep these furry friends from messing with your garden, while still being animal friendly of course!

Squirrel Digging in Garden

Design Your Garden Carefully

When your garden has small spaces that animals can hide or rest in, it becomes much more attractive to wildlife like squirrels, rabbits and chipmunks. As you plant, make sure you’re strategic with the designs you choose and avoid leaving any holes that smaller creatures can sneak into.

Add Garden Netting or Fencing

The type of net or fence you install around your garden will differ based on the animals that you are trying to deter, but either way, having a protective barrier can help keep unwanted critters out. Should your climate allow you to keep a garden all year long, you might want to consider a permanent fence that compliments the rest of your yard’s design. On the other hand, if your garden is only seasonal, a temporary fence or net should work just fine! You’ll want to make sure your fencing does not have holes in an attempt to keep out animals of all sizes. Depending on the height of your garden intruders, you may want to go with a higher fence to keep out taller animals.

Net covering garden with bowl of strawberries

Use a Scarecrow

If swarms of birds are the problem you constantly face, something as simple as a scarecrow can encourage them to head in the other direction. Just keep in mind that although birds can get scared easily, they can also be pretty smart – that means, you’ll need to move your scarecrow around occasionally so that they think it’s a real person and not just some garden décor.

Spray Animal Repellent

Animal Friendly In-Store Repellents

Animals can be sensitive to scent, and if they don’t like what they smell, there’s a good chance they won’t come back. Head to your local pet store and speak with an expert about the animals you’re struggling with so that they can recommend a product that is effective, but that won’t ruin your flowers and plants. Remember, though, that the goal here is just to keep the animals away, so you’ll want to ask questions to make sure that you’re getting a product that is still animal friendly, and will not hurt the animals.

Natural DIY Repellent

In addition to what your pet store suggests, you can also try natural repellents, too! Did you know that animals such as rabbits, squirrels, cats and deer can be deterred using chili-pepper products? Additionally, you can prevent stray cats from using your garden as their litter box by putting down some cut up oranges, lemons, or another citrus fruit! Last, but certainly not least, essential oils such as lavender, geranium and mint can also help you stop your animal problem when sprayed around the base of each plant.

Natural Cayenne Pepper Recipe

Red Hot Chili Peppers Natural Animal Repellent

Since garden critters can be deterred from visiting by strong smells and tastes, follow this recipe to create a natural pepper based repellent:

  1. Add 2 tablespoons of powdered red pepper to 1 gallon of warm water and stir. Then, add 6 drops of liquid castile soap and stir so that you have a nice mixture. Once completed, cover the mixing bowl or container you’ve used and keep it at room temperature overnight.
  2. Pour the pepper solution from your bowl or container into a spray bottle and shake well.
  3. In the early morning or at dusk on a calm day (it should be no hotter than 85 degrees Fahrenheit as well), start spraying your pepper solution on the stems and upper and lower leaf surfaces of the plants in your garden. Before you do so, though, make sure you’ve shooed all insects away!
  4. On a weekly basis, continue to re-apply the pepper solution to the plants in your garden. Should it rain at any point, make it a priority to re-apply as soon as the storm passes.

When not in use, keep the pepper solution in a tightly closed container and refrigerate for up to 2 weeks!

Garlic Spray Recipe

garlic-natural-animal-repellent

Homemade garlic spray can also be helpful in repelling the critters that munch on your vegetable garden – this garlic spray recipe should do trick:

  1. Mince garlic cloves and allow them to soak in mineral oil for at least 24 hours – use the ratio “3 ounces of garlic to 1 ounce of mineral oil” to start creating the solution that will work best.
  2. Separately, add 1 teaspoon of fish emulsion and 1 tablespoon of castile soap to 16 ounces of lukewarm water.
  3. Once the garlic has had enough time to soak, strain the garlic from the oil and combine with the solution made in step number two. At this point, store the mixture in a dry, dark and cool spot.
  4. When you are ready to spray your plants, dilute 2-3 tablespoons of your garlic spray using 1 pint of lukewarm water, then begin to apply the solution!

Consider A Plant’s Taste

Some Plants Are Less Tasty Than Others

Although you might not be the first one to dig into your plants for dinner, animals like deer might be. With that in mind, do some research before choosing plants and flowers for your garden to see which ones aren’t viewed as tasty by our outdoor friends. Where deer are concerned, that means you should stay away from things like fruit trees, lettuce, hostas, and impatiens (aka touch-me-not). Instead, if your climate allows, you may want to consider planting cacti, daffodils, and/or crocuses! That’s because deer will typically stay away from plants that have an uncomfortable texture, strong scent, and a fairly bitter taste.

If you aren’t struggling with deer but rather have trouble with critters like rabbits and groundhogs, they too will usually avoid plants with a strong scent. As such, you may find success by planting lavenders, mints, sages and thyme. For rabbits specifically, you can also try flowers such as lamb’s ears, Black-eyed Susan’s, and irises, as these are known to be pretty rabbit-resistant.

If at any point you are unsure about which plant(s) to choose, always remember that the majority of animals – squirrels, birds, stray cats, raccoon, rabbits, chipmunks and deer alike, will stay away from those that are prickly, fuzzy, leathery and strong scented!

Whether you’ve already starting planting or are about to soon, be sure to give one or more of these ideas a try to see which works best to keep animals out of YOUR garden. Although you may need to test out a few, the extra effort will be well worth it when your garden is still standing tall at the end of the growing season!

4 Tips for Gardening with Your Dog

Did you know that Responsible Dog Ownership Day is in September? For all you dog moms and dog dads out there, we know that you probably view every day as an opportunity to give your pet the best possible care. But in honor of this observance, we’re touching on one more task you may not have given much thought to: gardening with your dog.

Gardening with dogs with dog and flowers

Even though summer is ending and you may not be spending as much time in your garden as you did the past couple of months, there are certain plants and flowers that thrive in the fall — and if you’re like us, that means you’ll definitely head out to the garden at least a few more times before the cold sets in. And should your a-DOG-able pet join you as you head outdoors, here are four tips to help keep them safe.

1. Be mindful of fertilizer

Of course your plants need food to thrive, but just like you wouldn’t indulge in theirs, neither should your pets. In fact, if your dog consumes any fertilizer from your garden, it could really take a toll on their stomach. As a result, your best bet is to keep dogs away for a while after tending to your plants and flowers.

2. Steer clear of cocoa bean mulch

Although this type of mulch is known to produce a chocolate-like smell (yum!) and looks great in any garden, it, too, can cause trouble for your furry friends. Known to contain theobromine, which is toxic for dogs, this gardening product could lead to health problems (such as vomiting and muscle tremors) in your pets.

3. Clean up after yourself

Always make sure to put all gardening tools back in their proper place. Even though some may be small, they can still be sharp and harmful to dogs. The same goes for the plants and flowers themselves. If you haven’t finished your work but plan to return to it later, store leftovers at a height that your pets can’t reach; even if they are pet-safe plants, plants and pets may not always be a good mix if you’d like to avoid a mess!

4. Research plants and flowers first

One of the most important things you can do to ensure your dog is kept safe in your garden is research which plants and flowers are safe for pets. While you may be a fan of azaleas, hyacinths, or larkspur, certain parts of certain plants may be poisonous for dogs. Therefore, if you have a dog at home, your garden should always be filled with pet-safe flowers and plants only.

Winter Plant Care Tips from Expert Jerry Rosalia

Caring for plants year round is important to ensure they live a long and prosperous life. During the cold months, winter plant care can be a bit more difficult. Below, I’ve provided some helpful winter plant care tips to get your green friends through the cold season.

dracaena-floor-plant-winter-care-101073z

Caring for large plants during winter months

Large house plants do well if you keep them clean. Do this by gently wiping their leaves of grime and dust. Doing this twice a year helps the plant grow and breathe.

While rinsing, be on guard for scale, mealybugs, and spider mites. Mealybugs look like little specks of cotton. If you still see mealybugs after rinsing, spray the plant with an insecticidal soap.

In cold climates, keep plants away from or against windows, and away from heat sources. Poinsettias like moist soil, but make sure to not over water and drown them.

Holiday-traditions-poinsettia

Winter care for poinsettias

Poinsettias are on sale almost everywhere you shop during the holiday season. Before purchasing them, make sure you inspect them for white flies or eggs, as these can go airborne and infest other plants in your home.

The onset of winter means less daylight is available. During this time of year, most house plants are semi-dormant, so it’s important to cut down on the watering. It’s also best to not fertilize until early spring. Southern states may be a little different depending on how hot the temperatures are during the winter months.

If you liked this article, you may also be interested in some of our other Petal Talk articles from 1-800-Flowers.com expert Jerry Rosalia:

How to Make a Container Herb Garden

grow herbs in the house

Herbs love sunshine and warm weather. That means they really don’t like it in the refrigerator, so when you buy a bunch of basil, use what you need and carefully store the remainder in your crisper, it turns into black slime overnight. Why not grow your own container herb garden? Herbs are generally very sturdy and forgiving plants—after all, many of them are weeds in their native lands—and they do well in containers. It’s so handy, too, to be able to step outside your kitchen door and snip off exactly as much as you need. Here is a selection of basic culinary herbs that will flourish in containers:

  • Parsley (flat leaf or curly)
  • Basil
  • Oregano
  • Marjoram
  • Thyme
  • Sage
  • Rosemary
  • Dill
  • Chives
  • Tarragon
  • Mint
  • Cilantro/coriander

There’s no need to start with seeds: All of these are readily available in four-inch pots from any garden center—for about the same price you’d pay for a bunch of cut herbs at the supermarket—which means you can start using them immediately.

What sort of container is best? You have lots of options, depending on your budget and your sense of style: You can buy lovely terra-cotta or ceramic pots, stop by a dollar store for inexpensive plastic containers, or rummage around among your garden castoffs for something suitable. You could build or buy a trough and plant rows of herbs if that suits your space. The critical criteria: the container must be at least eight inches deep to give the roots room to grow, and it must have a hole for drainage.

Herbs in general need six hours of sunlight a day, and they require very good drainage. Choose a well-balanced potting mix, preferably organic (you’re going to be eating these leaves, after all), and pick up an organic plant food while you’re at it; you need to feed container plants about once a week.

You could put together an attractive grouping of herbs in a single large pot. Choose herbs with similar sunlight and water needs. Start with something fairly tall for the center, then surround it with lower plants and finish with a couple of supine herbs that will tumble over the rim. If, for instance, you planted basil in the center, with oregano and marjoram and thyme around it, you’d have a container garden of pretty and fragrant herbs—and just about everything you need for spaghetti sauce.

Herbs aren’t just delicious; they are also beautiful. There are multiple varieties of every herb, sometimes with slight differences in flavor, leaf shape and color, and sometimes with large differences. Lemon thyme may look a lot like English thyme, but the flavor is distinctly different. There are so many different kinds of basil—Thai, opal, Genova, cinnamon, etc.—that you could create a useful and decorative display in a single pot.

Almost all herbs produce flowers, so you could factor that in to your selection—lavender chive blossoms, white thyme flowers, purple sage, pink basil blossoms. It’s a good idea to periodically cut the flowers; they are lovely in salads.

If you have the space and inclination, you could add some non-culinary herbs to your container garden. A pot of lavender beside your door could waft you to Provence every time you passed it. Do you like chamomile tea? You can easily grow the herb—Matricaria recutita, or German chamomile—and harvest the flowers for your tea. Mint will thrive under almost any conditions and provide you with plenty of fragrant leaves for tea and juleps and mojitos. The one thing it doesn’t like? Cold.

It will turn into black slime.

Rose Care: How to Save Roses with ‘Bent Necks’

From tulips to chrysanthemums, our series “The Language of Flowers” explores everything from fresh flower care tips to flower symbolism and meaning. In this article, expert florist Jerry Rosalia shows you how to save roses that begin to droop, aka develop a “bent neck.”

You’ve recently receive a beautiful bouquet of roses in a vase, but after a few days, one of the roses starts to droop, otherwise known as develops “bent neck.” If this happens to you, don’t fret; you can straighten that rose so it’s standing upright and at attention in no time.

Here, expert florist Jerry Rosalia teaches you how to save roses with bent necks in four easy steps.

How to Save Roses with Bent Necks: Roses in a Vase
  1. Remove the rose from the arrangement.
  2. Wrap the rose tightly in wet newspaper, leaving the stem protruding. (The newspaper helps keep the head of the rose straight, which will aid it in being hydrated.)
  3. Cut the drooping rose under water but not under running water from a tap (which is aerated).
  4. Place the rose in a container filled with warm water.

Within a few hours, the air will have passed out of the neck of the rose and the flower will be drinking water again. You’re welcome!

Exit mobile version