Mother’s Day DIY Gift: Personalized Wine Bottle

Mom is one busy lady. Have you seen her lately? She makes Superwoman look lazy. She’s a teacher, cook, homemaker, and everything in between. That’s why, this Mother’s Day, get her something she actually wants (and deserves)…wine!

For the ‘half glass full’ mom

Getting together with my mom and sister for a casual glass of wine is one of my greatest pleasures in life. So, this year, I’m surprising my mom with an in-person happy hour with her favorite bottle of rosé. For the perfect Mother’s Day DIY gift — and for an added layer of surprise and personalization — I turned the rosé bottle into a keepsake we can drink from and then repurpose.

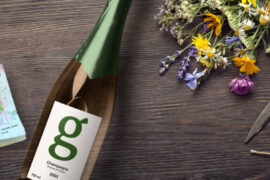
Mothers Day DIY Gifts personalized wine label

Creating your own DIY Mother’s Day wine bottle

I created a custom rosé bottle label for her in Adobe Photoshop and replaced it with the label on the bottle. If you don’t have Adobe Photoshop (or aren’t confident in your Photoshop skills), you can always order a personalized wine label online. Many styles and designs are available!

If you go the DIY route, all you need is sticker paper to turn a simple wine bottle into a personalized gift for mom.

Here’s how I did it.

Make it personal to make it special

I used a photo of the two of us to really make it personal. For an inspirational touch, I asked my mom to share her favorite quotes from women that inspire her and included those on the bottle as well.

I wanted this gift to be something special that we could use (aka drink) together, but I also wanted my mom to be able to keep it after and repurpose it as a vase. If you’re looking for something personalized and creative to share with a special person in your life, I highly recommend this Mother’s Day DIY gift.

Supplies you’ll need for DIY Mother’s Day wine bottle

Mothers Day DIY Gifts mom with wine and dog

Steps to create your personalized wine bottle

  1. Soak the bottle in a vase full of water. Then, remove the label. (Tip: Soak the bottle overnight for easier removal. You should be able to just peel it off.)
  2. Create your custom bottle label on the computer or by hand (just make sure to do it on sticker paper), or order one online.
  3. Print your custom label onto sticker paper and cut it out.
  4. Measure your cut-out label and decide where you want it to go on the bottle.
  5. Peel the back part of your label off and stick your personalized label onto your bottle.

Additional gift ideas to go with the personalized wine bottle

You’ve given Mom her favorite wine with a sweet personalized label, and that’s pretty special. But even after the wine is gone, this gift keeps on giving! Mom can use the keepsake wine bottle as part of her entertaining décor, a unique wine bottle vase, or a unique “pitcher” for water.

Does Mom love her personalized wine bottle? Check out these other accompaniment DIY gift ideas.

Halloween Crafts: Candy Corn Garland

Not everything about Halloween needs to be spooky and scary — it can also just be fun and colorful, and full of sweets and smiles.

Here is a simple DIY craft idea celebrating that perennial Halloween favorite, the candy corn.

This project starts off very basic so that even the littlest trick or treater can do it, and can be scaled up and personalized to entertain tweens and beyond.

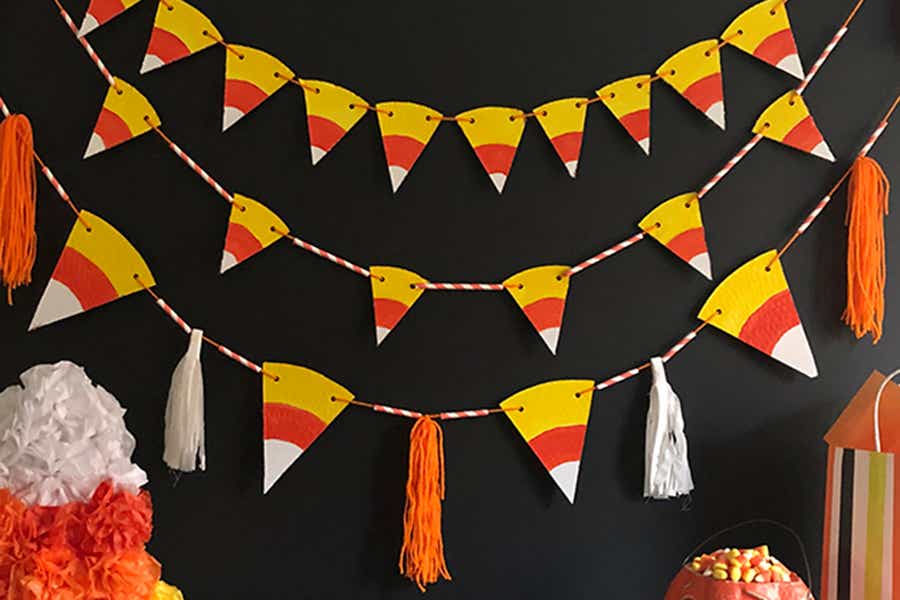
Candy corn garland

Making this Halloween craft keeps the kids entertained and barely costs a thing. And, after Halloween is over, you can recycle the whole thing — no guilt about producing extra waste, and you don’t have to pack it up and find somewhere to store it all year.

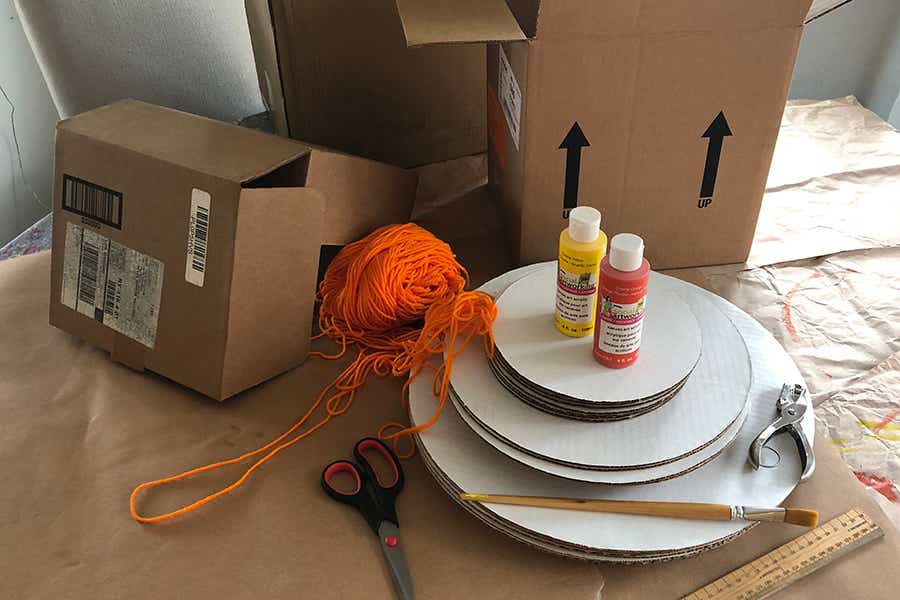
halloween crafts with materials for candy corn garland

Materials needed for candy corn garland

  • Cardboard boxes
  • Paint or markers
  • String or ribbon
  • Hole puncher
  • Scissors or straight edge cutter

Instructions for making candy corn garland

The steps for this candy corn garland are the same as the ones I used for the patriotic-themed garland I made for Memorial Day. The only difference is it is painted differently.

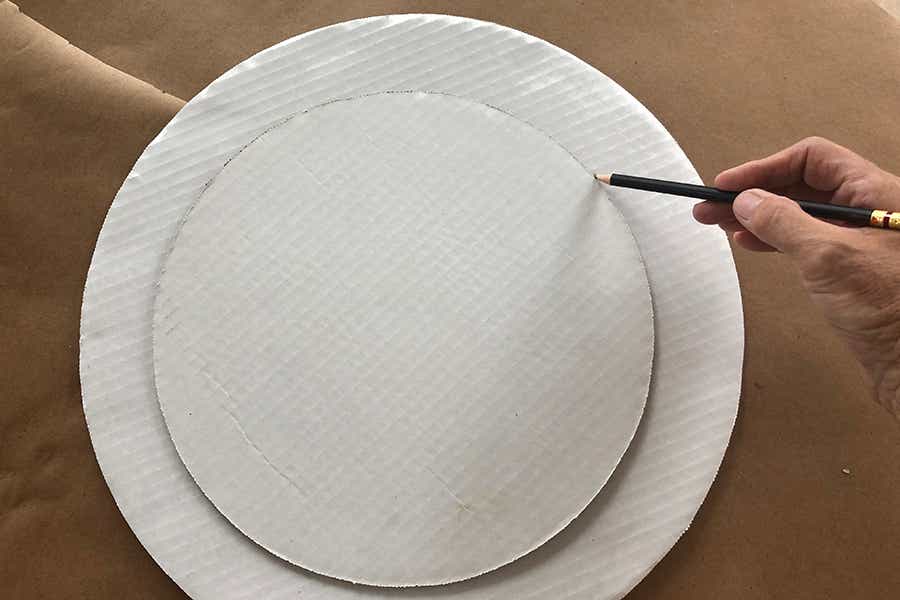
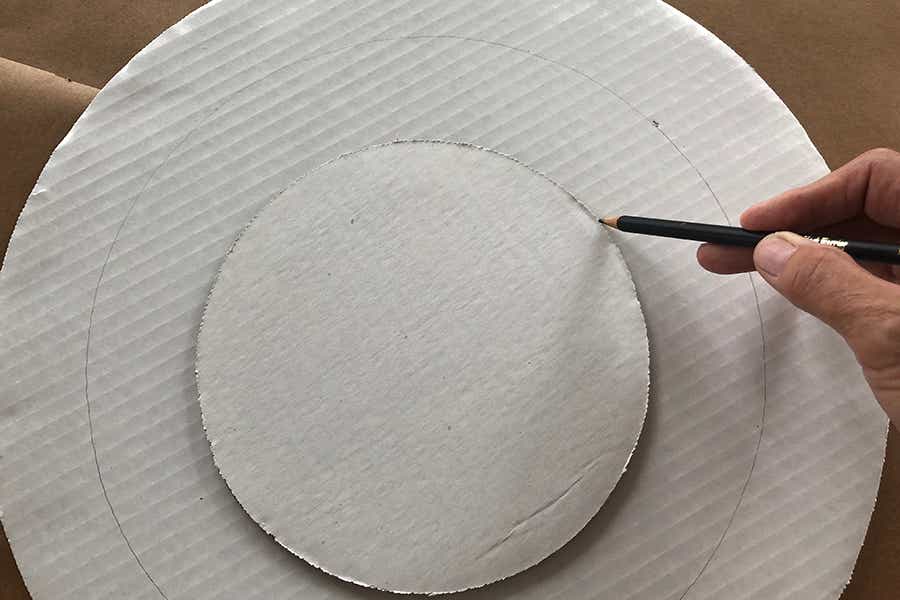
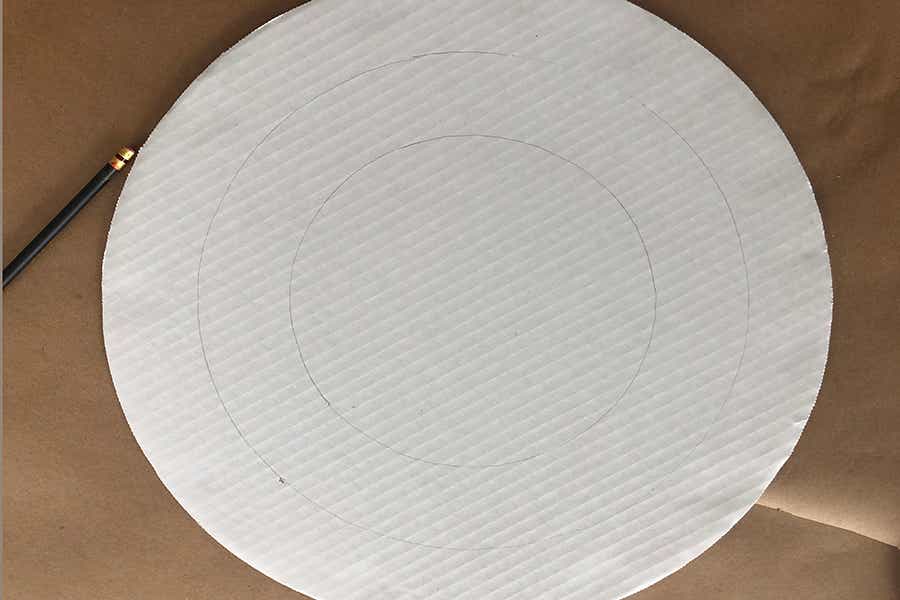
halloween crafts with Circle
  1. Cut out a large circle from the cardboard box and, using a pencil, draw two smaller concentric circles inside it. (I was fortunate that one of my daughters operated a baking business out of my house and I had corrugated cake boards in my attic. And the fact that the boards were white meant I only had to paint the orange and yellow sections!)
  2. Repeat the process making more circles. You can make them all the same size or mix it up with larger and smaller ones.
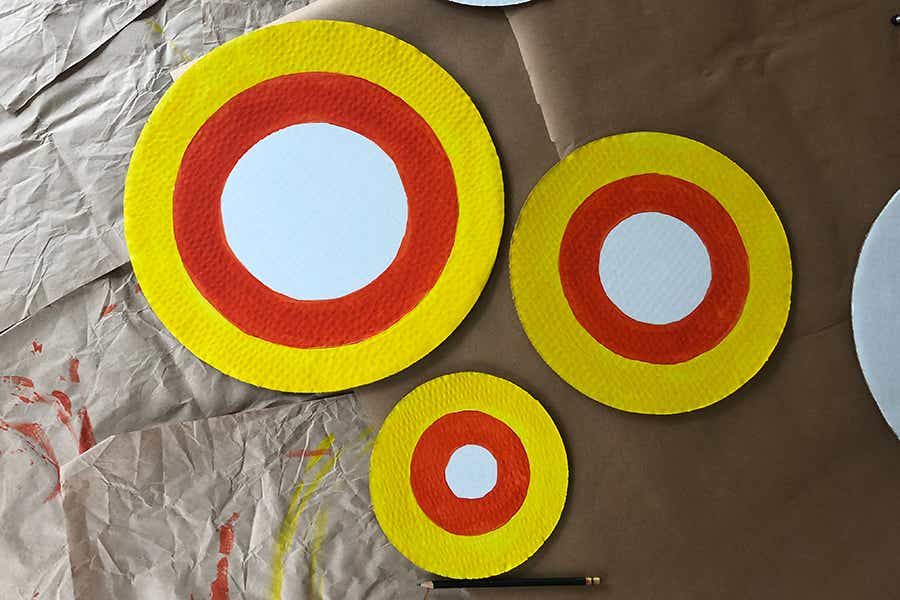
halloween crafts with painted circles
  1. Paint or color the outermost ring yellow, the middle ring orange, and the innermost ring white (if necessary).
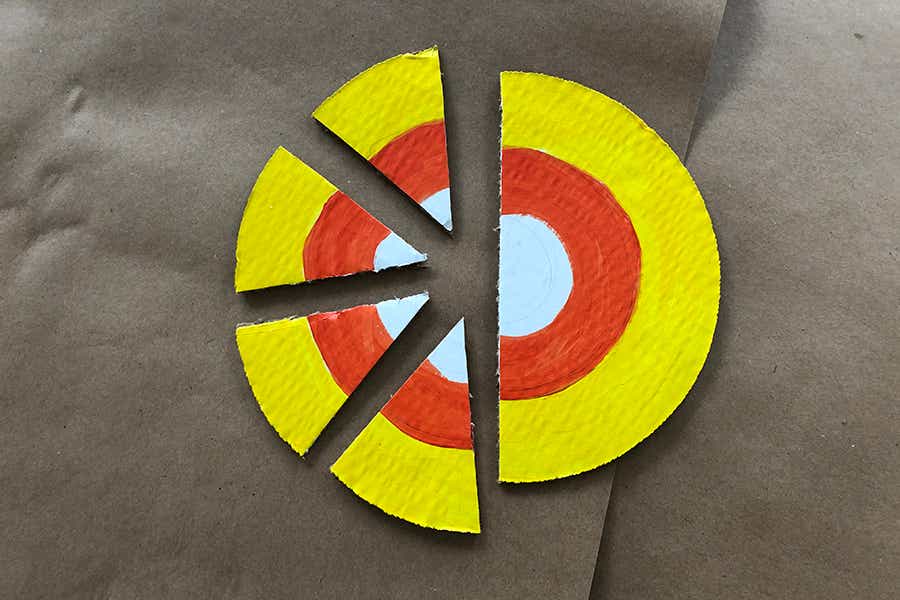
halloween crafts with cut circles
  1. Once the paint dries, cut the circle into triangle — just like a pizza!
halloween crafts with hole-punched wedges
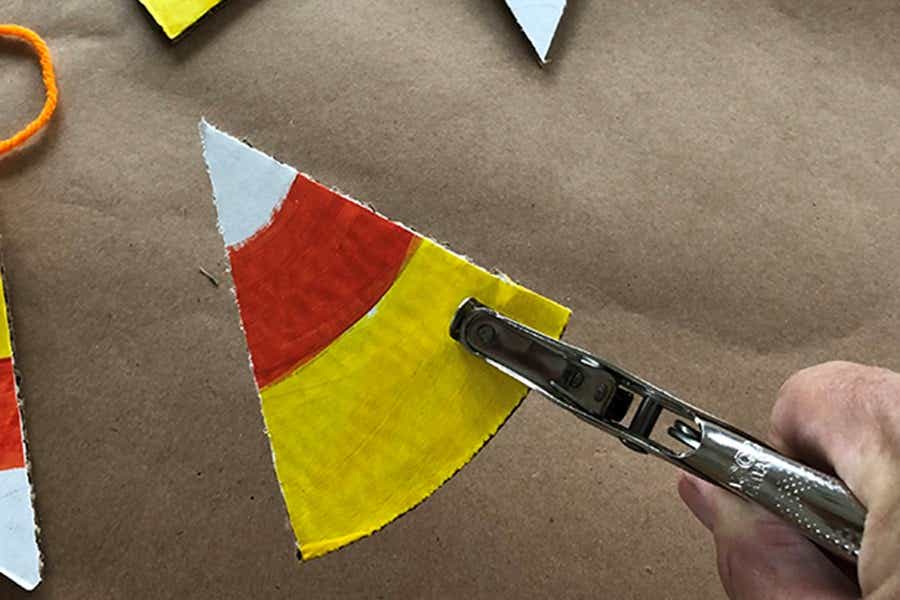
  1. Use a hole puncher to punch two holes in the wider end of each triangle.
halloween crafts with yarn strung through wedges
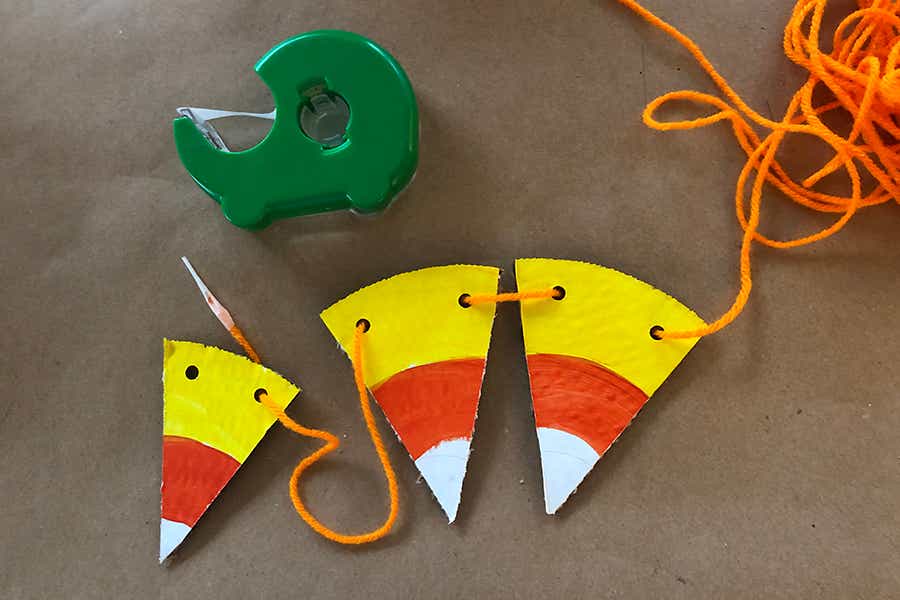
  1. Lace yarn, twine, or ribbon through the holes on the triangular pieces.
halloween crafts with candy corn garland

Once you have the basic steps down, you can improvise as you see fit. Let the older kids design their own garlands, adding tassels made from yarn or fabric, or add paper straws cut to the desired length in between the candy corn. The possibilities are only limited by your imagination!

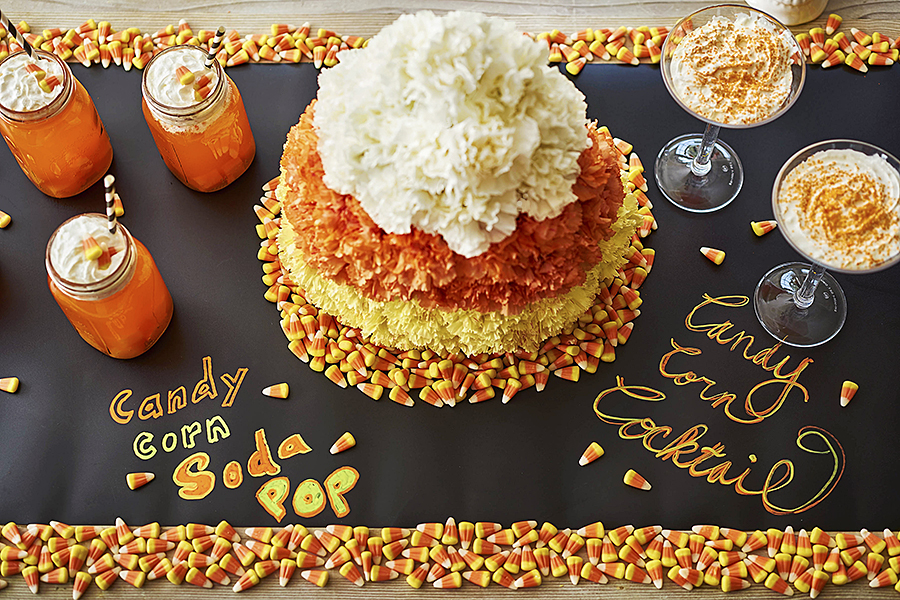
halloween crafts with candy corn sodas and cocktails

And when the decorating is done, treat the little ones to a candy corn soda pop and yourself to a candy corn cocktail!

DIY Thanksgiving Craft Ideas the Entire Family Will Gobble Up

Thanksgiving is a time of food, fun, and of course ― family! Get the whole gang excited for the season by spending time crafting some DIY Thanksgiving crafts together.

The best part? Many of these can be used for your Thanksgiving decorating and parties, roll up those sleeves and get ready for some fun and festive crafting!

Fall flower- & foliage-inspired DIY Thanksgiving crafts

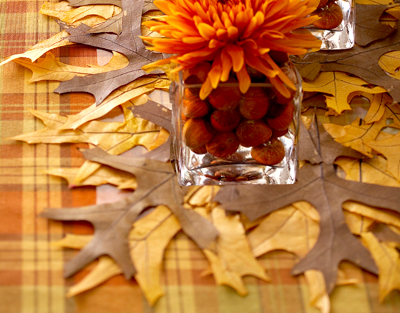
thanksgiving crafts with diy autumn leaf table runner

Fall leaves become a wow-worthy table runner with a few simple steps! This DIY autumn leaf table runner craft is a perfect touch to a Thanksgiving spread, or just for adding a sprinkling of the season to your home décor.

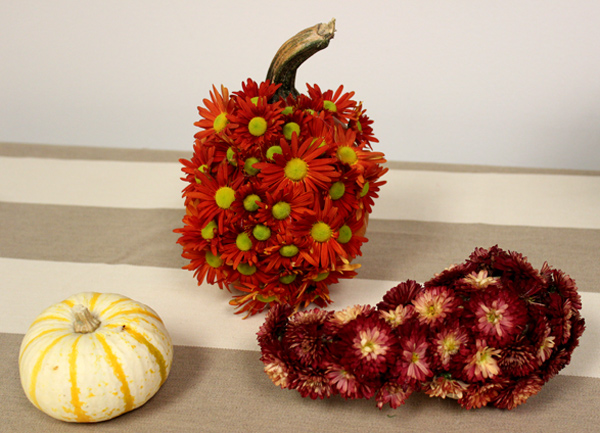
thanksgiving crafts with diy flower pumpkins

Turn those fall pumpkins into stunning statement pieces with some fresh flowers and a glue gun. This craft is so easy to do and can be altered to fit your party scheme or home décor. Get the how-to for these flower pumpkins!

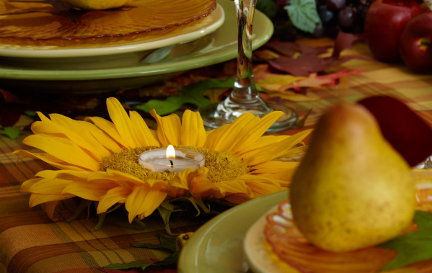
thanksgiving crafts sunflower votive

Add some dazzle to your décor with DIY sunflower votives! Perfect for sprinkling throughout your home for a lovely fall touch or for creating an intimate feel at your Thanksgiving celebration.

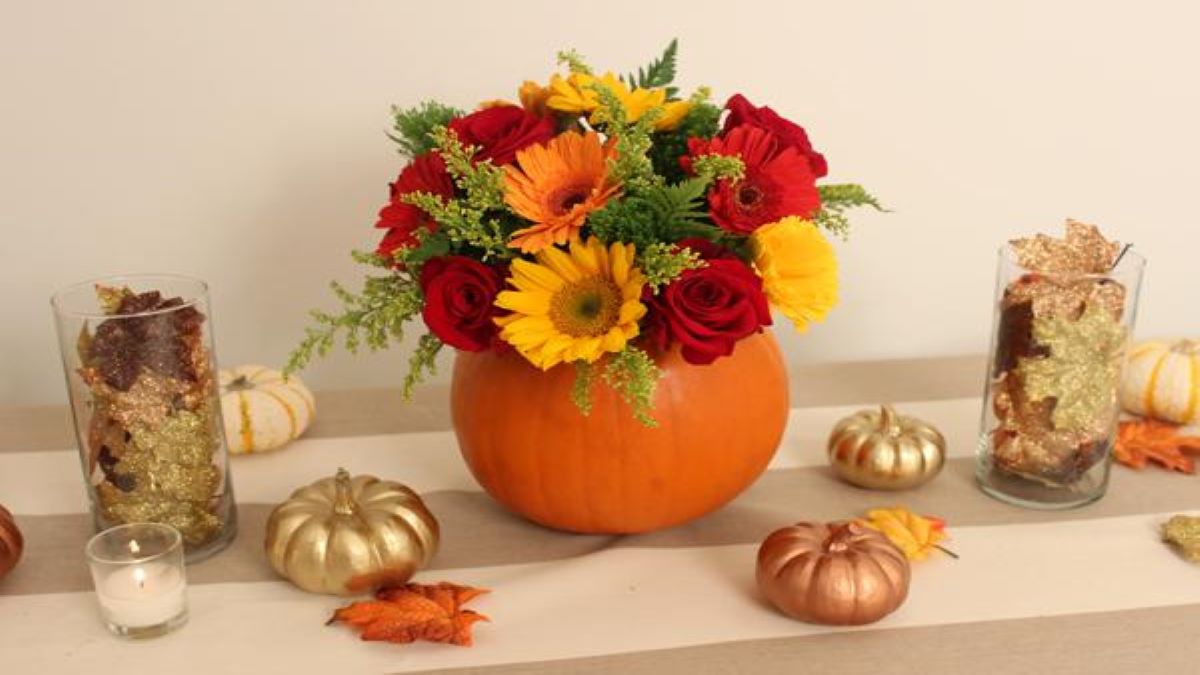
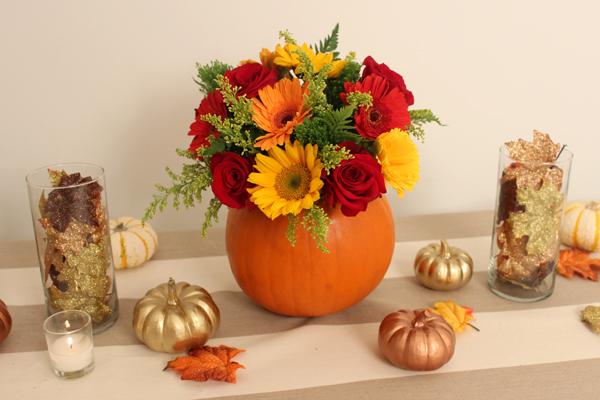
thanksgiving crafts with diy thanksgiving pumpkin vase

Create a festive and fresh vase to show off your fall flowers with this DIY pumpkin vase from Celebrations.com! Be sure to hold on to your seeds while gutting for the perfect fall snack. Let’s hope this pumpkin doesn’t turn into a carriage at midnight!

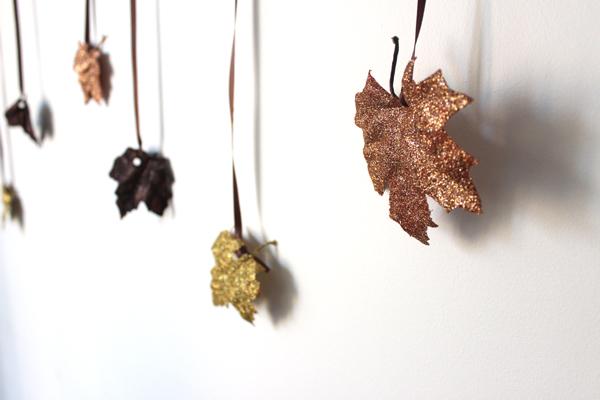
thanksgiving crafts with diy glitter leaves garland

Add some dazzle to your decor with this DIY glitter leaf garland craft! This idea is chic and on-trend, sure to put you in the running for host or hostess of the year.

DIY Thanksgiving crafts for kids

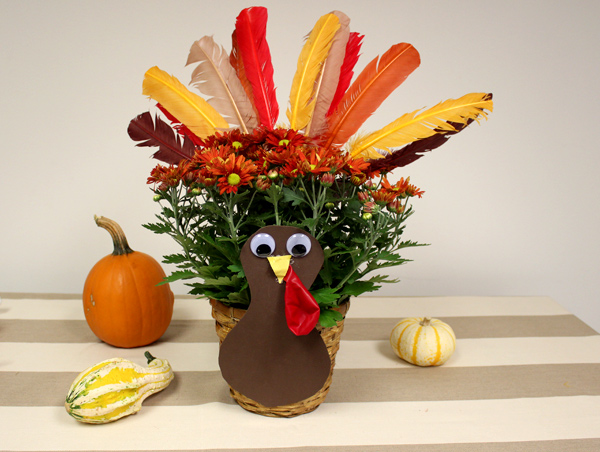
thanksgiving crafts with thanksgiving potted plant turkey craft

With a bit of creativity and craftiness, children can turn a regular DIY potted plant into a fun and festive gobbler! Get the how-to for this Thanksgiving turkey craft and watch as a fall plant blooms into something truly unique.

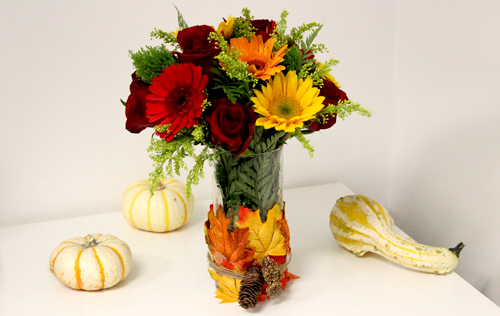
thanksgiving crafts with diy fall leaf vase

Turn any flower arrangement into a wow-worthy Thanksgiving decoration with this DIY fall leaf vase idea! This craft idea is so simple to recreate, making it a great way to get the kids involved with Thanksgiving decorating.

Salute the Flag: Make Your Own 4th of July Wreath

DIY 4th of July Wreath With American Flag Toothpicks

Raise your flags up high…it’s almost time to celebrate the Fourth of July!

Salute the stars and stripes with a firecrackin’ fun decoration for your front door. This DIY 4th of July wreath is surprisingly easy to make: All you need is some American flag toothpicks and a Styrofoam wreath, and you’re ready to show off your patriotic spirit.

Here’s how you can make one of your own.

Materials for DIY 4th of July wreath

  • American flag toothpicks
  • Patriotic umbrella toothpicks
  • Styrofoam wreath

How to Make a DIY 4th of July Wreath

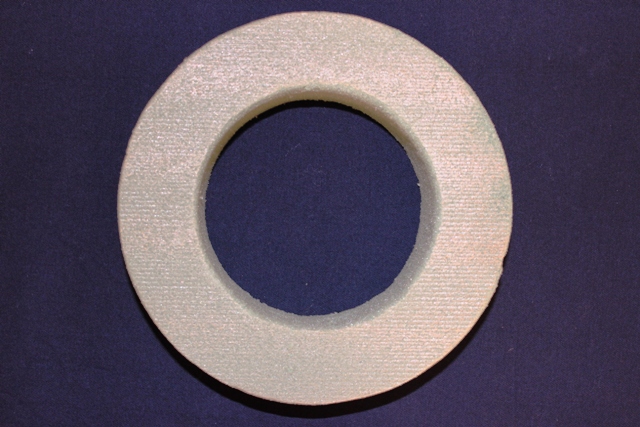
4th of July Wreath with styrofoam ring
  1. Start with a brand new Styrofoam wreath.
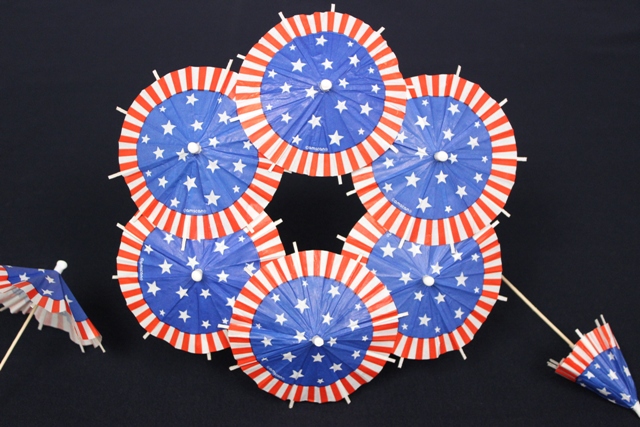
4th of July Wreath with arranging toothpick umbrellas
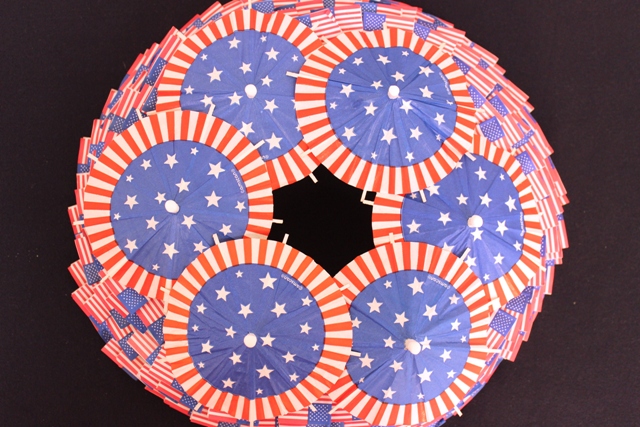
  1. Carefully open the umbrella toothpicks and stick them onto the front face of the Styrofoam wreath, overlapping them to ensure the Styrofoam does not peek through any uncovered spots.
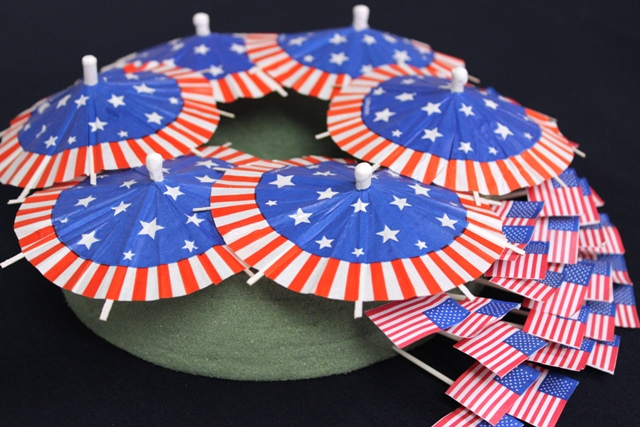
4th of July Wreath with arranging american flag toothpick umbrellas
  1. Stick the American flag toothpicks into the exposed Styrofoam along the outside rim of the wreath. Make sure to vary the flags in height to give the wreath depth.
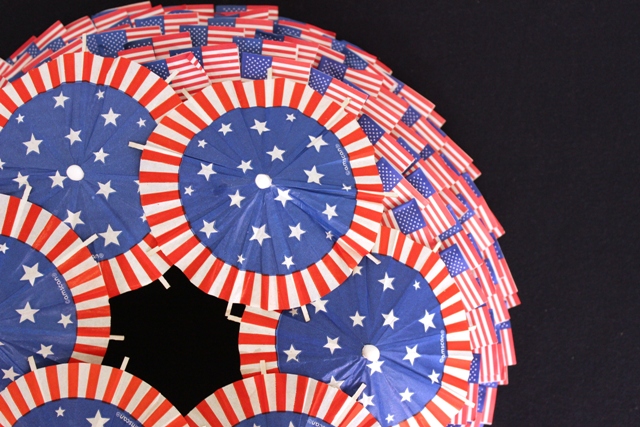
4th of July Wreath with finished wreath
  1. Prop up the wreath on your front door and put your pride on display as you welcome your party guests this Independence Day!

Where else would you hang this star-spangled 4th of July decoration? Here are some more ideas on how to decorate your home with a wreath.

Exit mobile version