How to Preserve Flowers with Wax

How to Preserve Flowers with Wax

You can make your beautiful fresh-cut roses last longer than you ever imagined by dipping the open blooms in melted wax. The best time to preserve flowers with wax is at the very end of their shelf life — after you have enjoyed their beauty for over a week — when the rose is in full bloom.

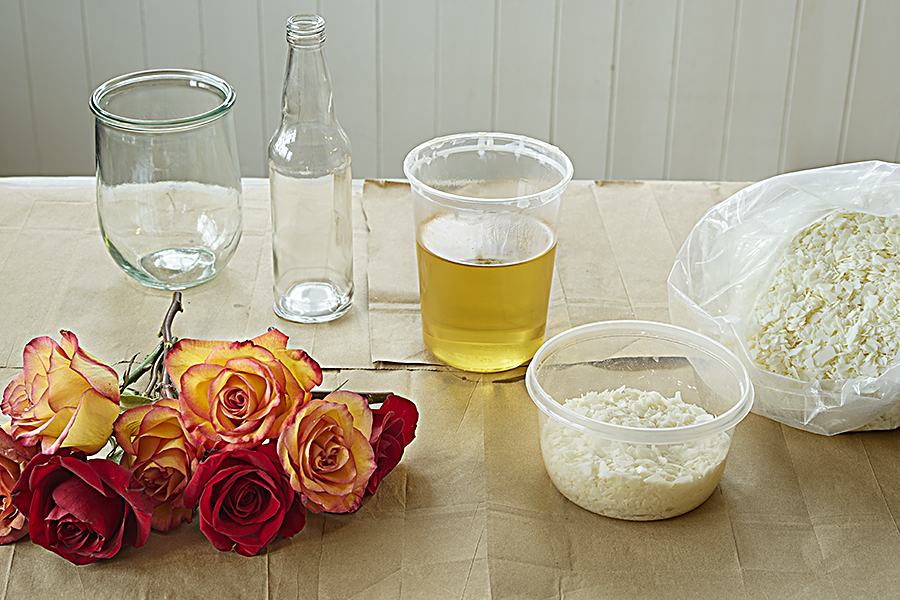
I have waxed roses many times over the years using paraffin wax. Now that soy wax is readily available, I decided to give that I try…and I’m glad I did! Soy wax is a completely natural and renewable resource, has a lower melting point, and cleans up easily, with just soap and water. And soy wax is so versatile that you can melt it in the microwave!

What you need to preserve flowers with wax:

  • Open roses
  • Microwave-safe container
  • Soy wax flakes
  • Candy thermometer (optional)
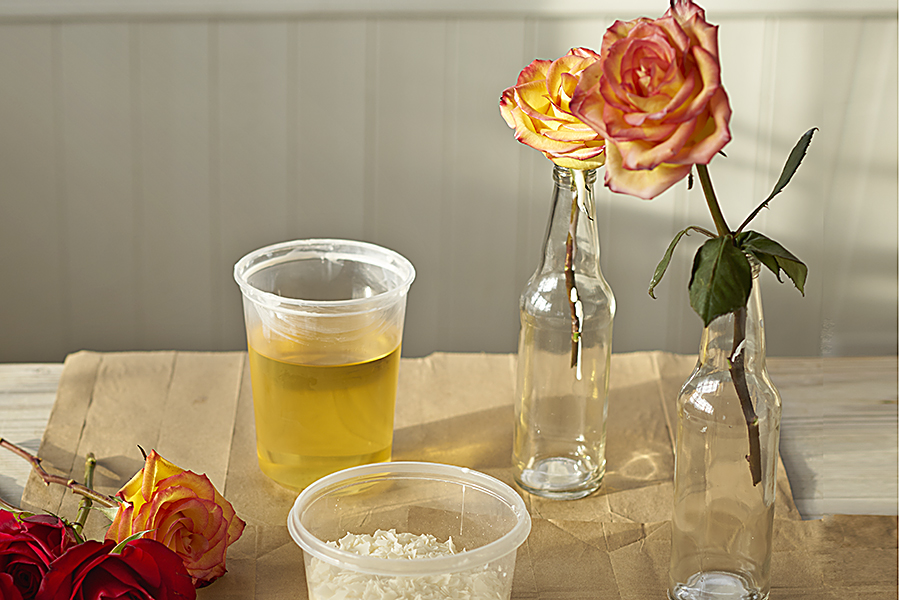
  • Empty bottles or vases or wax paper
a photo of wax flowers with ingredients for wax roses

Steps:

  1. Cut the stems of your roses to about 8 to 10 inches long to make it easy to dip the heads into the wax. Then, place the stems into your bottle or vase to cool. Be sure to put scrap paper on your work surface, including under the bottles, to catch dripping wax.
  1. Fill the microwavable container all the way to the top with the wax flakes and microwave for 2 minutes. After 2 minutes, take the container out of the microwave and stir the melted wax with a disposable plastic spoon. If there is still any white/un-melted wax, return the container to the microwave for another minute and repeat. Also: As the wax melts, you might find that you need to add more flakes. Go ahead and stir them into the container, and continue the melting process.
a photo of wax flowers with a wax rose cooling upright in a bottle
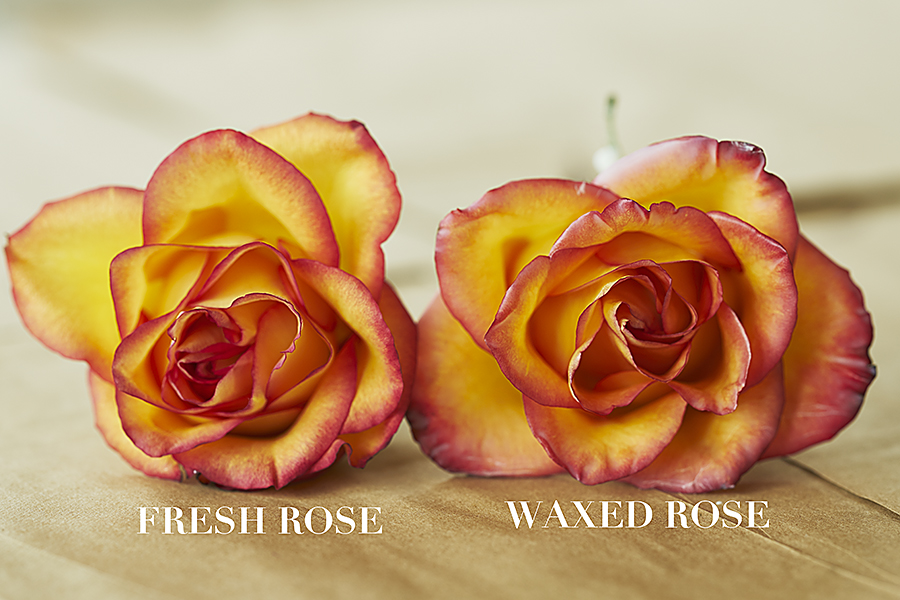
  1. Once all the wax is melted, you can start dipping. Place the wax container on a protected surface and have your bottle or vase ready to place the dipped roses in for cooling. You can also place the dipped roses on wax paper to cool, but they will keep their shape better if they cool while upright.
a photo of wax flowers with a wax rose vs. fresh rose

Note: Your wax should be at about 100° F. (You can measure the temperature with a candy thermometer.) I found that melting the wax in short increments of time will keep it from getting too hot. I waited a minute or two after removing my wax from the microwave to start dipping. You can tell that your wax is getting too cool if it starts to get cloudy looking and appears cloudy on the rose petals as well. The goal is to make your rose look so lifelike that it’s impossible to tell that it has been dipped in wax!

If you have many flowers to wax, you can continue to melt as you go along, using the same container and adding more wax flakes as needed. When you’re done, cover the wax container so you can use again at another time. You can preserve many different varieties of flowers and foliage with this method!

2 ideas for enjoying your waxed roses
a photo of wax flowers with a wax rose in birds nest display

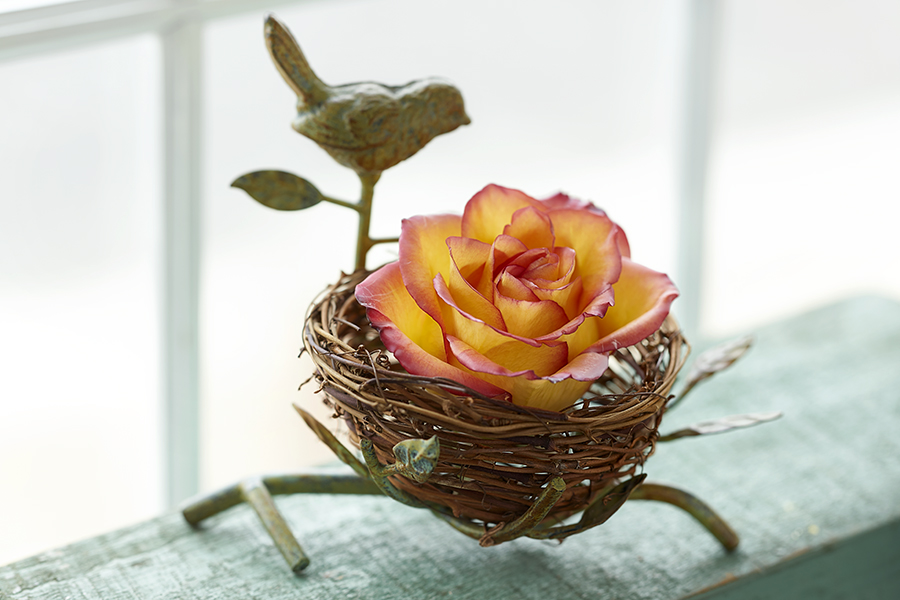
After the wax has completely cooled, cut the stem off so that you can cradle the rose in this sweet bird’s nest dish.
a photo of wax flowers with wax roses and succulents

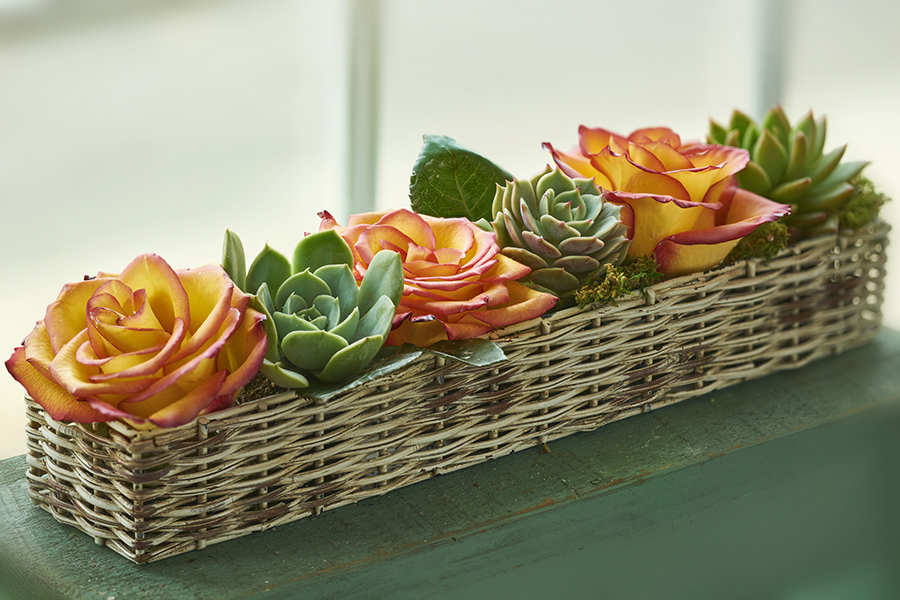
I love this arrangement! I simply alternated waxed roses and baby succulents to create a modern centerpiece as carefree as it is beautiful.
Sunflower Smiles

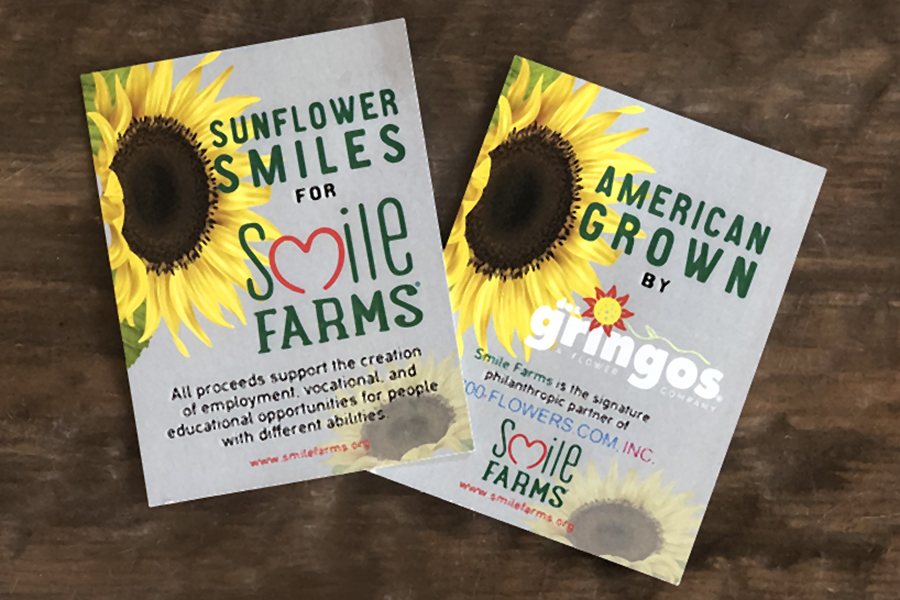
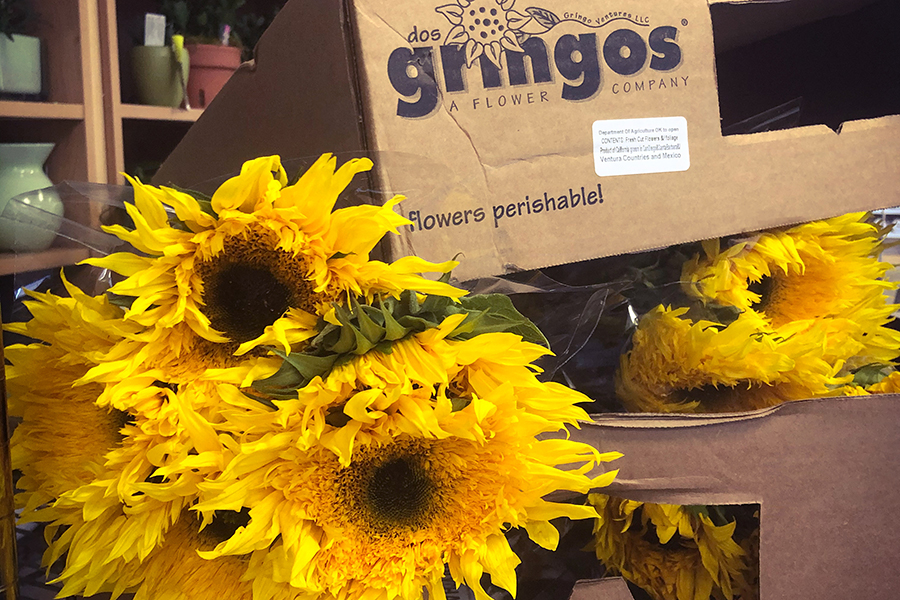
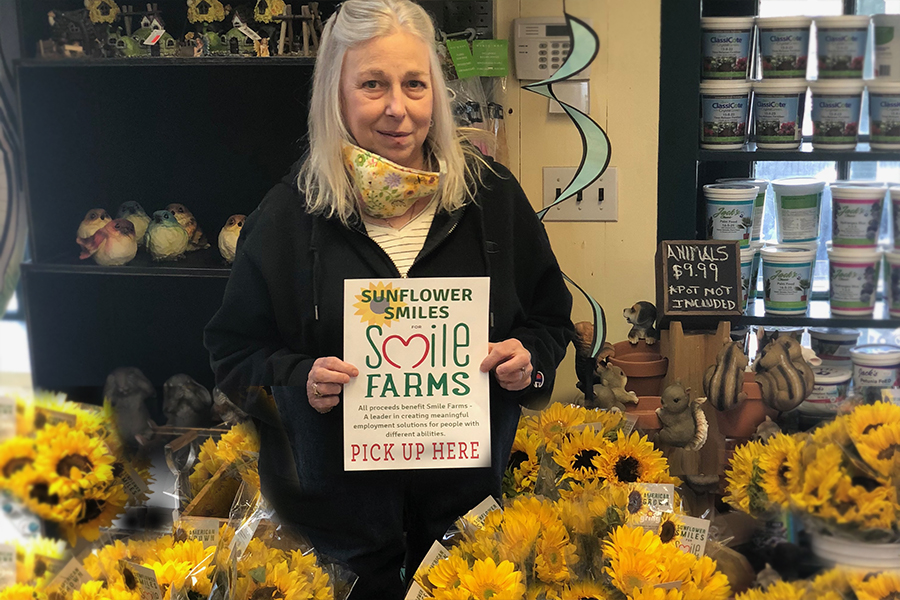
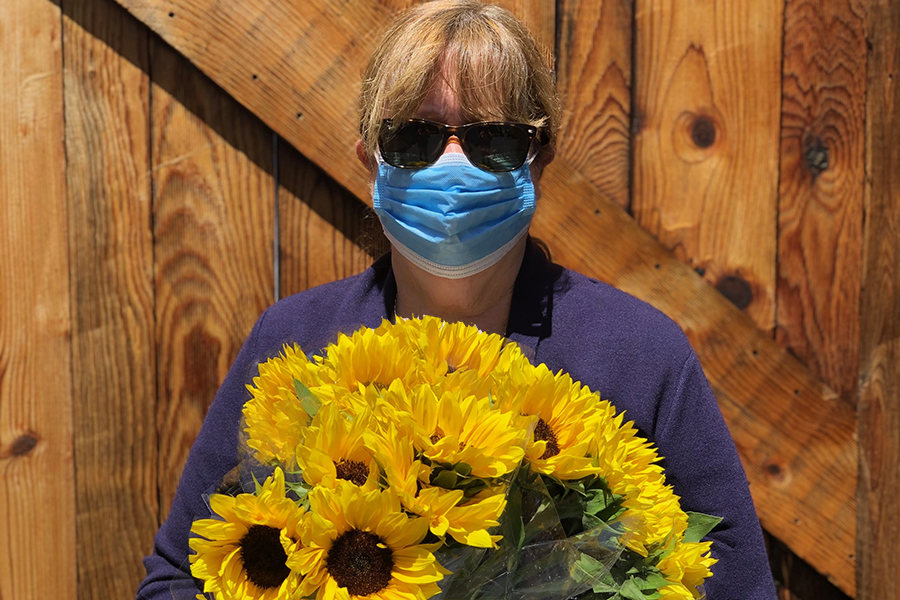
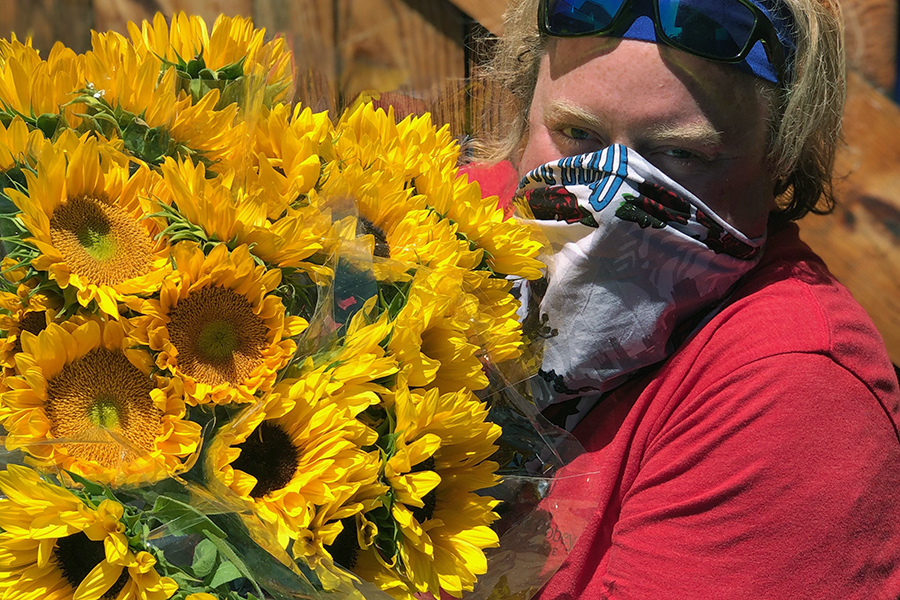
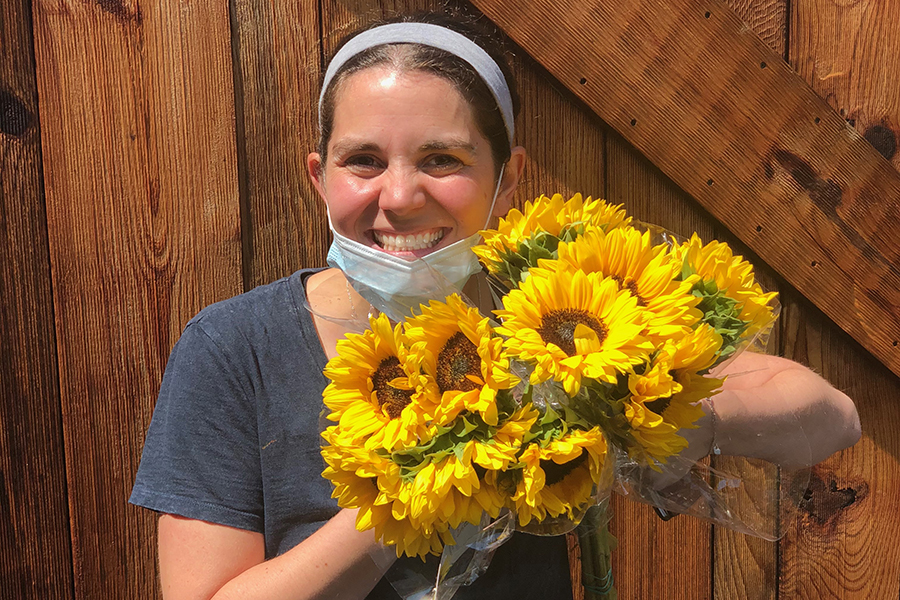
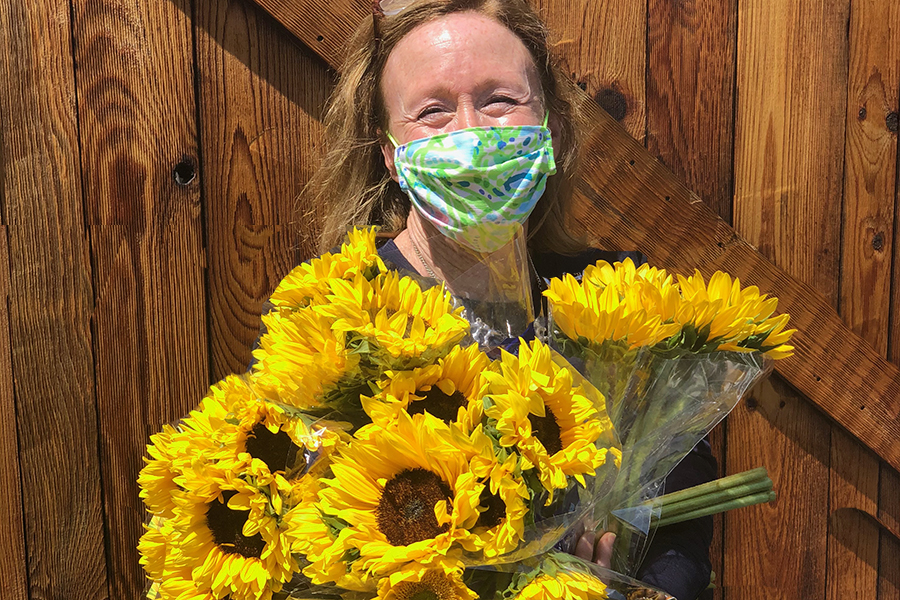
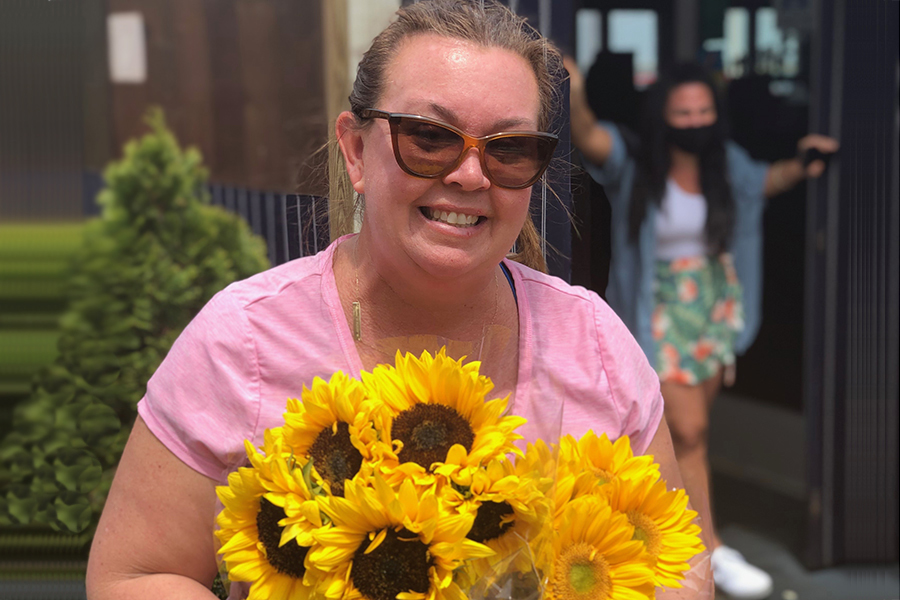
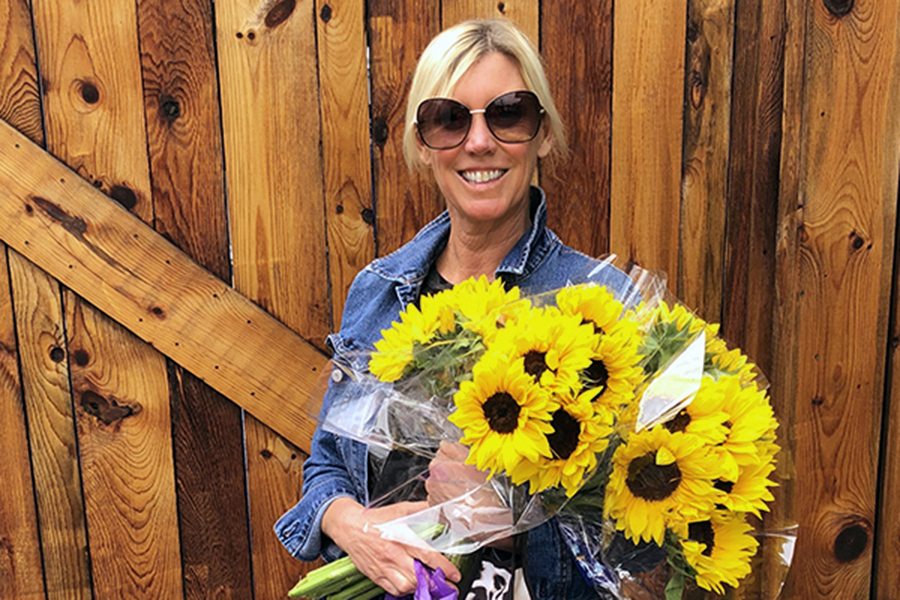
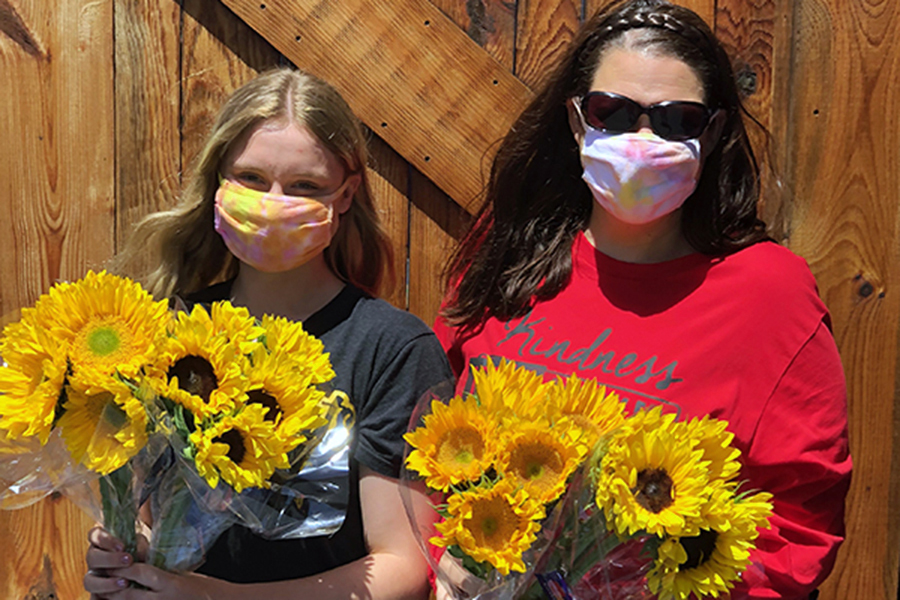
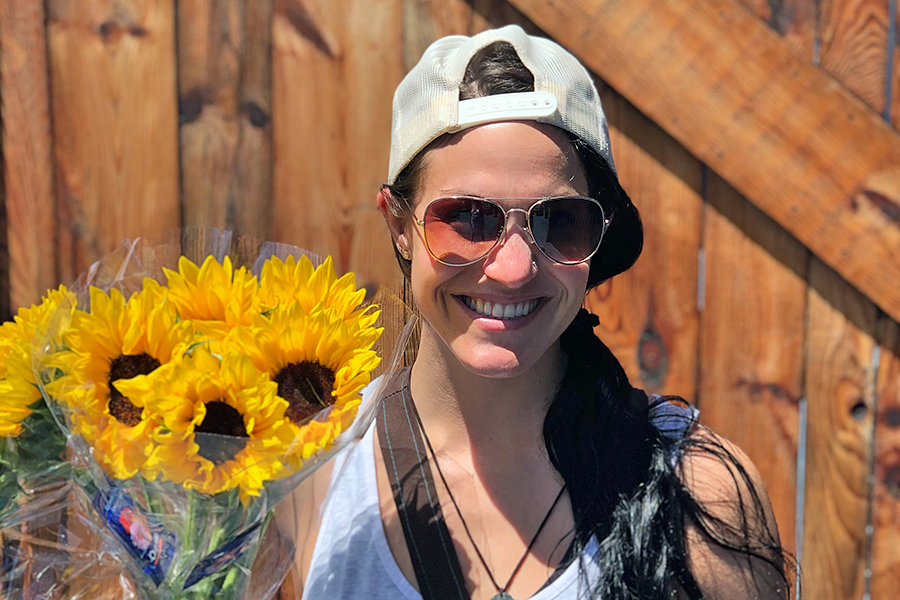
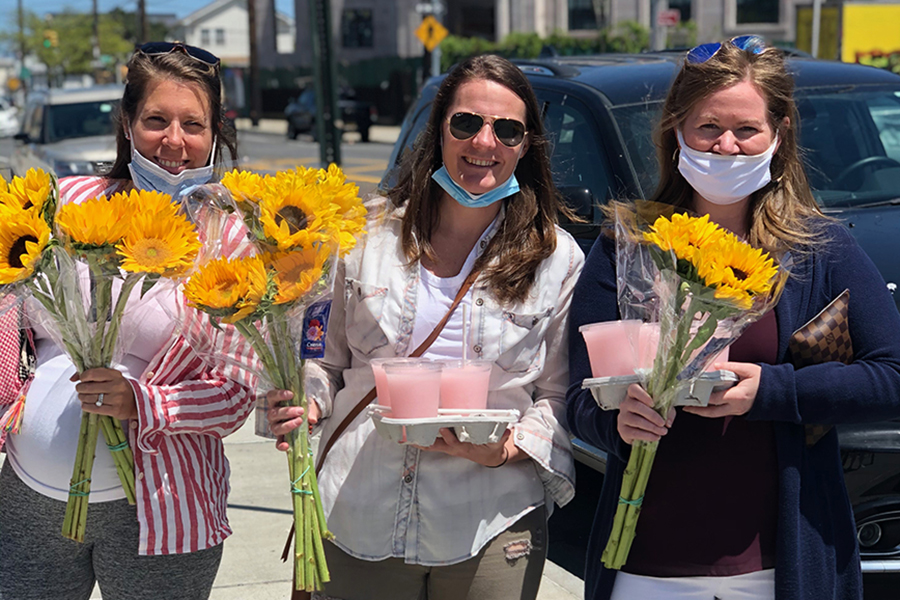
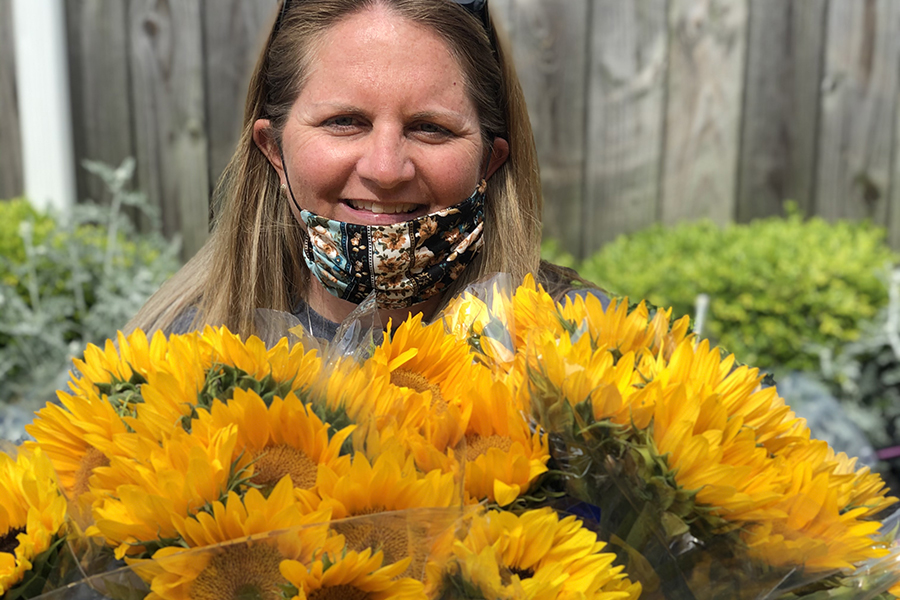
I wanted to share a just a few of the smiles that were created during a recent Sunflowers for Smile Farms fundraiser.  The fundraiser came about when the owner of Dos Gringos, a flower farm in California that 1-800 Flowers is proud to partner with, reached out to me about some extra sunflowers they had.  It was at the beginning of the quarantine and everything was on hold – but the flowers were in bloom and ready for harvesting!

At the same time, the big annual fundraising event for Smile Farms, Inc. had just been canceled due to the pandemic.  Smile Farms is the signature philanthropic  partner of 1-800 Flowers and my brother Kevin is a farmer at Smile Farms at IGHL.   So, when I got that call from Dos Gringos, I knew exactly what we could do with those sunflowers!

The sunflowers were cut on the farm in San Diego and shipped to the 1-800 Flowers store in Carle Place where they were given a fresh cut and put in buckets of water for hydration.

We had multiple pick up locations, including Smile Farms at IGHL (thanks Joni Lynn for your help) as well as the 1-800 Flowers Carle Place store.

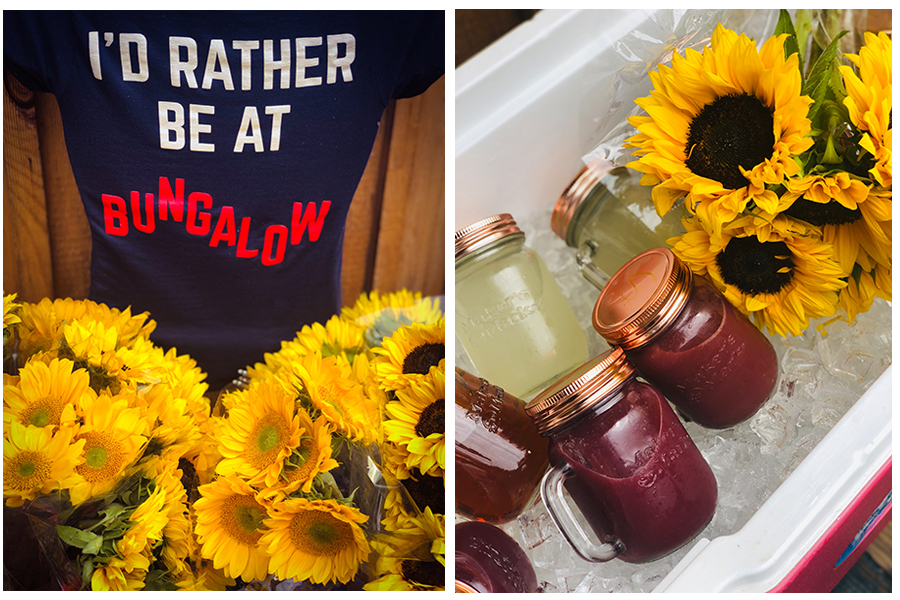
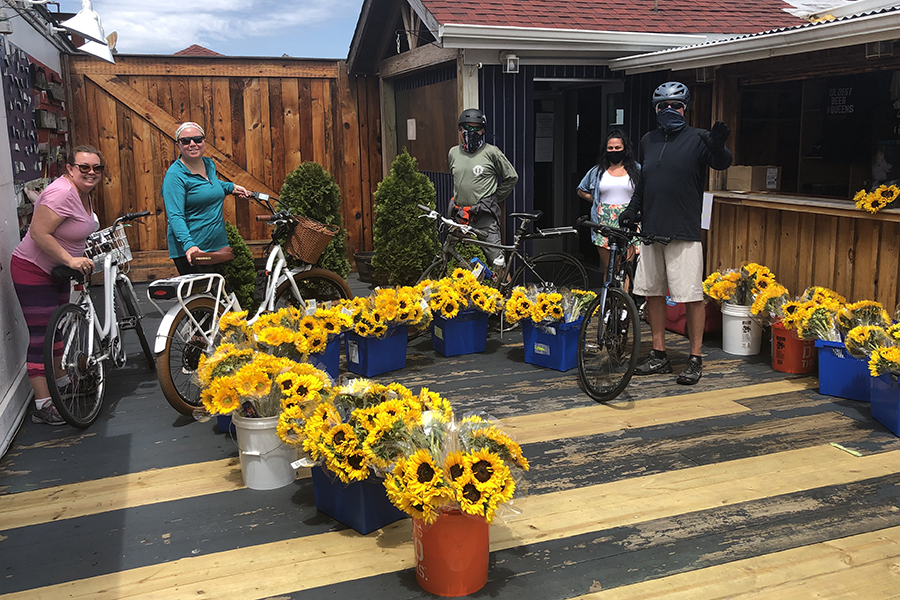
But the location that really rocked was Bungalow Bar in Rockaway Beach.  The team at Bungalow Bar, led by GM Katy Bree, never says no to a good cause!  And Rockaway is the most generous, supportive, community that you will find anywhere!!

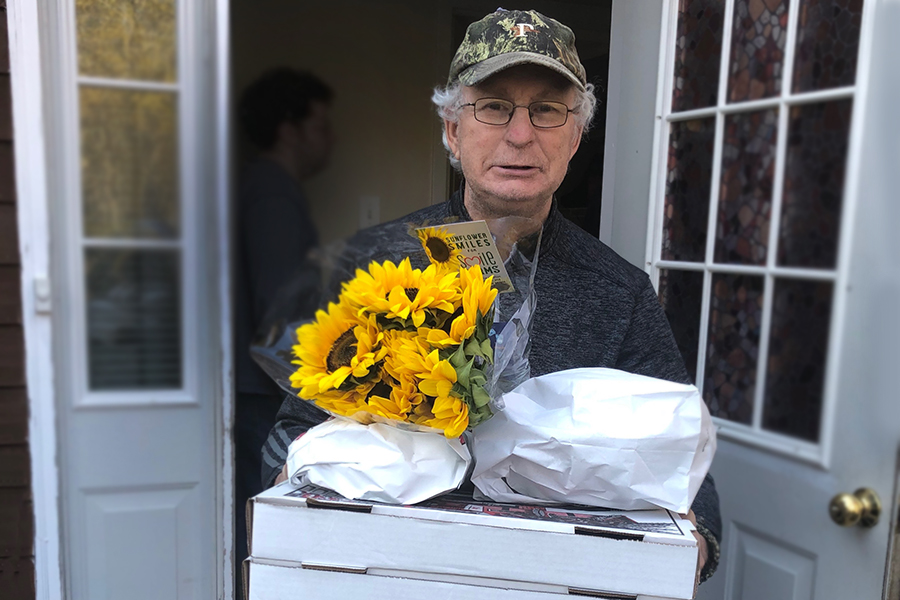
One of the lucky recipients of a sunflower bouquet was my brother Kevin, who I mentioned is a farmer at Smile Farms at IGHL.  Kevin lives in one of IGHL’s group homes.  As we all know quarantining can be stressful but a delivery of pizza and sunflowers sure can help bring some smiles to the day!

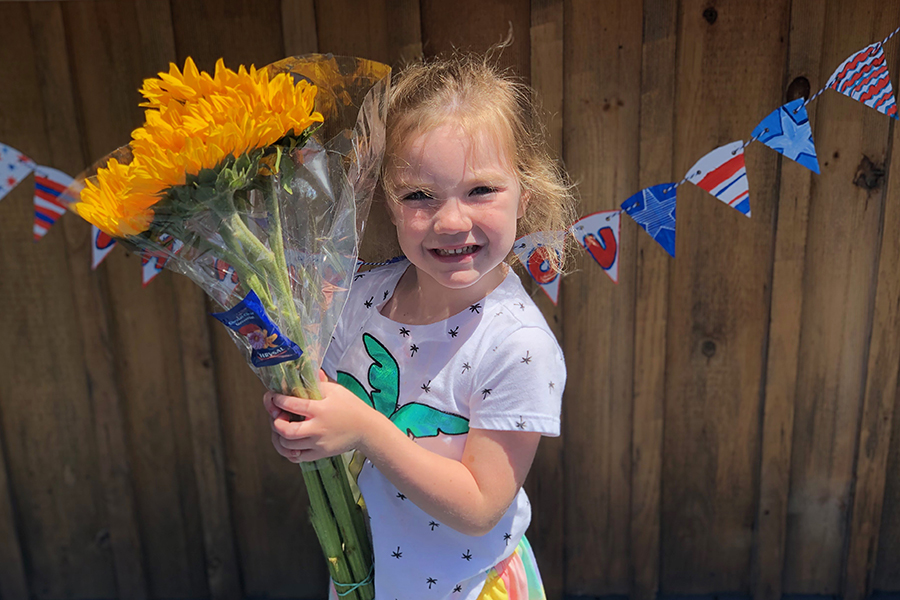
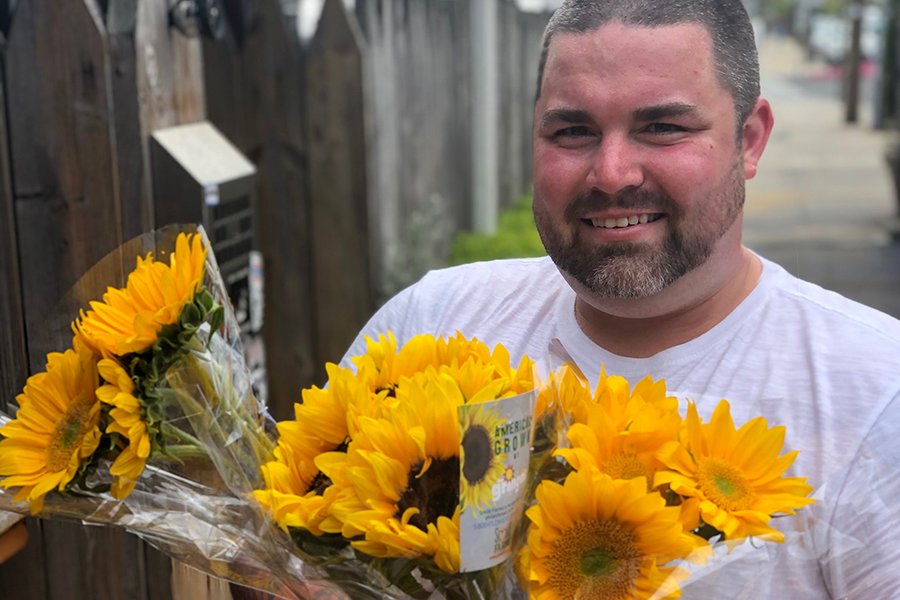
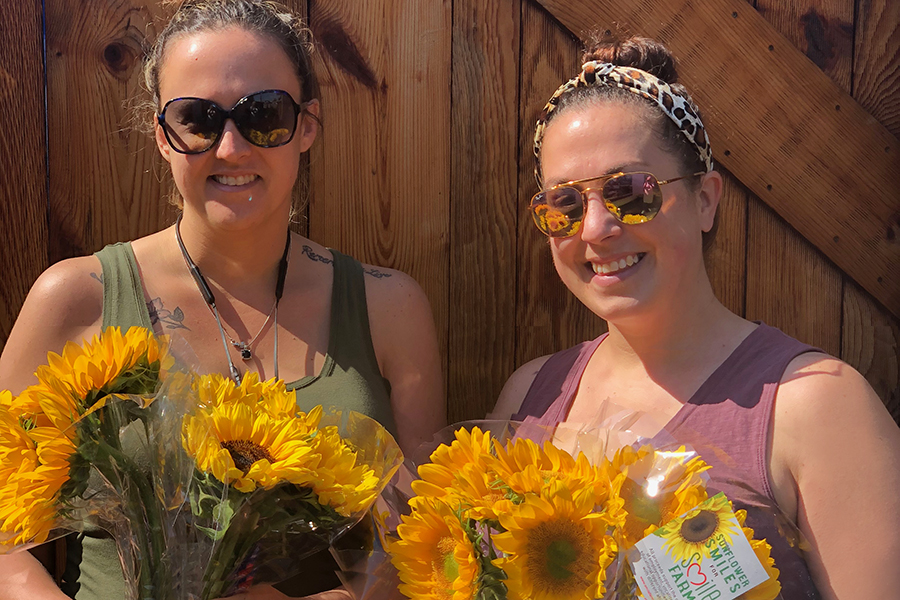
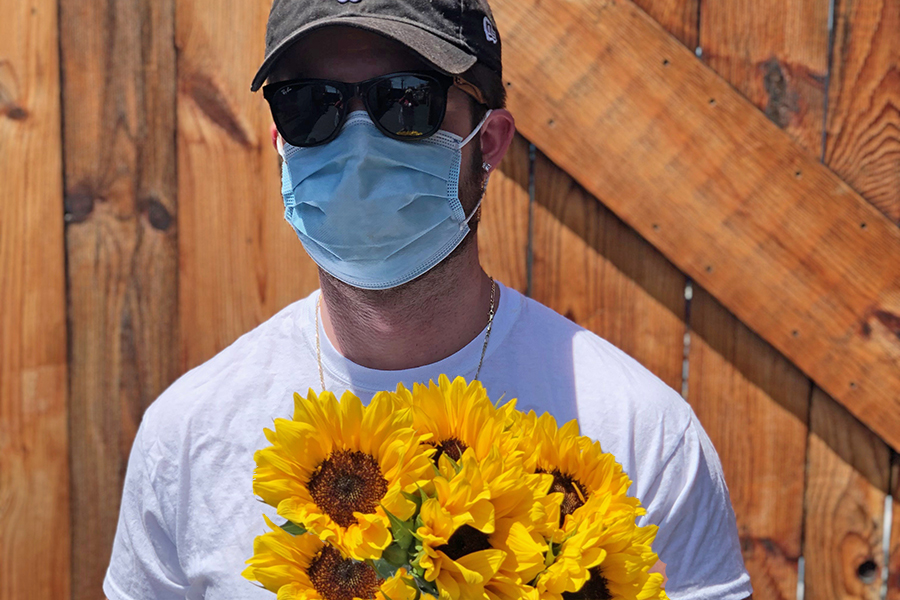
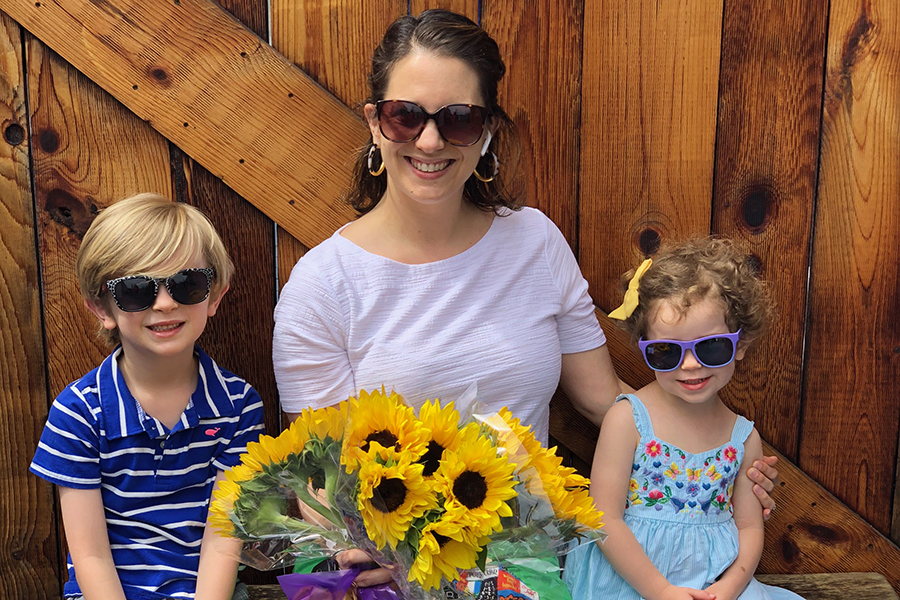
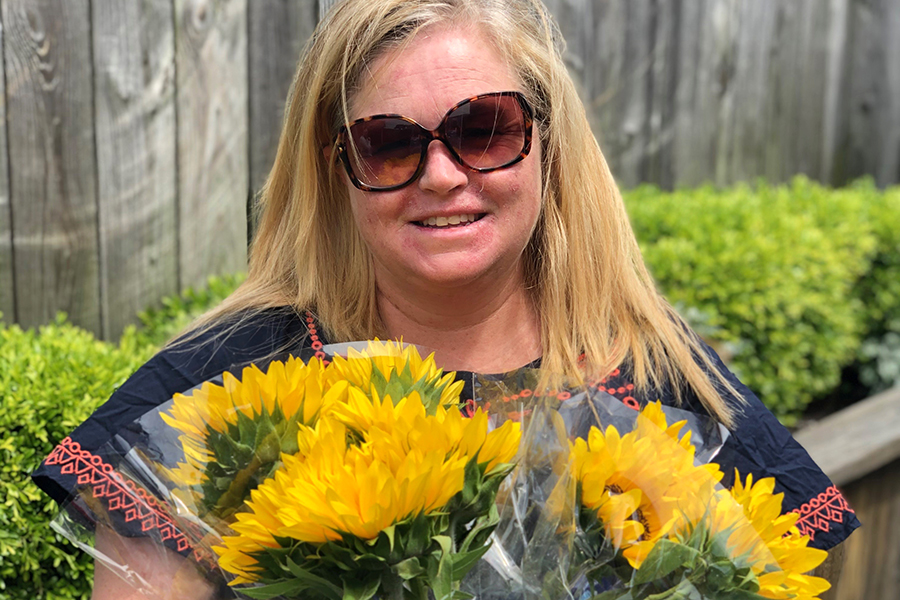
With the sunflower bouquets priced at a bargain $10 a bunch, many people bought multiple bunches so that they could share the smiles!!  As you can see from these photos, sunflowers and doing good make people happy!

4th of July Crafts: DIY Red, White, & Blue Vases and Table Decoration

Fourth of July celebrations (and decorations) are the best! Whether you’re celebrating America’s birthday with friends and family on the beach or in your backyard, here are some fun DIY floral 4th of July craft ideas to add little patriotic touches of red, white, and blue to your party.

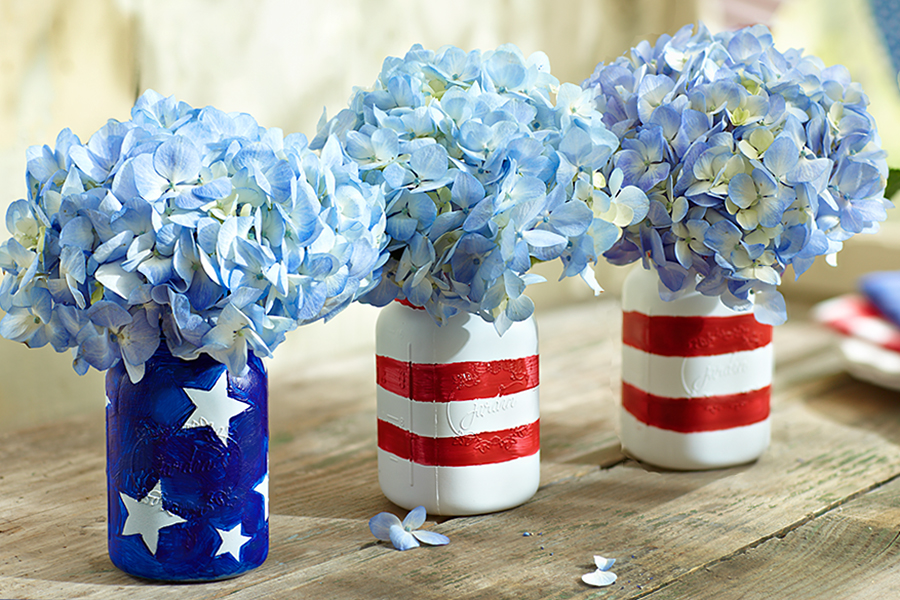
4th of July craft No. 1: Mason jar American flag vase

4th of july crafts with american flag vases

Is there anything you can’t do with a few mason jars? I took three small, clear mason jars and painted them in a stars and stripes tribute to Old Glory. One stem of blue hydrangea in each, and you have a beautiful, fun, inexpensive centerpiece. You could paint a couple more while you’re at it and use them to hold cutlery or straws, or even tea lights, creating a festive look for evening festivities.

What you need

  • Clear mason jars
  • White acrylic spray paint
  • Blue and red acrylic paint
  • Paintbrushes
  • Rubber bands
  • Paper
  • Pencils
  • Scissors

Instructions

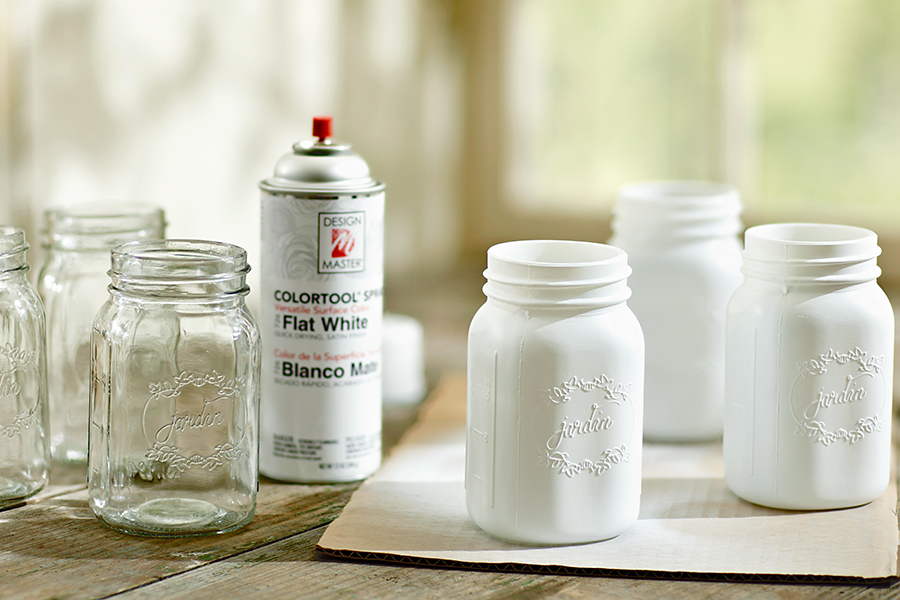
4th of july crafts with mason jars spraypainted
  1. In a well-ventilated space, spray paint ONLY the OUTSIDE of your mason jars and let dry thoroughly.
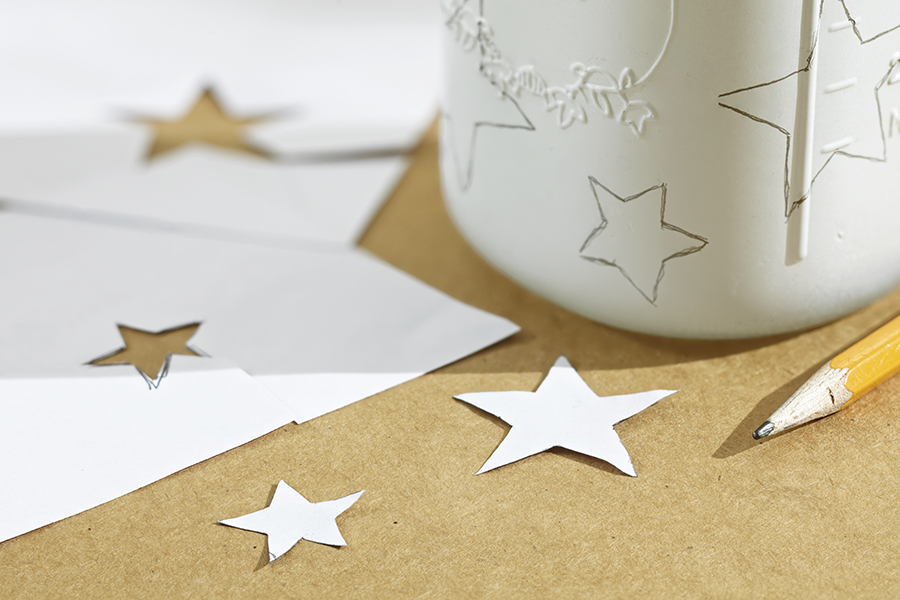
4th of july crafts with drawing stars on mason jar
  1. Using a pencil, draw stars all around the outside of one of the mason jars. You can do this free hand or make a template with a piece of paper first.
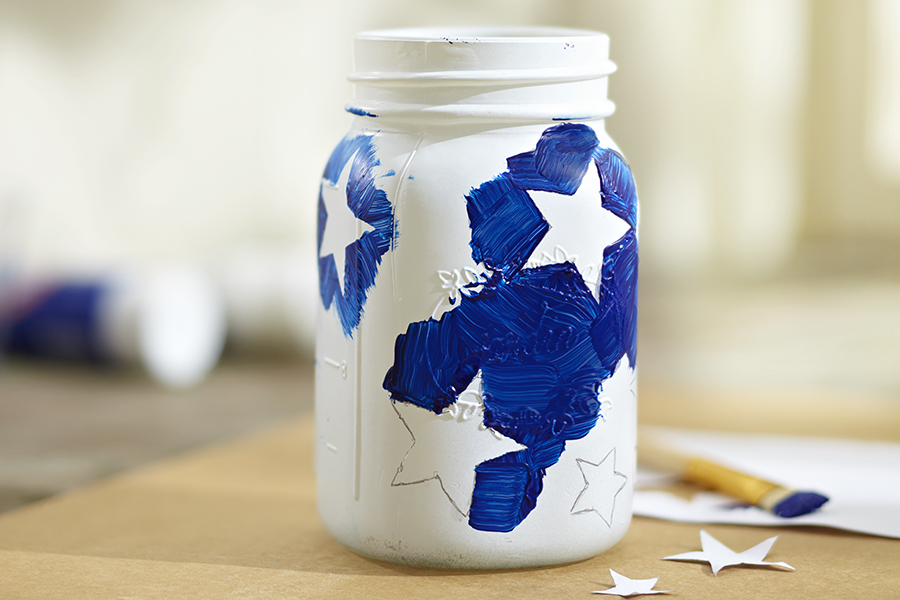
4th of july crafts with painting mason jar blue
  1. Paint the rest of the mason jar around the stars with blue paint. Remember, this is not a piece of fine art — it’s a craft project, and imperfections should be embraced!
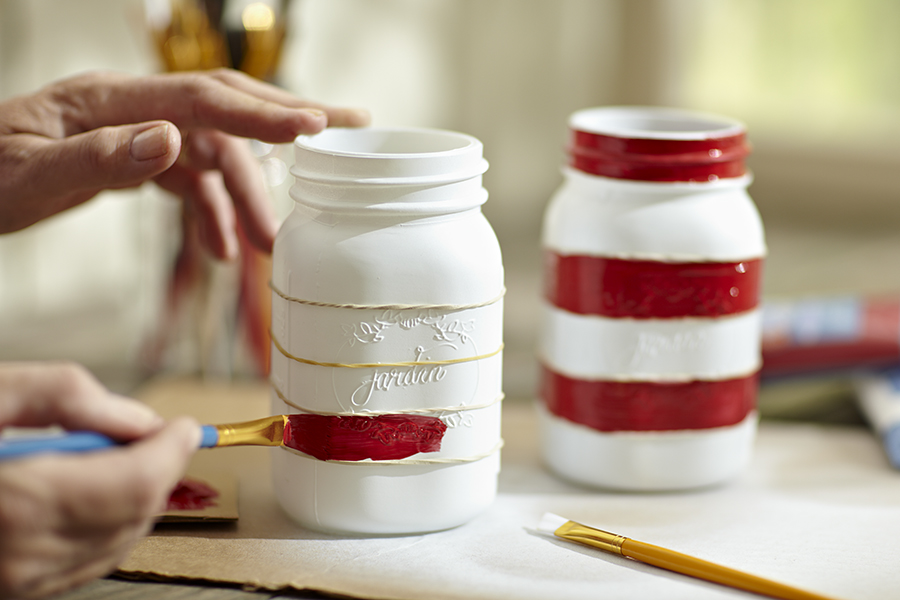
4th of july crafts with painting red stripes
  1. Use rubber bands to create guidelines for painting red stripes on the other two mason jars.
  2. As soon as the paint is dry, fill with water and add your flowers.

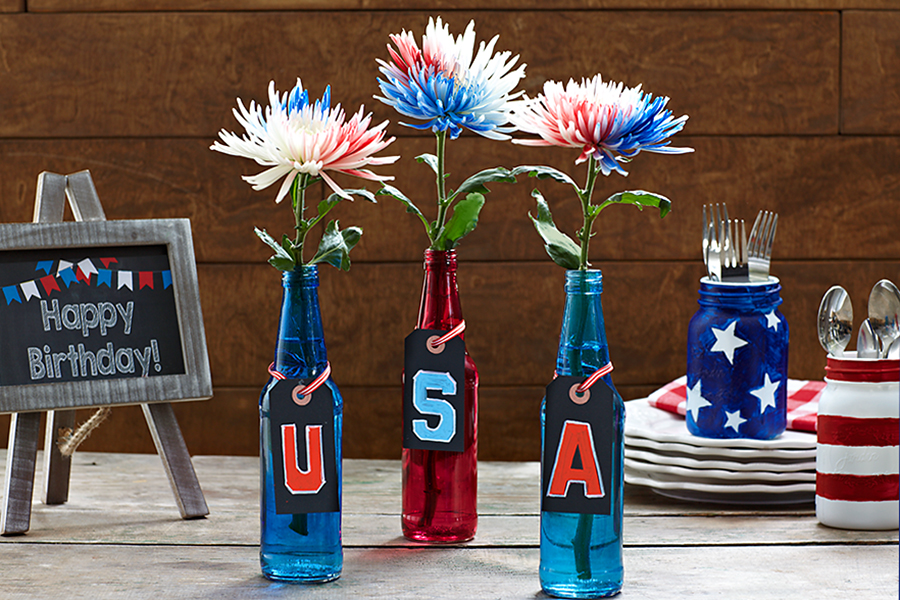
4th of July craft No. 2: Upcycled glass bottles with red, white, & blue flowers

4th of july crafts with glass bottles with red, white, & blue flowers

I picked up all three of these blue and red bottles for under $5. The finishing touch is the U.S.A. hangtags I made using small blackboard hangtags and chalkboard markers. Tie each one around the neck of the bottle with a thin, coordinating ribbon, such as the red and white striped one shown here.

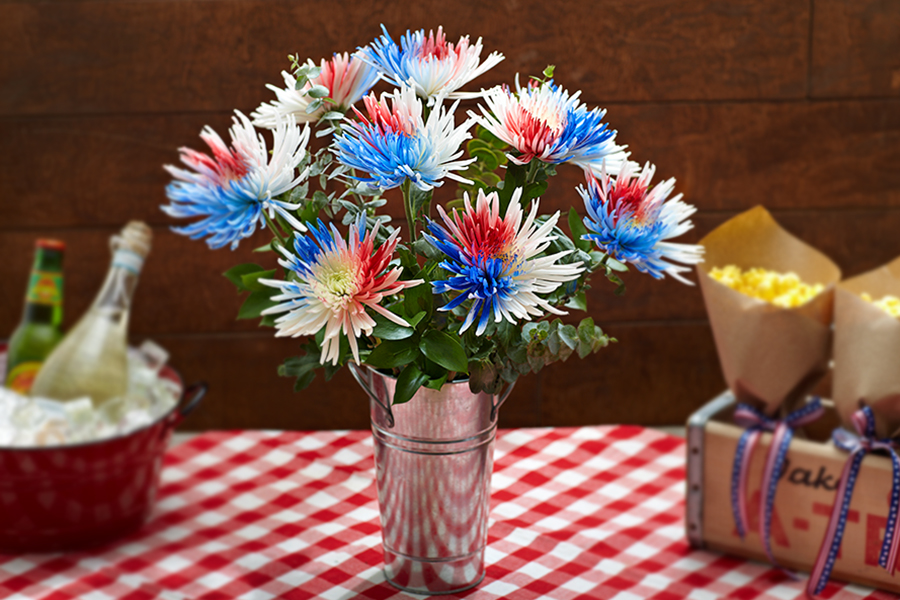
But what I really love are these firework flowers. Don’t the spider mums look like fireworks exploding in the night sky?!

4th of july crafts with red, white and blue spier mums

Look how fabulous they look in a simple galvanized French flower pail. What a perfect arrangement for a summer July 4th celebration!

4th of July craft No. 3: Red, white, & blue mini flag garland table decoration

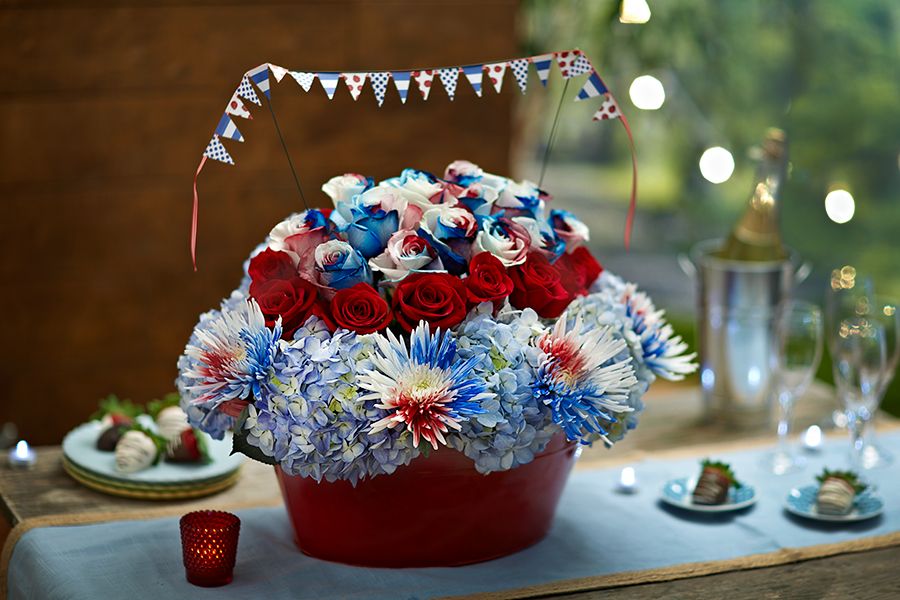
4th of july crafts with DIY red, white, & blue mini flag garland table decoration

This is an all-out, spare-no-expense WOW of a Fourth of July floral arrangement. As beautiful as the red, white, and blue roses, blue hydrangea, and firework spider mums look in the oversized red enamel container, the mini flag garland really makes it pop!

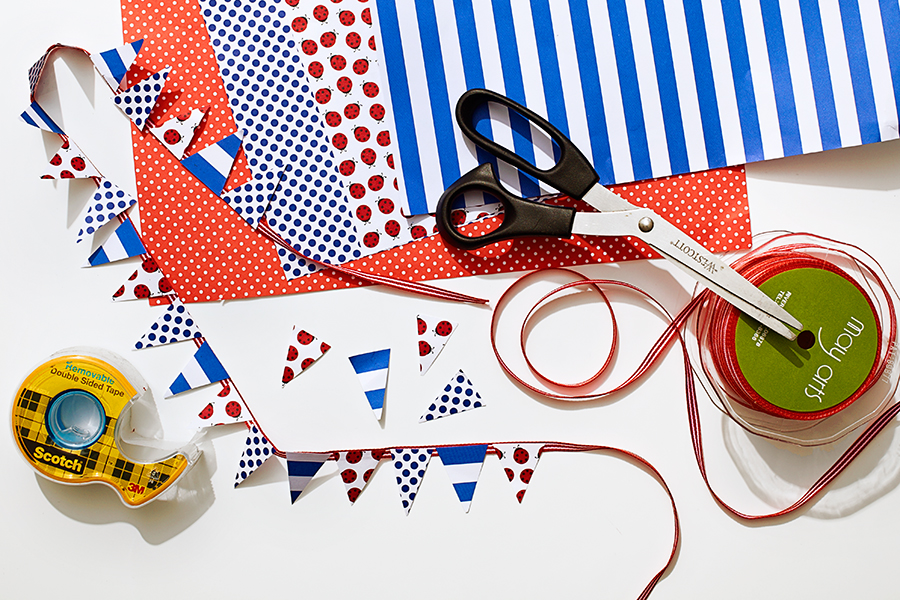
What you need

4th of july crafts with flag garland supplies
  • Decorative paper (Use at least three different patterns all in the same color way; in this case, I used red, white, and blue.)
  • Ribbon (I used red)
  • Scissors
  • Glue (two-sided tape, adhesives tape runner, glue dots, etc.)
  • Sticks or wires to hold the garland above your arrangement

Instructions

  1. Measure a piece of ribbon to the size you want, and then add a few extra inches to each side.
  2. Figure out how many flags you will need based on the size you want them to be. (My flags were 1 inch wide and the length of the ribbon where I attached the flags is 18 inches, so I needed 18 mini paper flags.)
  3. Glue each flag to the ribbon. Use a ribbon that is narrow but has enough area to glue the flags to. (The ribbon I used was one-eighth inch wide.)
  4. To raise the garland above the arrangement, glue the ribbon to heavy gauge wires or wooden skewers.

This garland can be made in any size that works for your applications. Just adjust accordingly.

Happy 4th of July to all!

DIY Planter Decor: Everything Doesn’t Have To Be Perfect

My motto has always been “Just have fun with it.” I believe that the process or the journey is just as important, if not more so, than the end result.  So, I decided to show you how easy it is to just go freestyle.

wood planter

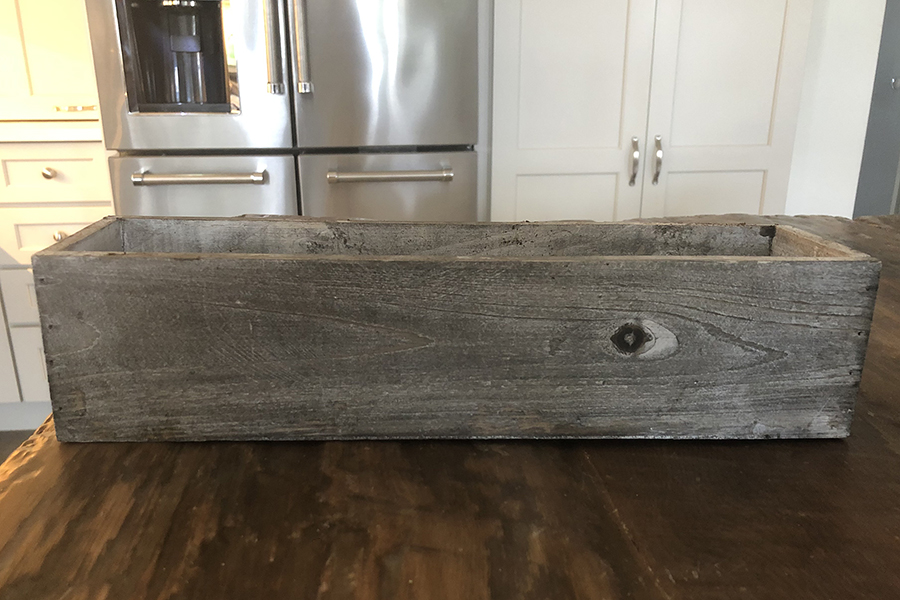
Choose the surface or container that you want to personalize.  In this case I am using the same wooden planter from our 1-800 Flowers x Bungalow Bar DIY Workshop series.

choose font

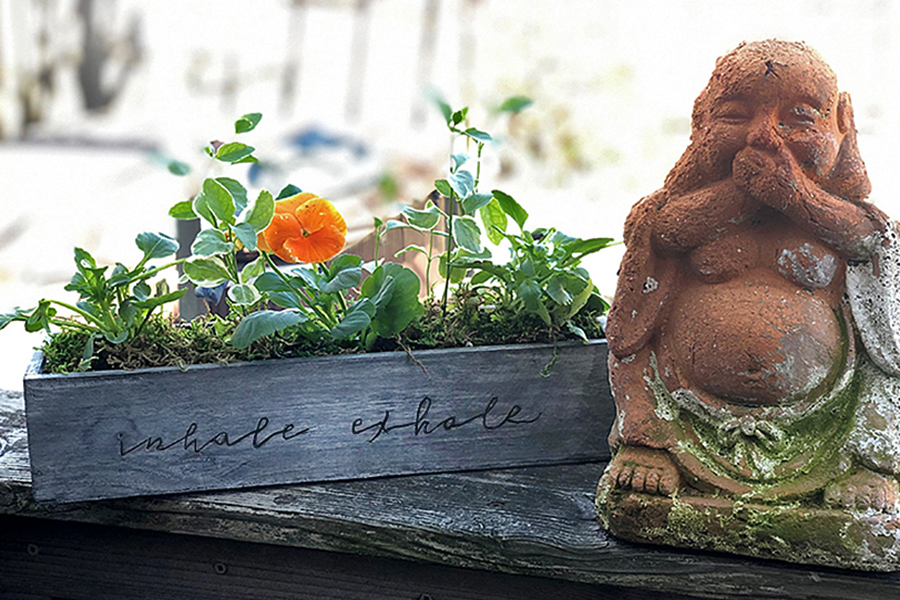
Next decide on a message or quote and pick a font.  I chose the font – Return to Sender.

step 2

I printed the message out on plain computer paper and trimmed to size to make it more manageable to work with.

step 3

Then I taped the paper to the top edge of the container to guide me along and help with the spacing.

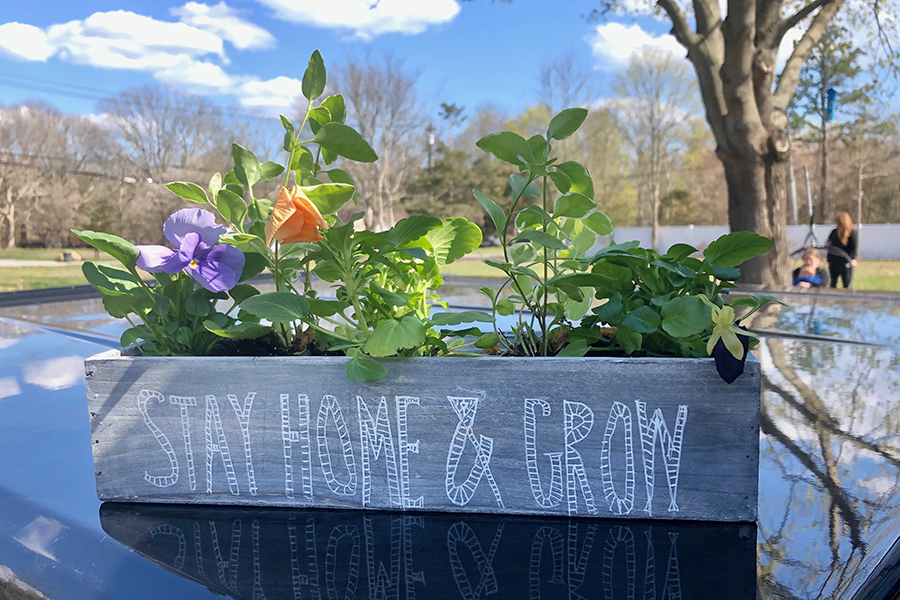
finished planter

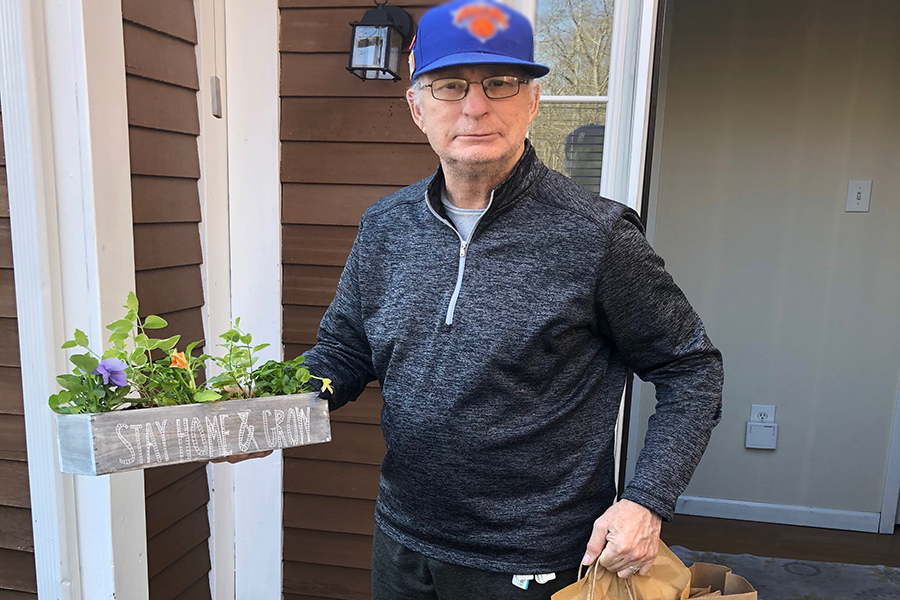
I really love the way that it turned out.  And it looks beautiful filled with pansies and vinca vine.  My husband and I have been making weekly trips to our children homes for social distance visits and to drop off goody bags, especially for the grandkids.

And we do the same thing for my brother Kevin.  Kevin lives in an Independent Group Home Living home and is a farmer at Smile Farms at IGHL.  Like everyone else he is quarantining at his home and little things like these surprise drop offs definitely help!

If you can’t get to your loved ones 1-800 Flowers and their family of brands including Harry & David, Cheryl’s Cookies, the Popcorn Factory, and more,  have many great ways to help you stay connected, starting at just $5.

Watch for the next idea for personalizing a planter – stenciling!

Personalized Container Gardens

personalized container gardens

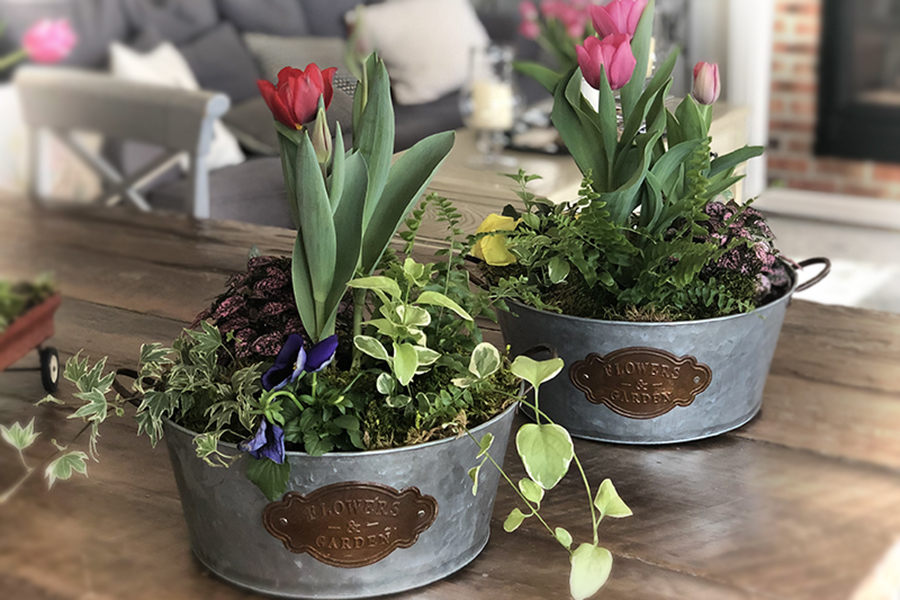
In addition to the Container Garden DIY Creative Workshop that was scheduled for March 20th at Bungalow Bar, we were also in the planning stages for an April 20th workshop.

wooden planter

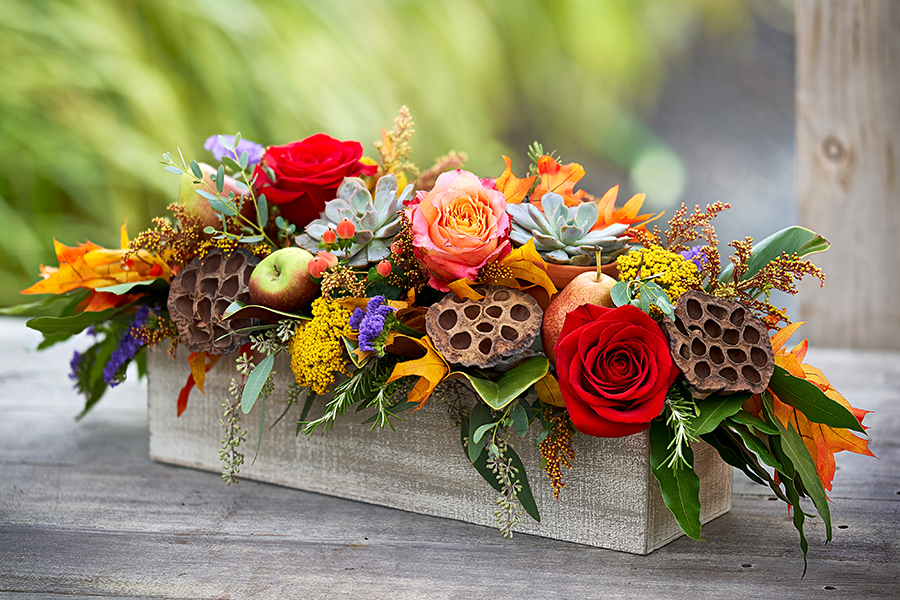
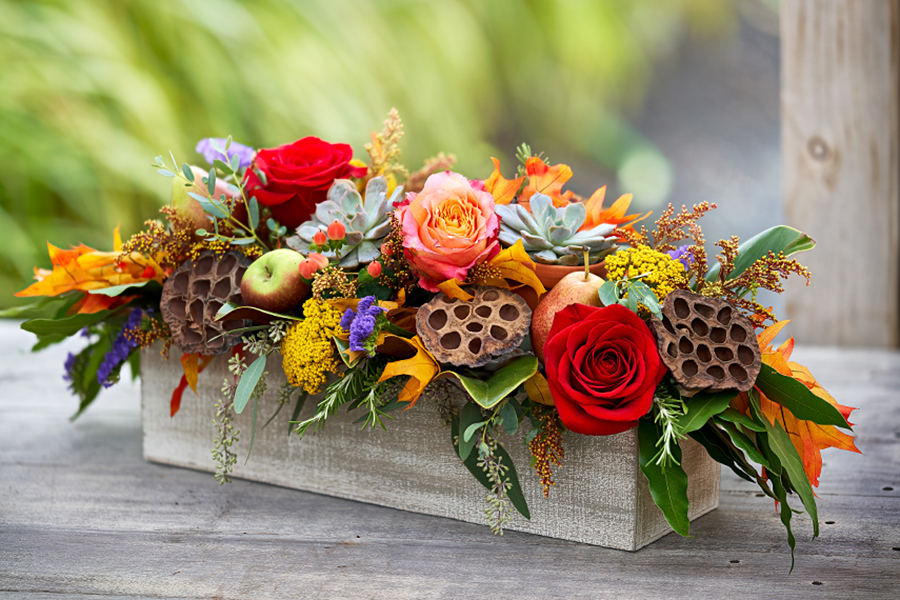
We were bringing back our favorite wooden planter that served us so well as a base for a stunning autumn centerpiece.

holiday centerpiece

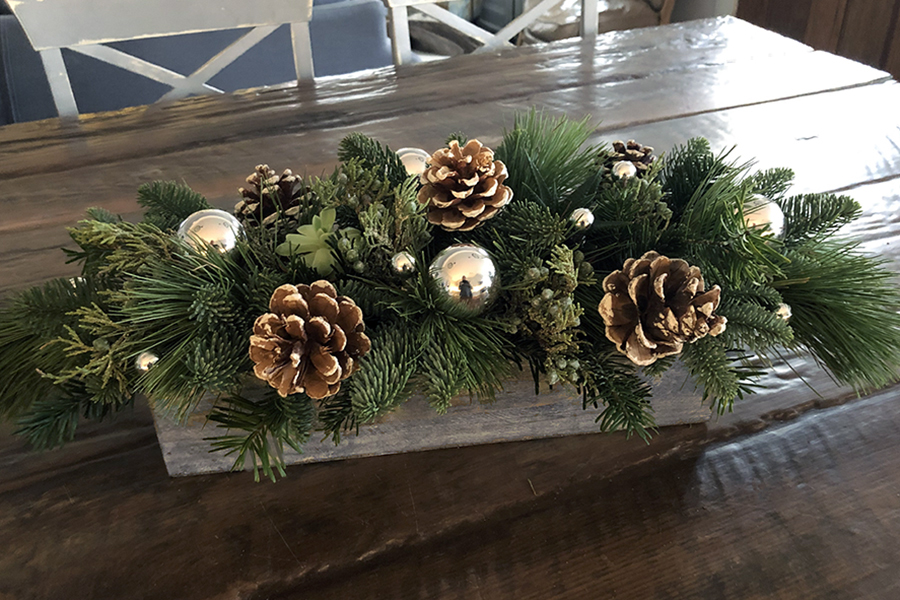
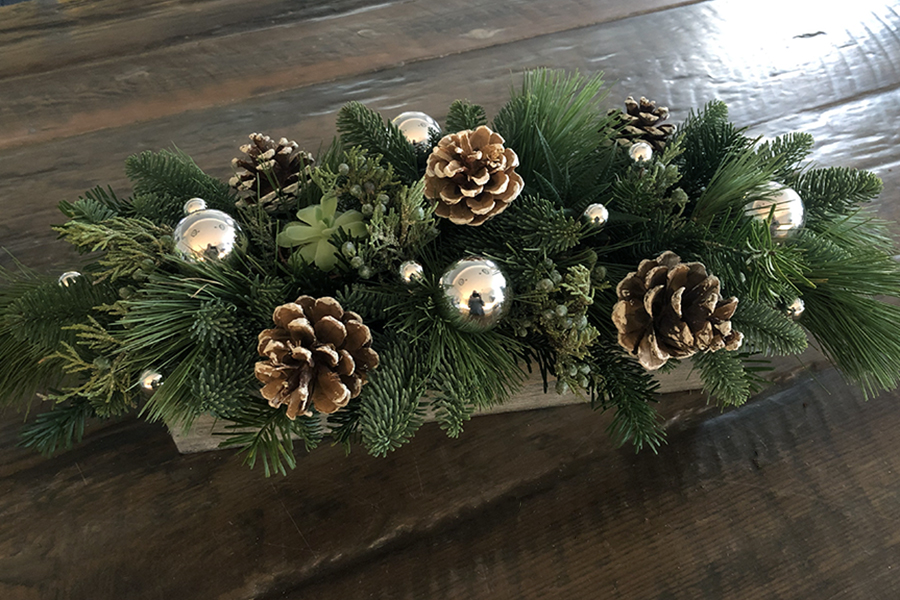
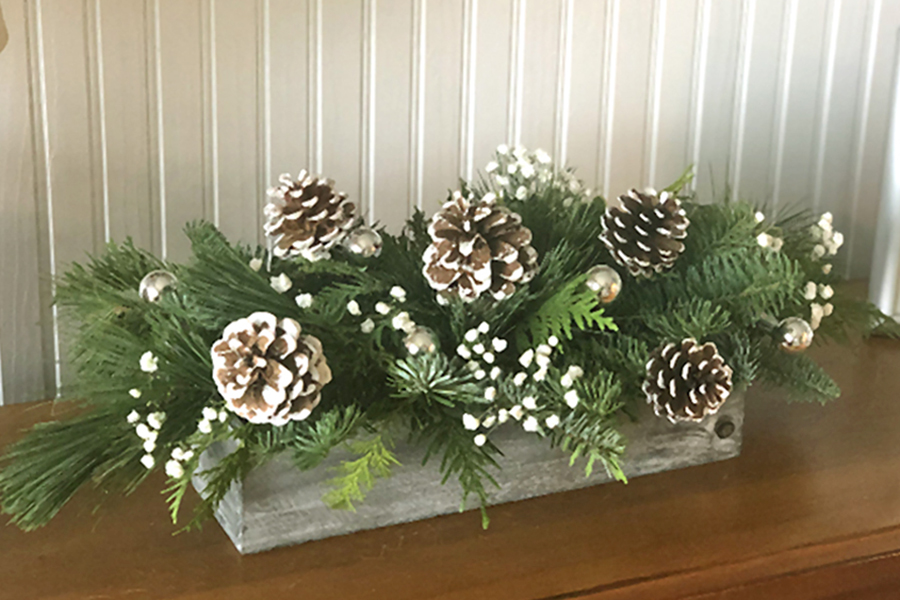
We then transitioned into the holiday and winter season with fresh evergreen arrangement accented with pine cones and silver ornaments.

succulent cactus planter

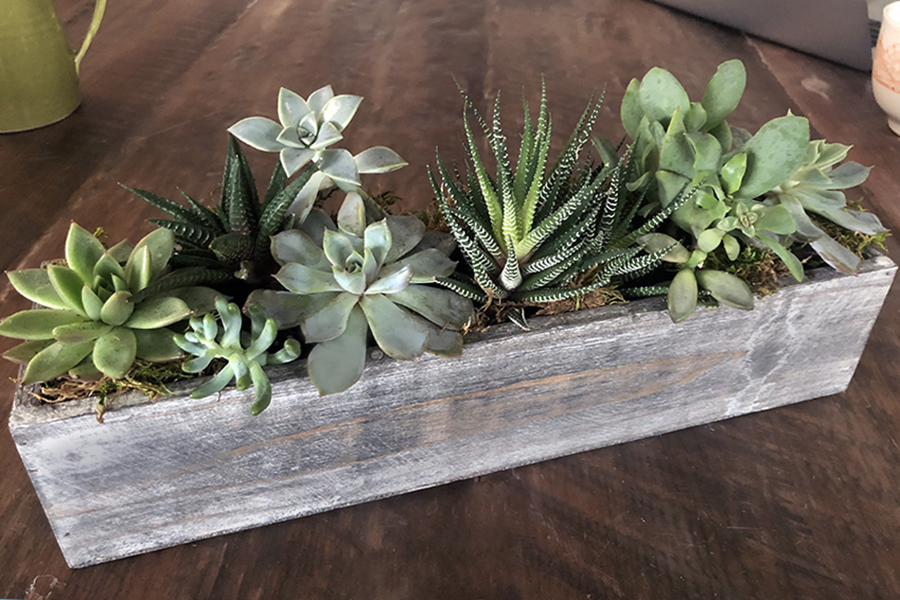
And on April 24th we were going to repurpose the planter into a chic and modern succulent garden!  We always like to add additional surprise elements of surprise inspiration to our workshops. For this one we were going to touch on just a few of the creative ways that you could personalize the wooden planter.

pyrography diy

While quarantined here at home I have been giving the various methods a try and just having fun with it.

The first one I did was pyrography –  the art of burning in wood.  I had a beginner’s wood burner pen in my toolbox, from a previous Mother’s Day post.

pyrography diy

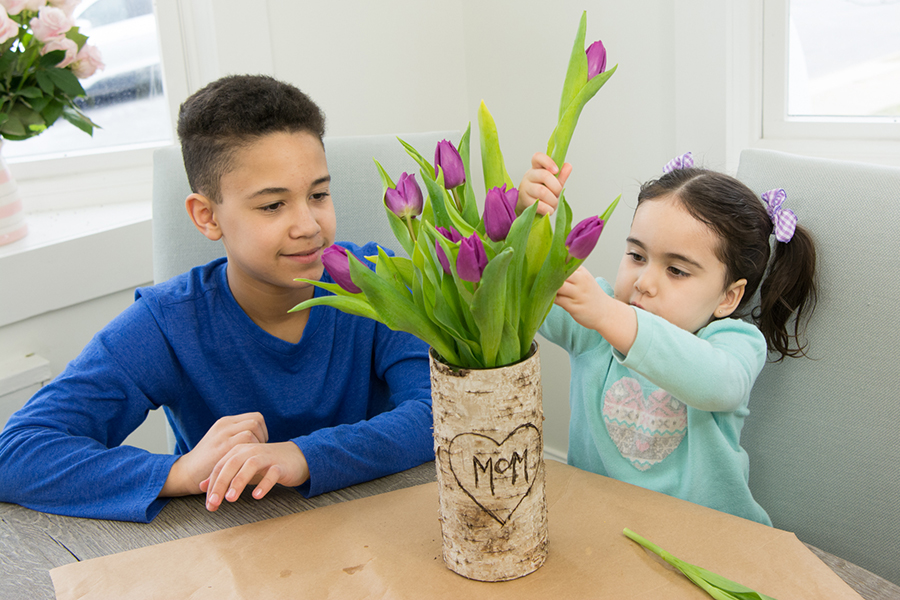
In that post I personalized birch vases, which made it looked like it was carved in a tree!  It’s pretty easy to do and with adult supervision an older child, like my grandson Manny, would enjoy it.  And my granddaughter Olivia did a beautiful job filling the vase with tulips!  Check out the easy step by step instructions by clicking here.

I followed the same steps as before – starting with a template. Just decide what you want to say, choose a font, and print it out sized to your container.

I cut to size and taped the paper to the planter as a guide mostly for positioning.

I just burn enough spots through the paper, to allow me to feel comfortable removing the paper and just free hand it from there.

It’s not perfect but I loved the handmade feeling and the simple message.  Perfect for the current environment and complimented beautifully with spring plants from Smile Farms1-800 Flowers.com and Plants.com have a vast selection of plants to choose from to send as a gift or to gift to yourself.  Having flowers and plants in your home can elevate your mood and reduce stress!

And speaking of free hand style that’s how we do it next.  Check back and see how it turns out.

Mug o’Blooms for St. Patrick’s Day

As almost everyone knows, a huge part of the Irish tradition is the enjoyment of delicious stouts, ales, and lagers. And this tradition will no doubt be a part of just about every St. Patrick’s Day celebration around the world. Here’s a way that you can honor this tradition and still be a designated driver!

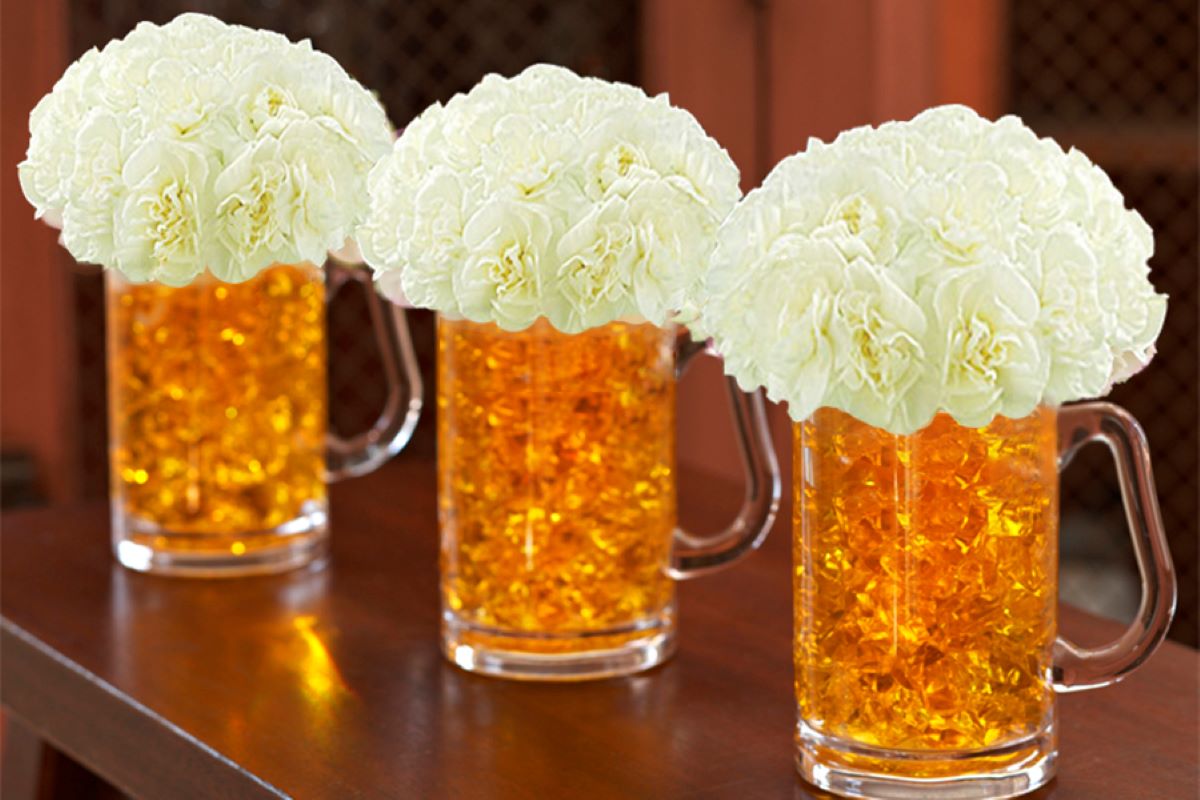
Beer Mug Flowers on a table.

These floral Beer Mug o’Blooms are very easy to make, and are a fun and unexpected way to raise a glass and wish your friends Sláinte!

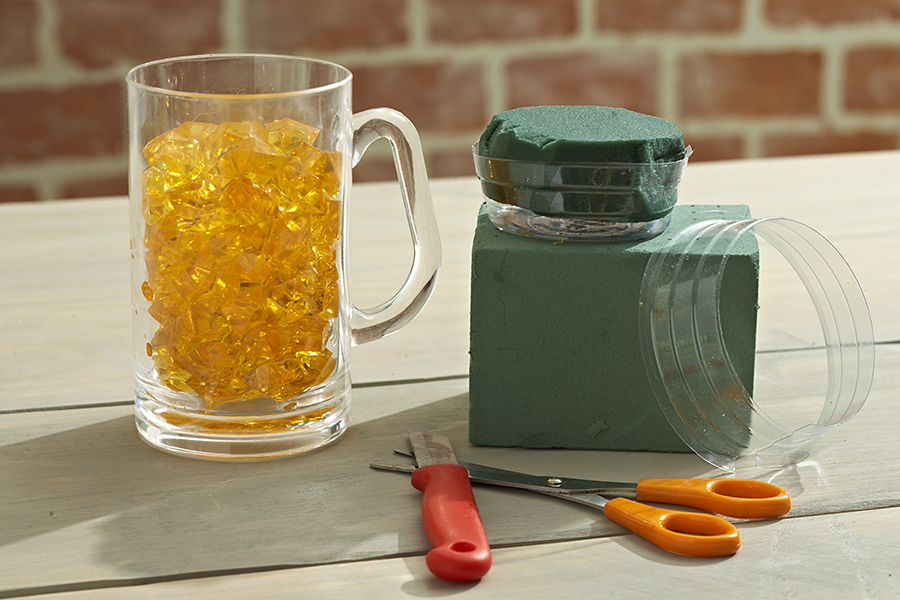
Supplies for beer mug flowers

  • Beer mug
  • Acrylic gems, either in a gold/amber color or clear. If you use clear, just add yellow (or green) food coloring to the water.
  • Floral foam
  • Small plastic liner
  • 12 white carnations

Instructions for beer mug flowers

Beer mug full of acrylic gems next to flower crafting items.
  1. Put the acrylic gems in the mug, filling it to about 1½” from the top of the glass.
  2. Add water to the top of the gems.
  3. Cut a piece of floral foam the width of the glass and about 2-2½” in height. Soak the foam thoroughly before placing in the plastic liner or directly into the top of the mug.
Creating Beer Mug Flowers
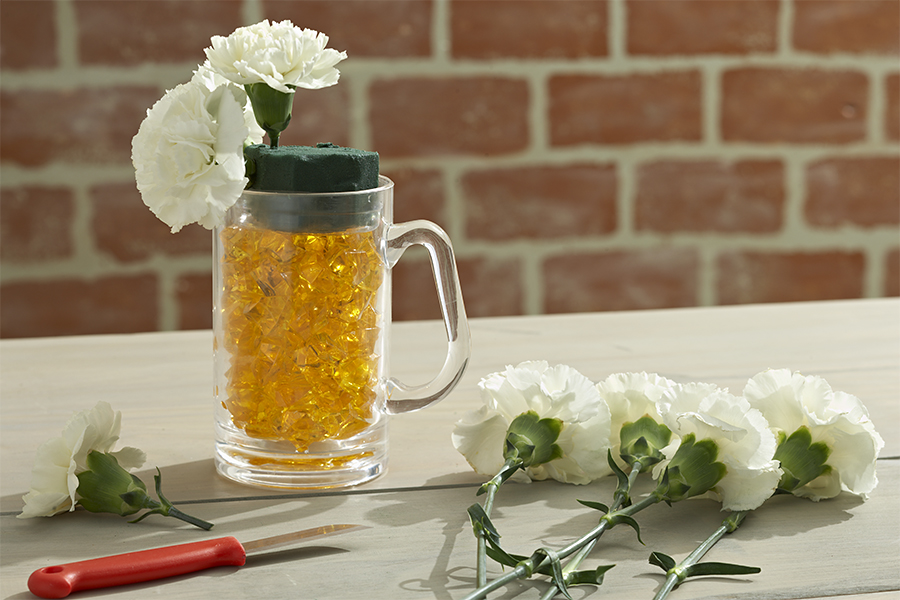
  1. Cut each carnation stem very short — about 1-2″ — and on an angle (for easy insertion into the foam).
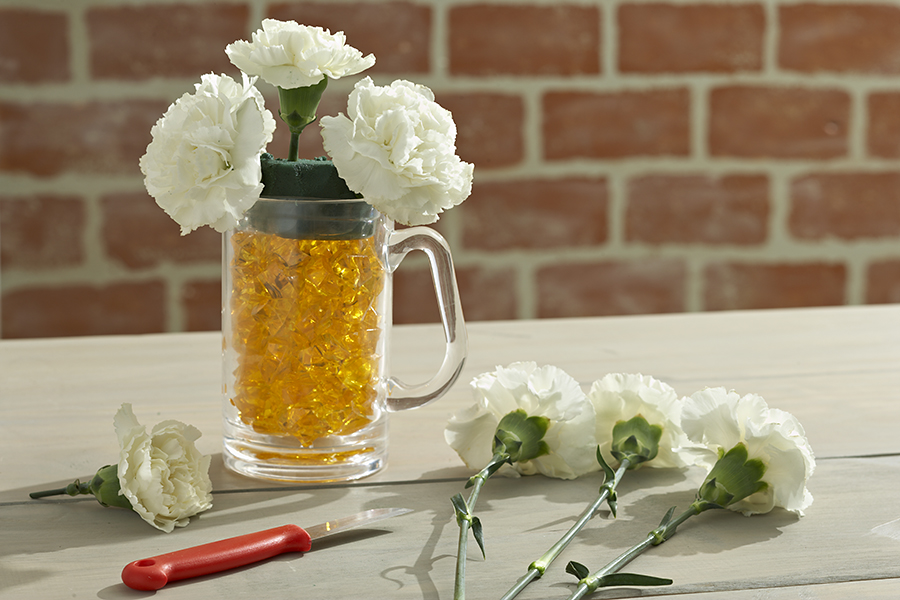
  2. Insert carnations into the foam from both the top and sides, creating a beautiful “head of foam” on your mug of beer!
Beer mug flowers craft in progress
  1. When inserting the stems on the side of the foam, be sure to insert horizontally so the carnation goes in straight and covers the floral foam.
  2. Keep adding carnations one at a time until you have created a nice mound without any gaps.

Carnations are very hardy, so this fun beer mug flowers arrangement should last at least a week. Be sure to add water every couple of days to keep the flowers hydrated. An easy way to do this is to simply tuck an ice cube in between the top carnations every other day. The ice cube will slowly melt, keeping the foam nice and wet and the flowers fresh.

Let’s Mingle!

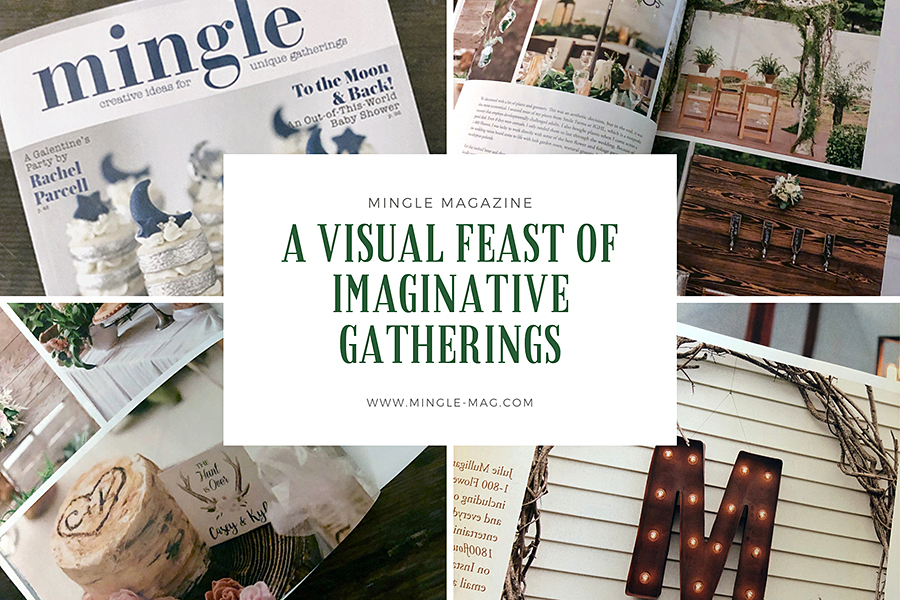
I have been a loyal reader of Mingle Magazine for a long time.  Being a floral lifestyle blogger for 1-800 Flowers.com and a passionate party planner, it’s pages speak to my soul. I save all the past issues and look through them for inspiration. Each time I find something new that I hadn’t noticed before or I’m seeing differently based on a project that I am working on or an event I am planning.
Mingle is a publication that features creative ideas for unique gatherings from selected reader submissions.  Well, I submitted photos and ideas from my daughter Casey’s wedding and guess what – my story was accepted!  It’s is in the 2020 winter issue, available now on the Mingle website and select retailers..

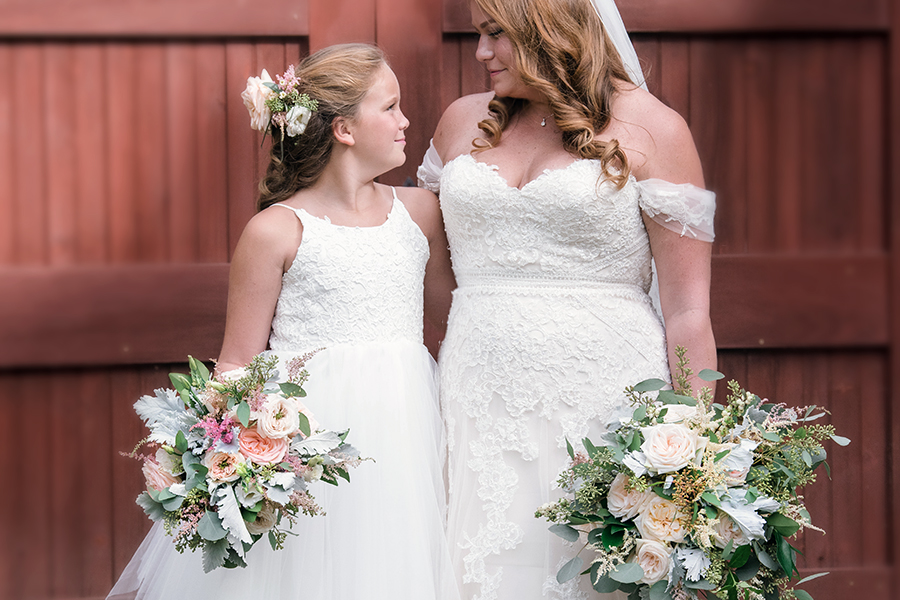
I did a post last Mother’s Day about the wedding, particularly creating the bouquets for my daughter and granddaughter and all the emotions and feelings that go went along with that.  In case you missed it or want to read it again just click on this link.

The Mingle article focuses on the décor and highlights some of the personal touches and ideas that we incorporated into this special day.  I’m so grateful to have had this opportunity to publicly acknowledge and give credit to all the talented people and companies that helped make Casey & Kyle’s dream wedding a reality. Andrew Carnegie said it perfectly – “Teamwork is the ability to work towards a common vision.  The ability to connect individual accomplishments towards organizational objectives.  It is the fuel that allows common people to obtain uncommon results.”

To see the results and read the article go to www.mingle-mag.com.and order your copy today.  In the meantime, here are some fun shots and ideas that didn’t make it into the article.  All photography by EXO Photography.

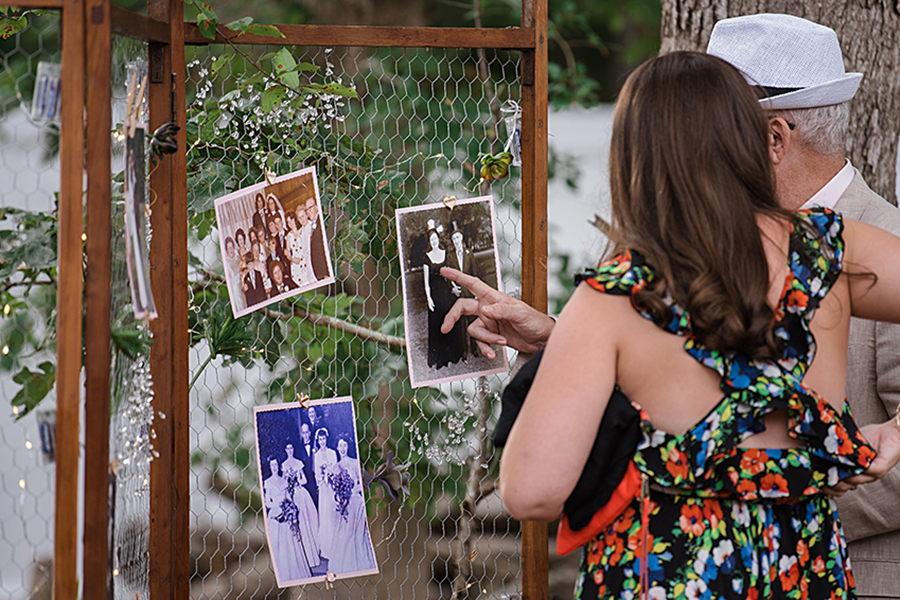
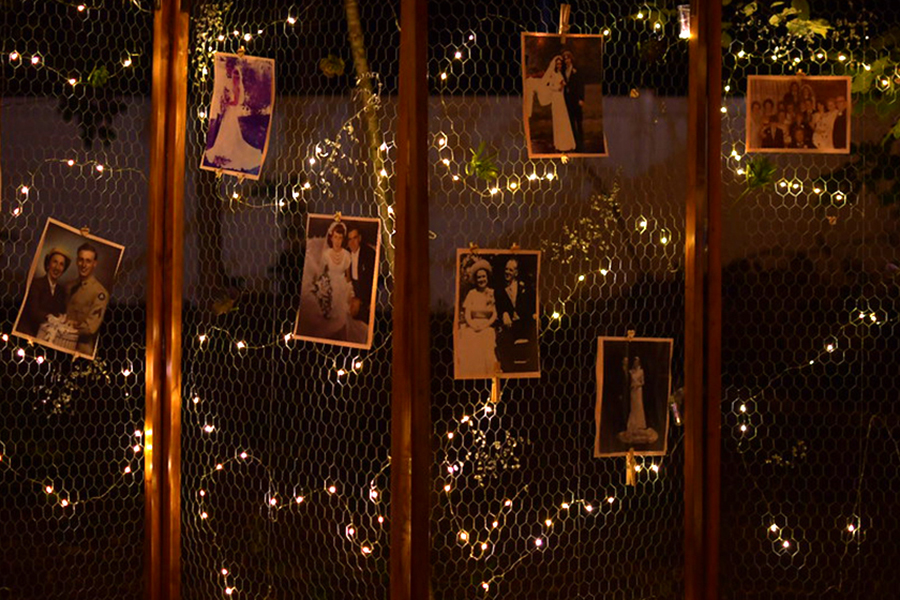
Chicken wire attached to vintage wood room dividers not only helped us define a space but was a perfect place to display family wedding photos of Casey and Kyle’s parents and grandparents.

Adding twinkling lights just made it that much better!

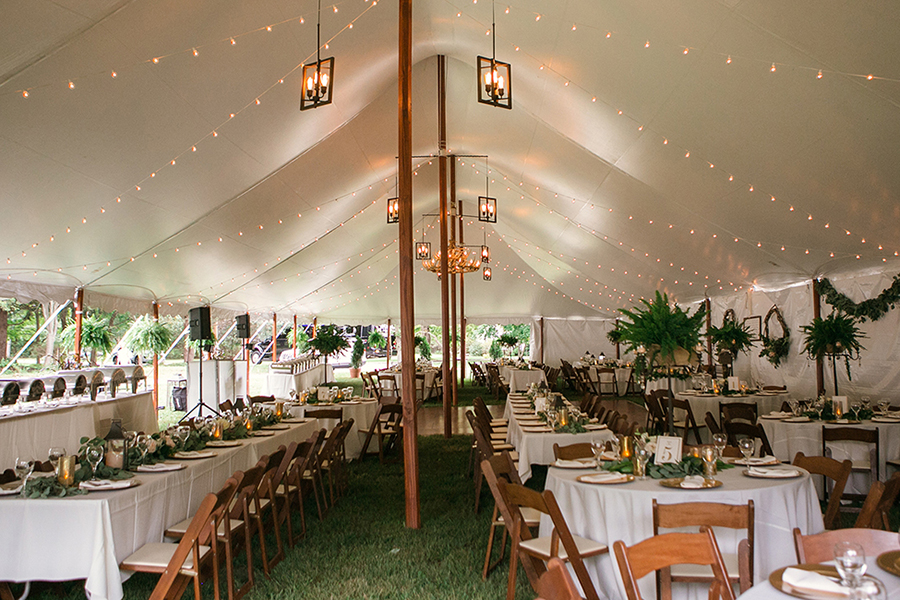
Fresh garlands and cut foliage were shipped directly from Sutton Ferneries in Florida.  Most plants came from Smile Farms at IGHL which is right down the road from Casey & Kyle’s house, where the wedding took place!  Smile Farms’ mission is to provide developmentally disabled adults with meaningful work opportunities at farms, urban gardens, greenhouses and farm stands where they can grow and sell flowers, plants and produce in their local communities.

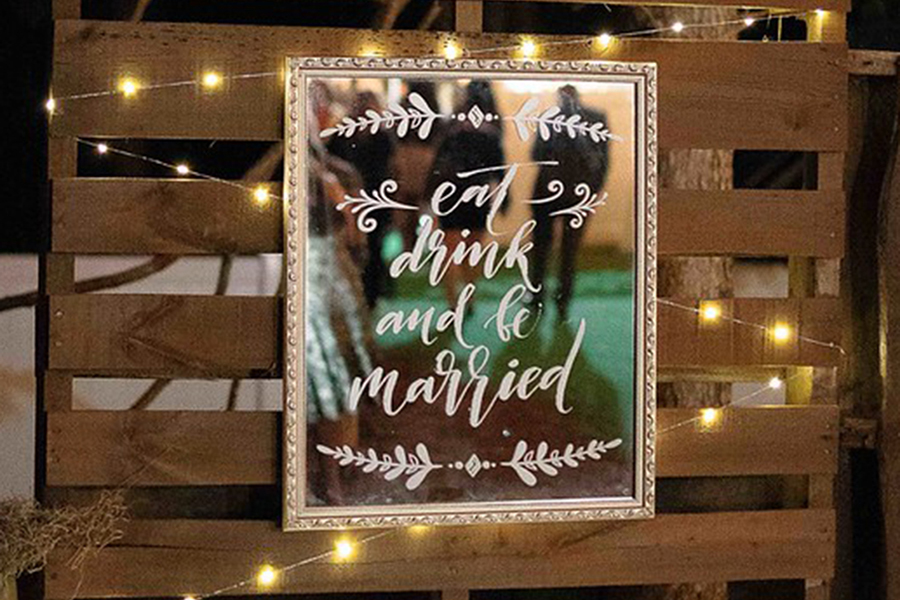
You can do so much with pallets, a string of lights, and a few accent pieces from Home Goods!

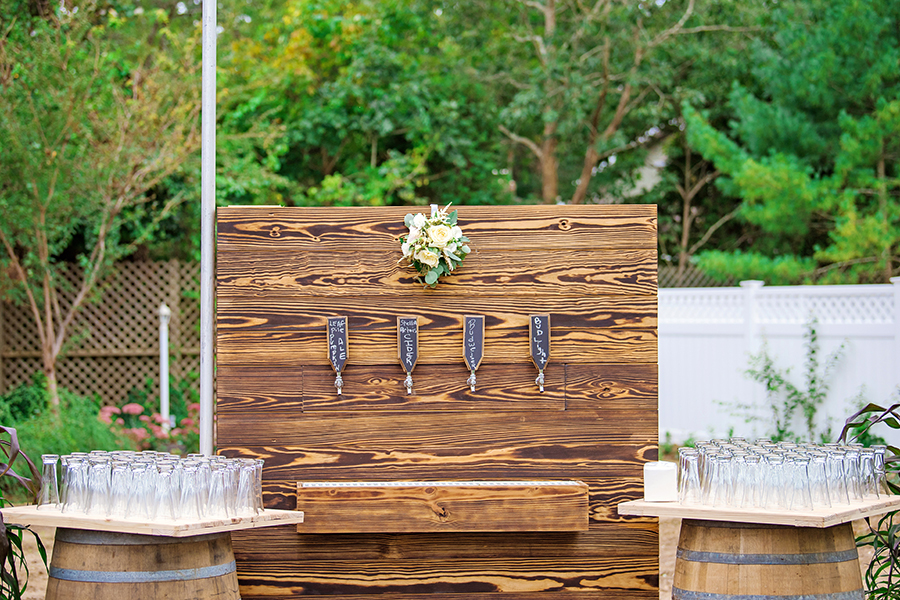
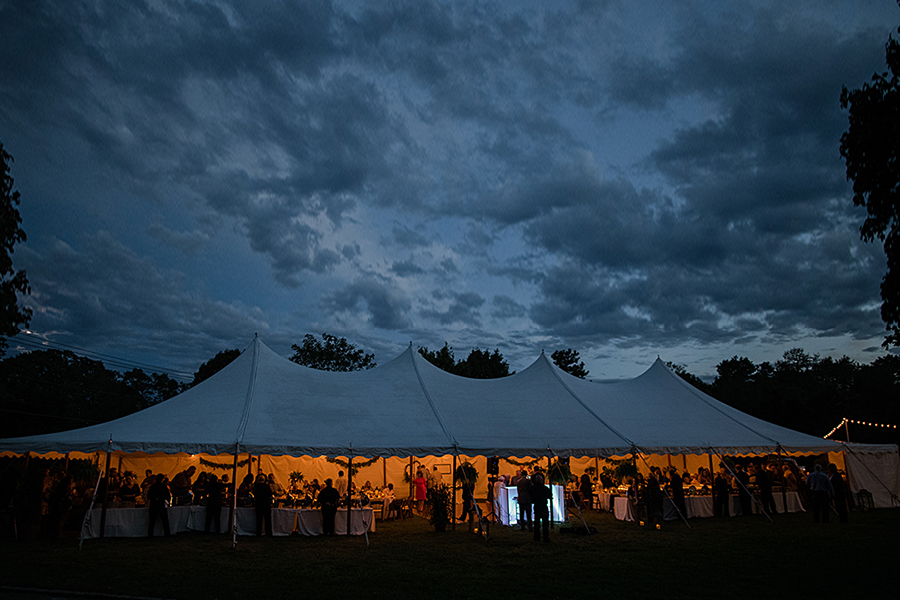
Remember what I said about the dream team?  Joe, the owner of Camelot Party Rentals knew the bride and groom wanted a tap wall and couldn’t find one – so he built one!  From the bistro lights, wooden tent poles, lanterns, farm tables, and whiskey barrel tables, to the tent – everything was perfect.

And a good time was had by all!!

Creative Workshops: Part 2

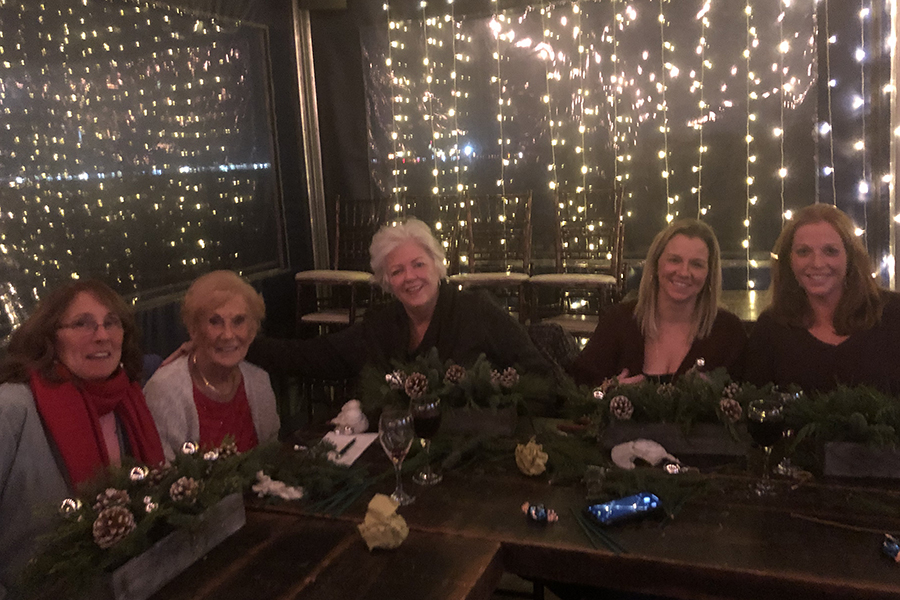
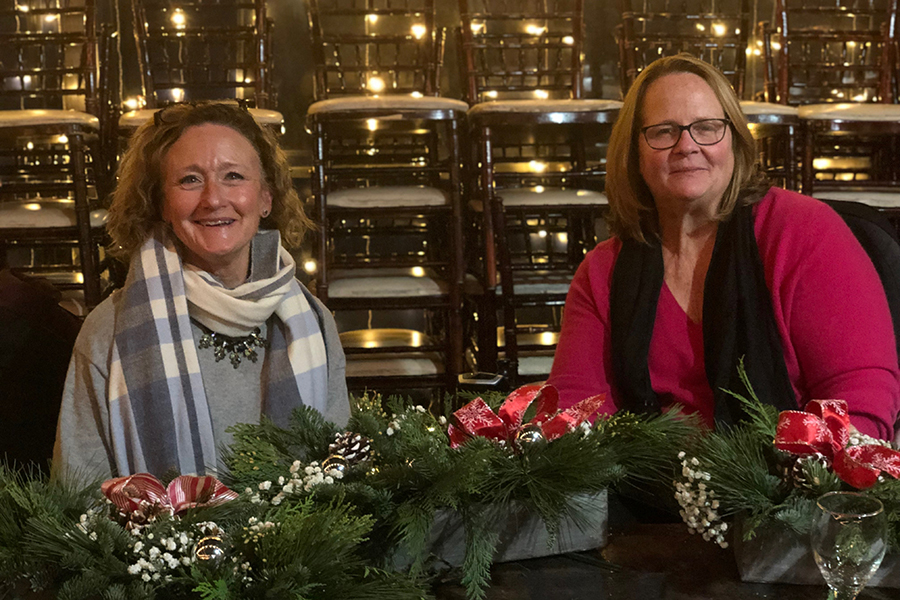
It may have been a snowy cold Wednesday night in Rockaway but nothing stops this creative crowd!  We had a full house from our second Creative Workshop by 1-800 Flowers at Bungalow Bar.

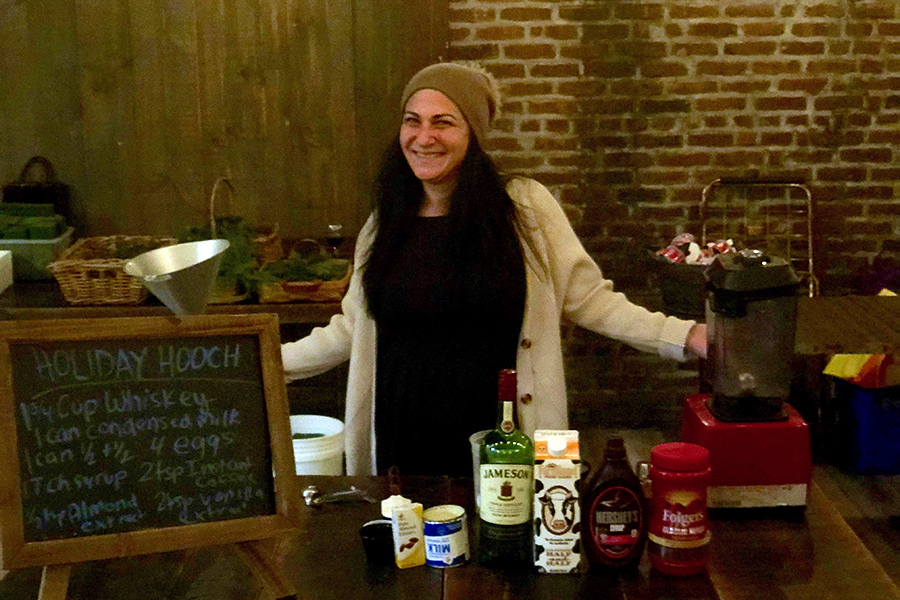
Katy Bree, the General Manager at Bungalow Bar got the night started by sharing an old family recipe for an Irish Crème cocktail that she likes to call “Holiday Hooch”.  It was a fun way to kick start the night and everyone seemed to love the drink (I know I did)!

Then everyone got down to the task at hand.

Taking what could be saved from this three-week-old arrangement,

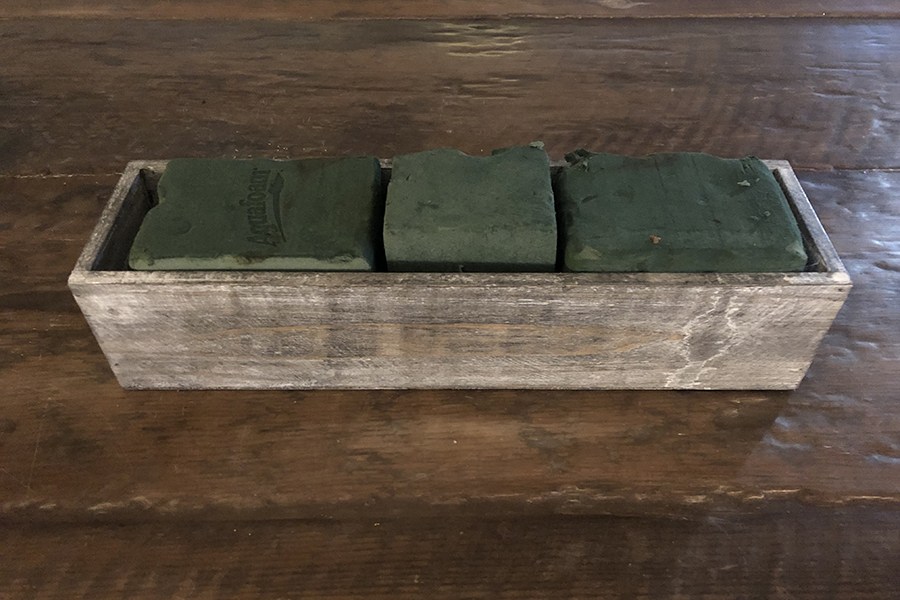
Filling the wooden planter with fresh, soaked floral foam.

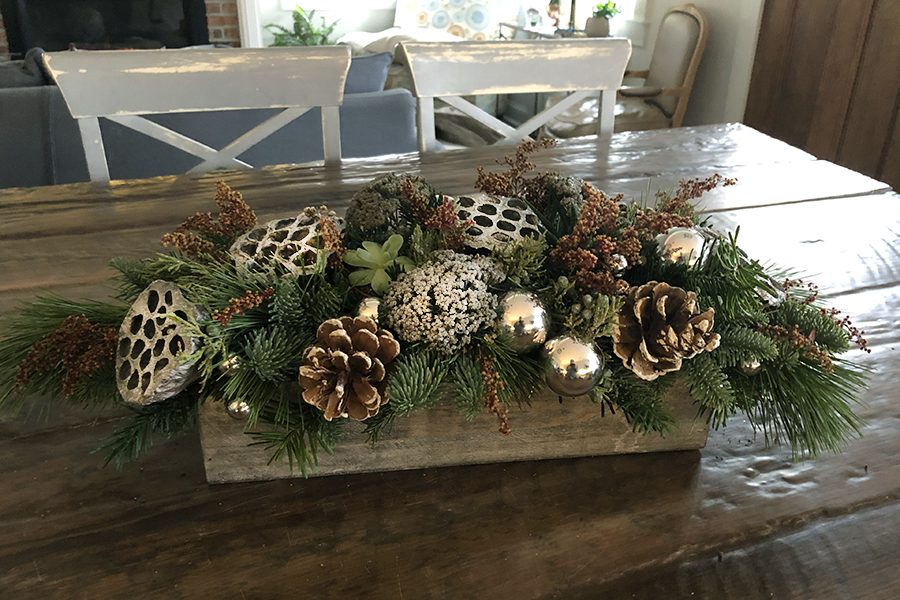
And creating a fresh evergreen centerpiece that will last for weeks.

We limited the number of people for this exclusive event which made the night more intimate and personal.

There were multi-general family groups.

And friends,

neighbors,

And mothers and daughters.
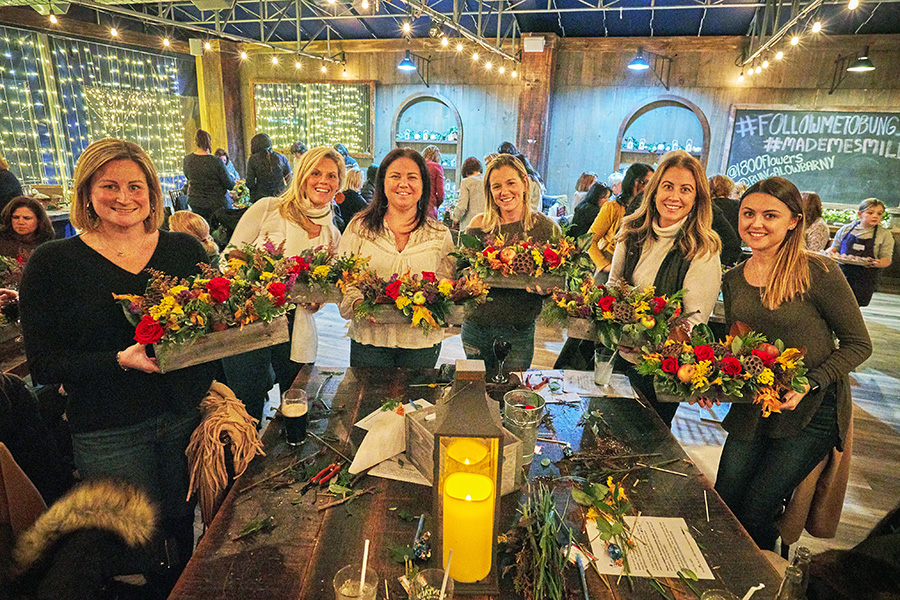
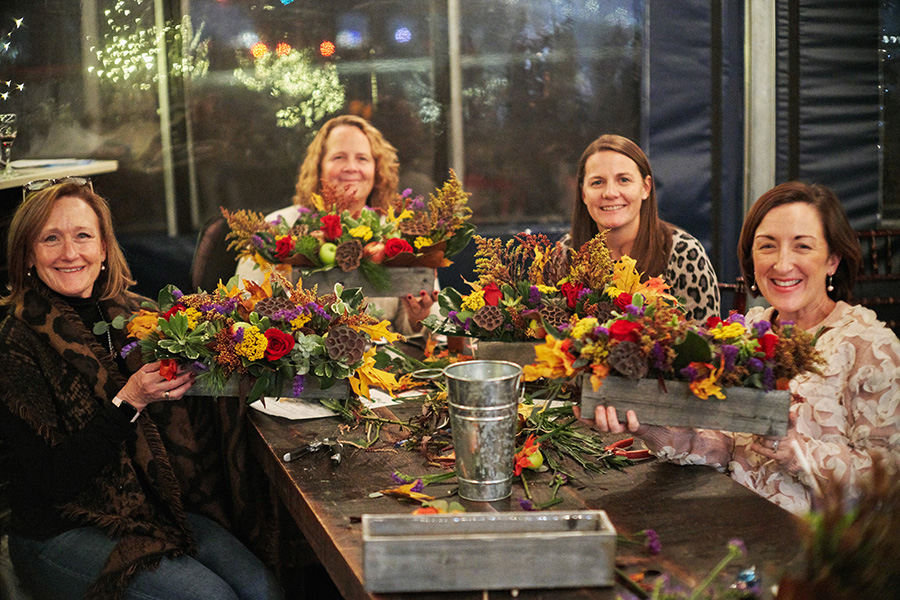
And not surprising – everyone did an incredible job!

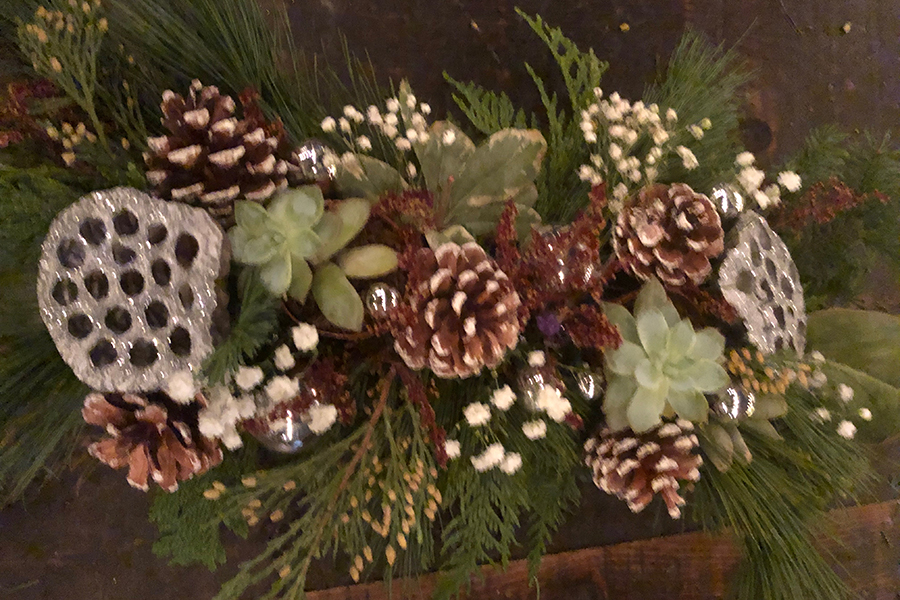
I was particularly impressed and inspired by my daughter Casey’s (far left) use of materials from the Autumn Centerpiece.  I had brought some grey and silver paints as well as glitter in case anyone brought the succulents and pods from their first arrangement.

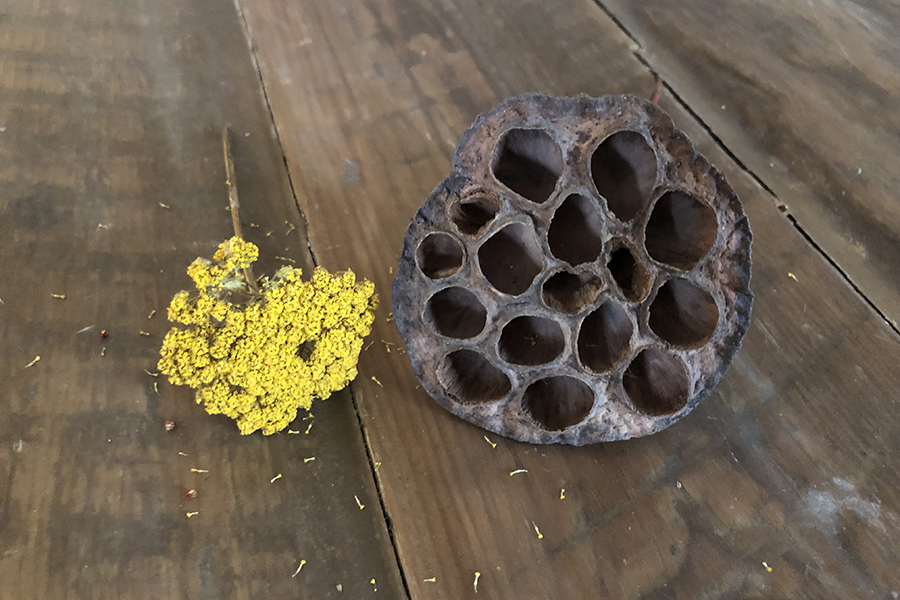
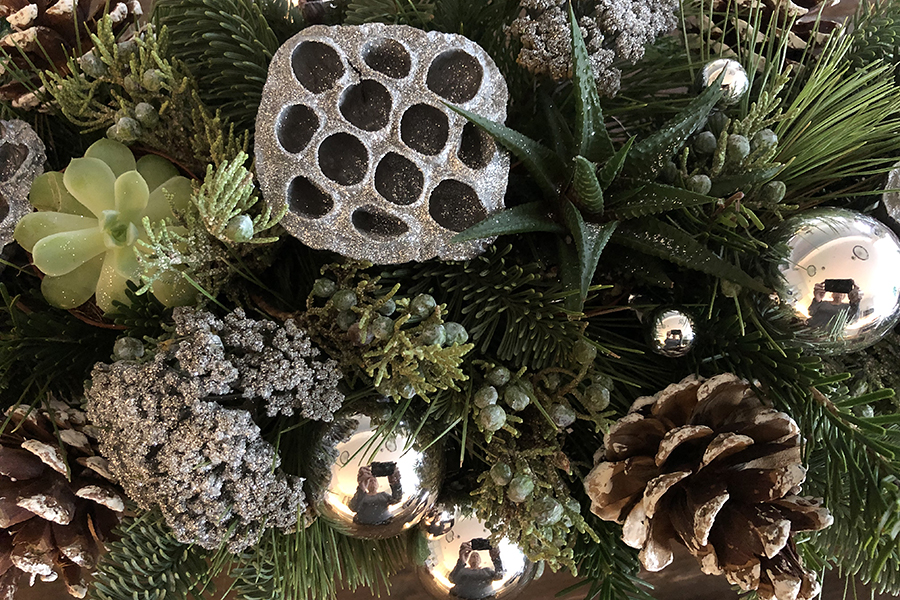
I flipped over the way that the pods completely changed their look with the glitter.  Yet they still added a natural vibe to the arrangement – only with a little sass!

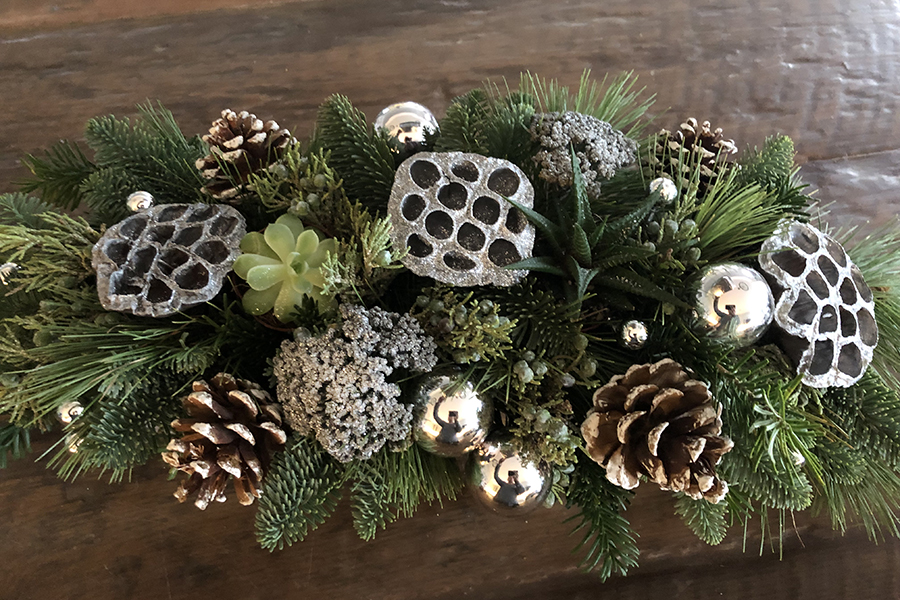
So of course, I had to make one of my own evergreen arrangements reusing not only the succulents and pods, but the yarrow too.

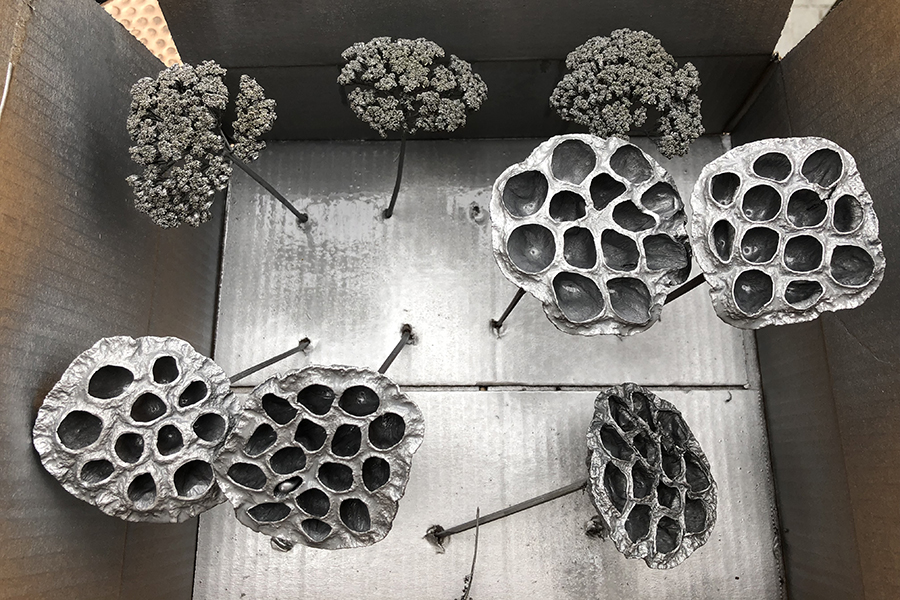
I sprayed everything first with grey paint as a base and then with a coat of silver.  Then I sprayed them with a light coating an adhesive and sprinkled glitter all over.

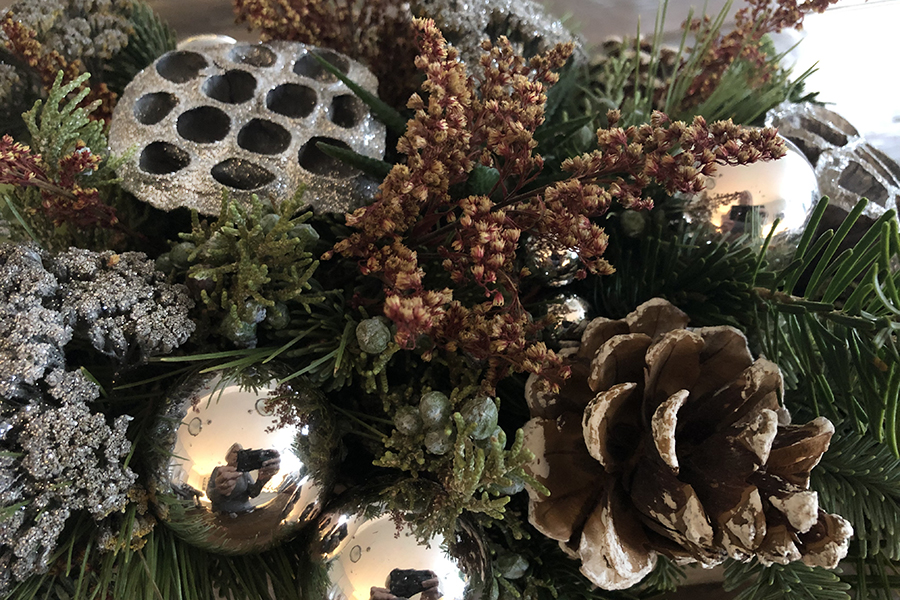
I also incorporated the dried, tinted solidago.  I liked the way it added a little bit more of a woodsy color, picking up the brown pine cones.

I love the way this arrangement turned out, don’t you!

Creative Workshops: Part 1

Exciting things are happening at 1-800 Flowers.com and I have been so busy lately that I haven’t had a chance to share all the exciting news with you!  I have been working with the team at 1-800 Flowers Corporate and the crew at the 1-800 Flowers retail store in Carle Place to put together a calendar of Creative Workshops.  We have done of number of floral and plant DIY classes over the last few months in Carle Place to much success.

Last month we launched a collaboration with Bungalow Bar in Rockaway Beach for monthly Creative Workshops taught by experts in floral design and lifestyle, plant care, and related categories.  All workshops take place in the picture perfect, private, waterfront event space at Bungalow Bar.

Thanks to Katy Bree, the General Manager at Bungalow Bar for bringing this collaboration to life!

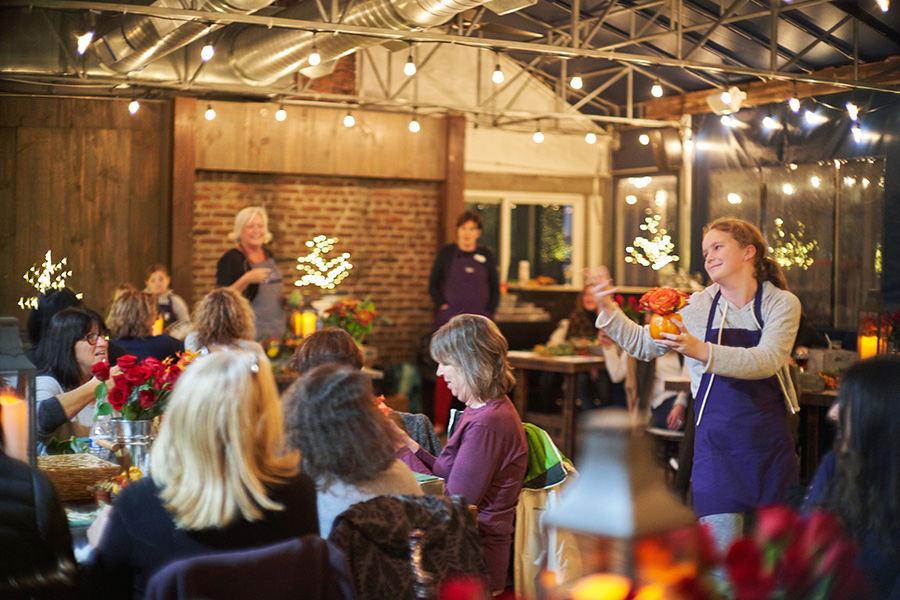
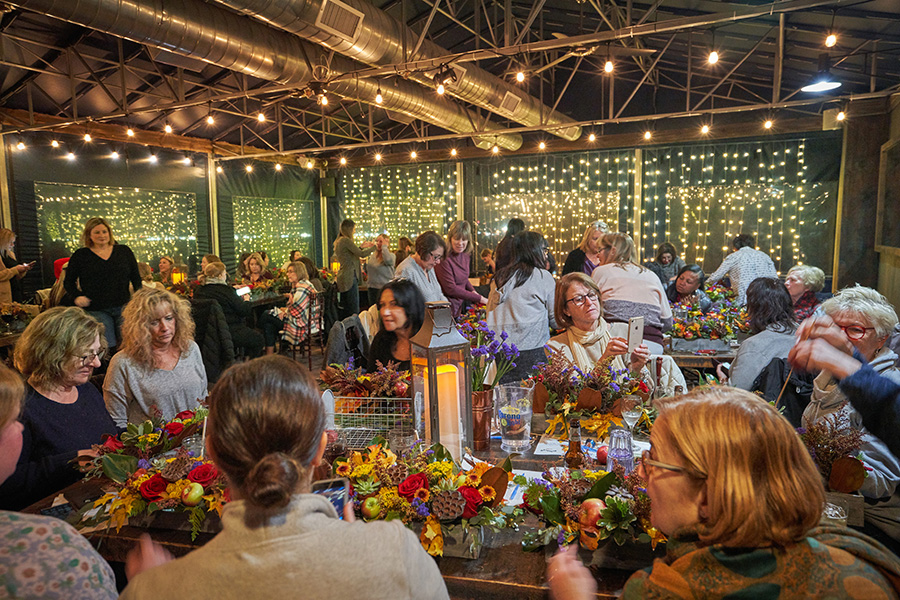
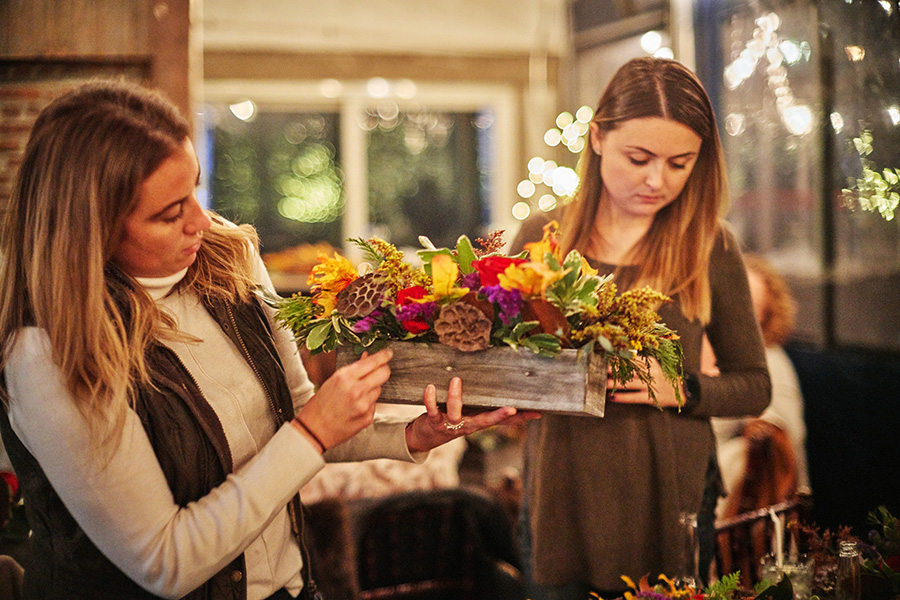
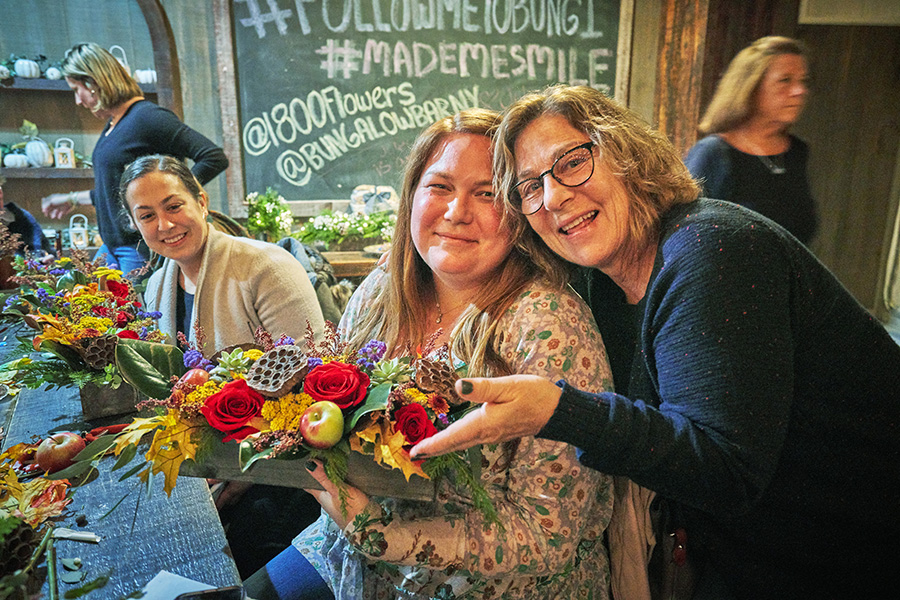
Our first workshop “Making an Autumn Harvest Centerpiece” sold out immediately with 62 attendees!

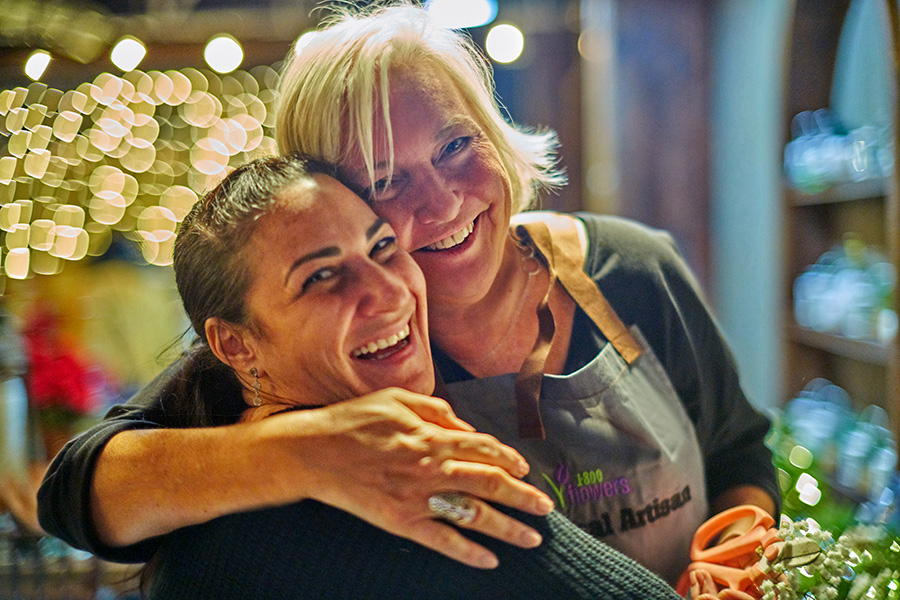
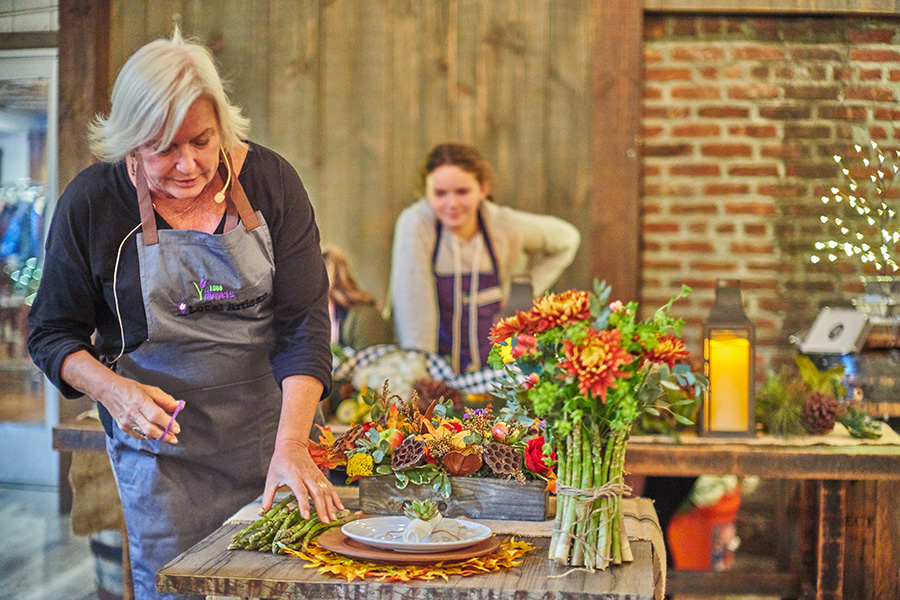
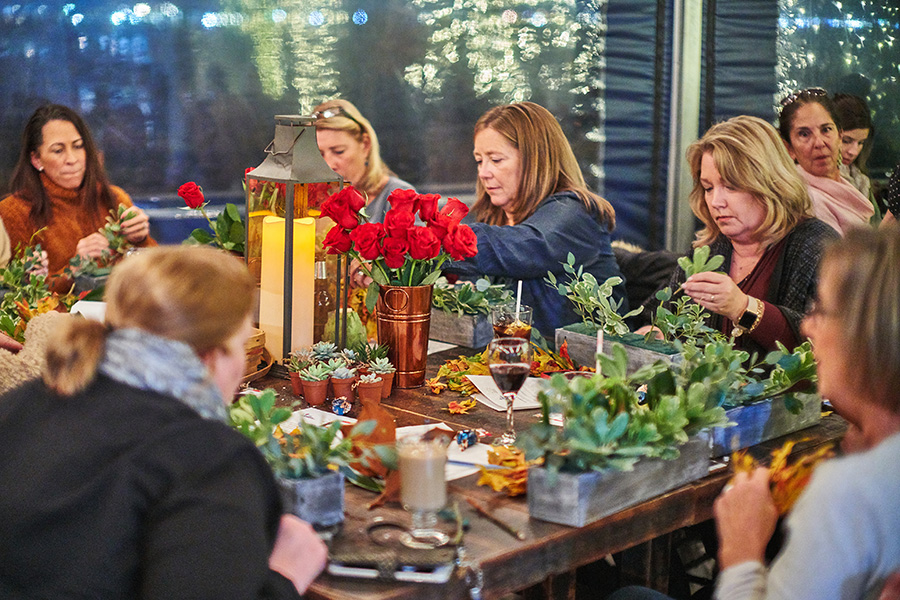
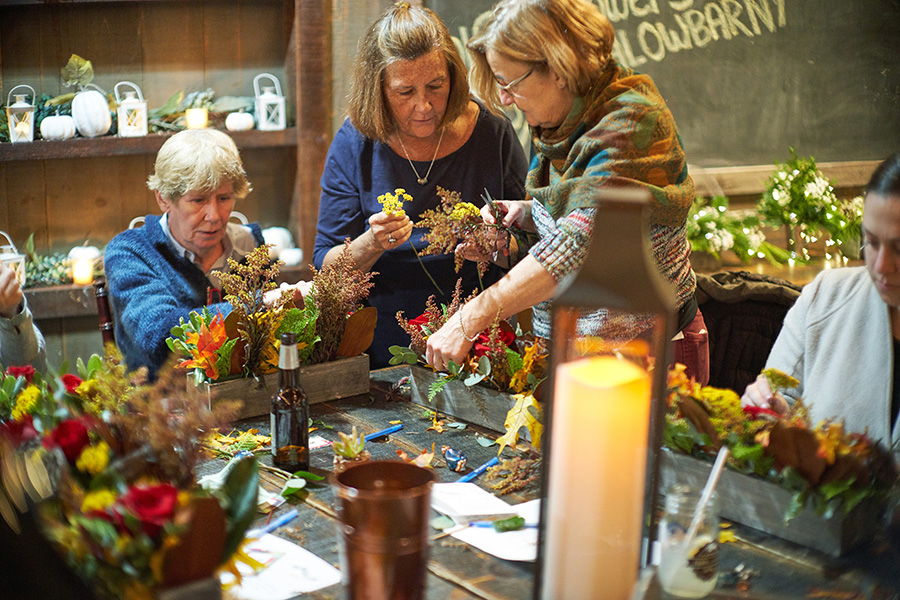
Here’s a peek inside the happenings that night and I think it’s obvious that we are giving the people what they want – a few hours spent with good people, learning a new skill, sharing laughs, having a cocktail or two, and perhaps a bite to eat before or after.  (Bungalow even gives a 10% discount on all attendee’s food bill!)

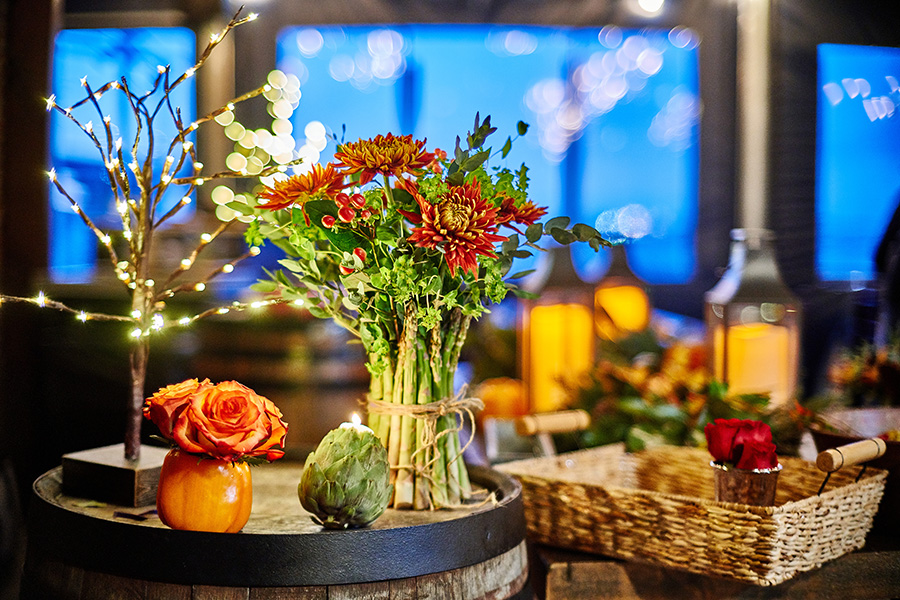
I included a few floral lifestyle tips before we started creating the centerpieces, such as how to incorporate seasonal vegetables into your designs.

And that’s my granddaughter Juliette,  who keeps a close eye on Grammy to make sure I’m doing everything right!

Or she was just anxiously waiting for her moment in the spotlight.  The apple doesn’t fall far from the tree!

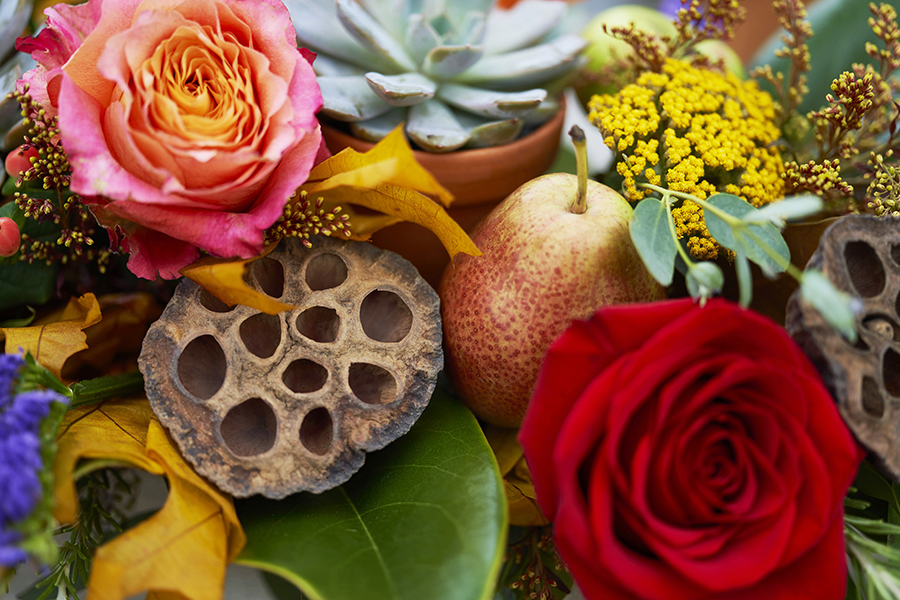
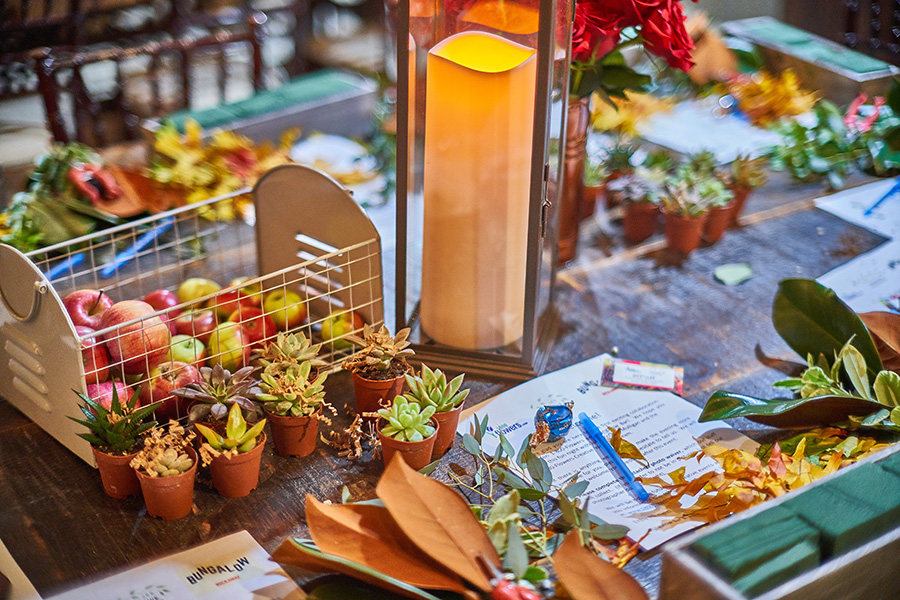
Sustainability was a big factor in choosing the ingredients.  This centerpiece is built to last!  Every element dries naturally while maintaining its’ beauty, allowing you to enjoy this arrangement for weeks!

One of my favorite elements are the mini succulents, provided by Arizona East.

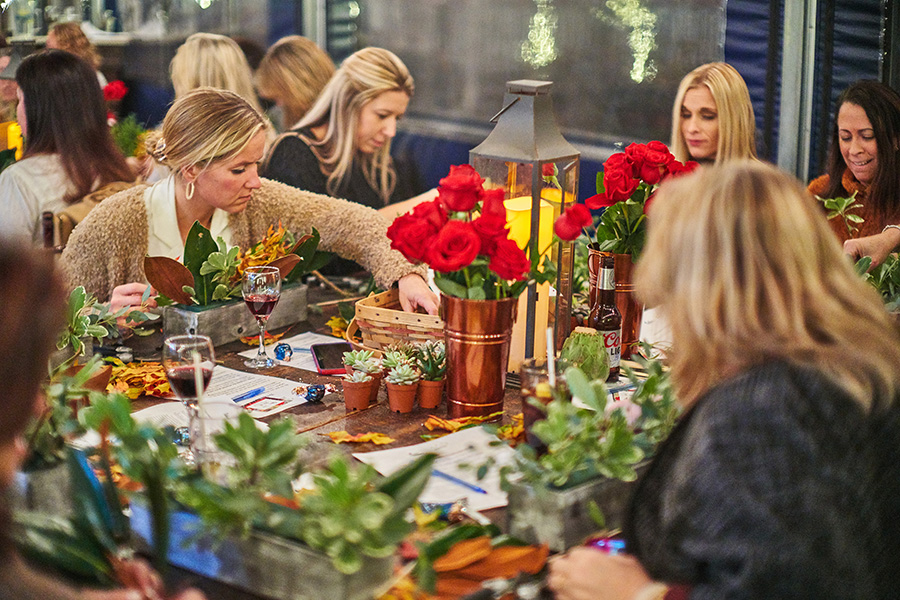
There was a bit of skepticism early in the class regarding most people’s ability to manage a design with so many different ingredients.

But I have to say everyone did an incredible drive.  Even I was starting to wonder, could they…

Well they sure did!

And I got so caught up in the moment that I promised everyone that I would do a special “exclusive” class in December just for the attendees of this class, where I would teach them how to take their newly designed Autumn Harvest Centerpiece and turn it into a beautiful evergreen arrangement that will last for another few weeks!  It was an “Oprah Moment” for sure.

How do you think our second workshop went?  You’ll have to check back and see!

Exit mobile version