When Christmastime comes around, it’s easy to get into the holiday spirit. From Christmas decorations to the gleeful melodies of Christmas music and carols to the festive holiday foods, there’s so much to love about the season.
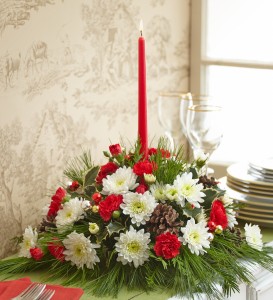
And to make your Christmas even more special, we’ve created an easy-to-follow guide to making your very own floral DIY Christmas centerpiece in just a few easy steps. Your handmade Christmas centerpiece will not only impress guests but will look amazing next to Christmas dinner!
Before you start, we should point out that you can make the centerpiece without the flowers first to make it last longer. Then, when Christmas nears, add the flowers a day or two before to have your floral centerpiece extra fresh for the holiday!
Materials for DIY Christmas centerpiece
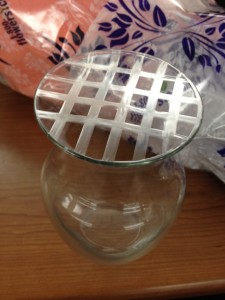
- Floral tray (We used a round floral tray, but you can use anything that mimics that shape…even a round soup bowl!)
- Floral foam
- Water
- Tapered candle (We used a 15-inch red candle.)
- Knife or clippers
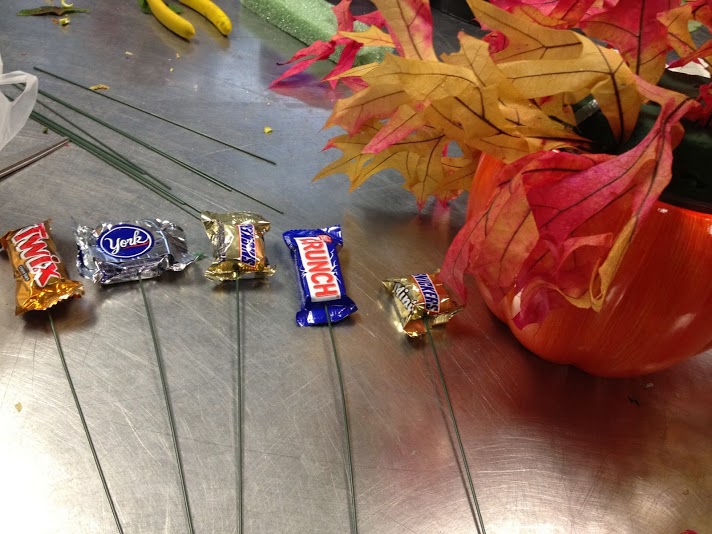
- Floral wires
- Floral sticks
- Millimeter balls clusters
- Pine cones
- Holiday greens (We used cedar, variegated holly, balsam, white pine, and sugar pine. You may be able to find some of these on nearby trees.)
- Flowers (We used white cushion pom poms and red mini carnations.)
Instructions for DIY Christmas centerpiece
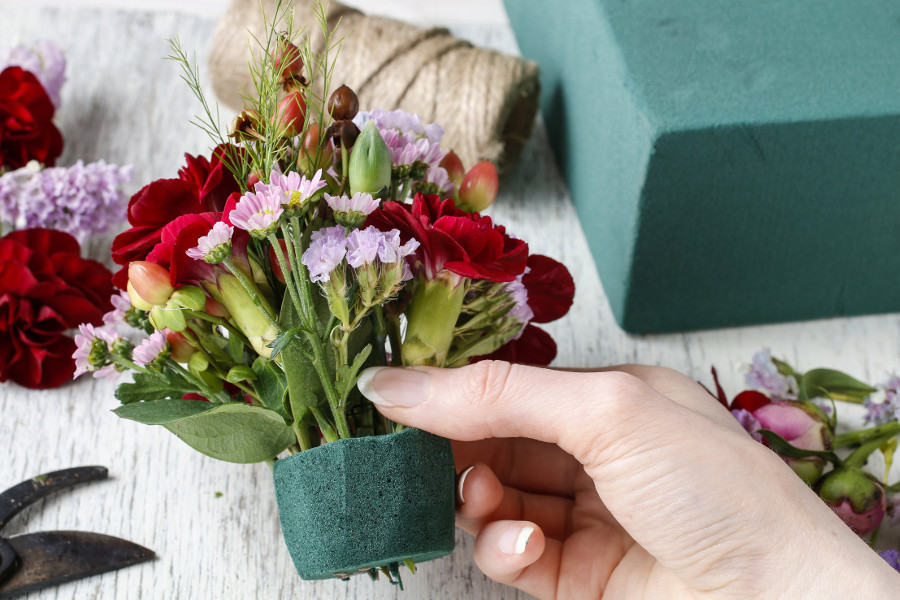
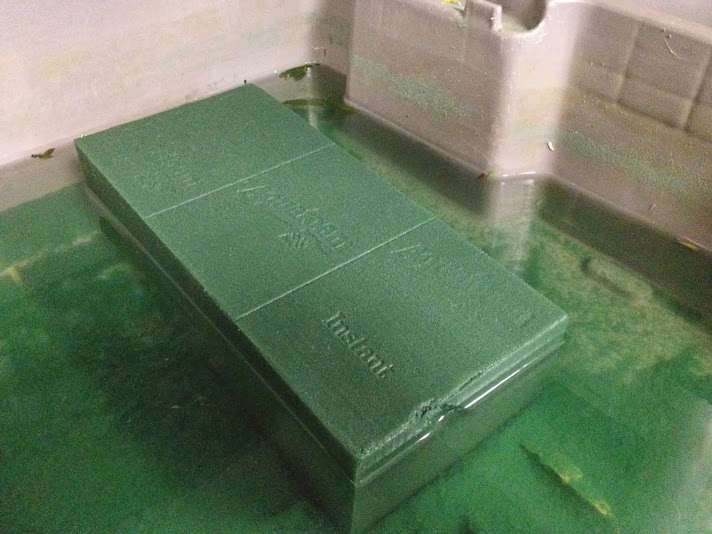
- Cut the floral foam to fit the shape of your tray.
- Set the cut piece of foam in water for about five minutes, until it is completely saturated. If your floral foam has holes, which is actually preferred, place the foam in the water holes side down. The trick is to let the foam sink to the bottom, to allow it to absorb the most water possible.
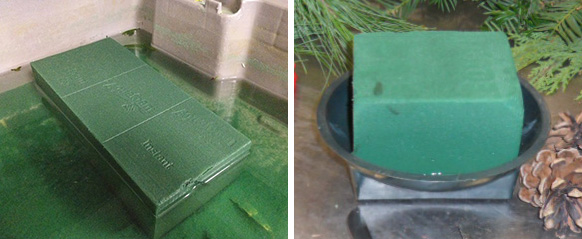
- Place the soaked foam snugly into your floral tray.
- Add the candle to the center of the foam. You can use a candleholder or not.
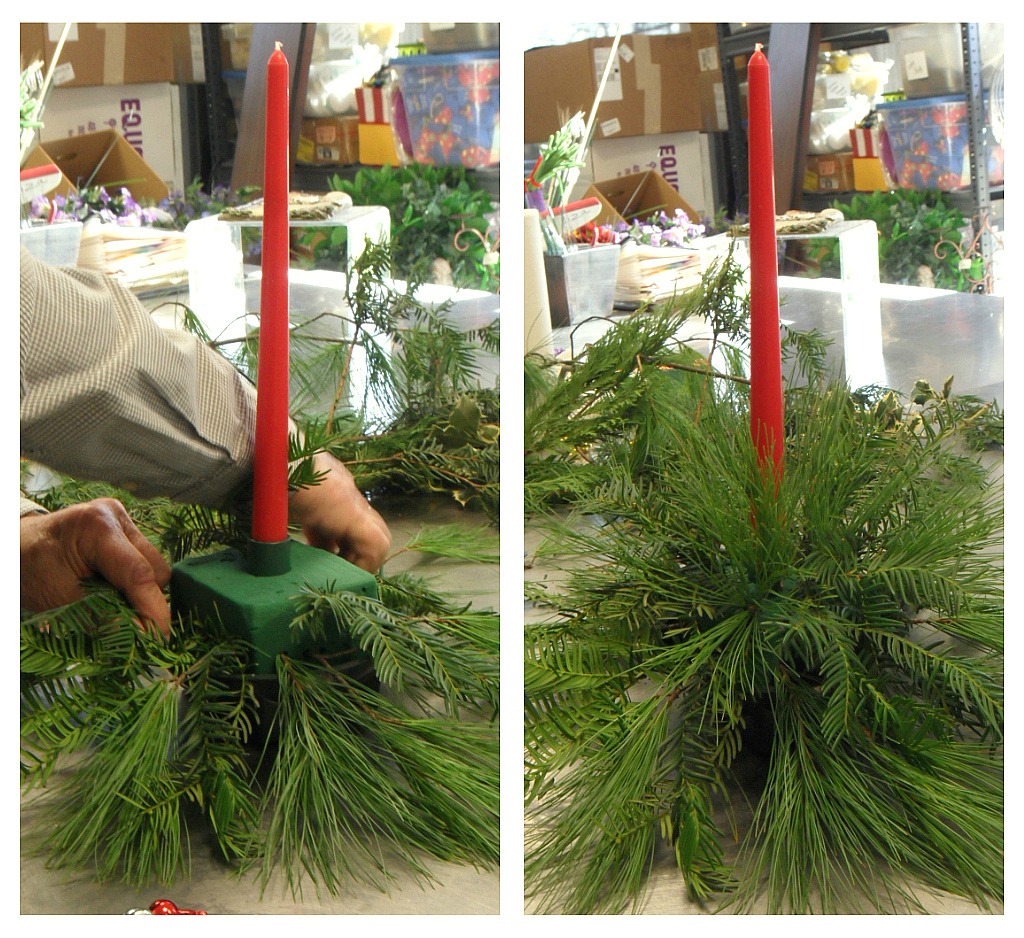
- Now, add your greens to the floral foam. A helpful tip: Look at the centerpiece as an extension of the table. Start low so the greens just about hit the table, and then work your way up to build the arrangement. With how long the needles of the white pine (aka sugar pine) are, we thought this was a good green to start with. After filling the base with sugar pine, we added the rest of the greens: balsam, cedar, and then variegated holly.
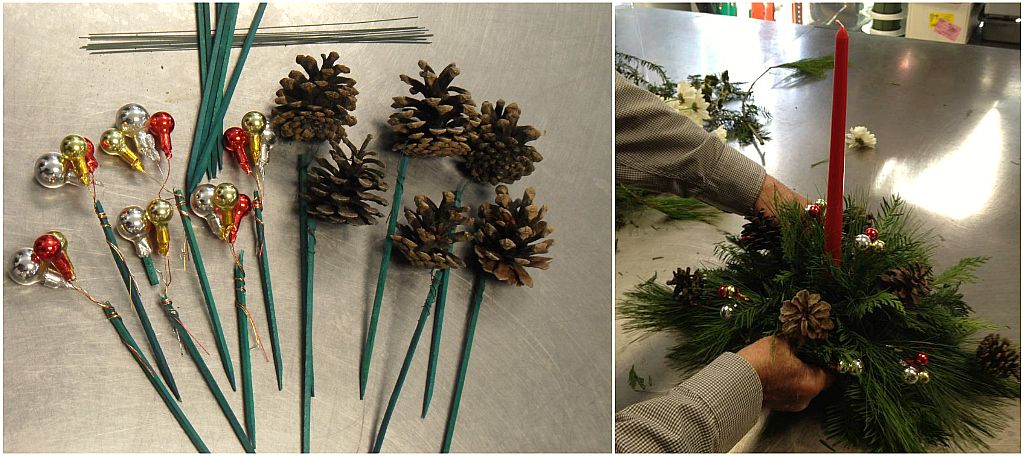
- Next, add the pine cones and millimeter balls. So these elements can stand out in the arrangement, place them on sticks, securing them with wire. Do this by wrapping the wire around the pine cone and then wrapping the same wire around a stick, until the pine cone is secure. Then, do the same with the millimeter balls. (In all, we created six pine cones and six millimeter ball clusters on sticks.) Add the pine cones and millimeter balls on sticks to the arrangement, making sure you spread them out to achieve a good balance.

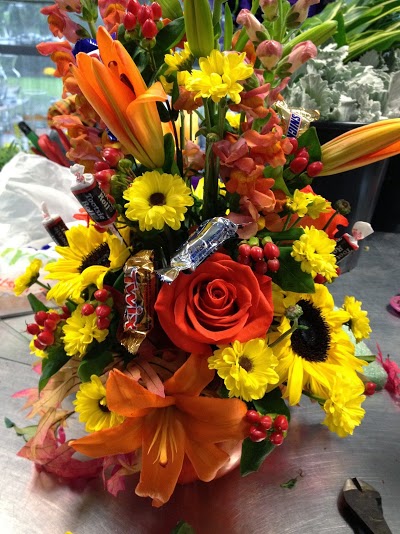
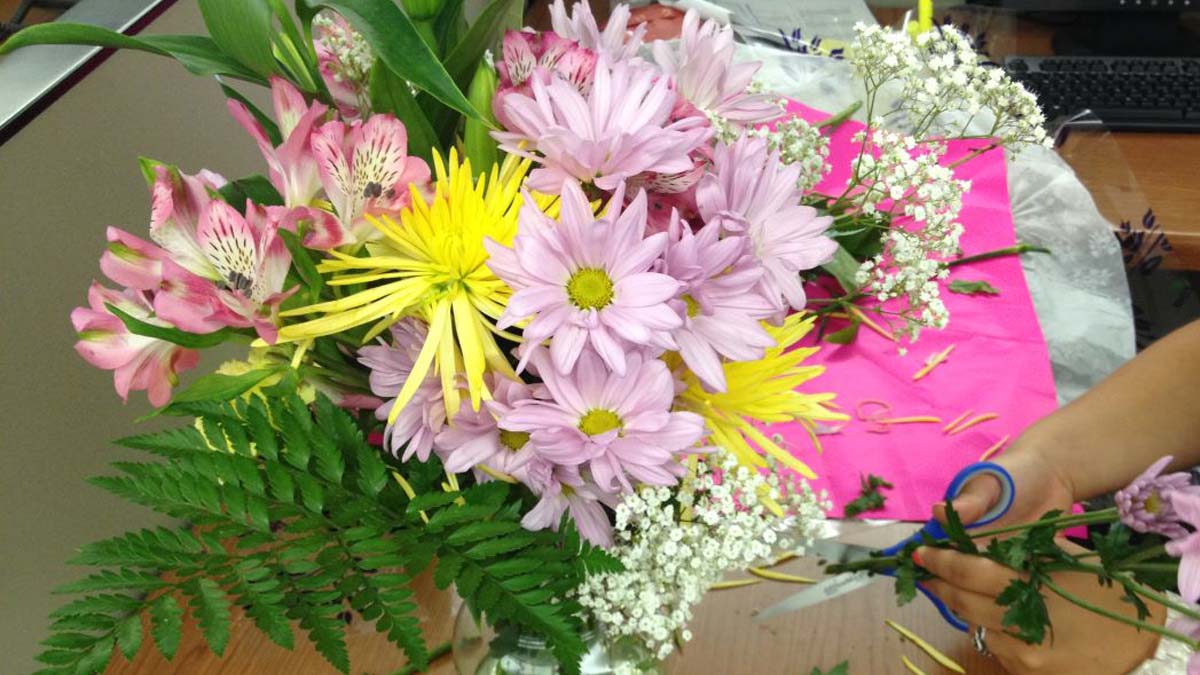
- Now it’s time to add the flowers. Do this in whatever order you prefer. We started with the white cushion pom poms and then added red mini carnations, making sure to create a nice balance of red and white alongside the greens for an extra festive look.
- Inspect your centerpiece for any “bald” spots or areas that are lacking. Add your leftover greens, flowers, or decorations as you see fit to fill these empty spaces and create the fullest centerpiece possible.
- Once you’re happy with your Christmas centerpiece, place it on the table and admire it!
Very Merry Modern Christmas Centerpiece
Here’s another Christmas centerpiece idea. It’s called the Very Merry Modern Christmas Centerpiece, and it uses noble fir, cedar, and white pine for greenery; green hydrangea, and red and white spray roses for flowers; and pine cones, hypericum, and ornaments for accents. The materials are pretty much the same as above, only instead of a long tapered candle, it features a glass cube vase in the middle with a tea light candle or flameless candle inside.
Watch the video below to learn how to make this Christmas centerpiece that will wow your guests!