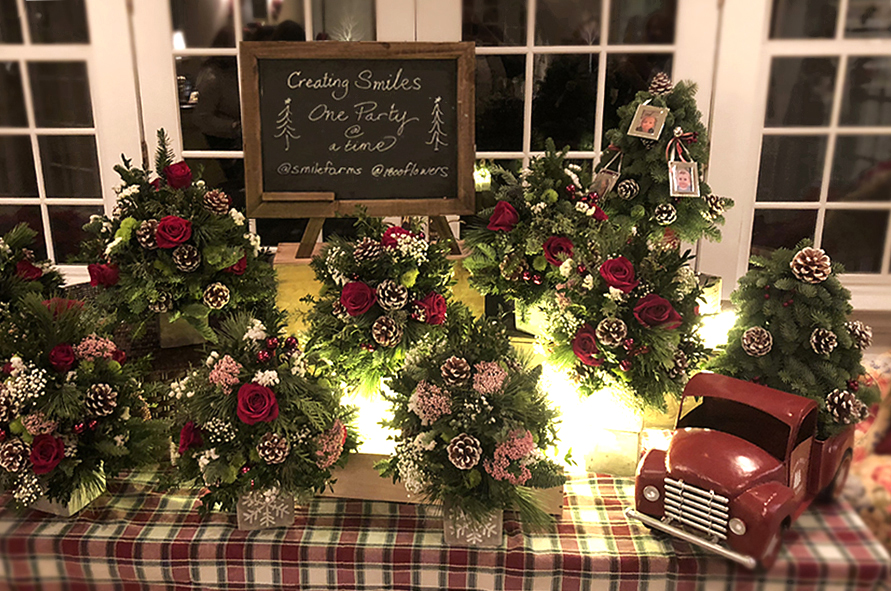
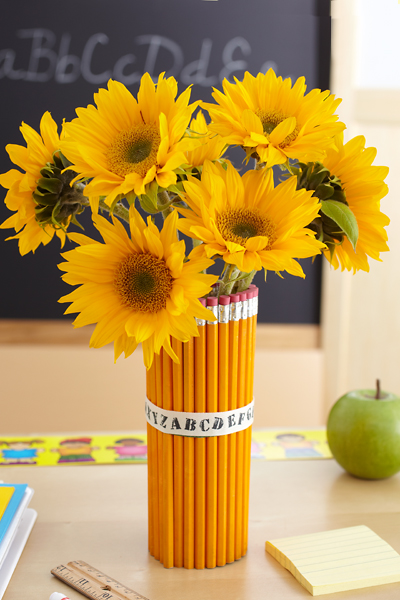
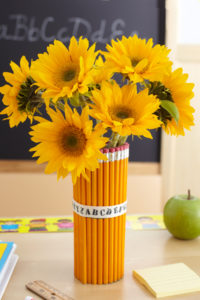
Here are the basic step-by-step instructions for making one of 1-800-Flowers.com’s most cherished holiday arrangements, the Holiday Flower Tree (otherwise known as a tabletop tree-shaped arrangement). Once you master the basics, the sky’s the limit as far as creating unique, personalized trees in various sizes and containers.
What you need to make a DIY flower tree
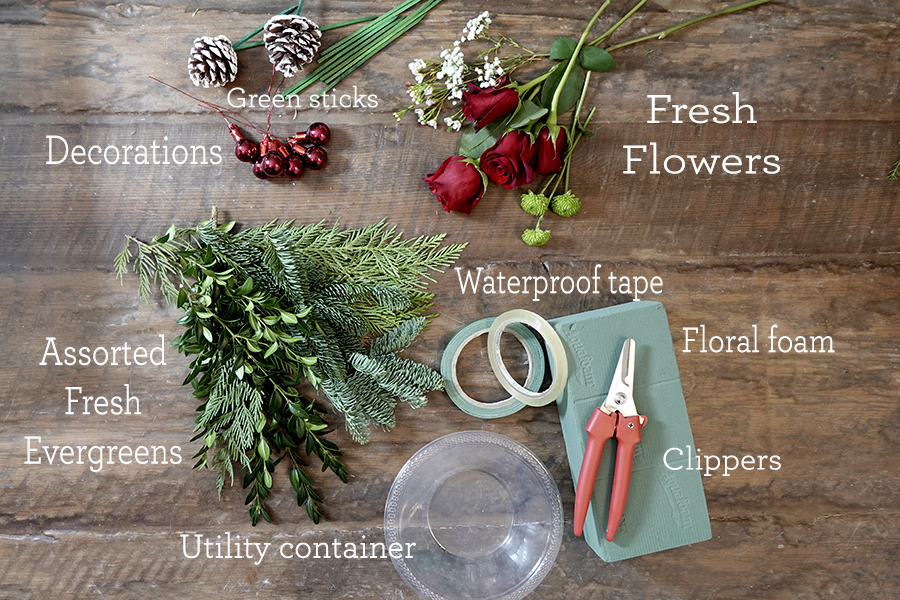
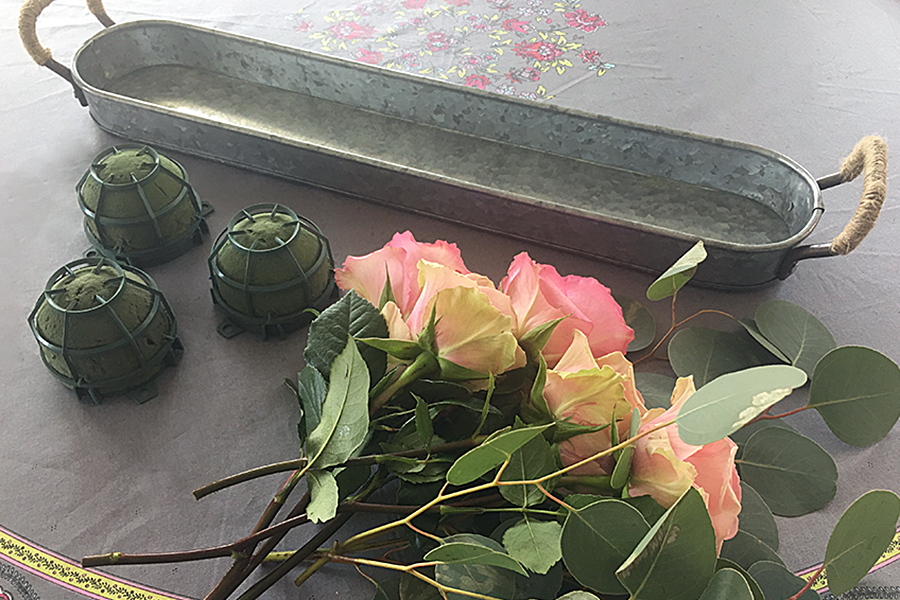
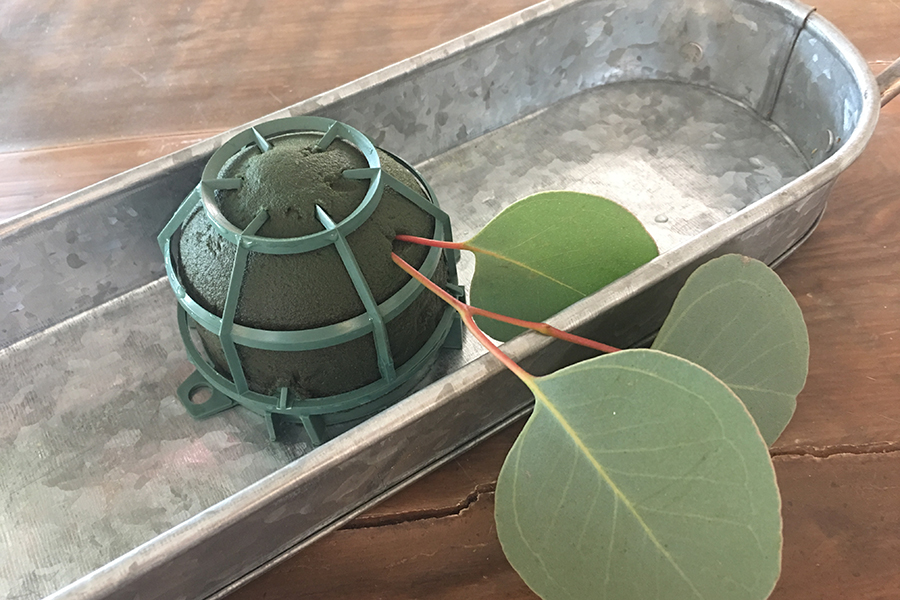
- Assorted fresh greens
- Fresh flowers
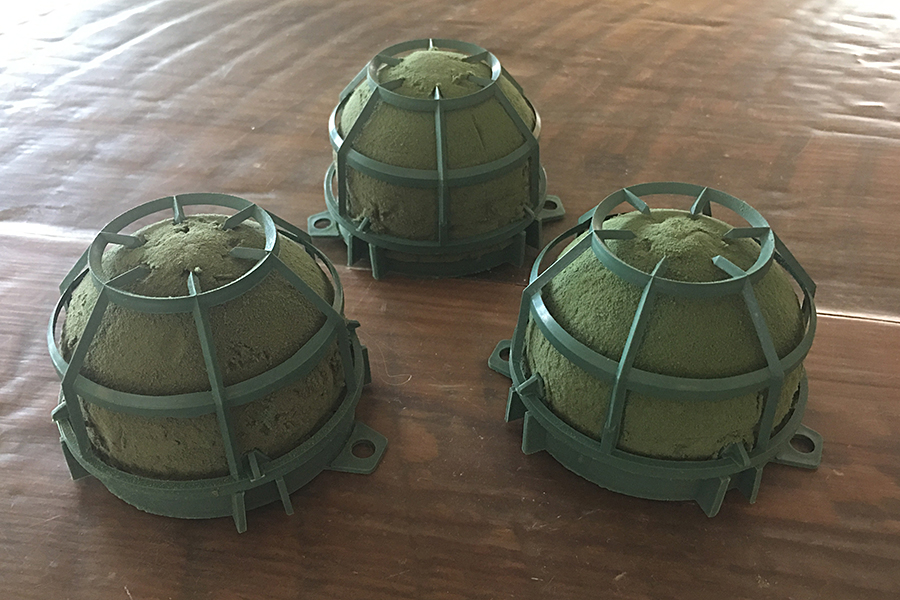
- Floral foam
- Clippers
- Waterproof tape
- Decorations
- Green sticks
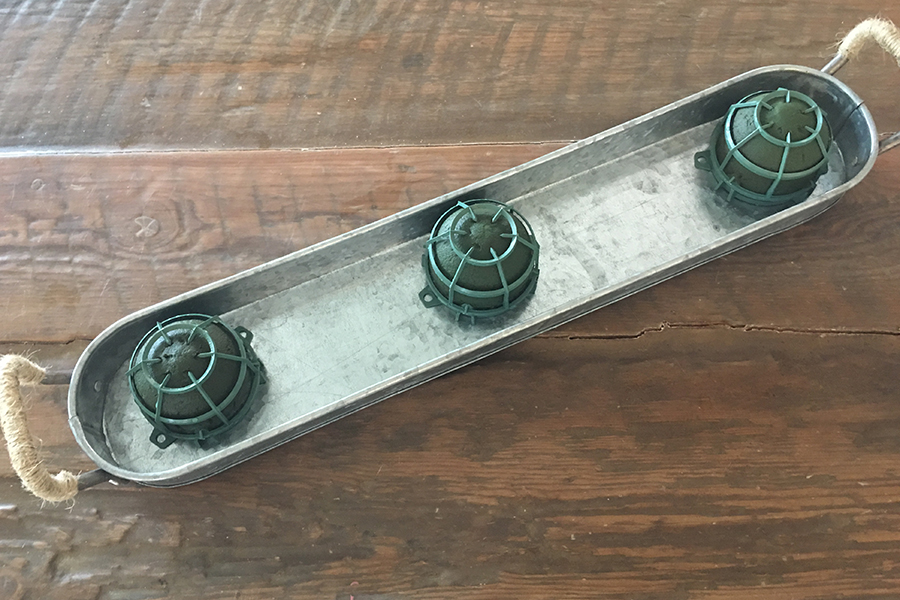
- Utility container
Instructions for making a DIY flower tree
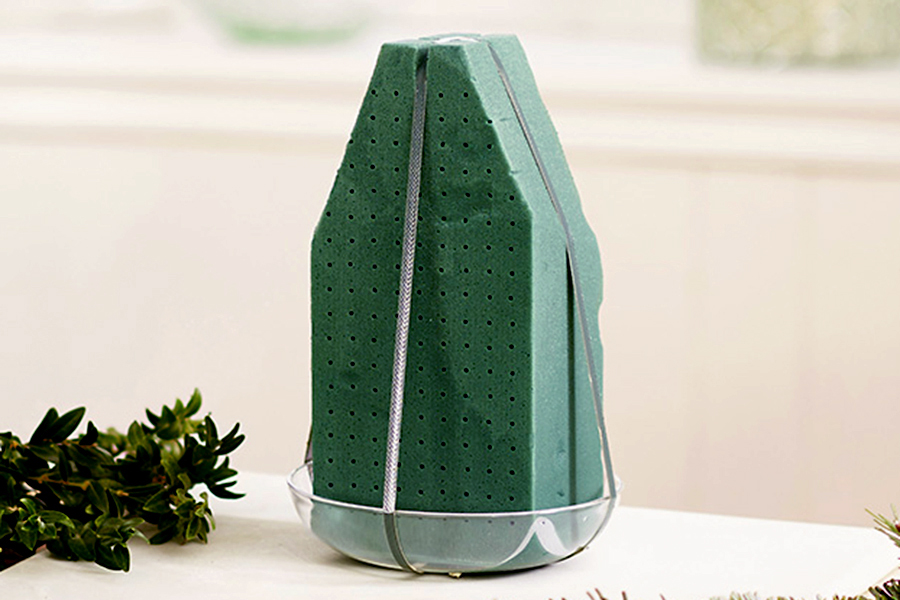
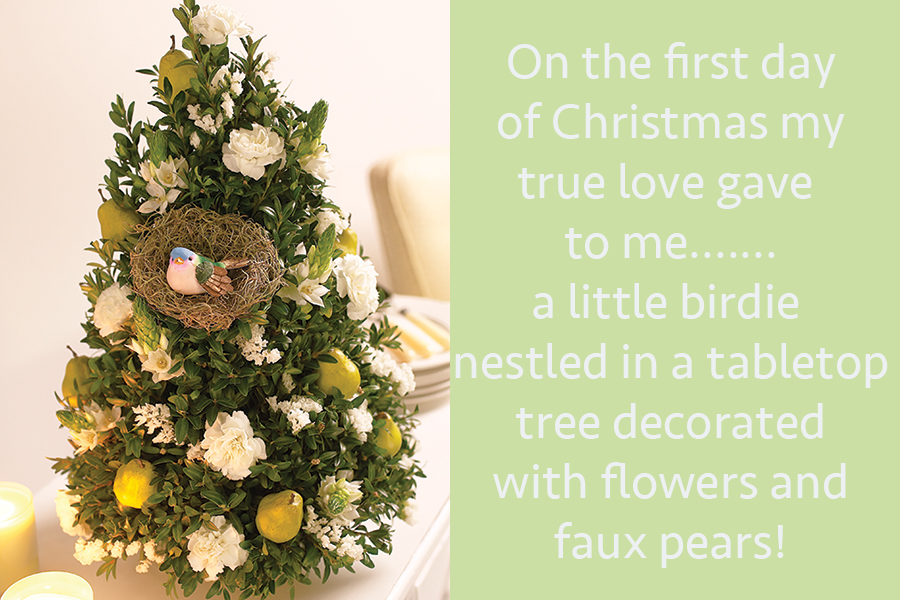
- Tape a brick of floral foam into a waterproof container and place it in water until the foam is thoroughly soaked. Boxwood is the main green I used for the tree, and I accented it, after the main shape was created, filling in with other assorted evergreens such as cedar, pine, and balsam.
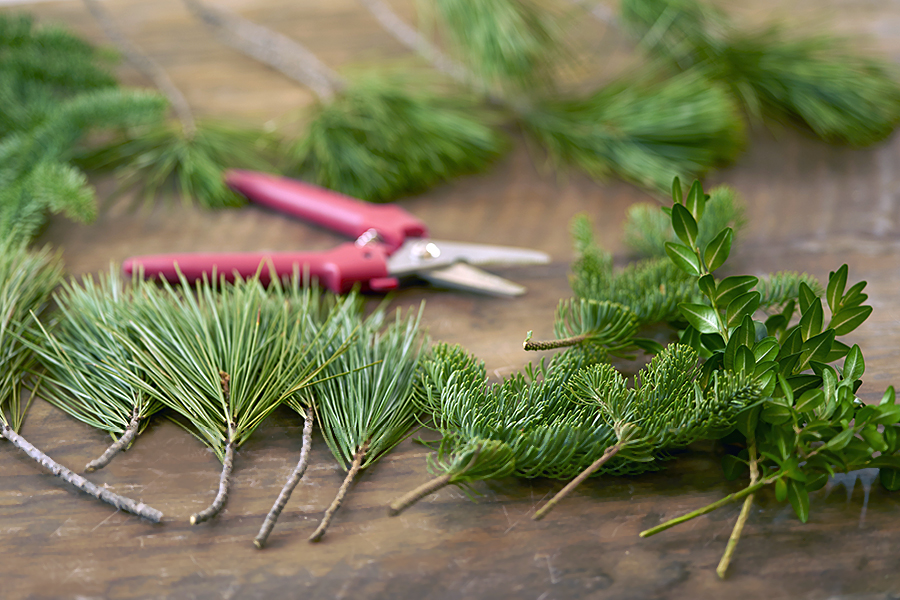
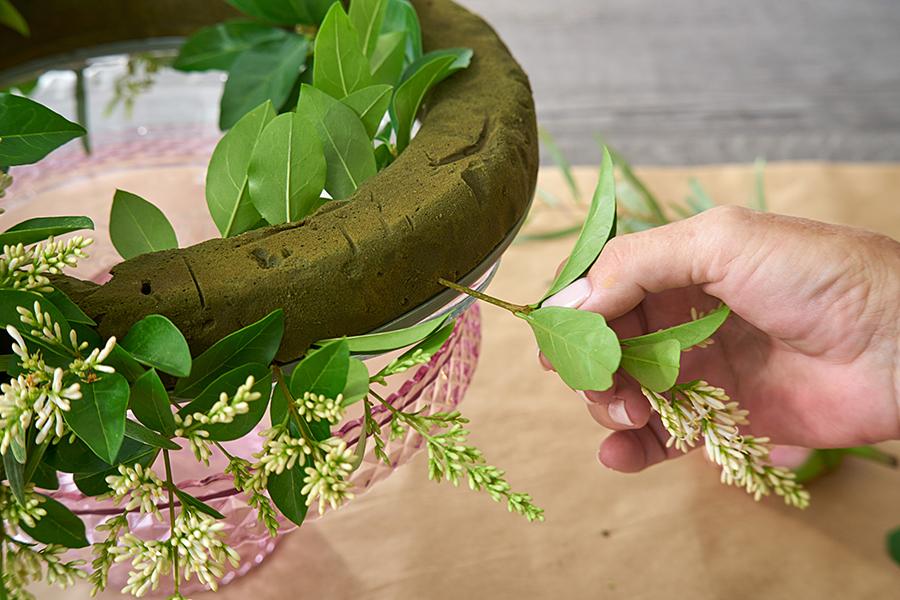
- Before starting to construct your tree, cut the greens off the main branch, creating multiple smaller pieces. Clean the bottom of the stems so they can easily be inserted into the foam.
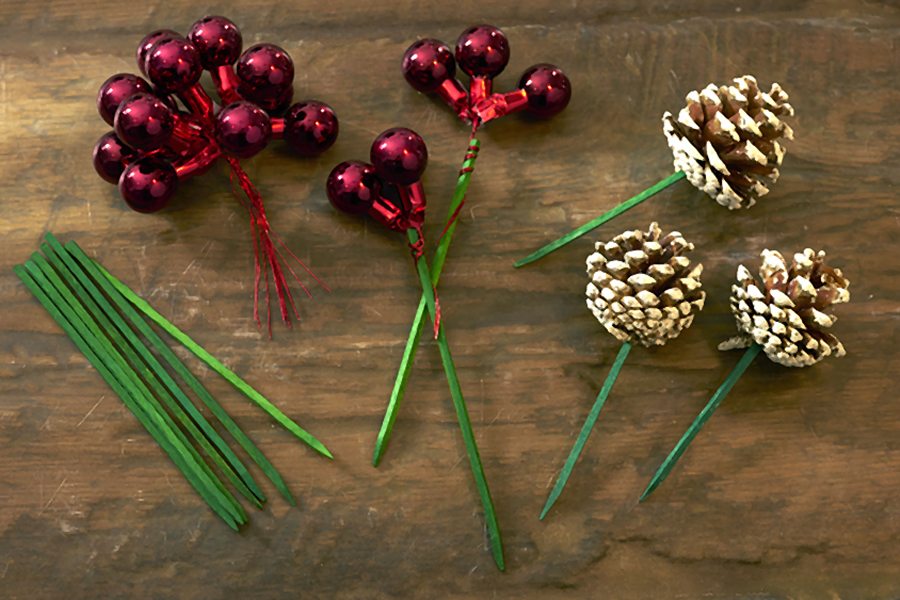
- Attach your decorations to small floral sticks or wooden skewers.
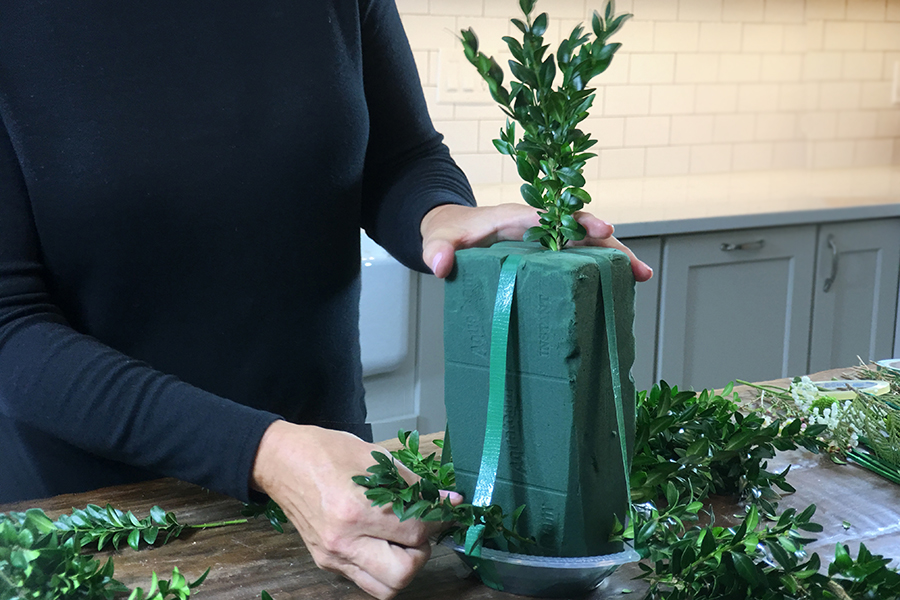
- Start by inserting a taller precut piece of boxwood at the top to create your basic height. Do the same at the bottom and sides. This gives you the base shape of your tree.
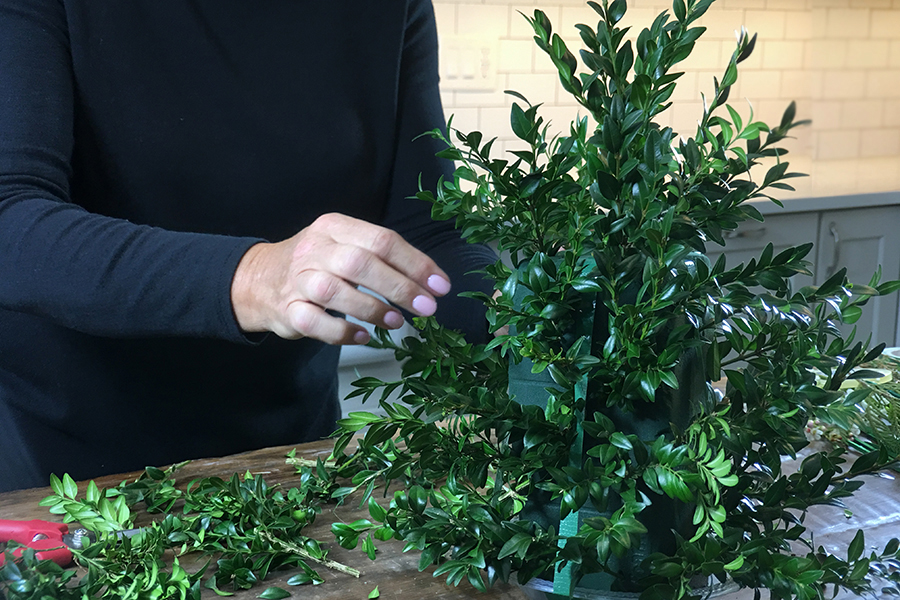
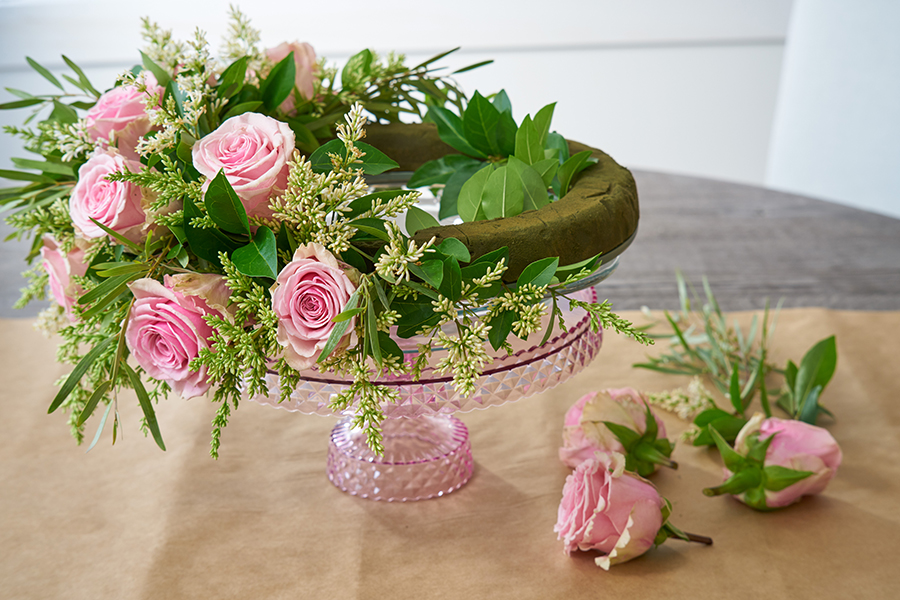
- Continue adding pieces of boxwood, turning the tree as you go, until you have created the basic shape of your tree. Do not totally cover the foam yet.
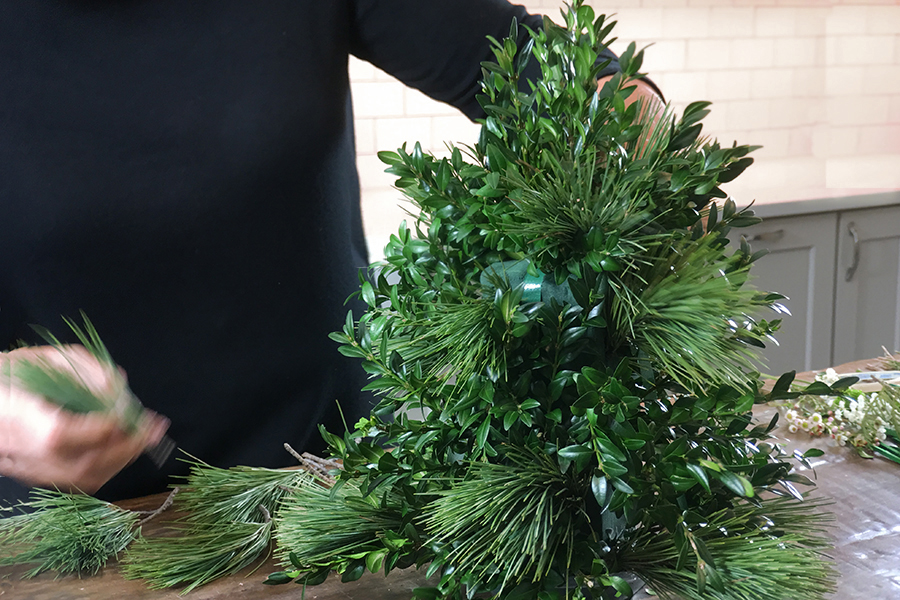
- I like to add a few sprigs of other evergreens, such as balsam and pine. These greens add that wonderful fragrance, and I find the different textures add visual interest as well.
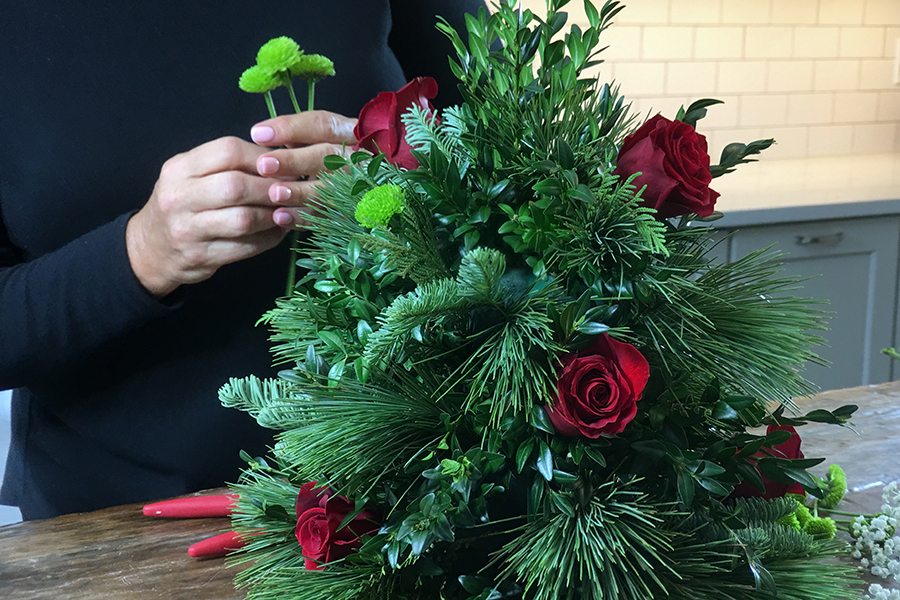
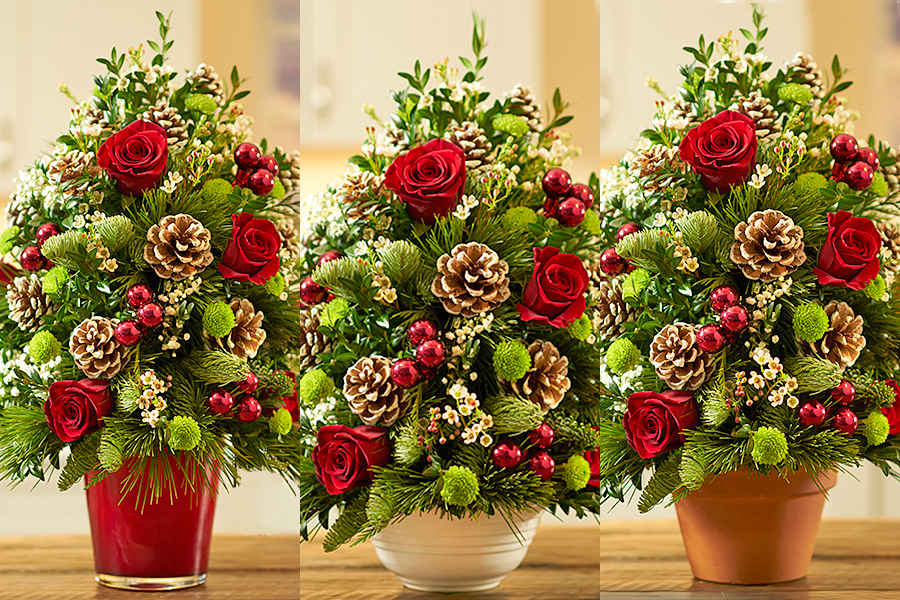
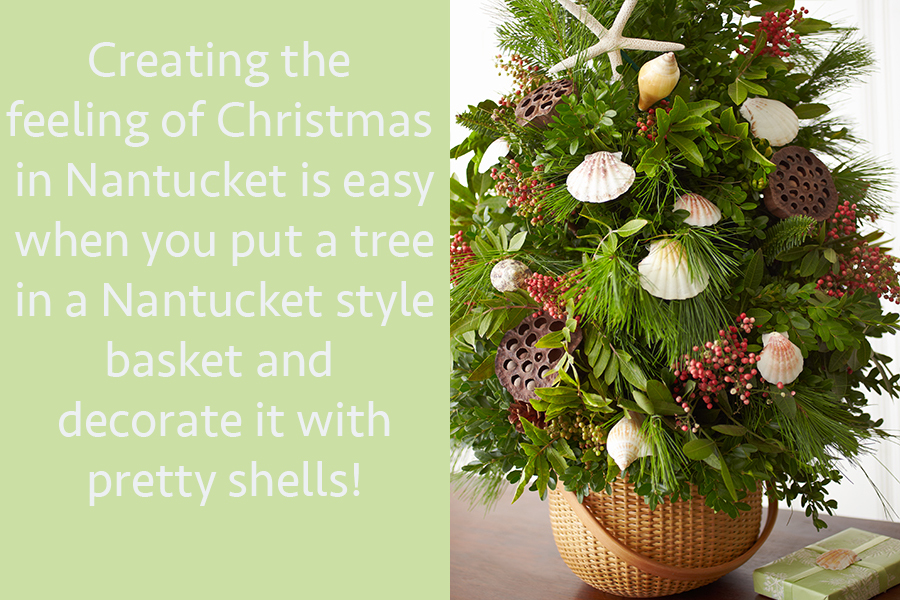
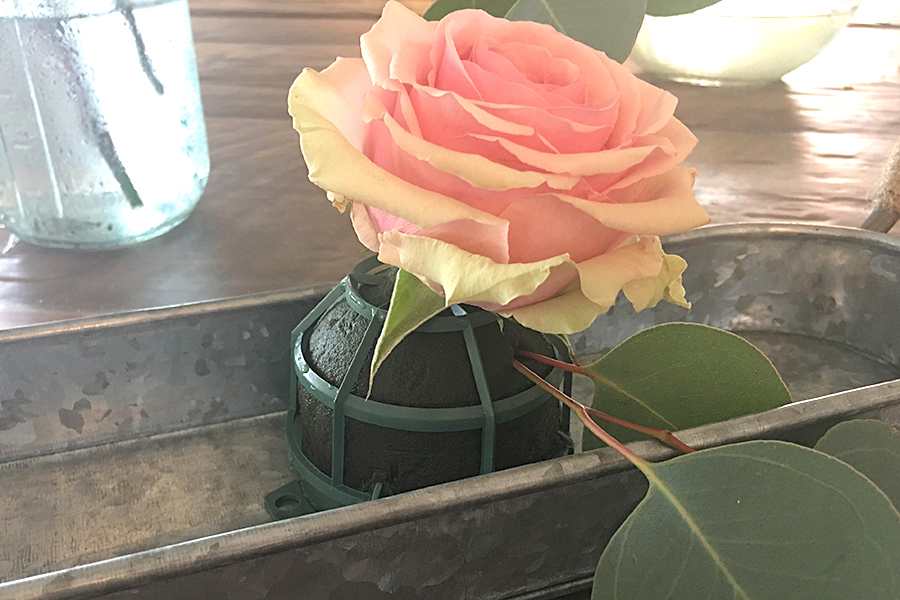
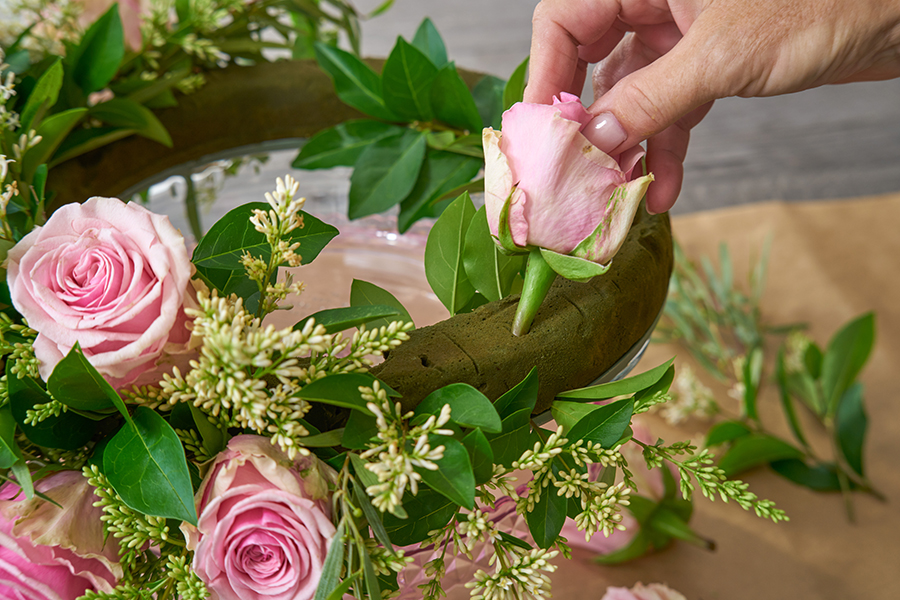
- Your tree is now ready to “decorate.” Because this tree is actually a “flower arrangement,” you can easily use fresh-cut flowers as a primary decorating feature. Just give your flowers a fresh cut and insert them directly into the foam, and they will stay fresh for up to two weeks.
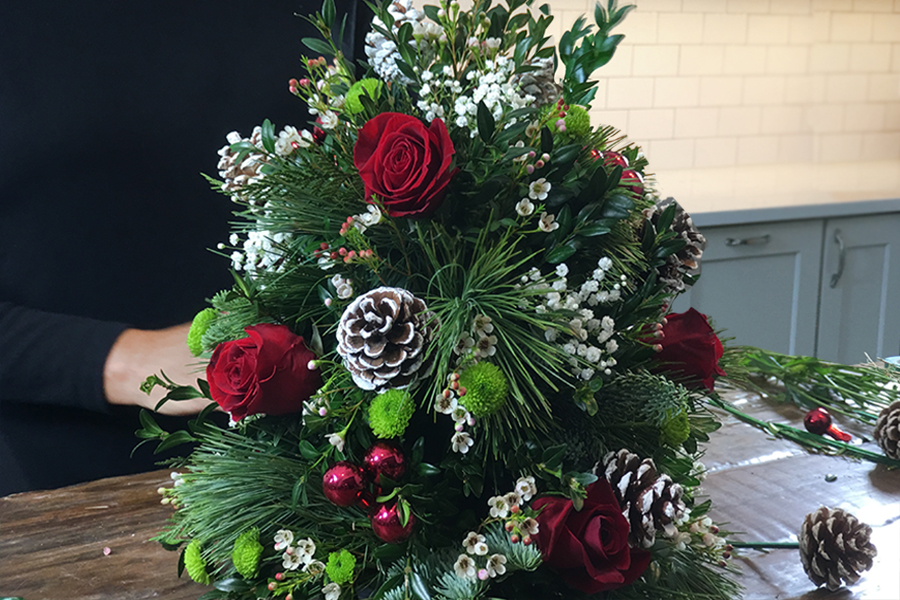
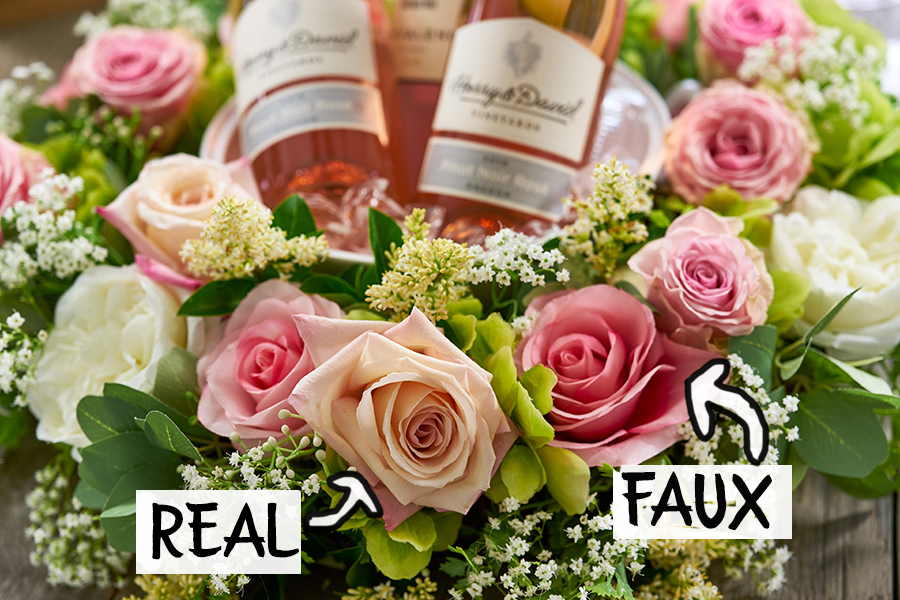
- Add the non-perishable decorations, such as pine cones and mini ornaments.

Now go ahead and give it a try!