Spring into the Season with These Bunny-themed Easter Crafts

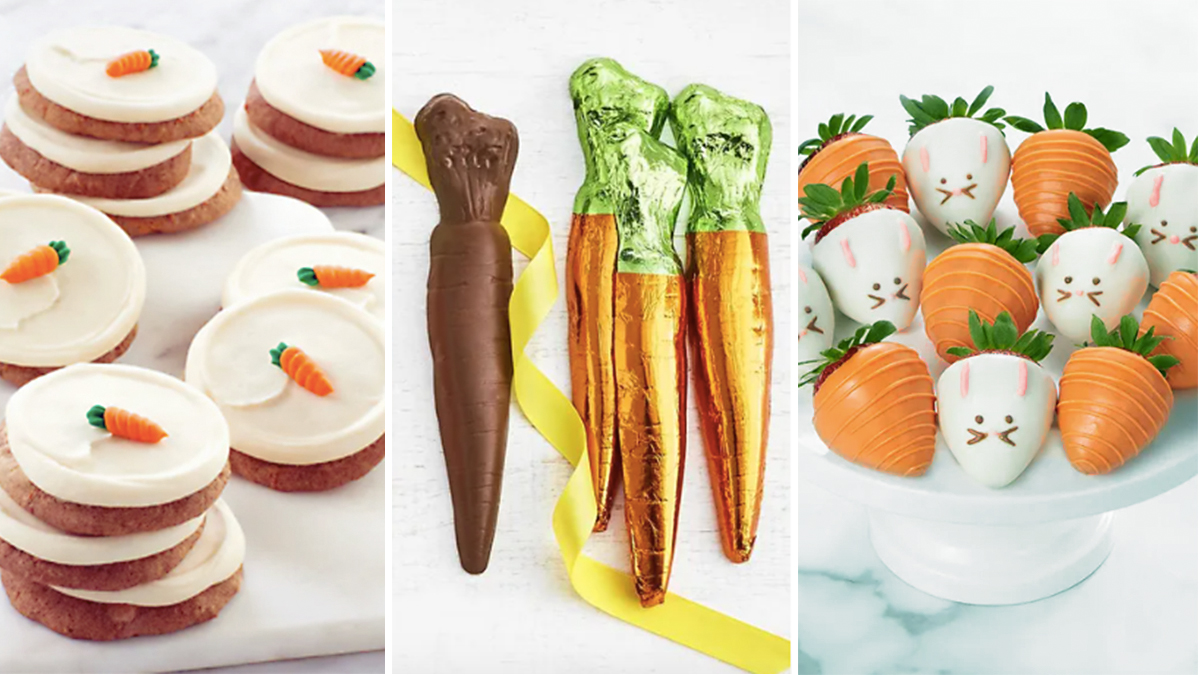
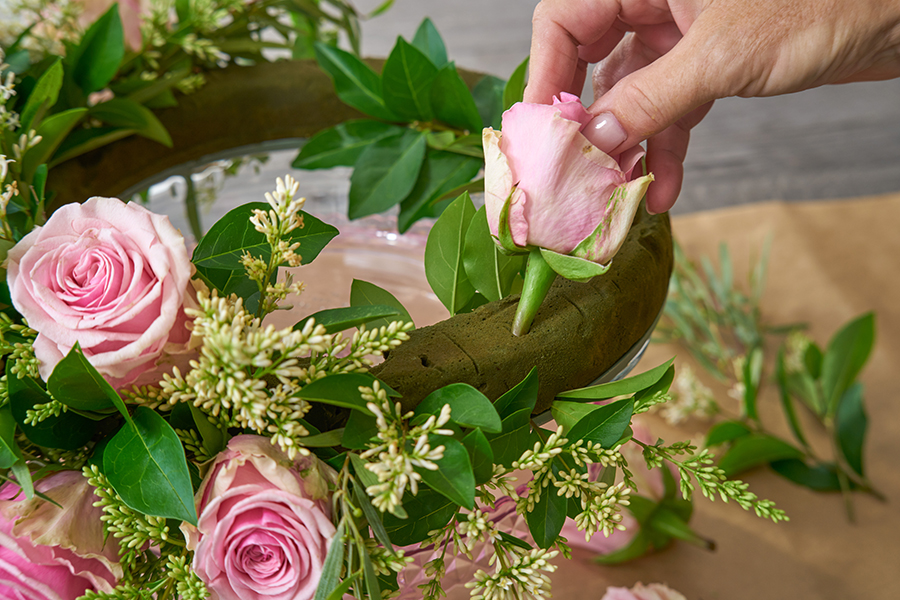
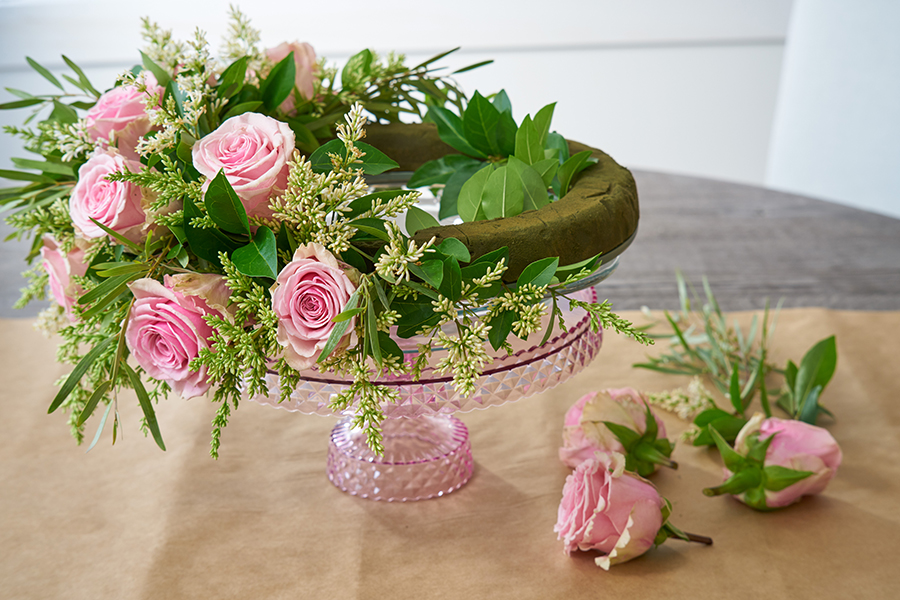
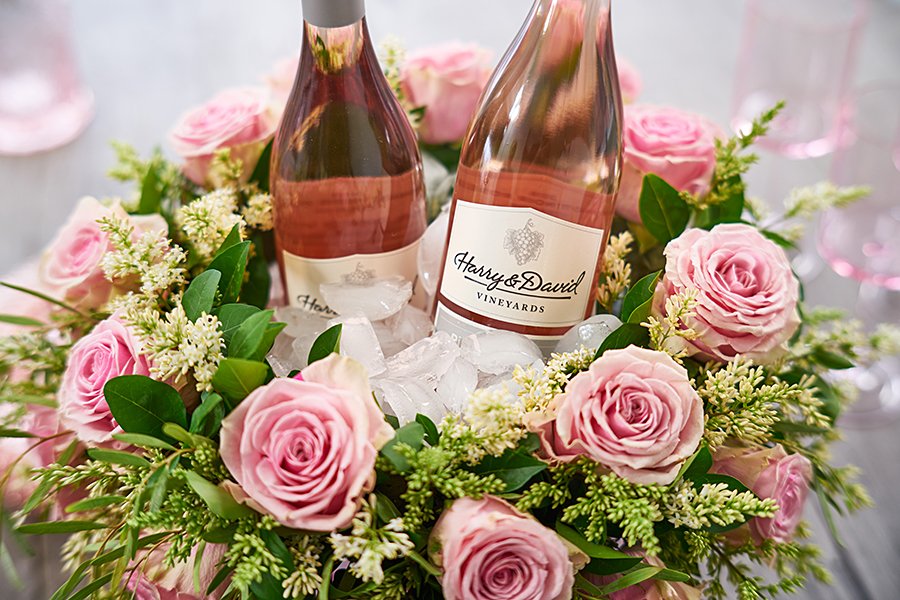
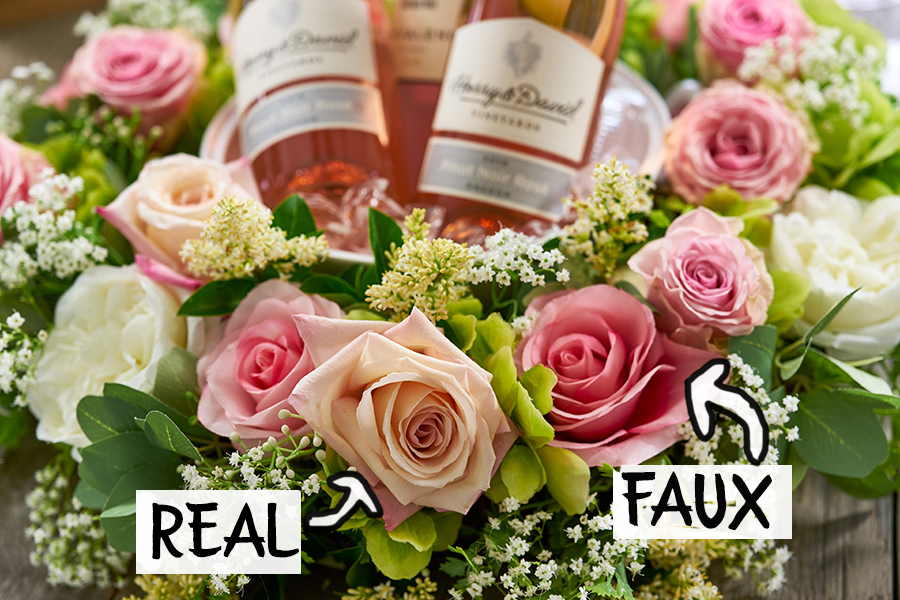
We’ll show you how to tap into your passion for making all kinds of fun and inventive creations in our “Get Crafty” series. These Easter crafts are fun for the whole family and will keep everyone’s spirits up for the egg hunt and other Easter activities.

An ad for the 1-800-Flowers.com Easter collection

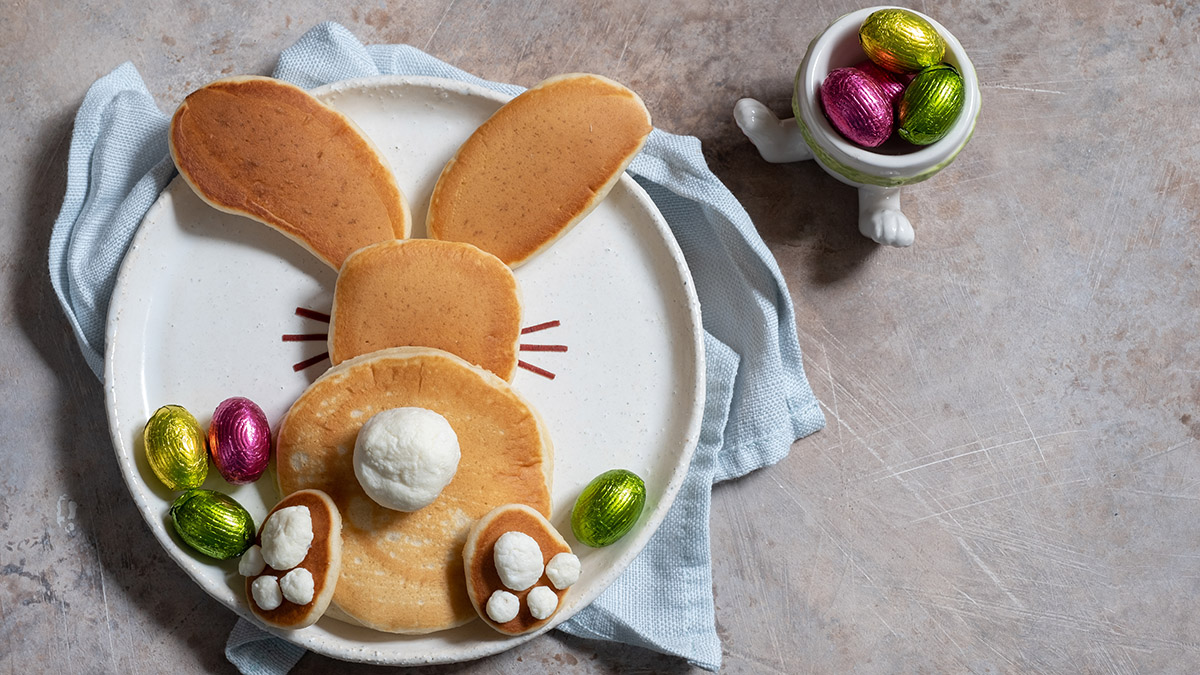
Bunnies are cute, cuddly…and delicious. No, we don’t mean the kind you put in stew (although we’re not going to stop you from making some if that’s the way you like your rabbit) but the kind you fashion out of pancake batter, like the one in the recipe below.

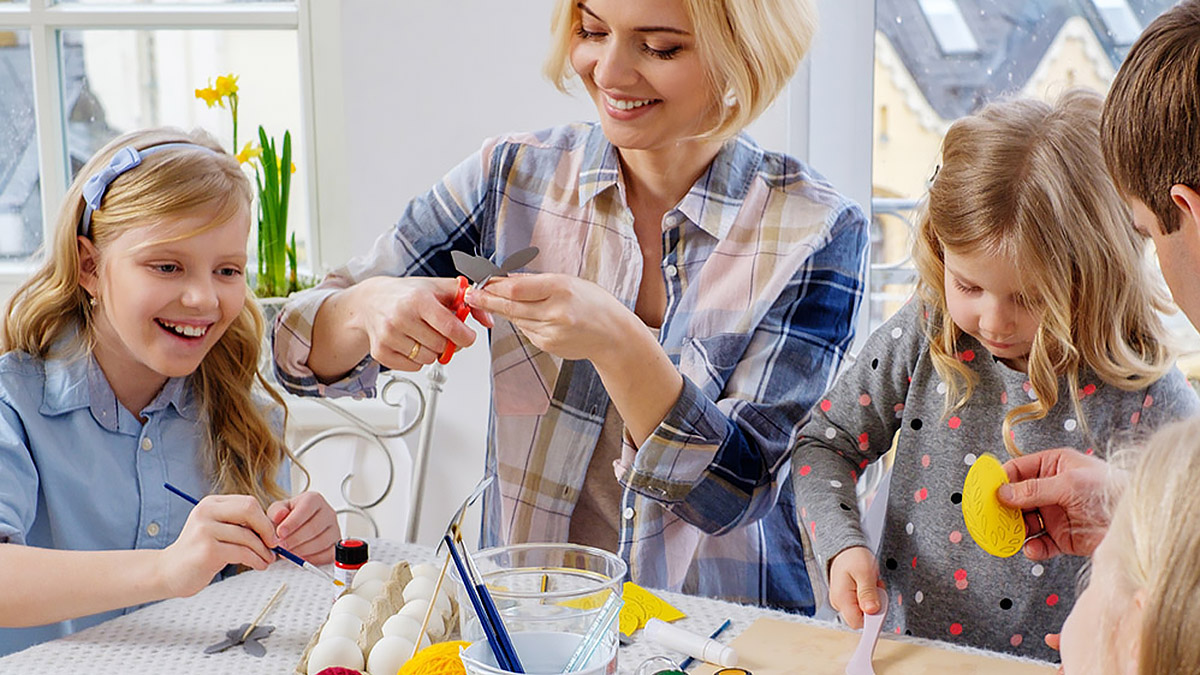
These Easter crafts are a great way to start Easter morning. Give the kids a set of bunny ears to decorate while you cook up yummy Easter Bunny pancakes for the whole family to eat.

What are you waiting for…hop to it!

Make-your-own bunny ears

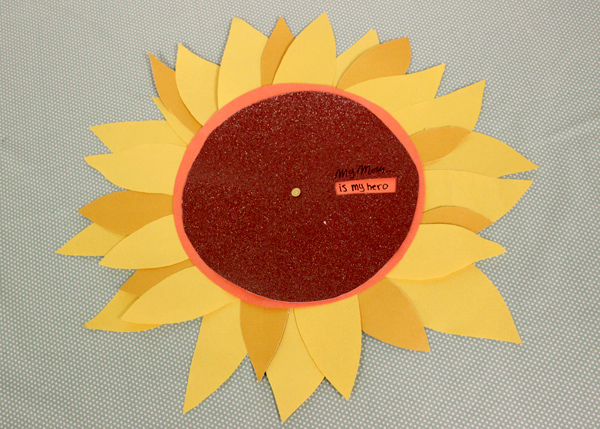
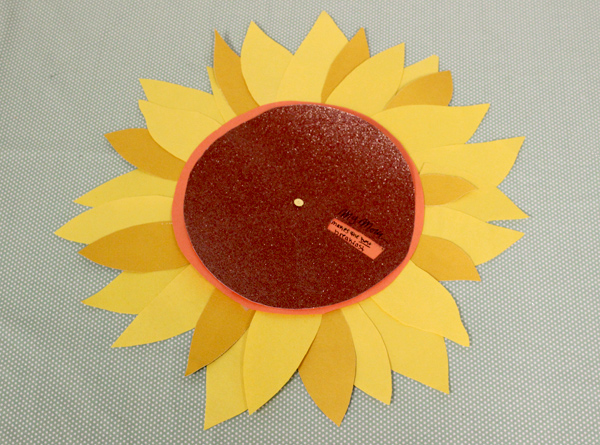
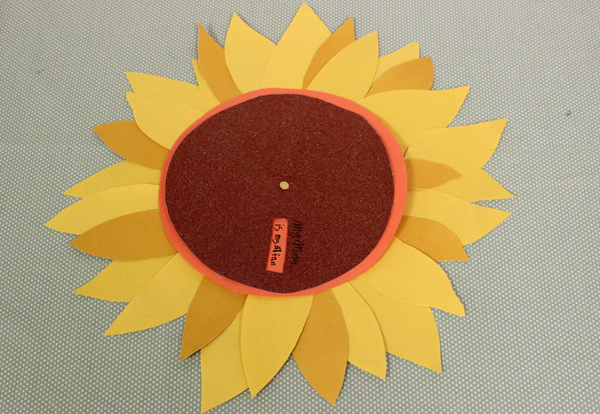
Dress up like the Easter Bunny by creating your very own bunny ears to wear! Our custom bunny ears template is easy to download and design any way you want. You can even turn this activity into a decorating contest, with prizes for the most ingenious ears.

You’ll need:

  • A4 printer paper
  • A home printer
  • Crayons, markers, or colored pencils
  • Easters stickers, glitter, and other decorating supplies
  • Scissors
  • Scotch tape
  • Prizes

Directions

Download a copy of our Easter bunny ears template for each member of your family. Decorate the bunny ears and headband strip with crayons, markers, or colored pencils. Add some sparkle with glitter, Easter-themed stickers, and any other decorating supplies you have handy. The only limit is your own creativity!

When you’re finished, carefully cut out your bunny ears and headband along the dotted lines. Wrap the bunny ears around your head like a crown, measuring with the additional headband as needed for extra length. After adjusting the fit of your bunny ears, trim down the headband to the correct length, and then tape it to the bunny ears for a secure it.

Finally, don’t forget to take pictures or videos of you and your family hopping around like the Easter Bunny to post on social media.

‘Ears to a happy Easter!

Easter Bunny pancakes

This recipe for Easter Bunny pancakes is as fun to make as it is to eat. Serve them to the kids on Easter morning or put them out as part of an extravagant Easter brunch.

Easter Bunny Pancakes

Prep Time 15 minutes
Cook Time 5 minutes
20 minutes
Servings 4 bunny pancakes

Ingredients:

  • 2 cups all-purpose flour
  • 2 teaspoons baking powder
  • ¼ teaspoon salt
  • 1 tablespoon sugar
  • 2 eggs
  • 1½ to 2 cups milk
  • 2 tablespoons melted and cooled butter, plus unmelted butter for cooking
  • Whipped cream or butter
  • Fruit to garnish, such as strawberries or blueberries
  • Chocolate syrup
  • Maple syrup

Instructions: 

  • In a bowl, mix together the dry ingredients.
  • Beat the eggs and 1½ cups milk in a separate bowl.
  • Add the eggs, milk, and 2 tablespoons of melted cooled butter to the dry ingredients. Mix the batter enough to moisten the flour. If the batter seems thick, add a little more milk.
  • Heat a skillet to medium heat.
  • Place 1 to 2 teaspoons of unmelted butter on the skillet.
  • When the butter starts to foam, ladle the batter onto the skillet, making various pancake shapes for the bunny ears, head, torso, and paws.
  • Flip pancakes after bubbles rise to the surface, about 2 to 4 minutes. Cook until the other side is lightly browned, about 2 to 4 more minutes.
  • Drizzle chocolate syrup on the plate to form bunny whiskers.
  • Arrange the pancakes on a plate to form your bunny, and then top it off with a dollop of whipped cream or whipped butter for the tail and paw pads.
  • Garnish with fresh fruit, serve with maple syrup, and enjoy your Easter brunch!

Orange Is the New Pastel: 3 Easter Brunch Ideas with Carrots

The series “Get Crafty” gives you the inspiration for creating inventive DIY projects during the holidays and year-round. These Easter brunch ideas include a seasonal cocktail, centerpieces made of spring veggies, and chocolate dipped strawberries that look like carrots.

When I think of things that represent Easter, my favorite spring flower, the tulip, comes to mind. Then there’s the Easter bunny’s favorite food, carrots. And what would Easter be without delicious desserts??? Put them all together and what do you get? A fresh, fun, and creative cocktail, centerpiece, and sweet treat that are perfect Easter brunch ideas.

Signature seasonal cocktail

A signature craft cocktail is always on my holiday entertainment menu. This beverage incorporates the fresh vegetables and flavors of the season, making it perfect for your Easter gathering. And with nearly a full day’s serving of carrot juice in each glass, it’s not only delicious but is packed with vitamins and minerals!

Carrot and Ginger Cocktail

Prep Time 5 minutes
Total Time 5 minutes
Servings 1 drink

Ingredients:

  • 2 thin slices fresh ginger
  • 3 ounces carrot juice
  • 1 ounce apple juice
  • 1 ounce vodka
  • Lime wheel (for garnish)

Instructions: 

  • Muddle the ginger slices in the bottom of a cocktail shaker.
  • Add the carrot juice, apple juice, and vodka.
  • Shake well for about 10 seconds.
  • Pour over ice.
  • Garnish with a lime wedge.

Notes:

Note: You can make fresh carrot and apple juice or buy organic prepared juices.

Fresh spring centerpiece

easter brunch ideas: vegetables

Incorporating seasonal fruits and vegetables into your tablescapes and floral designs takes them from pretty to pretty spectacular! A great starting point is the Baby Vegetable Gift Box or Baby Vegetables Crate from Harry & David. Brimming with the finest seasonal produce available, either one is the perfect gift for the vegetable connoisseur in your life. And if that person is you, get it for yourself!

There’s something about miniatures that gets me every time, and these carrots are no exception. They’re the perfect size to fit around a lowball glass to create one-of-a-kind arrangements. Simply put a rubber band around the glass and insert the carrots between the glass and the rubber band, and continue until the glass is completely covered.

easter brunch ideas: carrot vase

Tie a coordinating ribbon around the vase to cover the rubber band. You can also use a piece of fabric, raffia, or twine.

Creating asparagus vases using this same technique is one of my go-tos in the springtime.

https://www.1800flowers.com/blog/wp-content/uploads/2022/03/Asparagus-Vase_720p.mp4

Everyone is always so impressed with the final arrangement, and they’re even more impressed when they see how easy it is to do!

https://www.1800flowers.com/blog/wp-content/uploads/2022/03/TULIP_STOP-Motion_HR_HBR_SPEED-copy.mp4

Even if you’re pressed for time, you should always have flowers on your table when entertaining. And there is no easier arrangement to make than filling a favorite vase with beautiful, fresh-cut tulips. It’s so easy, it’s almost like the tulips arrange themselves!

Carrot-themed sweet treats

easter brunch ideas: easter carrot treats

I love carrot cake! It’s so decadent, with that delicious cream cheese frosting. But there are many more carrot-themed desserts available this time of year, including Buttercream Frosted Walnut Carrot Cake Cookies and Hoppy Easter Dipped Strawberries.

If you have the time and want to make your own chocolate-dipped strawberries, follow my instructions below. Just don’t expect them to turn out as good as the ones from Shari’s Berries! They’ve been perfecting the art of dipping strawberries into melted candy for over 30 years. Still, it is a fun project to do at home.

‘Carrot’ Strawberries

Prep Time 5 minutes
Cook Time 30 minutes
Chill and assembly time 25 minutes
Total Time 1 hour
Servings 24 berries

Equipment:

  • Double boiler
  • Skewers
  • Candy melting machine

Ingredients:

  • 1-2 dozen medium to large strawberries
  • 12-ounce bag orange candy melts
  • Faux leaves and clippers (optional)

Instructions: 

  • Prepare the strawberries for dipping by rinsing and thoroughly drying them. Lay the strawberries out on a paper towel and place another towel over them and gently press. Let them sit out for a bit before dipping, as it is important that they are completely dry.
  • While the strawberries are drying, melt the chocolate in a double boiler, microwave, or candy melting machine.
  • Start with about a cup of melts, stirring constantly until melted. Turn down or remove from heat and add more candy melts as needed, stirring them in until they are melted. Doing it this way helps to keep your candy from overheating, and breaking down and taking on a thick, chalky consistency.
  • Remove the stems before dipping. Insert a wood skewer into each strawberry, dip the strawberry in the melted candy, and place it on a piece of parchment paper to cool and set. (Note: If you are not adding the faux leaves, you do not need the skewers. Leave the stems on the berries and use them to hold onto as you dip the strawberries in the melted chocolate with your hands.)
  • Take a stem of faux greenery that has multiple stems/leaf clusters and use clippers or wire cutter to cut small sprigs.
  • Once the candy is completely cool, remove the wood skewer and insert a sprig of greenery into the strawberry.
  • Continue doing this until all the strawberries have a "carrot top."
easter flowers ad

DIY Mother’s Day Photo Vase Craft for Kids

Our series “Get Crafty” gives you the inspiration for creating inventive DIY projects during the holidays and year-round. Pair those Mother’s Day flowers with a creative DIY photo vase — the perfect Mother’s Day craft for kids of all ages!

This year, take your Mother’s Day flowers to the next level with a creative and personalized DIY photo vase. The beauty of this vase is in the tiny details that reflect each child’s personality, making it the perfect Mother’s Day craft for kids of all ages.

a photo of a diy photo vase

Depending on how old the child is, you may want to prepare the tissue paper shapes beforehand, as little kids may have trouble cutting the delicately thin material. Be sure to provide them with a smock and clear out an area for crafting, as this project includes liquid adhesive.

Once this DIY photo vase is completed, add mom’s favorite flowers or arrangement for a Mother’s Day gift she’ll treasure always.

a photo of a diy photo vase: materials

Supplies for DIY photo vase

  • Vase
  • Liquid adhesive (Mod Podge, PVA glue)
  • Small paintbrush
  • Tissue paper in a variety of colors
  • Photo
  • Scissors

How to make a DIY photo vase

Use soap and water to clean any residue off the vase. Set aside to dry.

a photo of a diy photo vase: tissue paper hearts

Cut shapes out of the tissue paper. We chose hearts, but you can go with flowers, stars, or diamonds. The homemade touch of this project is what makes it special, so the shapes do not all have to be the same size or shape. Once you have enough shapes, set them aside.

a photo of a diy photo vase: gluing on tissue paper hearts

Pour some of the adhesive into a small bowl. Dip the brush into the adhesive and pick up a tissue paper shape with the brush, and “paint” it onto the vase. You only need a light coat of adhesive, so try to avoid drenching the shapes.

Once you have stuck all the shapes to the vase, it’s time to add the photograph. You may want to trim the photo to fit your particular vase before placing it on. Once you have decided where the photo will go, use the brush to paint the adhesive onto the back of the photo. Apply it to the vase and hold it down for 5 to 10 seconds until it’s secure.

a photo of a diy photo vase: finished vase

Give the vase a few minutes to dry, and then use a cup or pitcher to carefully pour water into the vase. Then, add the flowers, and your DIY photo vase is ready to show off!

A graphic reminding visitors that moms deserve a special celebration on Mother's Day.

Mother’s Day Crafts for Kids: DIY Photo Flowers With Free Printable Template

Our series “Get Crafty” gives you the inspiration for creating inventive DIY projects during the holidays and year-round. Let the children make their own homemade Mother’s Day craft with this creative DIY photo flowers idea that will touch mom’s heart.

a photo of diy photo flowers

Move over macaroni frames, there’s a new DIY Mother’s Day craft in town! And it’s not only fun to make but easy, too.

Using our photo flower stencil template, some scrapbooking paper, scissors, and a bit of glue, we created creative and colorful DIY photo flowers. They’re the perfect kid-friendly complement to those stunning Mother’s Day flowers you plan on getting Mom.

Let the kids get creative by picking out their own patterned paper and colors. They’ll love letting their personalities shine in this personalized Mother’s Day gift idea.

And Mom will think it’s just the sweetest present she’s ever received.

Supplies for DIY photo flowers

  • Photo flower template (download here)
  • Scrapbook and construction paper in various colors and patterns
  • Scissors
  • Glue
  • Floral tape
  • Tape
  • Lollipop sticks or similar
  • Photos

Directions for DIY photo flowers

a photo of dit photo flowers: flower stencil cutout

Load your printer with a sheet of cardstock; download and print the photo flower stencil template. Cut out the shapes to use as stencils. Set aside.

a photo of diy photo flowers: tracing flower shape on photo

Now, prepare the photograph. If are using an existing photo, trace the smaller flower on the photograph and cut out the shape. If you plan on printing your child’s photo, crop the area you wish to use to 3.5 inches by 3.5 inches. Print on high-quality photo paper for best results. Once printed, use the smaller flower to trace the shape and cut out the photo.

a photo of diy photo flowers: cutting out the flowers

Take the larger flower and trace it onto the color/pattern you’d like to appear on the outermost layer of the flower. Cut out and set aside.

Then, take the smaller flower and trace it onto the color/patterned paper you would on the middle layer of the flower. Trace the circle stencil in the middle of the smaller flower shape. Fold in half and cut out the circle shape from the flower to create an open space.

a photo of diy photo flowers: faces in the flowers

Once you have all the shapes cut out, place a few drops of glue onto the largest flower. Take your first photo and glue it down. Once it’s dry, add a few drops of glue to the smaller flower and place it on top of the photo.

a photo of diy photo flowers: making the flower stems

To make the stems, grab your stick and wrap it in floral tape. (The tape is naturally slightly sticky so no further glue is necessary.) Once fully wrapped, tape the stick to the back of the flower.

a photo of diy photo flowers: finished flowers

Optional: Fold a piece of green construction paper in half and cut out a folded leaf shape. Add glue to one half of the leaf and hug it around the newly created stem.

Mother’s Day Flower Craft for Kids: Sunflower Wheel of Appreciation

Our series “Get Crafty” gives you the inspiration for creating inventive DIY projects during the holidays and year-round. Show Mom just how special she is by surprising her with a Sunflower Wheel of Appreciation! Read on to learn how to make this DIY Mother’s Day craft. 

a photo of a sunflower wheel of appreciation

Mom does it all. She cooks, cleans, consoles, and even coaches us through life’s toughest moments. To show Mom just how special she is, make her this Sunflower Wheel of Appreciation to go along with her Mother’s Day flowers. This creative DIY Mother’s Day craft is blooming with compliments that are sure to make Mom smile.

We chose to craft ours to resemble a sunflower, but you can get creative and mix and match colors and shapes to replicate Mom’s favorite flower! Think white and yellow for a beautiful daisy or pink and white for a stunning lily.

Supplies for Sunflower Wheel of Appreciation

  • Cardstock in 2-4 different colors (We used brown, orange, and two shades of yellow)
  • 1 paper plate
  • Scissors
  • Glue
  • 1 fine tip marker
  • Paper fastener

Directions for Sunflower Wheel of Appreciation

a photo of a sunflower wheel of appreciation: tracing paper plate

Trace the paper plate onto the piece of cardstock that will become the bottom of the wheel.

a photo of a sunflower wheel of appreciation: two paper circles

Then, trace a circle shape just a bit smaller than the first shape on a piece of different-colored cardstock. If you need a stencil for this part, bend the paper plate in half and trim the ends just a bit. The result will have scalloped edges but will suffice for creating the general circle shape.

a photo of a sunflower wheel of appreciation: cutting out and tracing rectangle

Use scissors or an X-Acto knife to cut out a rectangular shape on the smaller circle. Take the cut-out rectangle shape and use it to create a border for your text on the larger circle. This will assure your text stays within the boundaries of the box.

a photo of a sunflower wheel of appreciation: writing the messages


Once you draw your rectangular borders, use a pencil to write a message for Mom in each one. Then, use a marker to go over the letters to make the words pop. Erase any stray pencil markings.

a photo of a sunflower wheel of appreciation: petals

Now, take the cardstock you plan to use for the petals and cut out several petal shapes in varying sizes (they don’t need to be perfect). We used two shades of yellow, but you can stick to just one and still come out with a wow-worthy project.

Apply glue to the wide ends of the petals and stick them to the back of the larger circle.

To complete the wheel, position the smaller circle in the center of the larger circle and seal in the middle with the paper fastener.

Now, give your Wheel of Appreciation a spin and let your Mom know why she’s the best in the world!

a photo of a sunflower wheel of appreciation: mom is my hero message

My Mom…is my hero

a photo of a sunflower wheel of appreciation: mom makes the best breakfast message

My Mom…makes the best breakfast

a photo of a sunflower wheel of appreciation: mom is my number 1 fan message

My Mom…is my #1 fan

Mother’s Day Crafts for Kids: DIY Candy Bouquet

Our series “Get Crafty” gives you the inspiration for creating inventive DIY projects during the holidays and year-round. Your Mom is one of a kind, so she deserves a truly original Mother’s Day gift. Here’s how to make her a gorgeous DIY candy bouquet.

DIY Candy Bouquet for Mother's Day

No one is sweeter than Mom. If she were a food, she be a sugar cookie covered with buttercream frosting and sprinkles. So, while you’re waiting for her fresh Mother’s Day flowers to arrive, get creative and make her a truly original arrangement entirely out of sugary treats!

This gorgeous DIY candy bouquet takes only a few minutes to put together (no baking required!) and is a Mother’s Day craft that no chocolate-loving mama can resist.

Here’s a step-by-step tutorial on how to make one for your mom. After all, she deserves only the very best.

Materials for a DIY candy bouquet

Instructions for a DIY candy bouquet

1. Cut a piece of Styrofoam so that it fits snugly into your vase. Push the Styrofoam block into the base of the vase.

2. Fill the vase with crinkled filler paper in the color of your choice. Make sure to completely cover the top and sides of the Styrofoam so that the white color doesn’t peek through.

3. Pierce different-sized lollipop sticks into the Styrofoam in the spots where you want your candy flowers to go. Using both small and large lollipop sticks will give your arrangement height and dimension.

Close-Up of Mother's Day DIY Candy Bouquet

4. Stick one green candy-striped straw into the base of each mini brownie cake and chocolate-covered strawberry. Then, take the skewered brownies and strawberries and start arranging them in the vase by placing them on top of the lollipop sticks, just like a flower head. (The lollipop stick should go into the hole at the bottom of the straw.) This will securely anchor the treats to the Styrofoam and hold them up straight.

5. Take a few candy bar pretzels and stick them straight into the filler paper to fill up any empty spots in the vase.

6. Tie a ribbon around the vase to make your sugary bouquet more realistic!

If you’re not the DIY type, don’t worry. You can still show your mom how sweet she is by sending her a delicious, readymade Mother’s Day fruit bouquet instead. It’s overflowing with Mom’s favorite fruit, and it will hook her up with her chocolate fix, too!

7 DIY Mother’s Day Crafts for Kids

Our series “Get Crafty” gives you the inspiration for creating inventive DIY projects during the holidays and year-round. Sometimes the best Mother’s Day gift is one that’s homemade. Here are seven Mother’s Day crafts for kids that Mom will cherish forever.

For spouses, grown-up children, and even parents of parents who have celebrated many Mother’s Days, picking out the perfect gift can be easy. But younger children may not be so sure about what to get or do for mom that will have her smiling from ear to ear. Thankfully, we’ve got loads of DIY ideas that the little ones can pull off for Mother’s Day.

Here are seven favorite Mother’s Day crafts that kids can make for mom this year, or any year.

1. Photo vase

a photo of a diy photo vase

Flowers are a popular gift on Mother’s Day, so why not create a personalized vase for Mom to put them in? All you need is some liquid adhesive, a small brush, tissue paper, a photo with Mom, and scissors. Check out our step-by-step instructions for this homemade Mother’s Day craft.

2. Personalized picture frame

If Mom has photos lying around without a frame to put them in, then this is a gift she absolutely needs. First, find a plain wooden frame that fits the photo you’d like her to display. Then, using paint, markers, glitter — anything, really — decorate the frame with Mom’s favorite colors and designs. Children can even write a personalized note around the edges if they’d like.

3. Photo flowers

mothers-day-crafts-for-kids_diy-photo-flower-4

In addition to live flowers, children can also gift Mom another type of flower — a photo flower! This children’s craft is super easy to make and perfect for all ages, and, better yet, we’ve got the templates you need to get started. We know Mom will love any type of flower you give her, but a flower with her child’s face in the center is sure to be a huge hit!

4. Candle holders

Candles are another popular gift for moms, which makes this DIY candle holder an excellent craft for Mother’s Day. All you’ll need is a glass cylinder for the candle to sit in, a photo or two with Mom, and some tape. After printing out your photo(s) on vellum paper, simply wrap them around the exterior of the glass cylinder and tape them down securely.

5. DIY sunflower wheel of appreciation

diy-mothers-day-gifts-wheel-of-appreciation

Call out all the things that make Mom special with this DIY Wheel of Appreciation craft. This tutorial shows you how to create one in the shape of a sunflower for some cheery inspiration.

6. ‘Do Not Disturb’ door hanger

Moms are so involved in our everyday lives that when Mother’s Day rolls around they definitely deserve some time to relax. Help Mom make sure she isn’t interrupted during her “me” time by making a “Do Not Disturb” sign she can hang on her doorknob. All you need to make it is a blank sign and some arts and crafts supplies. You can bet she’ll love this on those mornings when she needs a little extra beauty rest.

7. Sweet candy bouquet

homemade-gifts-for-mothers-day-candy-bouquet

Create a colorful arrangement out of Mom’s favorite treats with this DIY Candy Bouquet. Patterned paper straws add a colorful touch to the arrangement.

How to Preserve Flowers with Wax

How to Preserve Flowers with Wax

You can make your beautiful fresh-cut roses last longer than you ever imagined by dipping the open blooms in melted wax. The best time to preserve flowers with wax is at the very end of their shelf life — after you have enjoyed their beauty for over a week — when the rose is in full bloom.

I have waxed roses many times over the years using paraffin wax. Now that soy wax is readily available, I decided to give that I try…and I’m glad I did! Soy wax is a completely natural and renewable resource, has a lower melting point, and cleans up easily, with just soap and water. And soy wax is so versatile that you can melt it in the microwave!

What you need to preserve flowers with wax:

  • Open roses
  • Microwave-safe container
  • Soy wax flakes
  • Candy thermometer (optional)
  • Empty bottles or vases or wax paper
a photo of wax flowers with ingredients for wax roses

Steps:

  1. Cut the stems of your roses to about 8 to 10 inches long to make it easy to dip the heads into the wax. Then, place the stems into your bottle or vase to cool. Be sure to put scrap paper on your work surface, including under the bottles, to catch dripping wax.
  1. Fill the microwavable container all the way to the top with the wax flakes and microwave for 2 minutes. After 2 minutes, take the container out of the microwave and stir the melted wax with a disposable plastic spoon. If there is still any white/un-melted wax, return the container to the microwave for another minute and repeat. Also: As the wax melts, you might find that you need to add more flakes. Go ahead and stir them into the container, and continue the melting process.
a photo of wax flowers with a wax rose cooling upright in a bottle
  1. Once all the wax is melted, you can start dipping. Place the wax container on a protected surface and have your bottle or vase ready to place the dipped roses in for cooling. You can also place the dipped roses on wax paper to cool, but they will keep their shape better if they cool while upright.
a photo of wax flowers with a wax rose vs. fresh rose

Note: Your wax should be at about 100° F. (You can measure the temperature with a candy thermometer.) I found that melting the wax in short increments of time will keep it from getting too hot. I waited a minute or two after removing my wax from the microwave to start dipping. You can tell that your wax is getting too cool if it starts to get cloudy looking and appears cloudy on the rose petals as well. The goal is to make your rose look so lifelike that it’s impossible to tell that it has been dipped in wax!

If you have many flowers to wax, you can continue to melt as you go along, using the same container and adding more wax flakes as needed. When you’re done, cover the wax container so you can use again at another time. You can preserve many different varieties of flowers and foliage with this method!

2 ideas for enjoying your waxed roses

a photo of wax flowers with a wax rose in birds nest display

After the wax has completely cooled, cut the stem off so that you can cradle the rose in this sweet bird’s nest dish.

a photo of wax flowers with wax roses and succulents

I love this arrangement! I simply alternated waxed roses and baby succulents to create a modern centerpiece as carefree as it is beautiful.

DIY Roses and Rosé Wreath

This summer, everything is coming up pink! And that means lots of fabulous party décor in that trendiest of colors. This roses and rosé wreath is a particularly pretty — and pink — way to display your wine while keeping it chilled at the same time.

a photo of roses and rosé wreath on a table

If you don’t have your own rose garden or a blooming rose bush, don’t worry — roses are abundant this time of year, and they’re priced right.

Roses and rosé wreath

What you’ll need

  • Oasis floral foam wreath base
  • Fresh cut roses
  • Fresh foliage
  • Shallow dish
  • Pedestal dish (for elevated display)
a photo of a roses and rosé wreath with  a shallow dish for the base

Soak the floral foam wreath base thoroughly. Then, place a shallow dish, such as a pie plate, on top of the pedestal dish, and put the foam wreath on the pie plate.

Start by creating the wreath shape with various sprigs of foliage. I was able to cut enough branches from the trees and shrubs in my backyard to use in this project!

a photo of a roses and rosé wreath with pushing leaves into floral foam

Because the wreath is elevated, make sure that you insert your lower branches into the foam on an angle so they hang over the dish.

a photo of a roses and rosé wreath with covering wreath base with flowers

Before inserting your roses, cut the stems to about an inch long so that the stem fits nicely into the foam without going all the way through. You want the bottom of the stem to stay in the foam so that it will be continuously hydrated.

Continue filling in with greenery and roses until you have completely covered the wreath base.

a photo of a roses and rosé wreath with bottles of wine in the wreath

When you’re ready to serve and enjoy your favorite rosé — mine is this delicious pinot noir rosé from Harry and David — fill the center dish with ice and add the bottles to keep them chilled between pours.

a photo of a roses and rosé wreath with a faux rose wreath

Want an even simpler version of this? Use a faux rose wreath instead. Place the wreath on the table, add a bowl filled with ice in the middle, and then fill it with a bottle of delicious, refreshing pink rosé!

Or meet in the middle and do a little of both.

Start with the pretty faux wreath base and add a few cuttings of fresh flowers and greenery to really make it pop!

As long as you want the roses to look beautiful for just a few hours, you don’t even need to worry about hydration — they’ll look great for the entire party. After the rosé is gone, you can remove the fresh cut roses and place them in a petite vase, and enjoy them for a few more days.

Exit mobile version