St. Patrick’s Day brings together unique colors, and color combinations, that you don’t get to play around with much during the rest of the year. Here, we offer two St. Patrick’s Day decor ideas with flowers: A centerpiece that mimics the Irish flag and a floral arrangement constructed from symbols of the holiday: green carnations, cabbage, and potatoes.
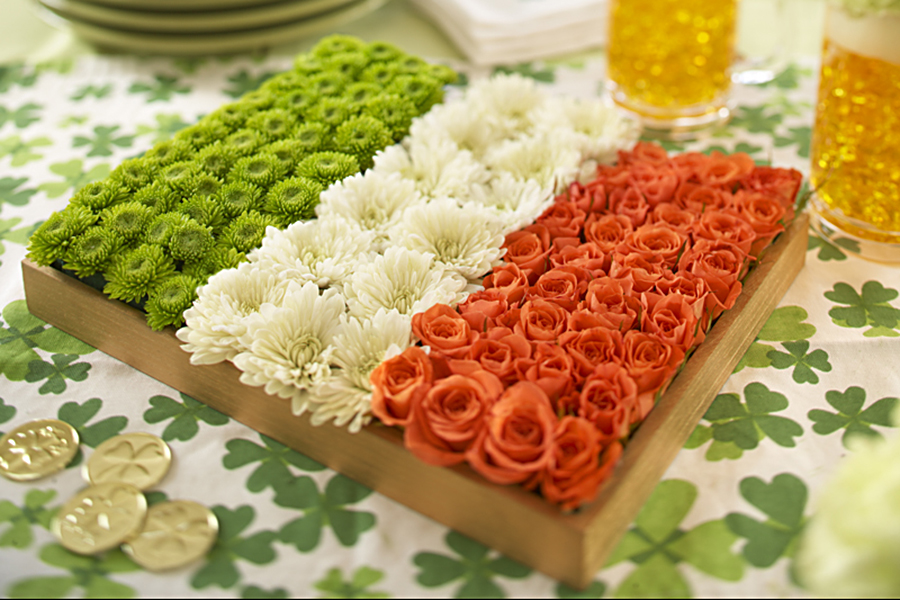
Irish flag centerpiece
Creating a centerpiece modeled after the Irish “tricolour” — as the flag of Ireland is frequently referred to — is very easy and will last for a few weeks. This works out great for anyone (like me) who likes to celebrate St. Patrick’s Day for the entire month of March!
The simplicity of the flag’s design of three colors in three equal parts makes it easy to recreate in flowers. The meaning behind it, however, is deep and captures the desire for peace during conflict. Here is what each color of the flag represents.
Green
Green is a color long associated with Ireland and Irish republicanism. Back in the 1700s, the Society of United Irishmen, who were predominantly Catholic, launched a rebellion to end British rule, resulting in the creation of an independent Irish Republic.
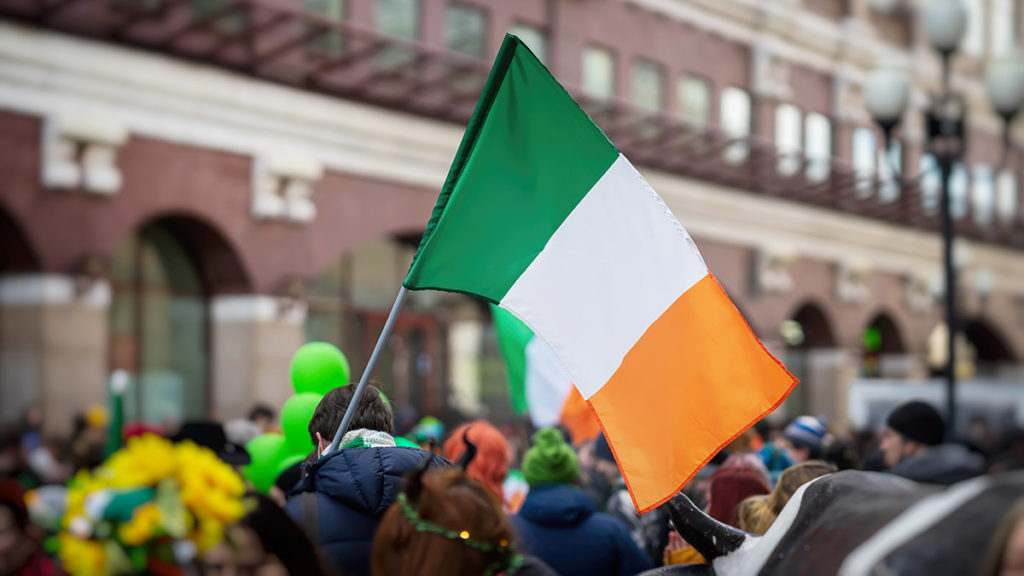
Orange
Protestant King William III led an army that defeated the Catholics, led by King James, in the Battle of the Boyne in 1690. King William was known as William of Orange because he came from the Principality of Orange. More than 100 years later, the Northern Ireland-based Orange Order, a Protestant supremacy group, was formed. Over time, orange came to represent Protestant British unionists.
White
Between the two opposing colors of green and orange is white, which represents peace and the hope of a lasting truce between the two sides.
The flag represents the ideal that every Irish person has a place in Ireland regardless of political association or ethnicity.
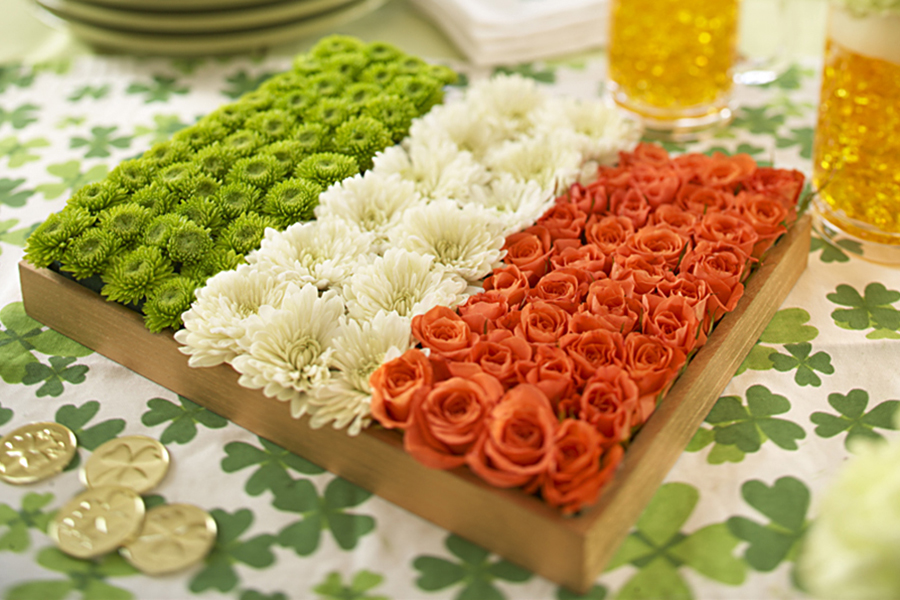
Flowers you’ll need
- Green button poms
- White cushion poms
- Orange spray roses
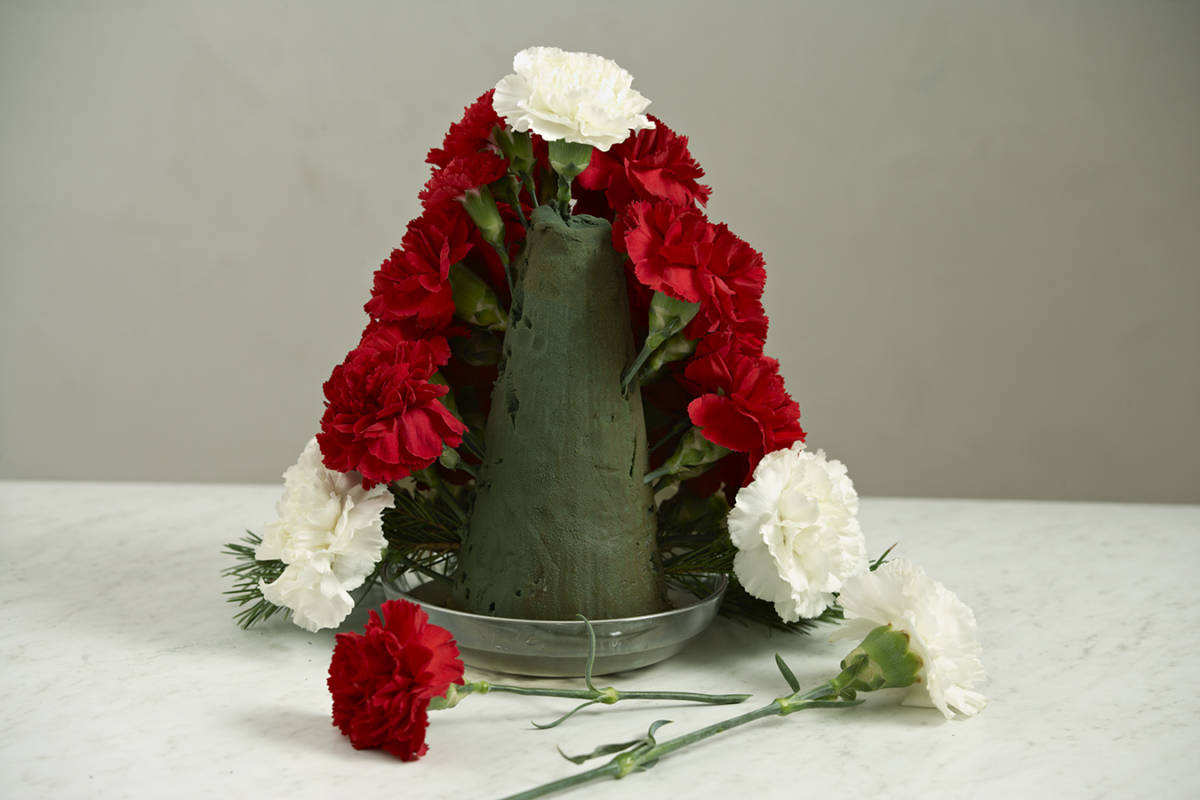
How to make it
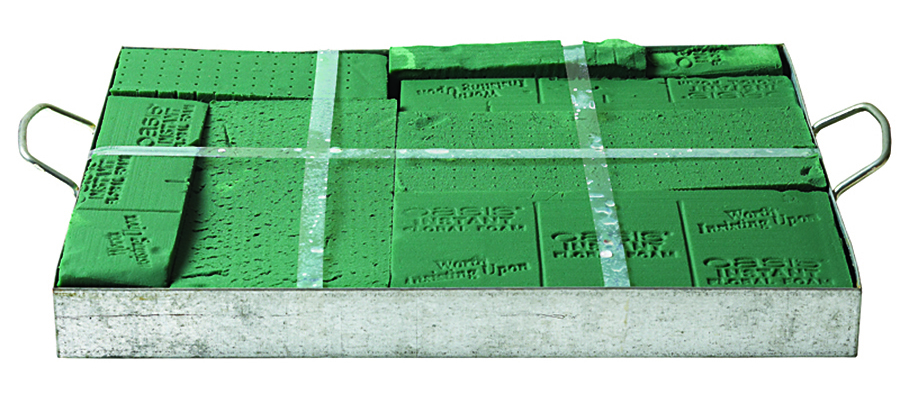
- Choose a shallow rectangular container that is either waterproof or can be lined with plastic.
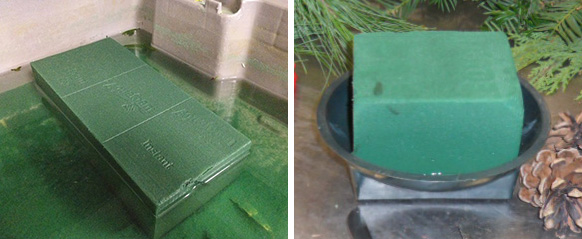
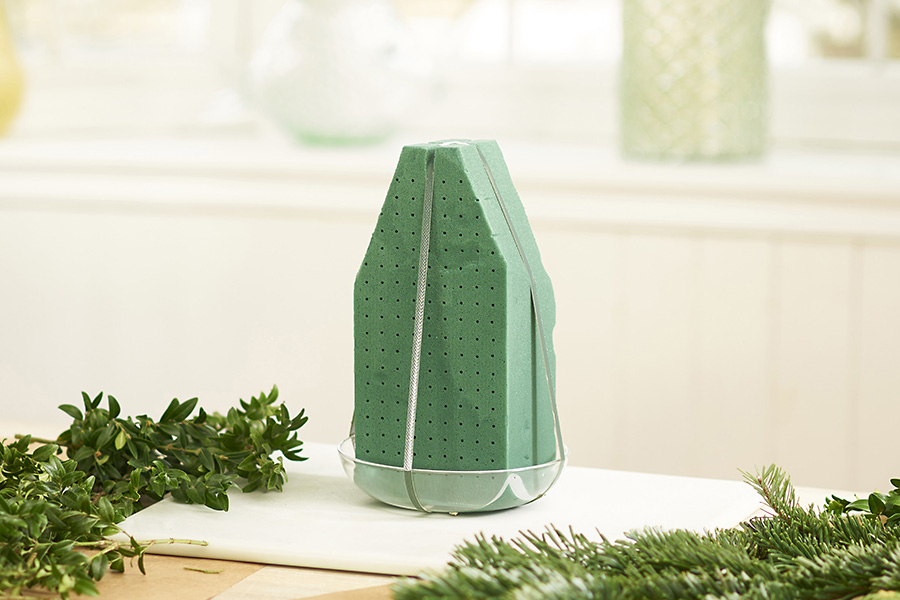
- Soak a few bricks of floral foam in a sink or bowl of water.
- Cut the foam to fill the entire container. The foam should sit just at the height of the container.
- If you’re transporting your centerpiece to another location, use waterproof tape to secure it to the container; otherwise, it’s not necessary.
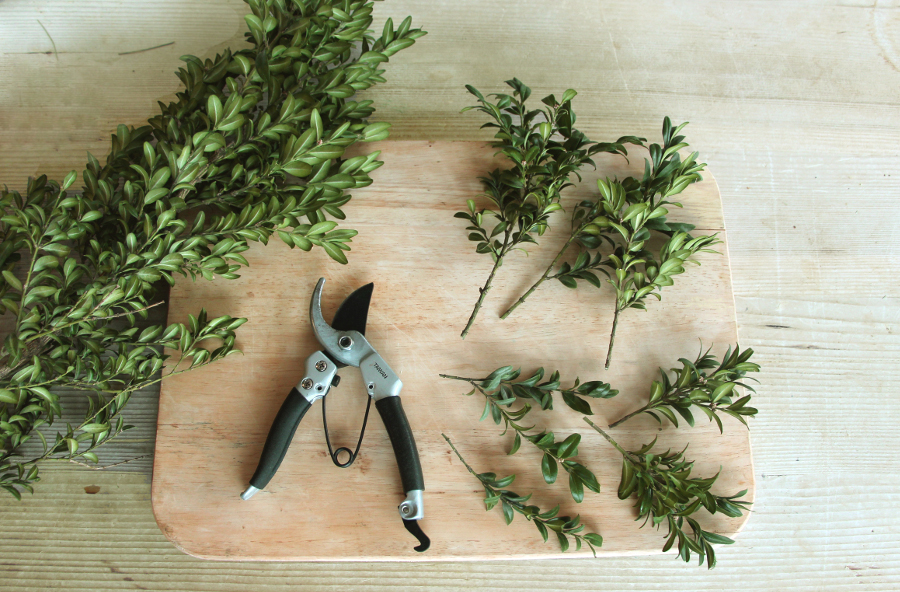
- Cut each individual flower from the main stem, leaving only about 1-1½” of stem to insert into the foam.
- Measure and mark the foam into three equal parts.
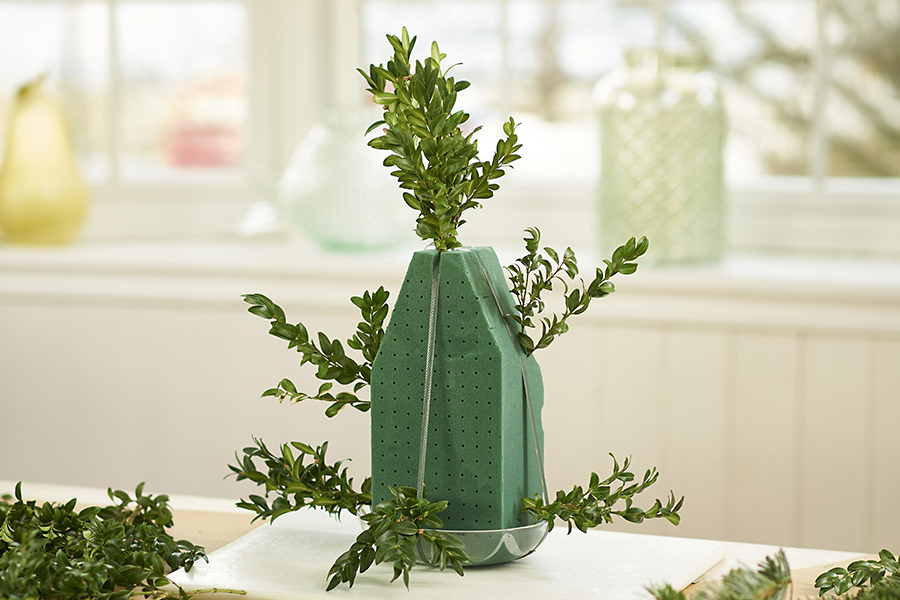
- Starting at one side, insert each flower in that colorway, one at a time, directly into the foam. Continue until you have finished the three color sections of the flag.
- Spritz your flag with water and add water to the tray/container every few days to keep it fresh.
Tip: An easy way to add water to the container is to slip a few ice cubes between the flowers. They’ll melt and keep the foam moist!
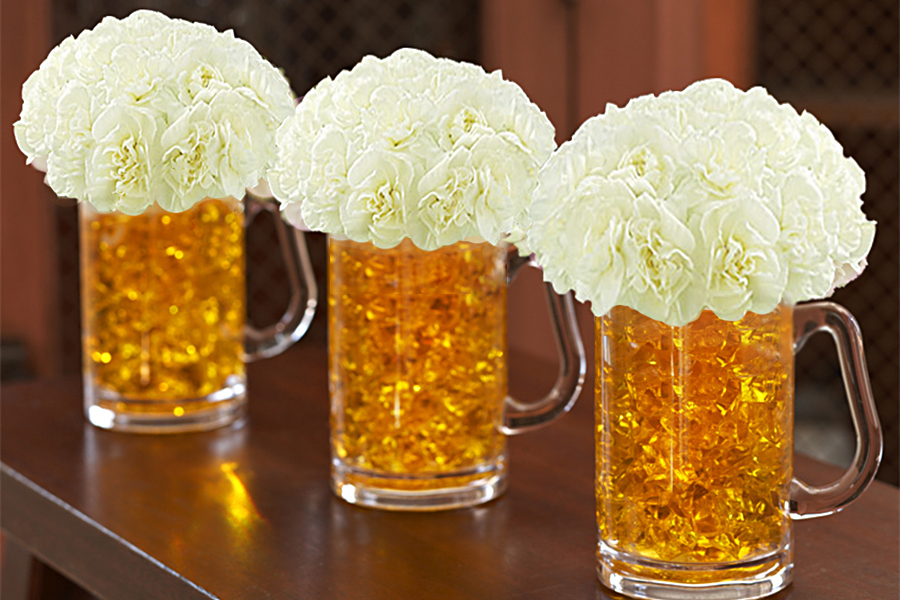
Looking for another fun craft to make for March 17? Nothing says St. Patrick’s Day like a big old mug of “beer”!
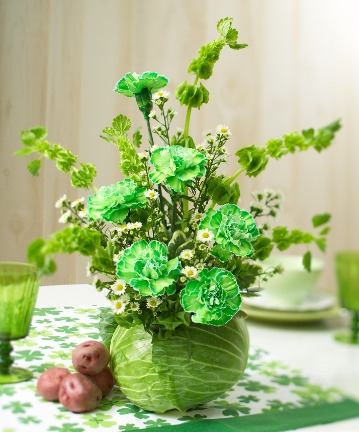
St. Patrick’s Day DIY floral arrangement
What better way to decorate your house this March 17 than with this easy-to-make DIY St. Patrick’s Day floral arrangement!
Materials needed
- 1 large head of cabbage
- 6 green carnations
- 6 stems of Bells of Ireland
- 2 stems of monte casino
- A small piece of floral foam
- Paring knife
- Plastic cup
- A few red potatoes (optional)
Instructions
- Carefully cut out the top of the cabbage (about a 2-by-2 hole) with a paring knife, cutting at least 2 inches deep.
- Cut a plastic cup to fit into the hole, making sure it sticks out at least a half inch above the opening in the cabbage.
- Place the soaked foam in the cup so it is at least 1 inch higher than the cup. Note: Make sure to use the plastic cup because the floral foam and cabbage together are not aroma friendly.
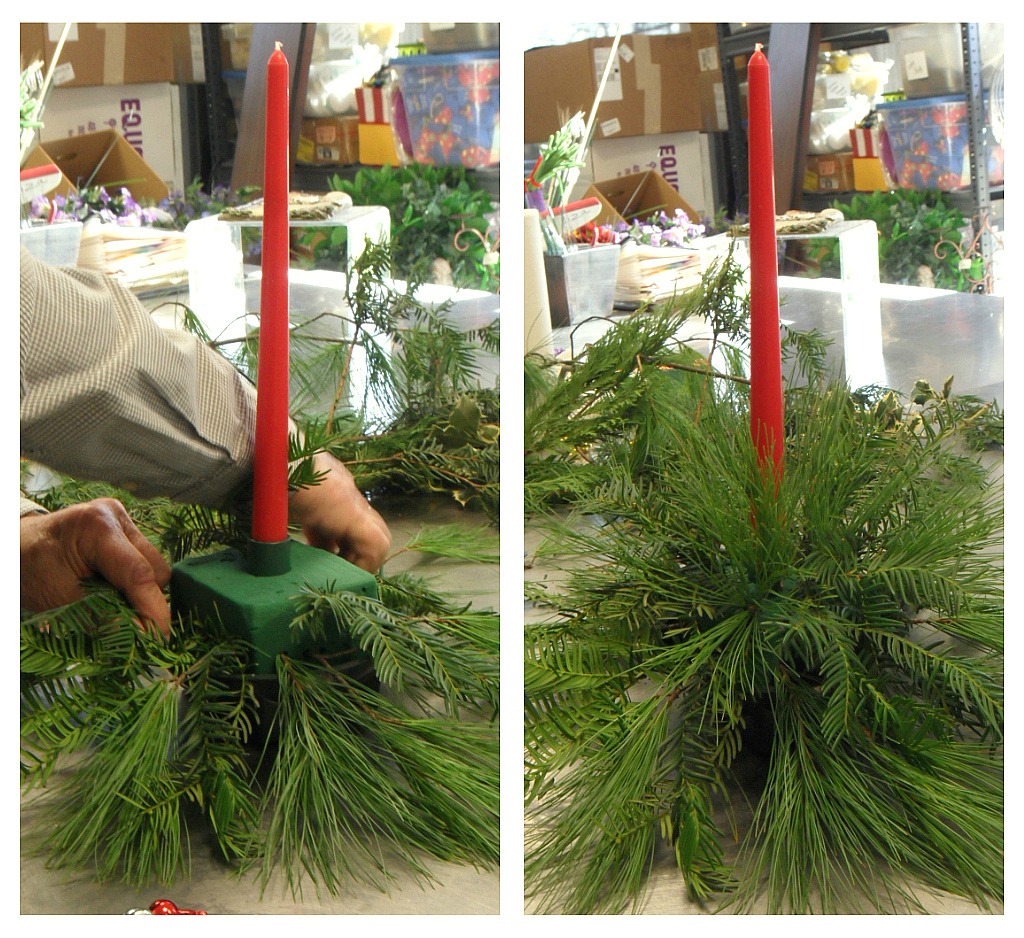
- Starting at the top, place your first Bells of Ireland into the floral foam (about 1-1/2 times the height of the cabbage). Continue to add the bells in a triangular shape.
- Add the green carnations.
- Complete your arrangement by adding the monte casino as filler.
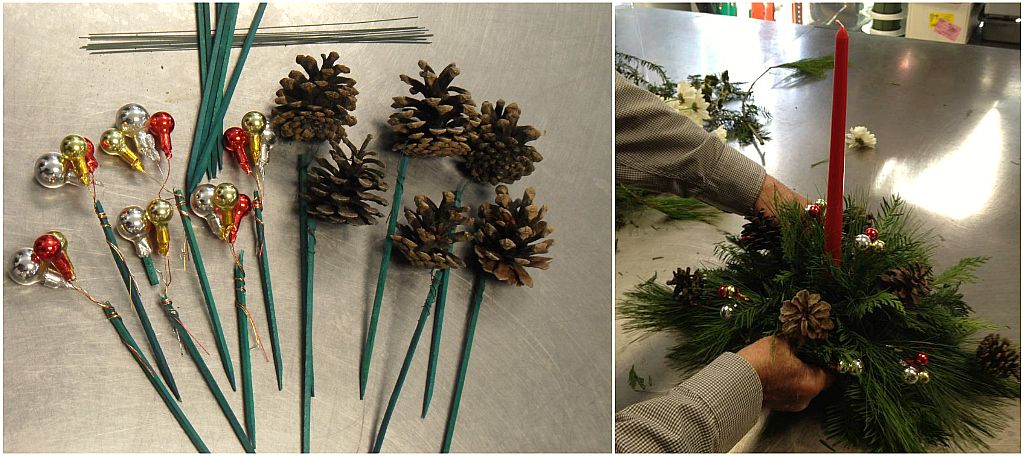
Optional: We added some potatoes alongside our arrangement, so feel free to accent your St. Patrick’s Day flowers with some spuds at the base of the cabbage.