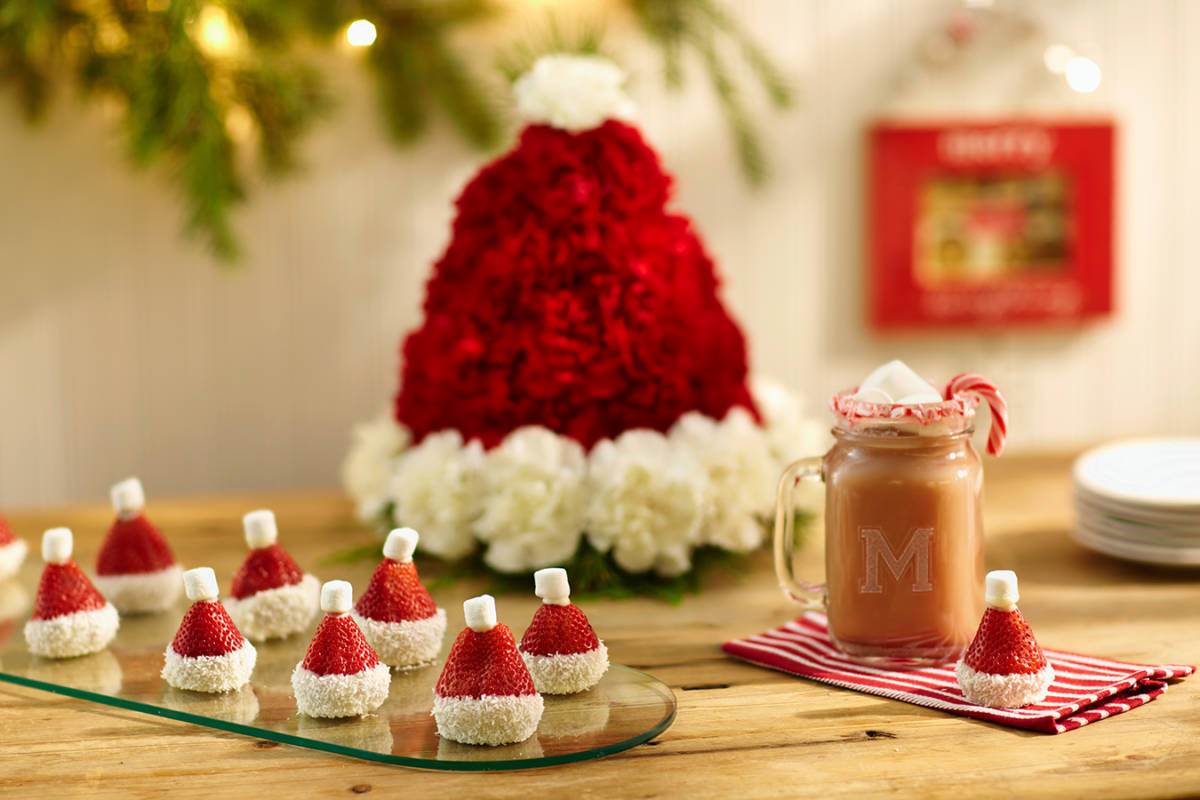
Everyone knows Santa’s iconic red and white hat. Put one on and you’ll instantly be in the holiday spirit!
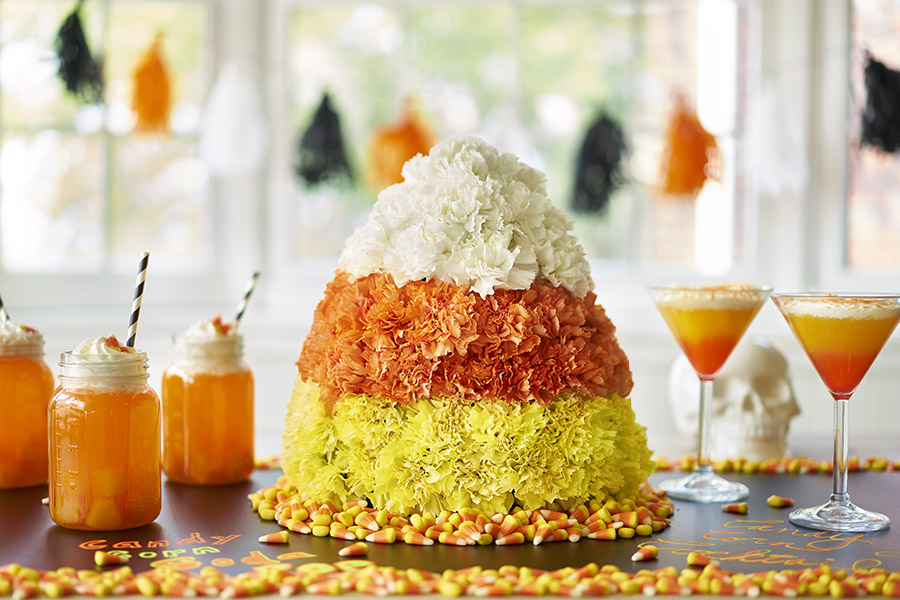
You know what else will put you in the holiday spirit? Making this floral centerpiece and these strawberry treats that are both in the shape of — you guessed it — Santa hats!
Want to learn ho, ho, how to create them? Read on, my little elves.
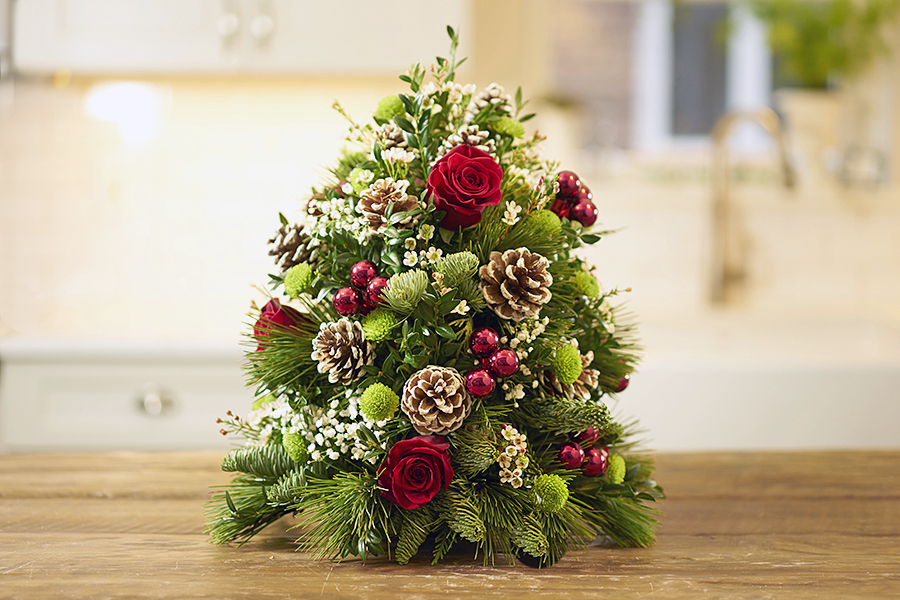
Santa hat floral centerpiece
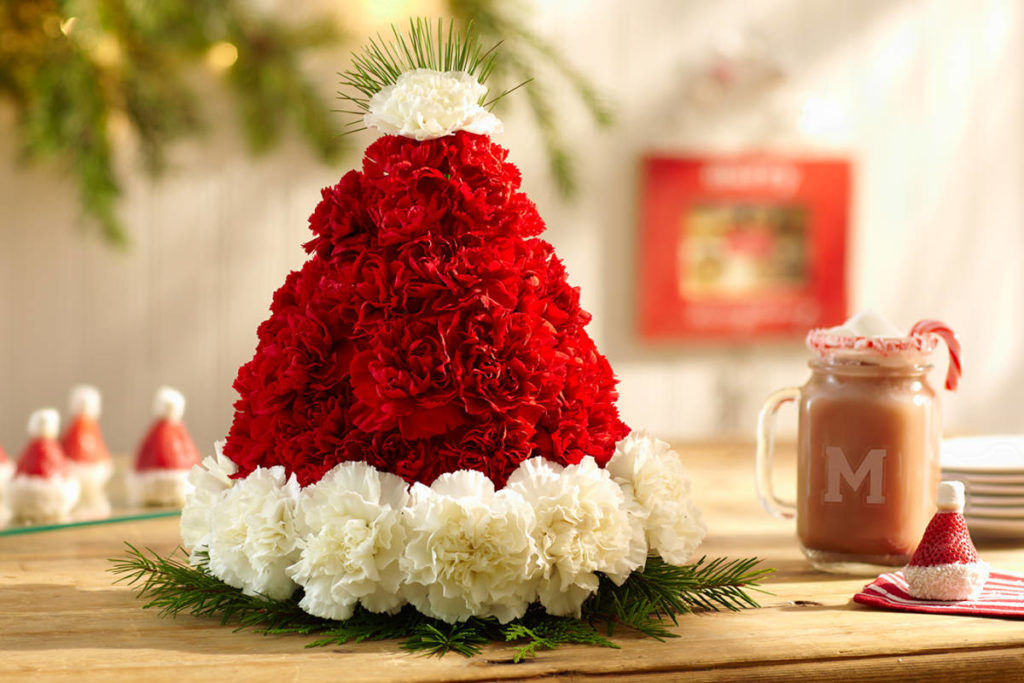
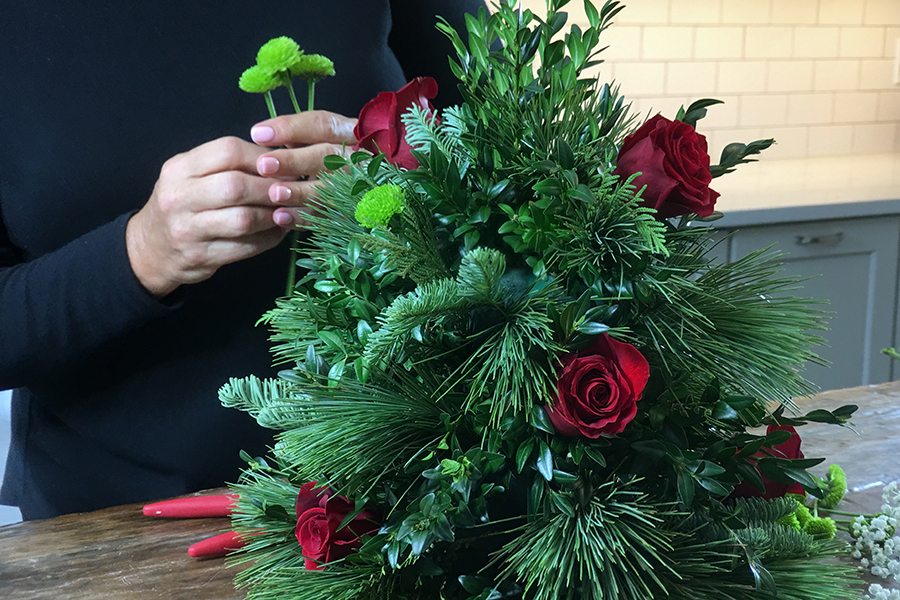
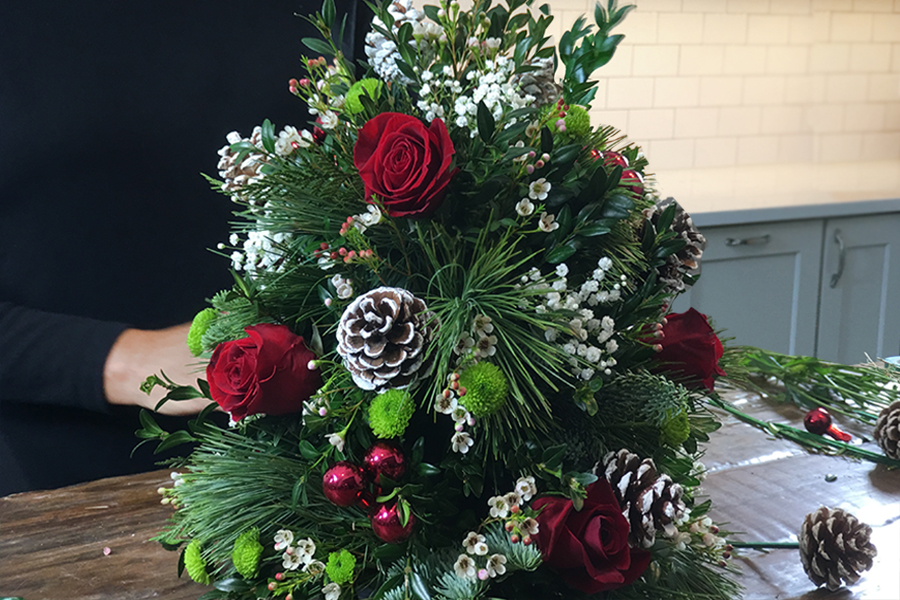
I decided to have a little fun and make a Santa hat entirely out of fresh flowers. Not only is it creative, but it’s so easy to make and will make you look like the “hostess with the mostess” at your next holiday get-together!
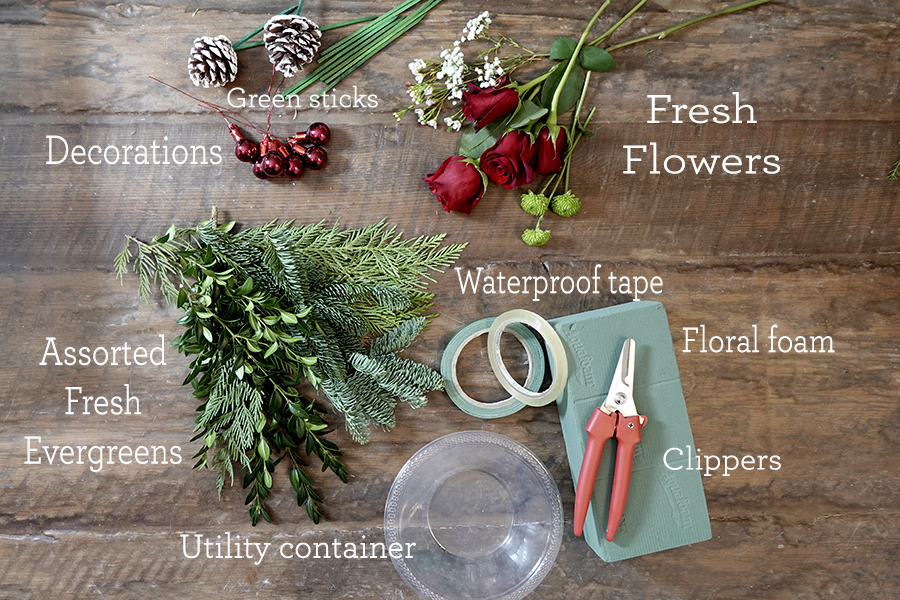
What you’ll need for your Santa hat floral centerpiece
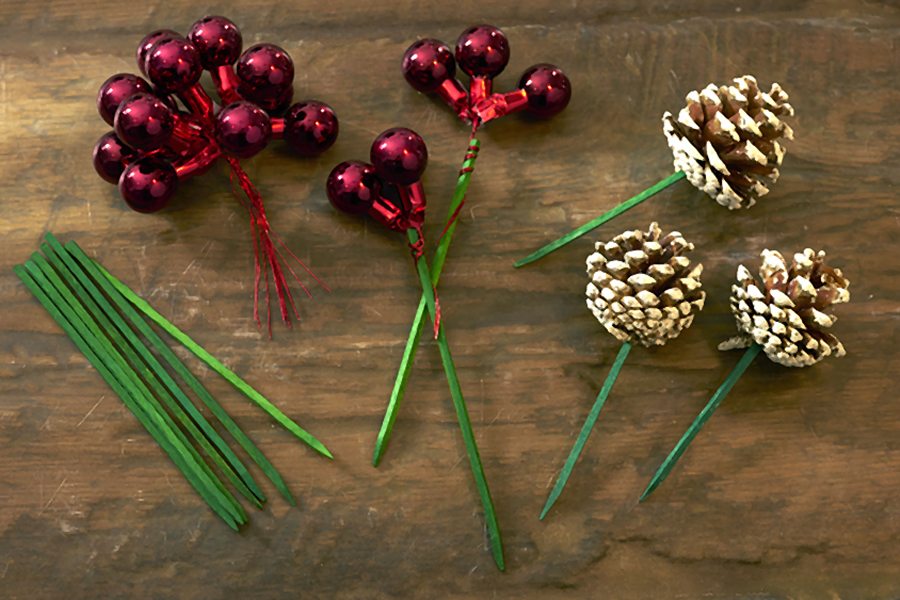
- Red and white carnations
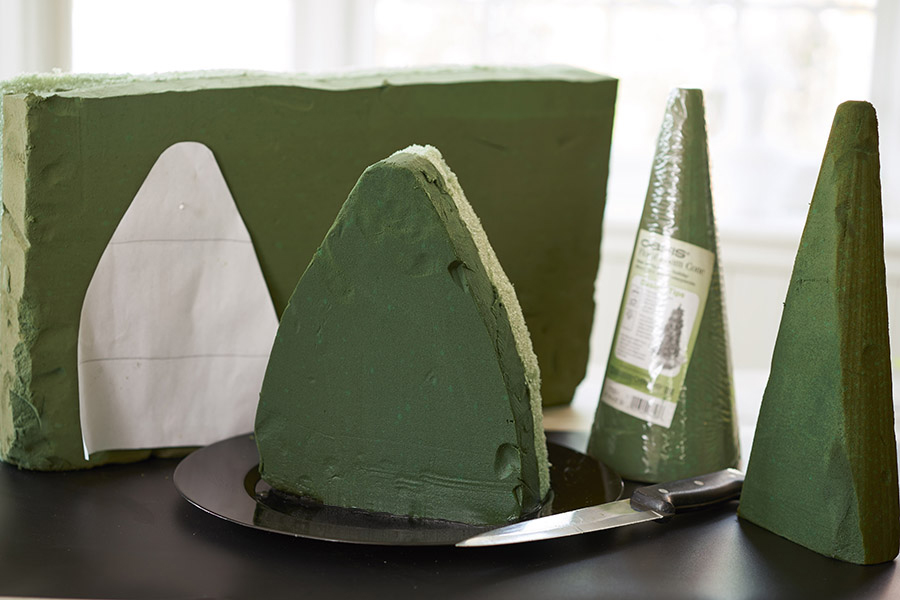
- Floral foam (cone shape)
- Dish
- Evergreens
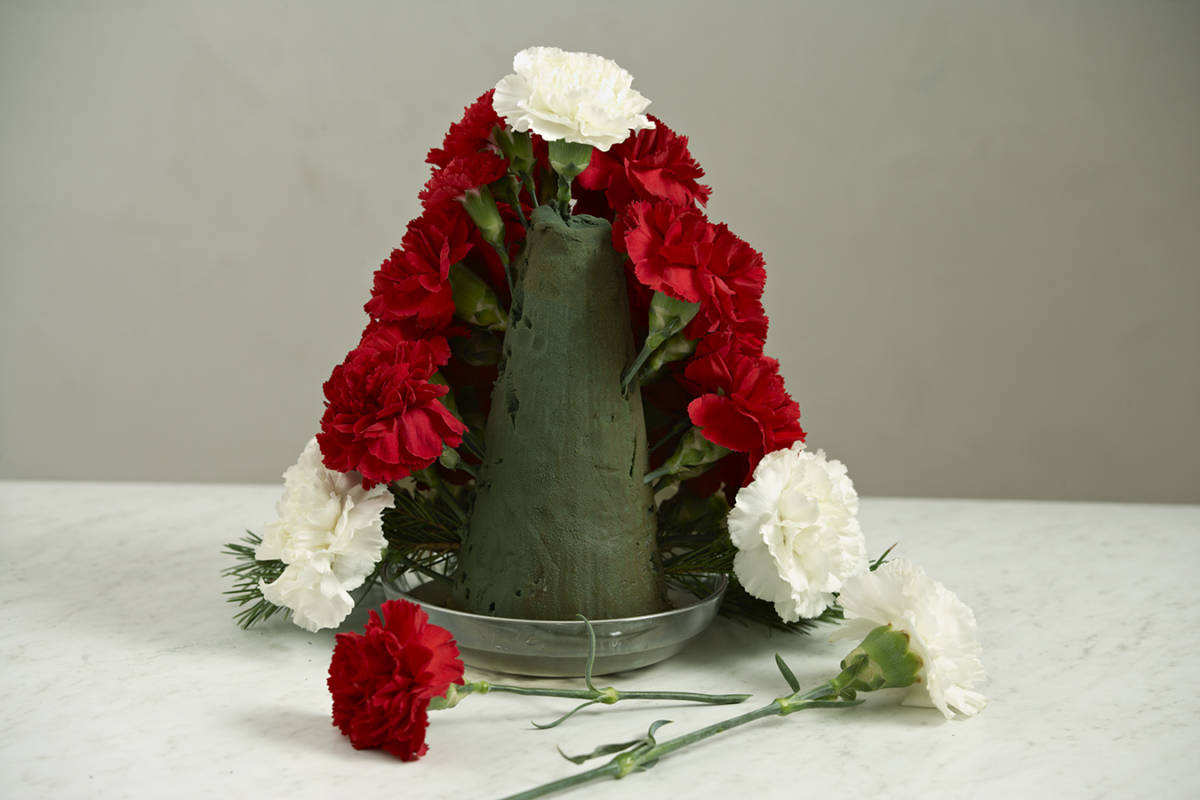
Instructions
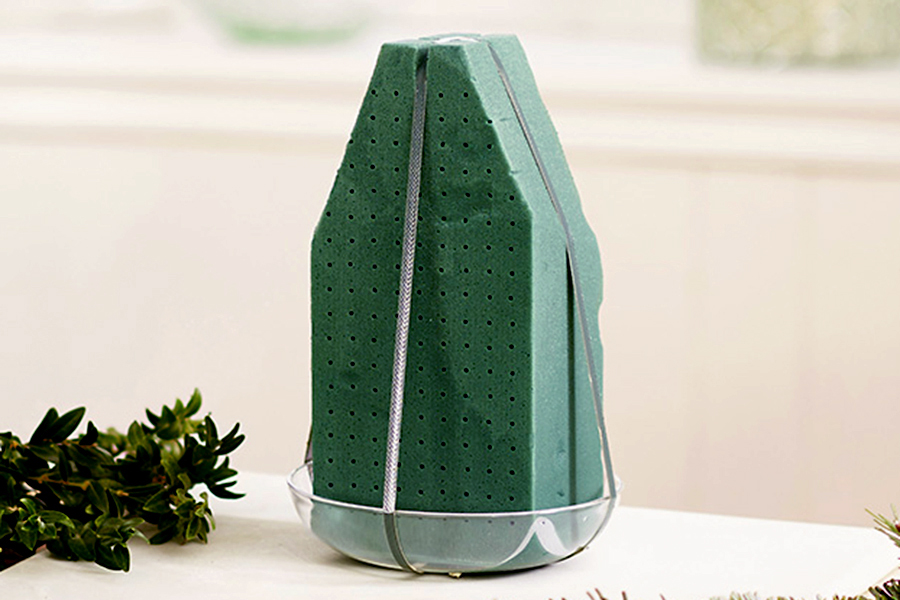
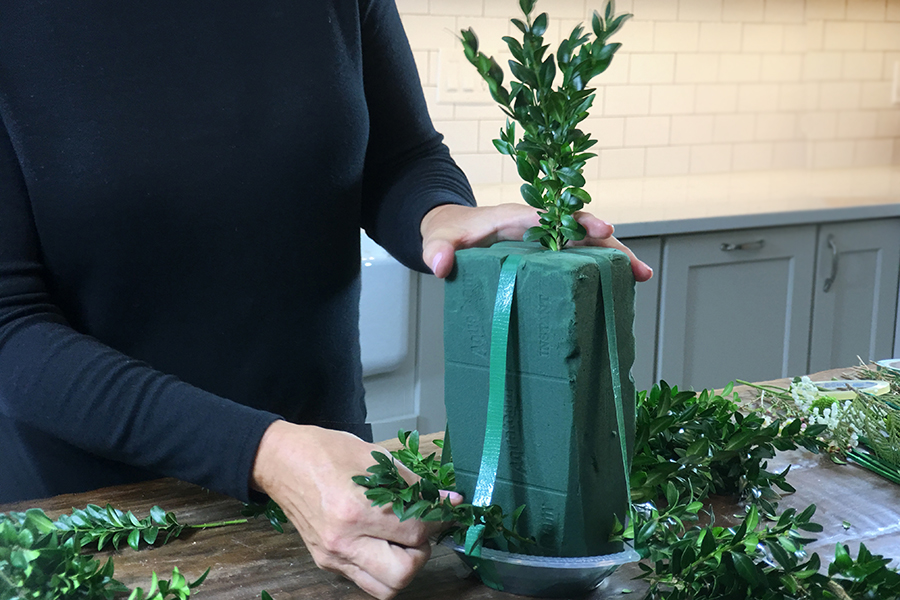
- Thoroughly soak the floral foam by letting it float in a sink full of water until the water is fully absorbed. Then, place the foam on a flat dish or low bowl slightly larger the the foam itself. (I used a 9 x 4 floral foam cone and a 6-inch clear design dish.)
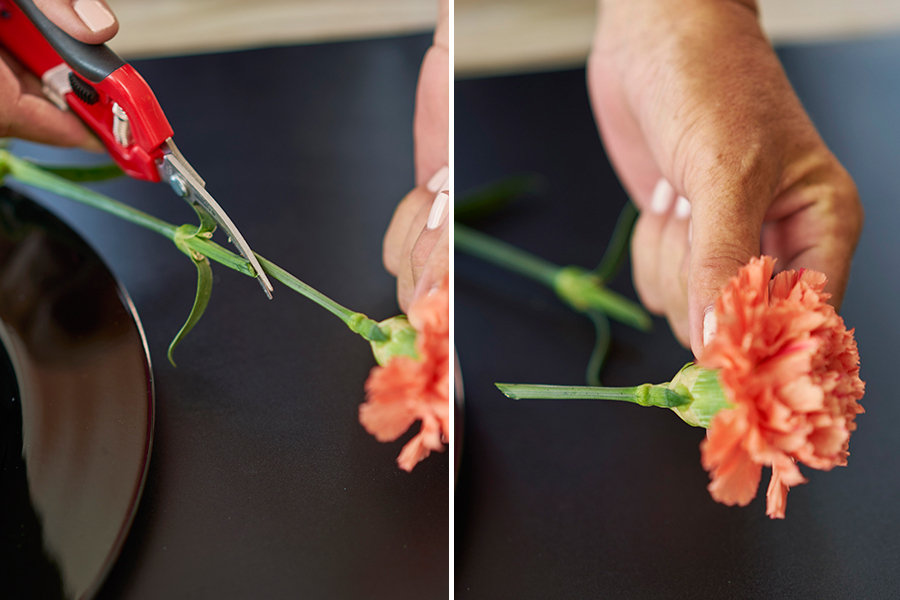
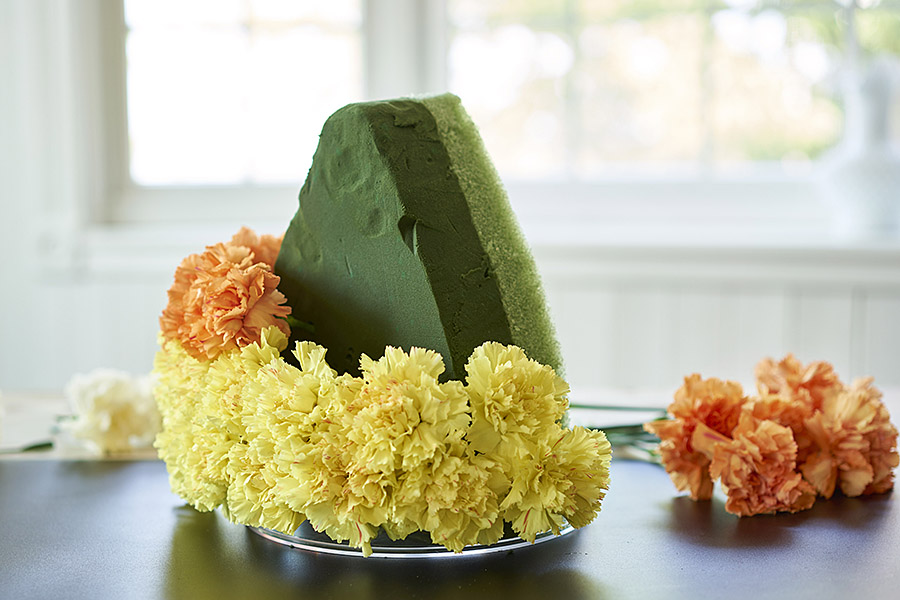
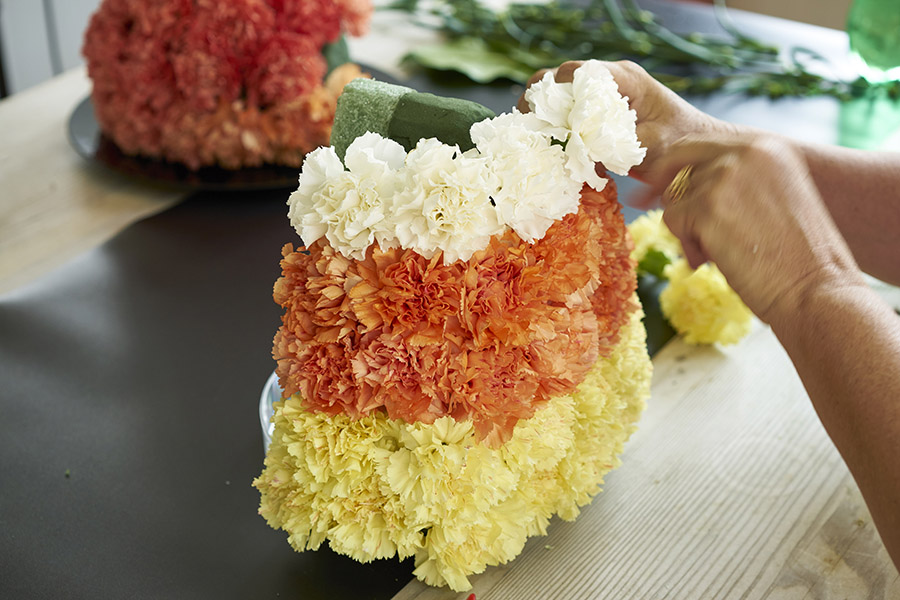
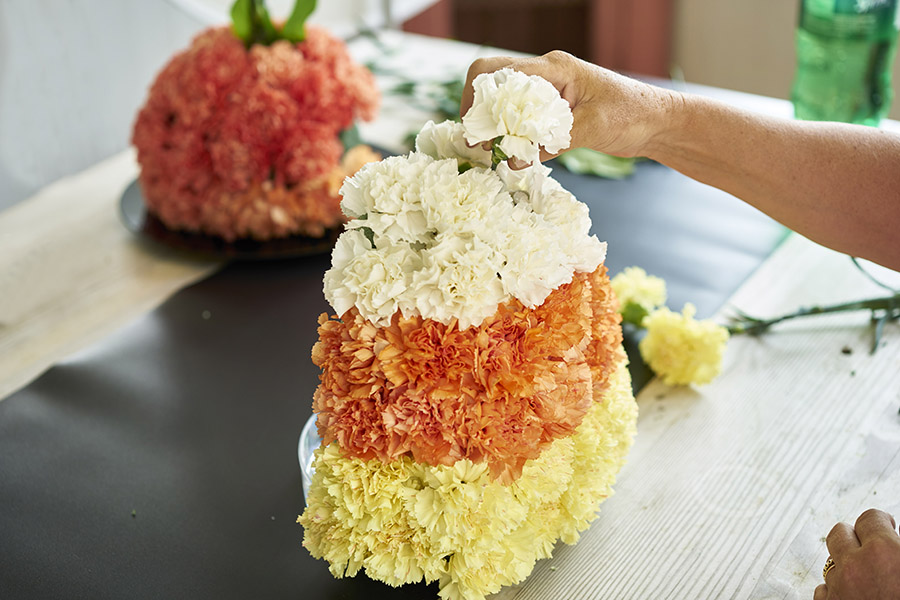
- Cut the carnations’ stems to a length of about 3 inches. Insert the stems into the foam starting with the white ones to form the “fur” trim at the bottom of the hat. Leave one carnation for the pom-pom at the top.
- Add the red carnations all the way around until the foam is completely covered. Finish by adding the white one on top.
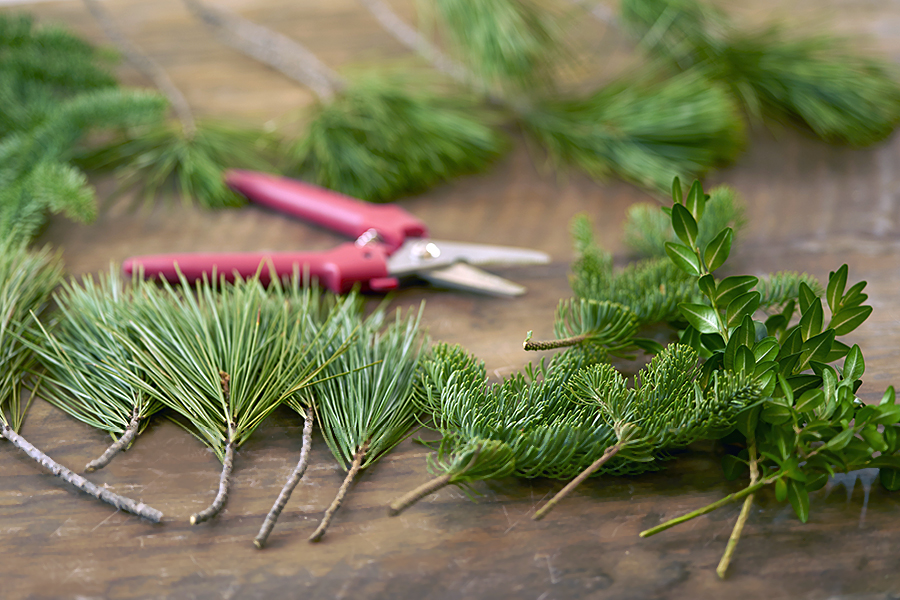
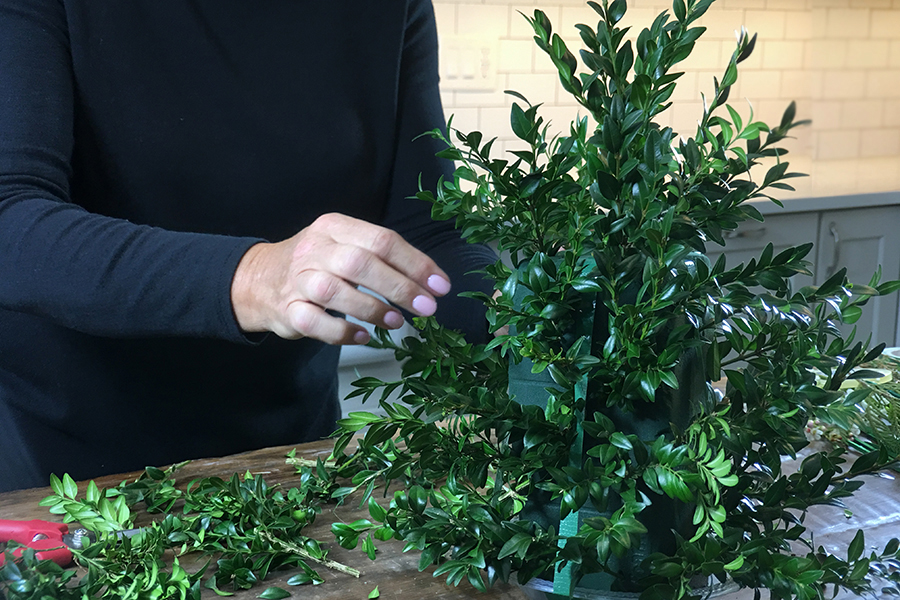
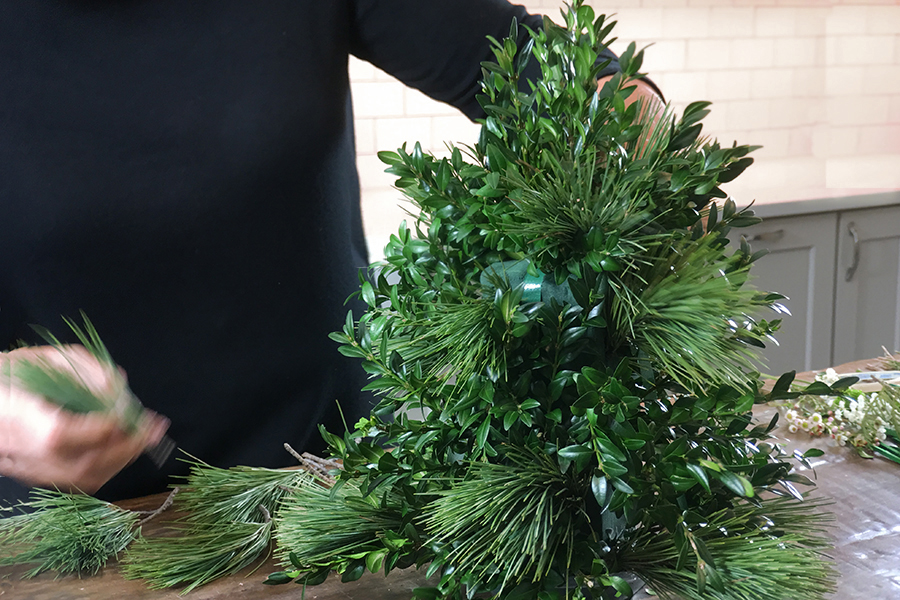
- You can add a few sprigs of evergreens to the base and top if you feel it needs a finishing touch.
- Keep your Santa hat centerpiece in a cool location, adding an ice cube to the dish every day, and it should stay fresh for at least a week.
DIY Santa hat strawberries
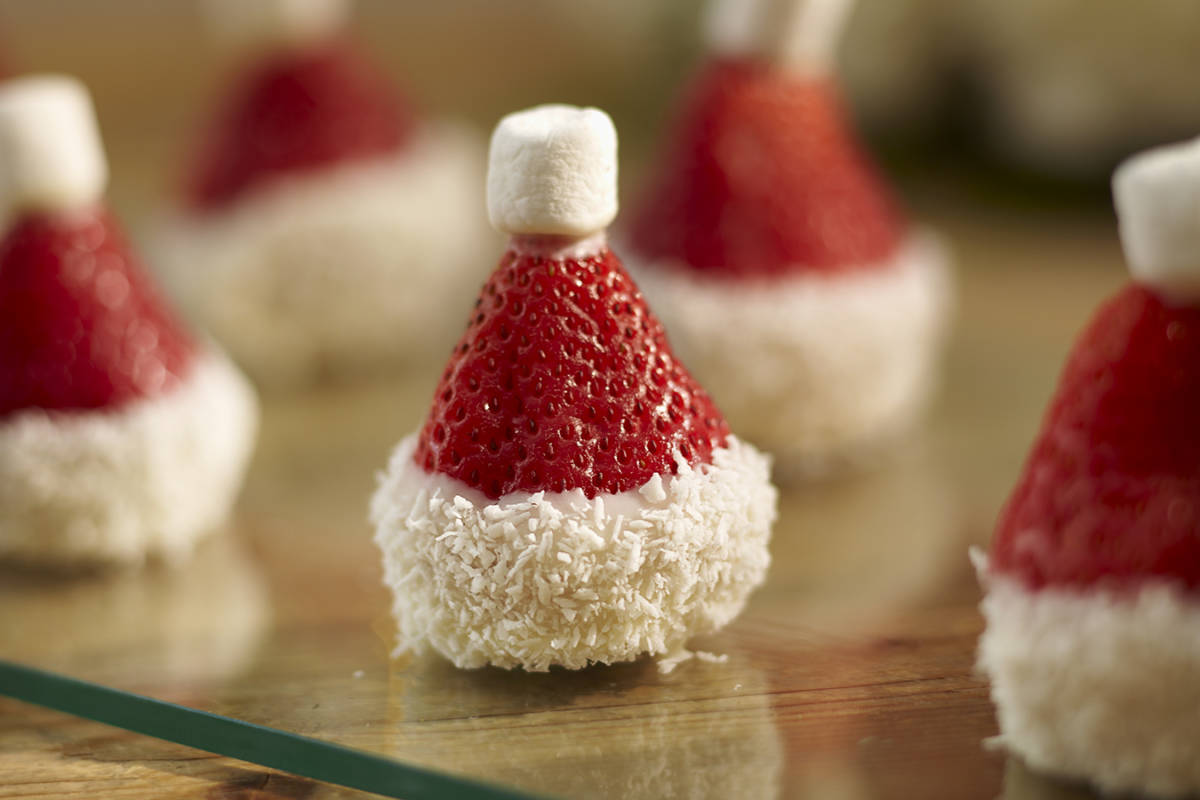
Need the perfect complement to your floral Santa hat? These sweet little pop-in-your-mouth treats are so easy to make, you’ll find yourself wanting to make more — for yourself, your family, friends, co-workers…you get the idea!
What you’ll need to make your Santa Hat strawberries
- Strawberries
- White melting chocolate
- Coconut flakes
- Mini marshmallows
Instructions
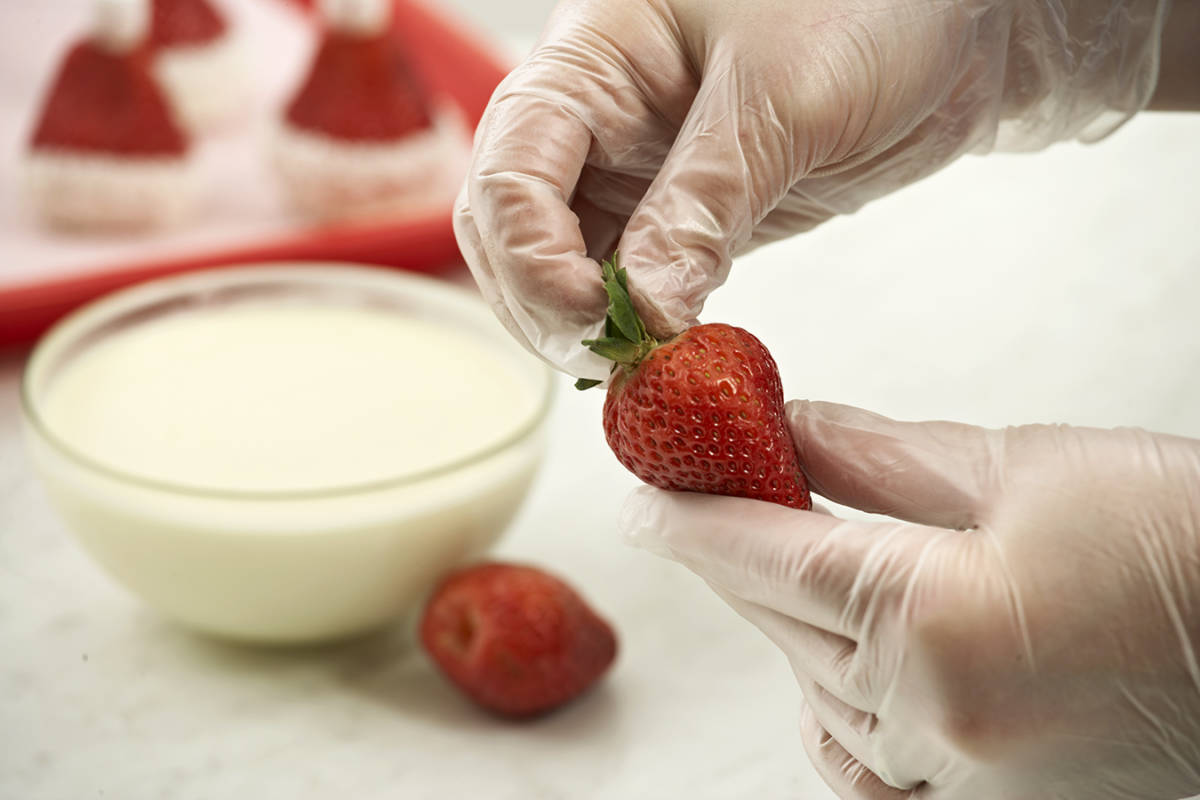
- Remove the stem from the strawberry. Don’t cut it off; just gently pull it away from the strawberry.

- Dip the larger end of the strawberry into the bowl of melted white chocolate, covering about a fifth to a quarter of the strawberry.
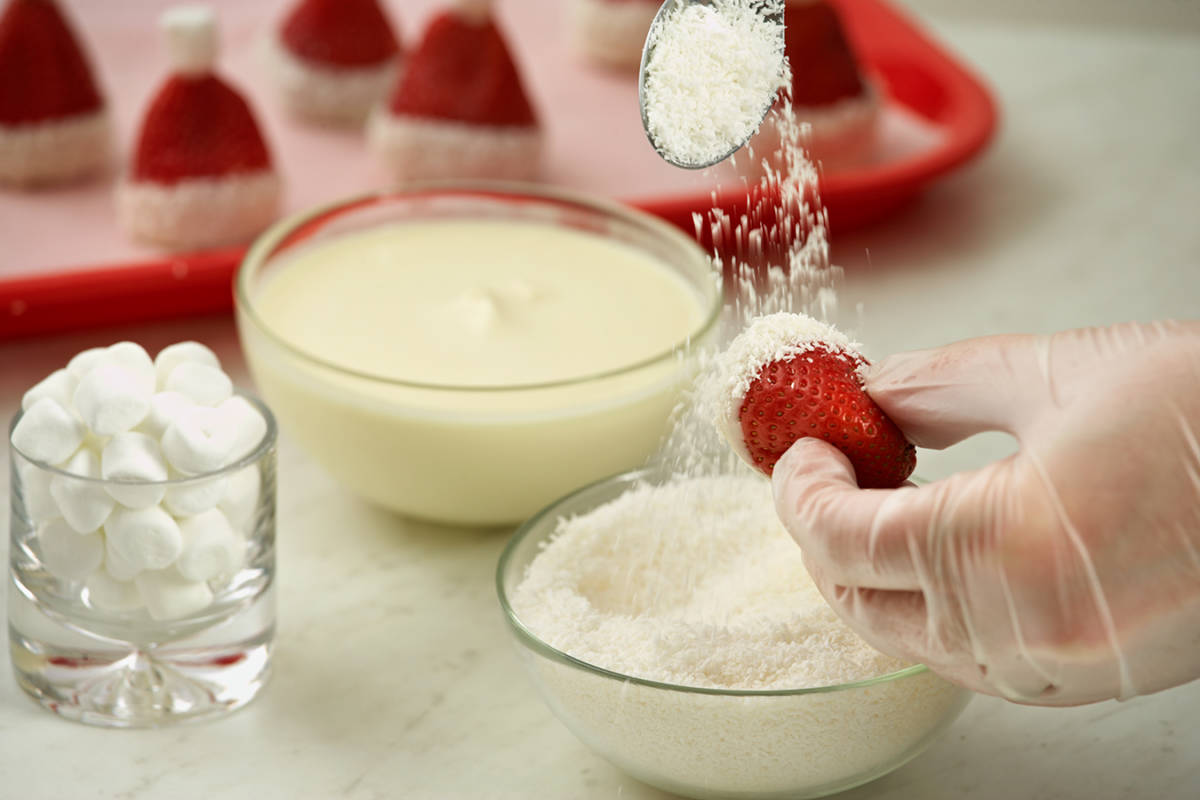
- Immediately hold the dipped strawberry over a bowl of shredded coconut and, using a spoon, drop the coconut flakes onto the melted chocolate on the strawberry. Place on a plate dipped side down.
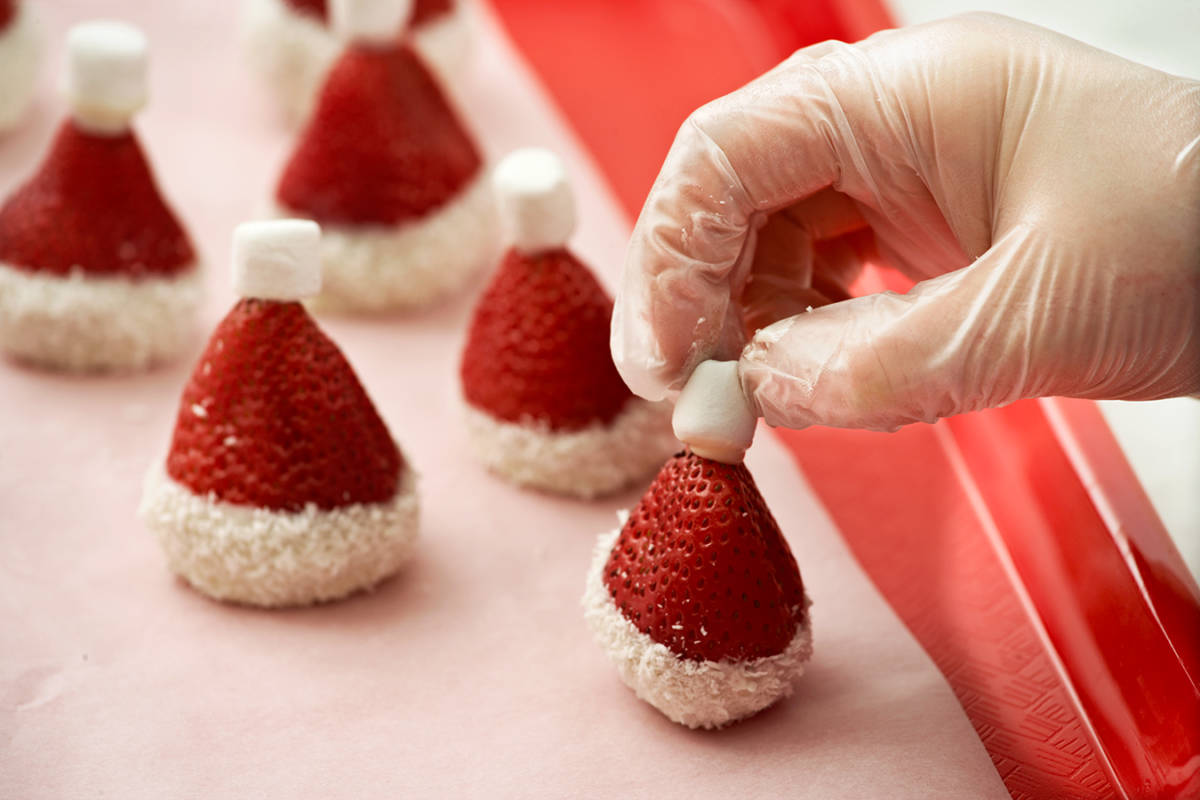
- Dip a mini marshmallow into the melted white chocolate and then place it on top of the strawberry to complete the Santa hat. As the chocolate cools and hardens, it will hold the marshmallow onto the strawberry.
Peppermint hot chocolate
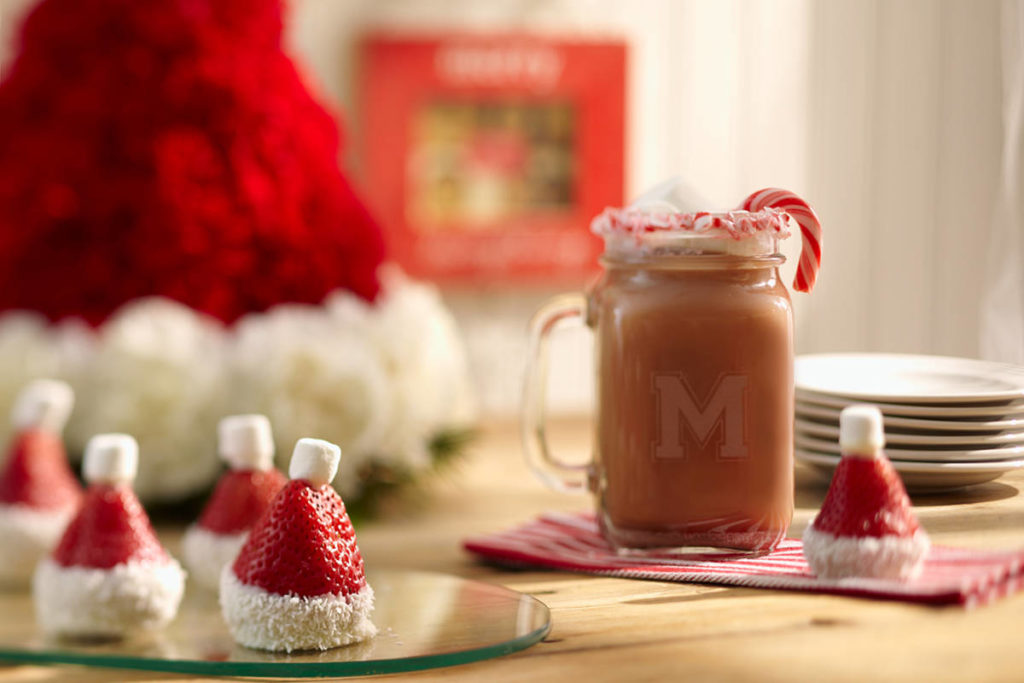
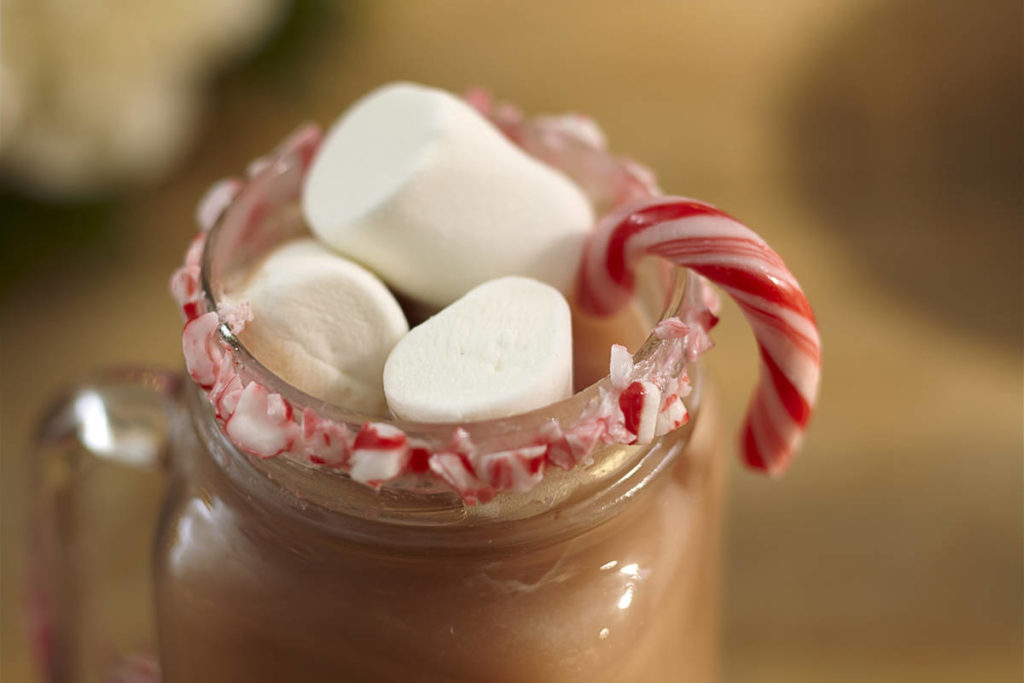
Who doesn’t love a nice cup of hot cocoa, especially during the holidays? For me, it’s all about the presentation. I used a regular hot cocoa mix but made it look fancy by serving it in a monogrammed mason jar mug, garnishing the rim with crushed candy canes and topping it off with marshmallows and a candy cane. The candy cane alone will add a peppermint flavor to the hot chocolate, or you could add three drops of peppermint oil per glass. Better yet, include a shot of peppermint schnapps to the hot chocolate to help chase away that winter chill!