Mom is one busy lady. Have you seen her lately? She makes Superwoman look lazy. She’s a teacher, cook, homemaker, and everything in between. That’s why, this Mother’s Day, get her something she actually wants (and deserves)…wine!
For the ‘half glass full’ mom
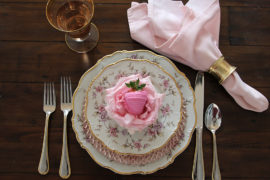
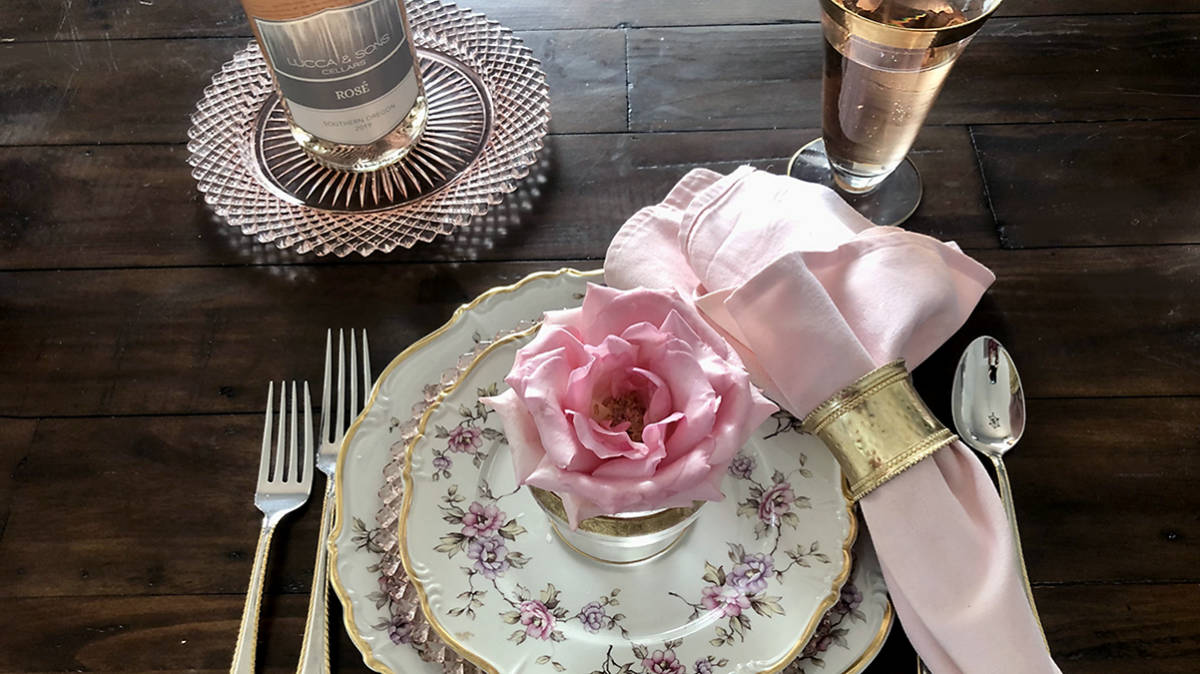
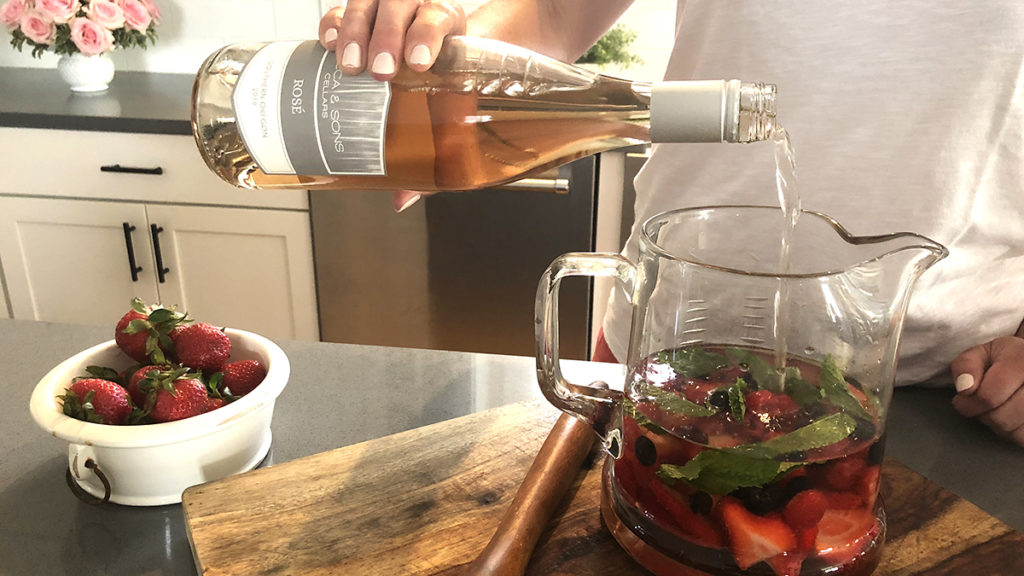
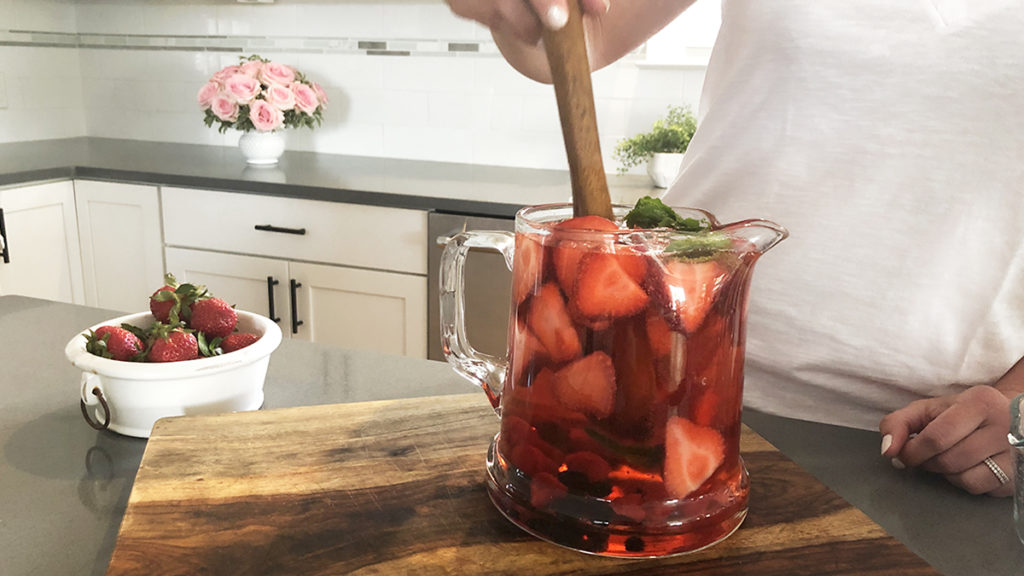
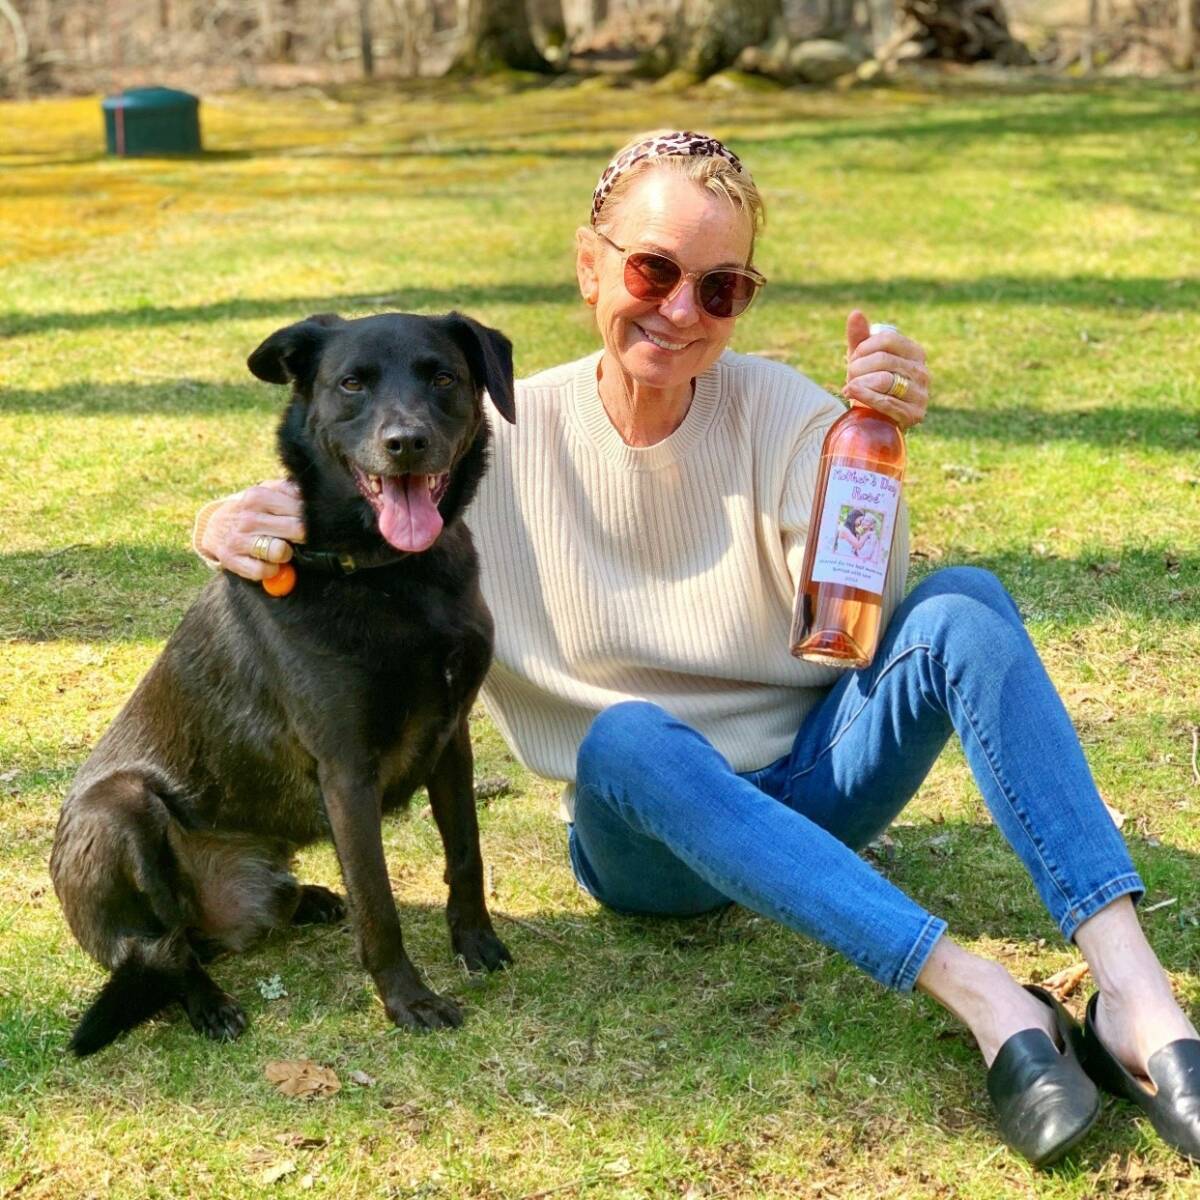
Getting together with my mom and sister for a casual glass of wine is one of my greatest pleasures in life. So, this year, I’m surprising my mom with an in-person happy hour with her favorite bottle of rosé. For the perfect Mother’s Day DIY gift — and for an added layer of surprise and personalization — I turned the rosé bottle into a keepsake we can drink from and then repurpose.

Creating your own DIY Mother’s Day wine bottle
I created a custom rosé bottle label for her in Adobe Photoshop and replaced it with the label on the bottle. If you don’t have Adobe Photoshop (or aren’t confident in your Photoshop skills), you can always order a personalized wine label online. Many styles and designs are available!
If you go the DIY route, all you need is sticker paper to turn a simple wine bottle into a personalized gift for mom.
Here’s how I did it.
Make it personal to make it special
I used a photo of the two of us to really make it personal. For an inspirational touch, I asked my mom to share her favorite quotes from women that inspire her and included those on the bottle as well.
I wanted this gift to be something special that we could use (aka drink) together, but I also wanted my mom to be able to keep it after and repurpose it as a vase. If you’re looking for something personalized and creative to share with a special person in your life, I highly recommend this Mother’s Day DIY gift.
Supplies you’ll need for DIY Mother’s Day wine bottle
- Wine bottle of your choice (or another type of alcohol or non-alcoholic bottle that mom loves)
- Large bowl or vase
- Sticker paper
- Scissors
- Computer, plus a printer
Steps to create your personalized wine bottle
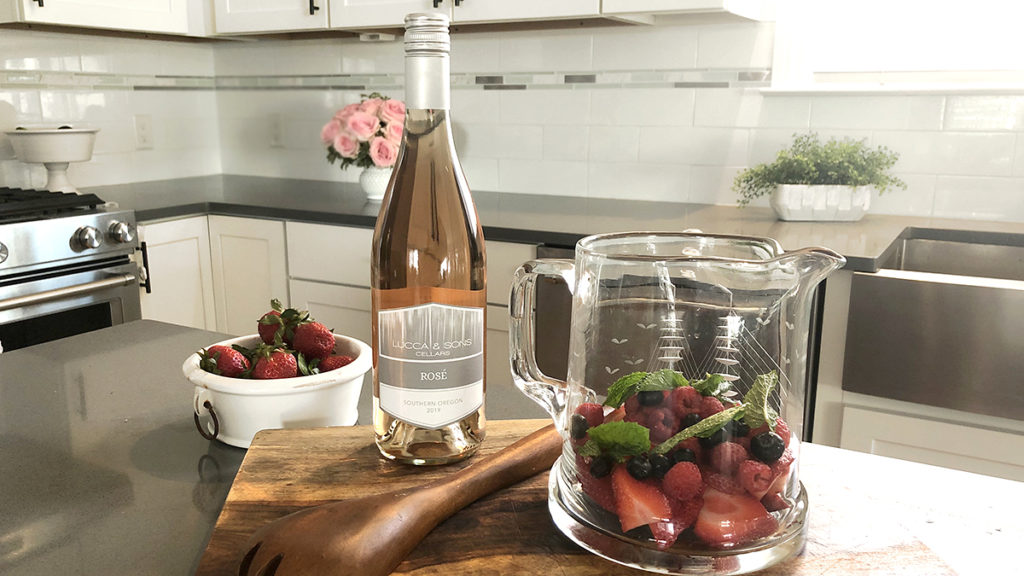
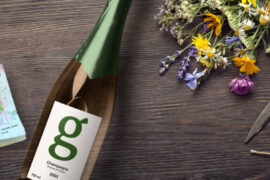
- Soak the bottle in a vase full of water. Then, remove the label. (Tip: Soak the bottle overnight for easier removal. You should be able to just peel it off.)
- Create your custom bottle label on the computer or by hand (just make sure to do it on sticker paper), or order one online.
- Print your custom label onto sticker paper and cut it out.
- Measure your cut-out label and decide where you want it to go on the bottle.
- Peel the back part of your label off and stick your personalized label onto your bottle.
Additional gift ideas to go with the personalized wine bottle
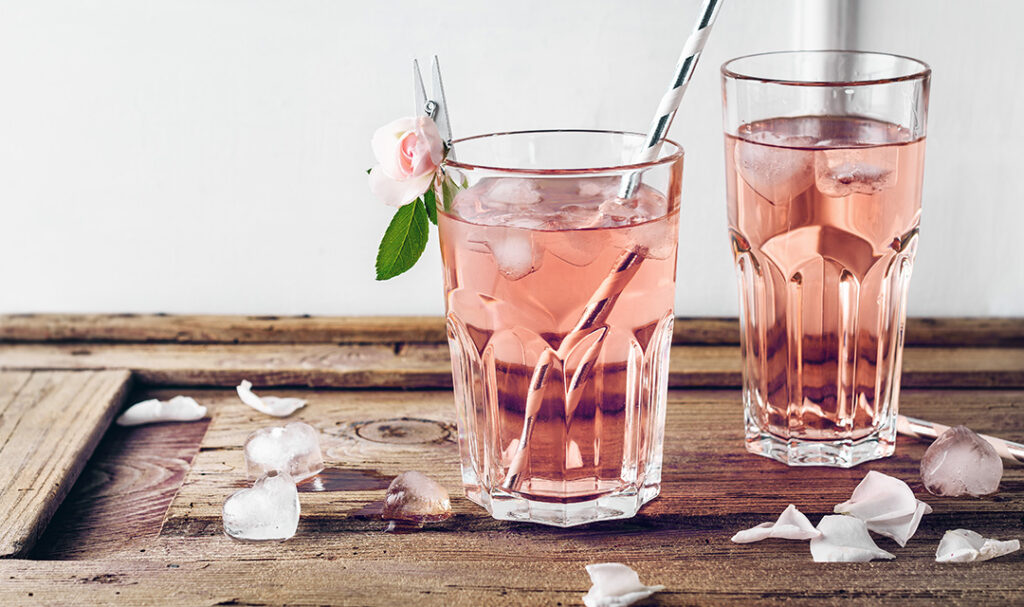
You’ve given Mom her favorite wine with a sweet personalized label, and that’s pretty special. But even after the wine is gone, this gift keeps on giving! Mom can use the keepsake wine bottle as part of her entertaining décor, a unique wine bottle vase, or a unique “pitcher” for water.
Does Mom love her personalized wine bottle? Check out these other accompaniment DIY gift ideas.
- Make personalized DIY wine glasses
- Buy a personalized wine glass with a customized message just for her.
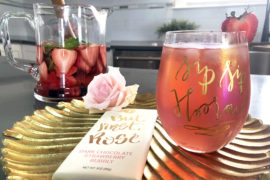
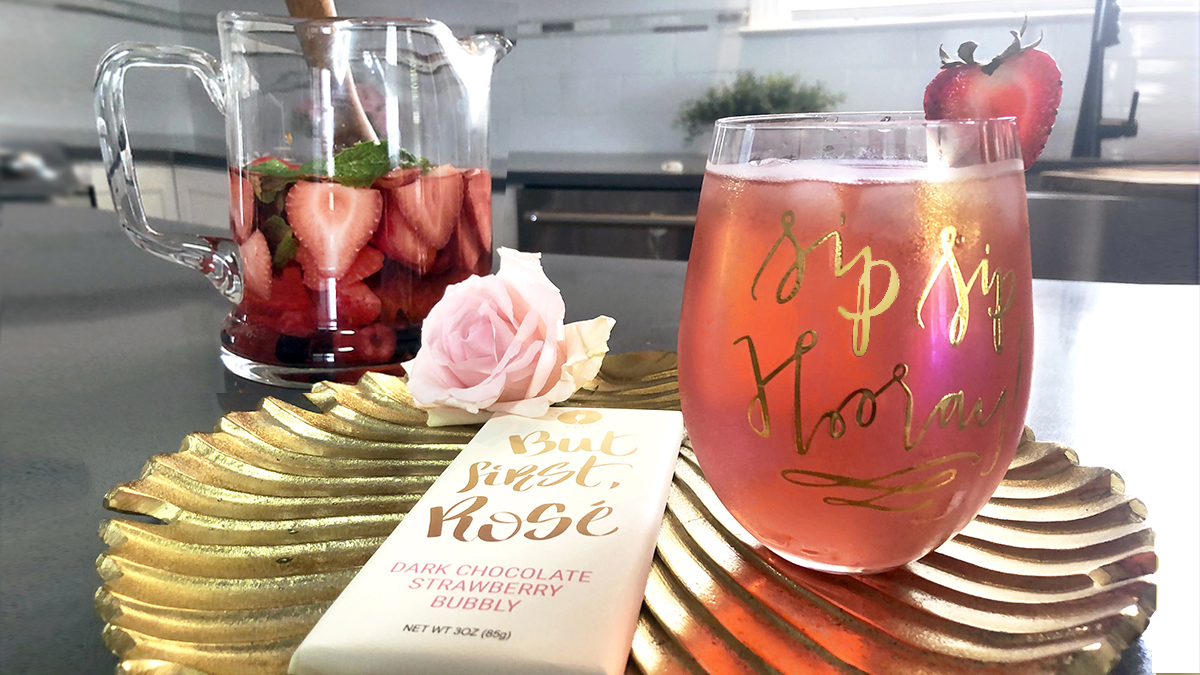
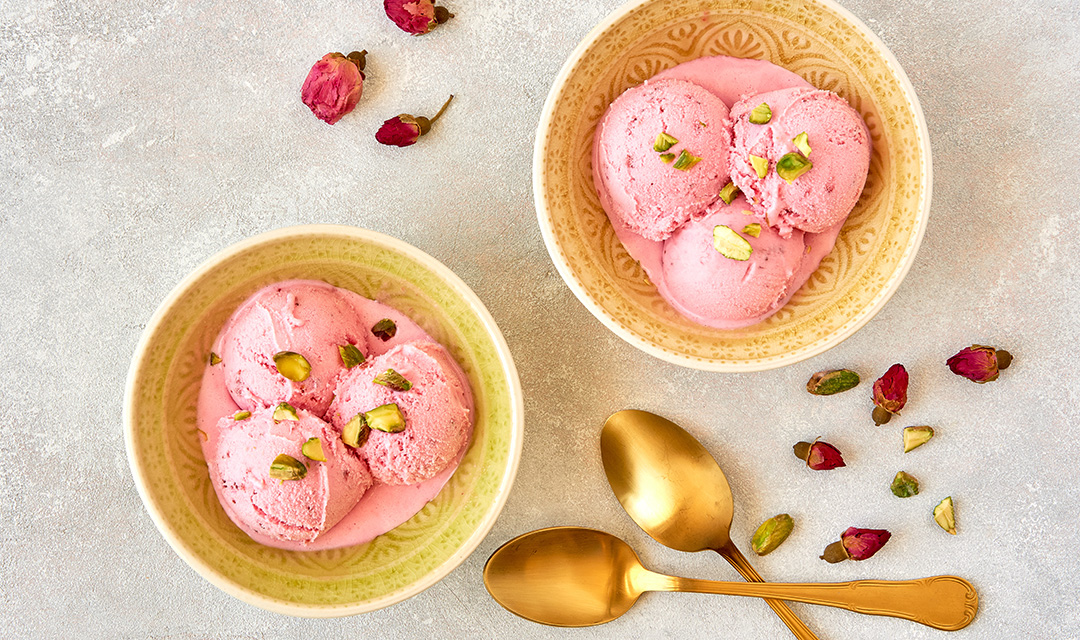
- Chocolate covered strawberries or another of Mom’s favorite desserts to pair with the wine.
- Set up a Mother’s Day wine tasting with different wines mom loves (or you think she would love).
- Charcuterie boards to go with mom’s personalized wine…to make her feel like she is at her very own vineyard!
- Plan a special meal, whether you cook it or bring it in.